Small Workshop Workbench Placement Guide
A bench can be solid, flat, and perfectly built yet still make a compact shop difficult to use. Small workshop workbench placement determines whether you can carry a long board through the room, open a door without moving tools, reach clamps without twisting, and work without stepping over cords. In a tight garage, shed, or spare room, the wrong location often costs more usable space than the bench itself.
The good news is that you do not need a designer’s floor plan to make a smart decision. You need an honest list of bench tasks, accurate room measurements, and a short real-world test before anything is anchored. This guide explains how to compare wall, center, window, folding, and mobile positions; connect the bench to your workflow; and check light, power, dust, storage, and safety. By the end, your small workshop workbench placement will be based on how you actually build, not on a photograph of someone else’s shop.
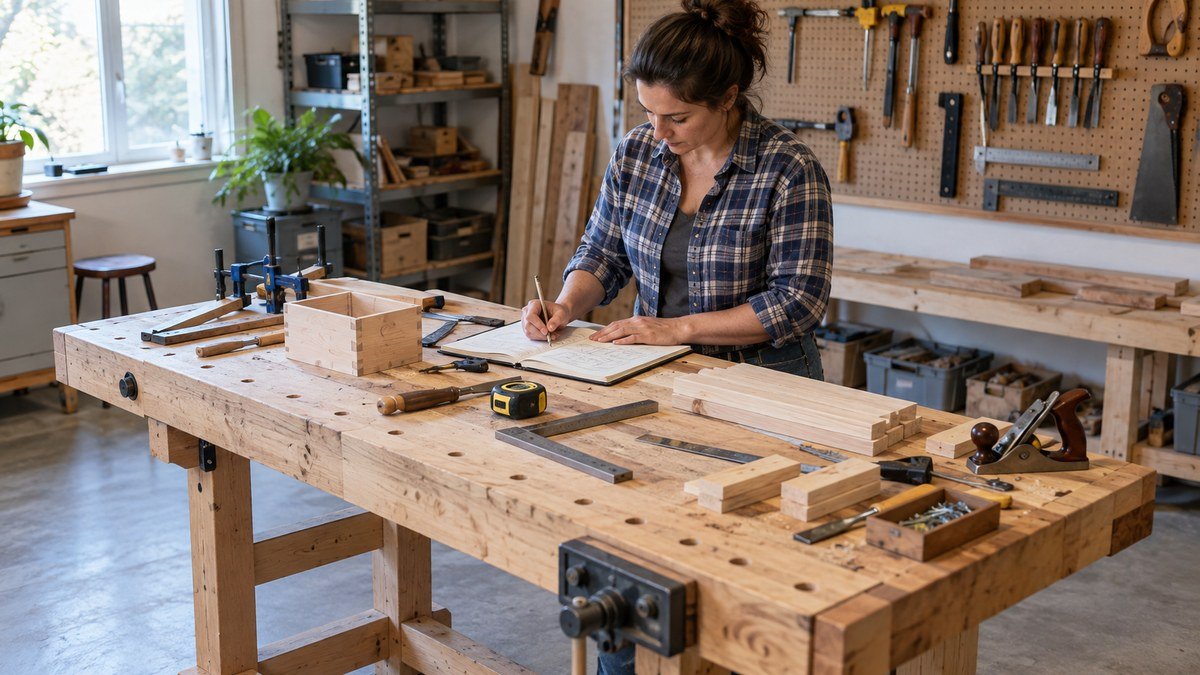
Start Small Workshop Workbench Placement With the Work You Do
Before choosing a wall, decide what the bench must do. A hand-tool bench needs stiffness, reliable clamping, and room for planing strokes. An assembly table benefits from access on several sides. A sanding or finishing surface needs good light and ventilation. A multipurpose bench may need to move between these roles. The best small workshop workbench placement begins with the work, because the same floor position can be excellent for assembly and frustrating for edge-planing a long board.
List your primary bench tasks
Write down the jobs you expect to perform every week, then separate them from occasional jobs. A useful list might include:
- Measuring, marking, and hand-cutting small parts
- Clamping boards for planing, chiseling, or routing
- Dry-fitting and assembling cabinets or furniture
- Sanding and applying small amounts of finish
- Supporting sheet goods or long stock near another tool
- Holding a sharpening station, benchtop tool, or removable vise
Give priority to the first two or three tasks. If the bench is mainly for hand work, putting its long edge against a wall may still work when the front and both ends remain clear. If it is mainly an assembly table, center access may matter more than wall storage. Beginners often try to make every surface do everything; a better approach is to make the bench excellent at frequent tasks and acceptable for the rest.
Estimate the working envelope, not only the footprint
A 24-by-60-inch top does not require only a 24-by-60-inch rectangle. You also need space for your body, clamps, tool handles, waste bins, and the material extending beyond the top. A long board held horizontally can cross a doorway or collide with a machine even when the bench itself fits. Likewise, a vise mounted at an end needs room for the workpiece and for the handle to turn.
Sketch the bench footprint, then draw a second boundary around the sides you use most. Treat that outer boundary as active workspace. This simple step makes small workshop workbench placement more realistic and prevents a common mistake: leaving an attractive gap that is too narrow to work in comfortably. If you are still choosing tools for the shop, compare the tasks above with a practical beginner woodworking tool list so the bench supports the tools you will actually own.
Measure the Room for Small Workshop Workbench Placement
Accurate measurements turn a guess into a layout. Record the inside dimensions of the room and the location of doors, door swings, windows, outlets, switches, fixed cabinets, posts, heaters, stairs, and machines that cannot move. Also note anything overhead, such as a garage door track or low shelf. For small workshop workbench placement, the most important dimensions are often the awkward ones: the width beside an open door, the space below a window, and the path from lumber storage to the cutting area.
Affiliate note: This section contains affiliate links.
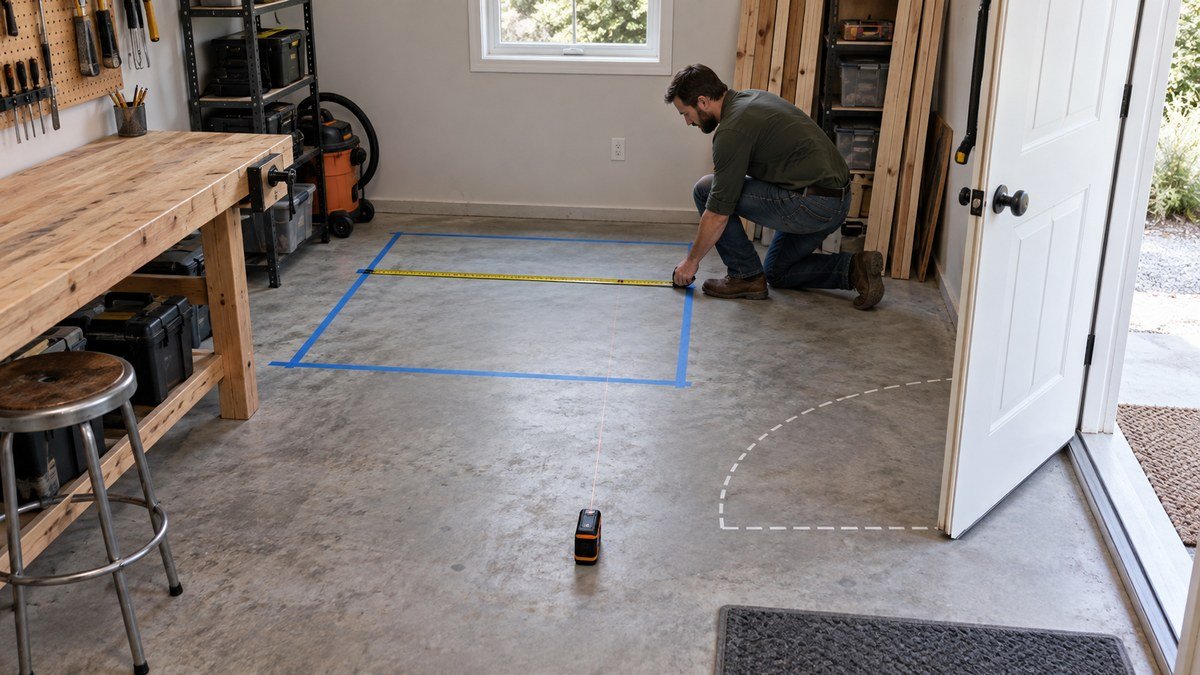
A tape measure is enough for most rooms. If you frequently measure across cluttered spaces or compare several wall-to-wall distances, a laser distance meter from this article’s research list may make the mapping step faster. Verify critical dimensions with a physical tape before cutting material or fixing hardware, and never rely on a measurement you have not checked.
Make a simple scaled plan
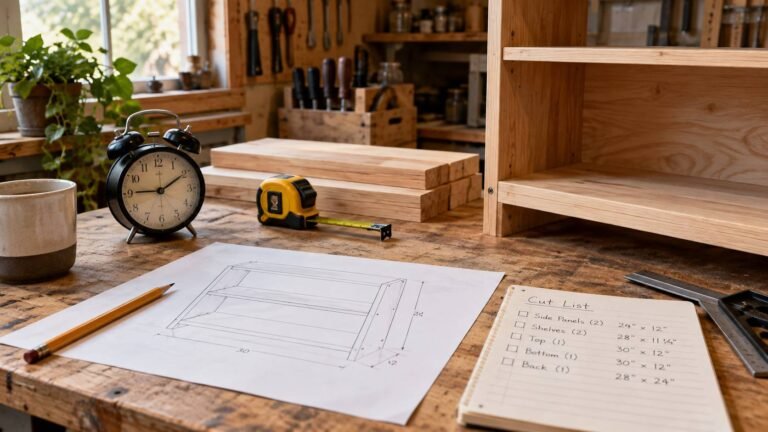
Graph paper works well: choose a simple scale, draw the room perimeter, and add the fixed features. Cut a separate paper rectangle for the bench so you can move it around. A digital drawing is optional; the goal is not presentation quality but the ability to compare positions without lifting the bench. The same method is used in a broader small woodworking shop setup because every fixed object competes for the same circulation space.
Tape the footprint on the floor
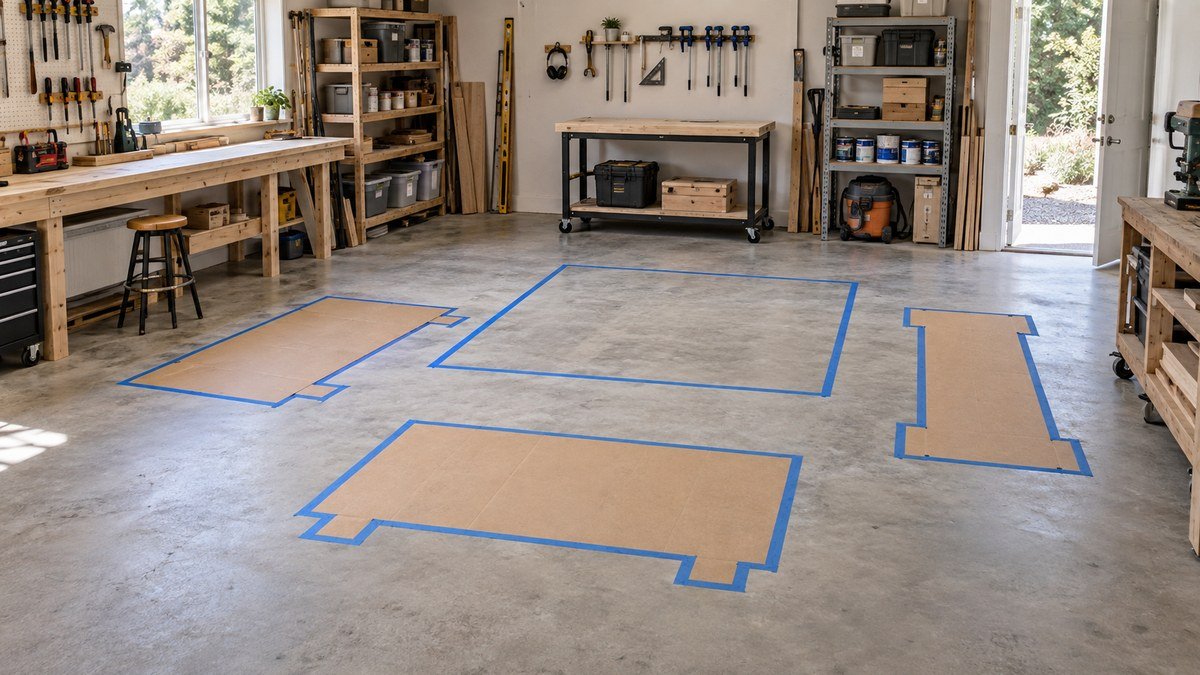
Once one or two positions look promising, mark the bench outline with painter’s tape or flattened cardboard. Open every nearby door and cabinet. Carry a representative board through the room. Stand where you would saw, plane, clamp, and assemble. Reach toward the wall as if retrieving a tool. This ten-minute rehearsal reveals conflicts that a plan can hide.
Do not chase a universal clearance number. Your required space depends on your body, tasks, stock length, and whether someone else shares the room. Leave enough room to move without turning sideways, operate the tool safely, and retreat from a cut or clamp without hitting another object. If two taped positions both work, favor the one that keeps the main walkway clear when a project is spread out.
Compare Small Workshop Workbench Placement by Wall, Center, and Window
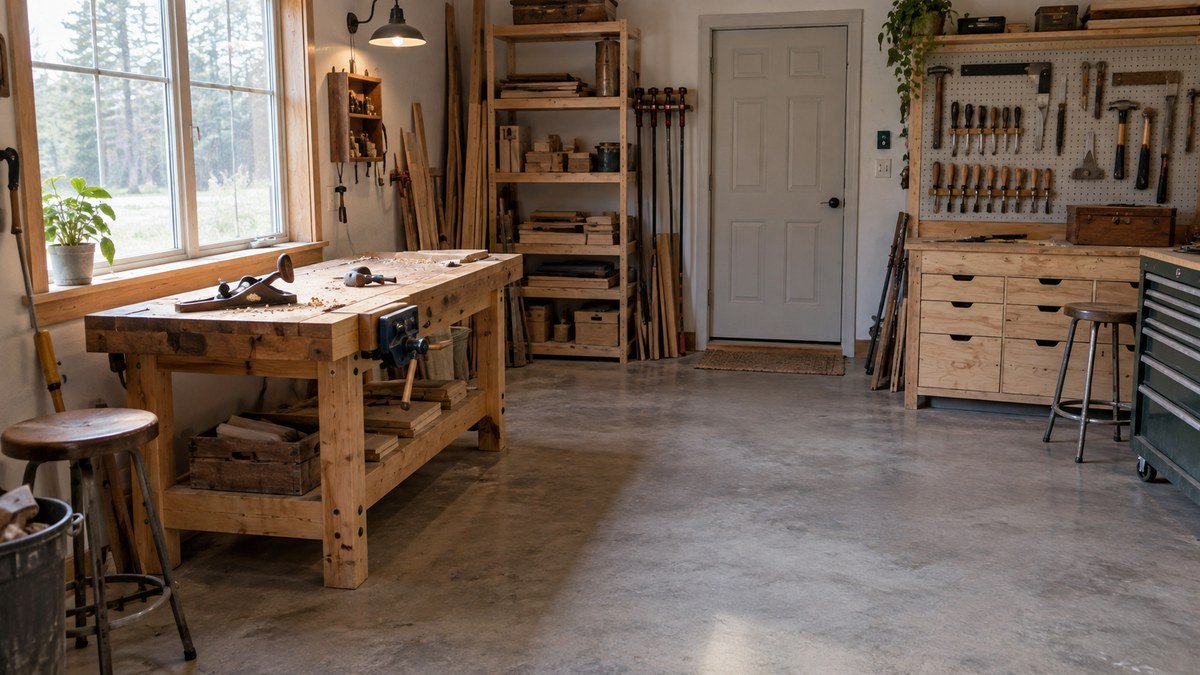
Most layouts reduce to three choices: along a wall, in the middle, or near a window. Each can be the right small workshop workbench placement, but each changes how you approach the bench and use nearby surfaces. Compare them by access, stability, light, storage, and the length of material you can handle.
Against a wall
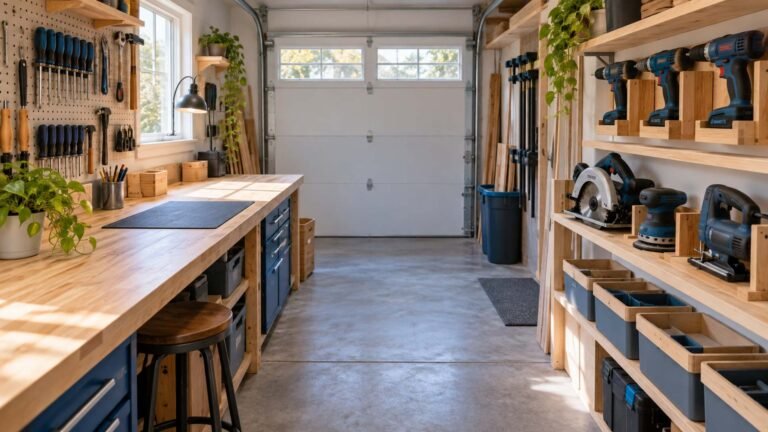
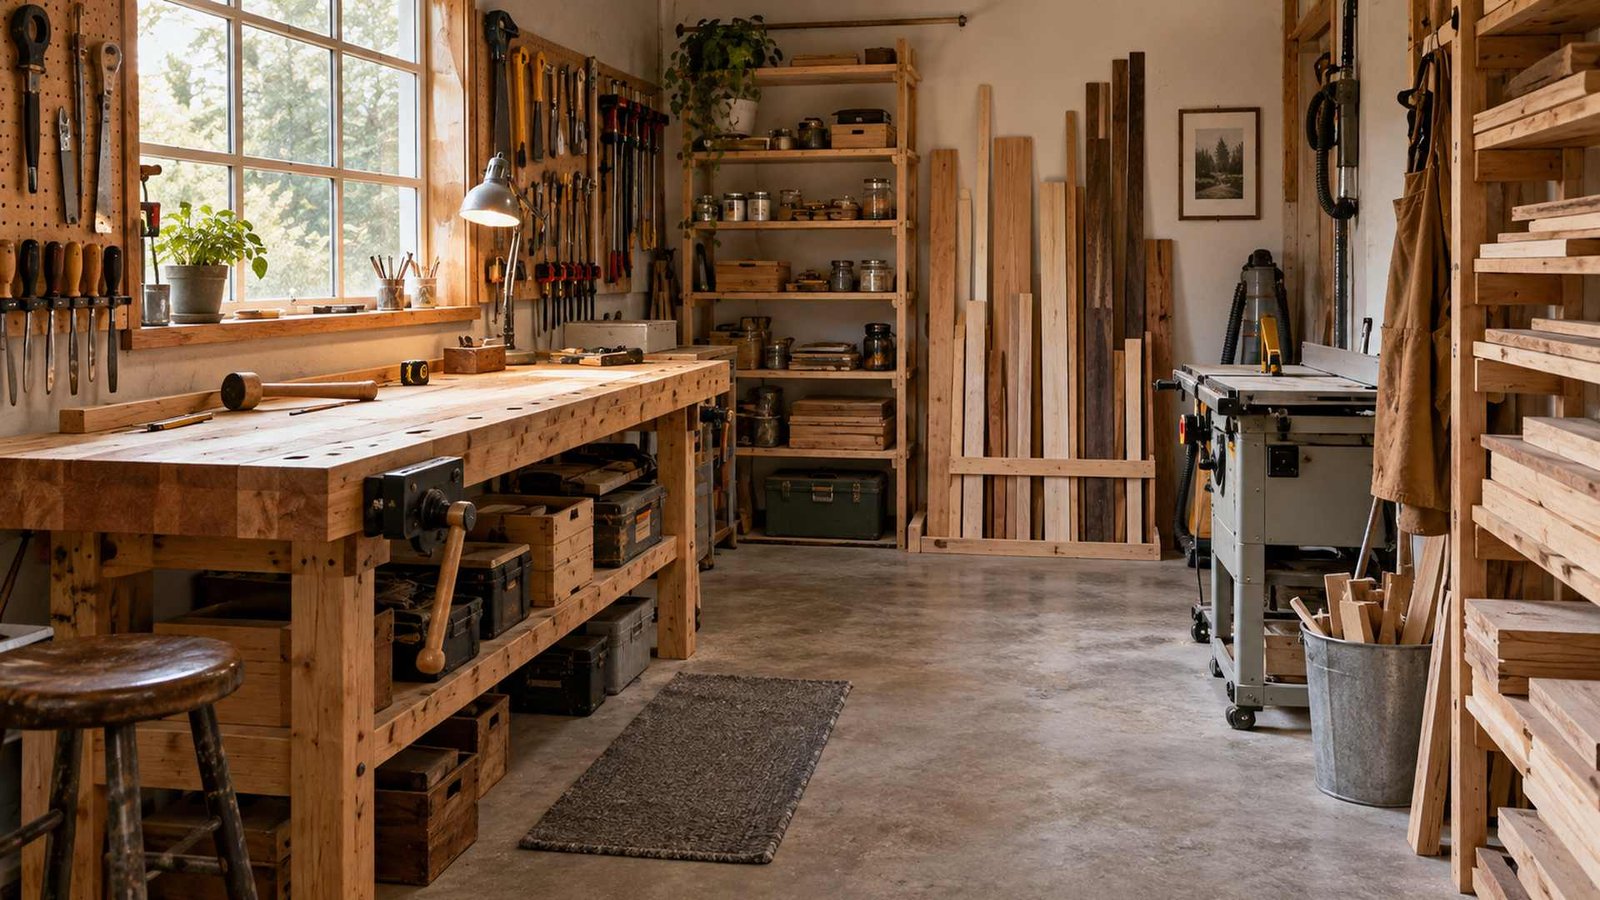
A wall position preserves the most open floor area. It gives you a place for pegboard, shallow shelves, task lighting, and hand-tool storage above the bench. It can also make a light bench feel more stable if the design is safely anchored. The tradeoff is access: you lose the rear edge, and wide assemblies may be difficult to clamp or square. Keep wall storage shallow enough that you do not hit your head or cover the work surface with shadows.
A wall bench works especially well for measuring, joinery, sharpening, and small assemblies. Place the end that holds a vise or accepts long stock toward the more open side of the room. If floor space must be reclaimed between projects, researched self-locking folding workbench brackets may support a fold-down concept. The wall structure, fasteners, bracket capacity, top weight, and locking action must all suit the intended loads; follow the manufacturer’s instructions and do not treat a light folding surface as a heavy hand-tool bench.
In the center
A center bench gives access from all four sides, which is valuable for cabinet assembly, clamping, finishing, and teaching another person. It can also divide the shop into zones. The cost is circulation space: every side becomes a walkway, and the bench can interrupt the path between storage and machines. A center island is usually most successful when the room is wide enough that one active project does not close the only route to the exit.
If you are evaluating a very compact room, study an 8×8 woodworking shop layout and notice how quickly a central surface consumes movement space. A narrow rolling assembly cart may be more useful than a full-size island.
Near a window
Natural light is excellent for marking, inspecting joints, and seeing surface defects, but a window should not be the only reason for the position. Avoid blocking the sash, emergency egress, curtains, or ventilation. Direct sun can create glare, heat a finish, or move across the bench during the day. Moisture near a poorly sealed window can also affect tools and lumber.
A bench set perpendicular to the window often receives useful side light without covering the opening. Add adjustable task lighting so nighttime work and cloudy days do not change accuracy. The final choice should still preserve a safe path and enough room for the longest stock you normally handle.
Align Small Workshop Workbench Placement With Workshop Workflow
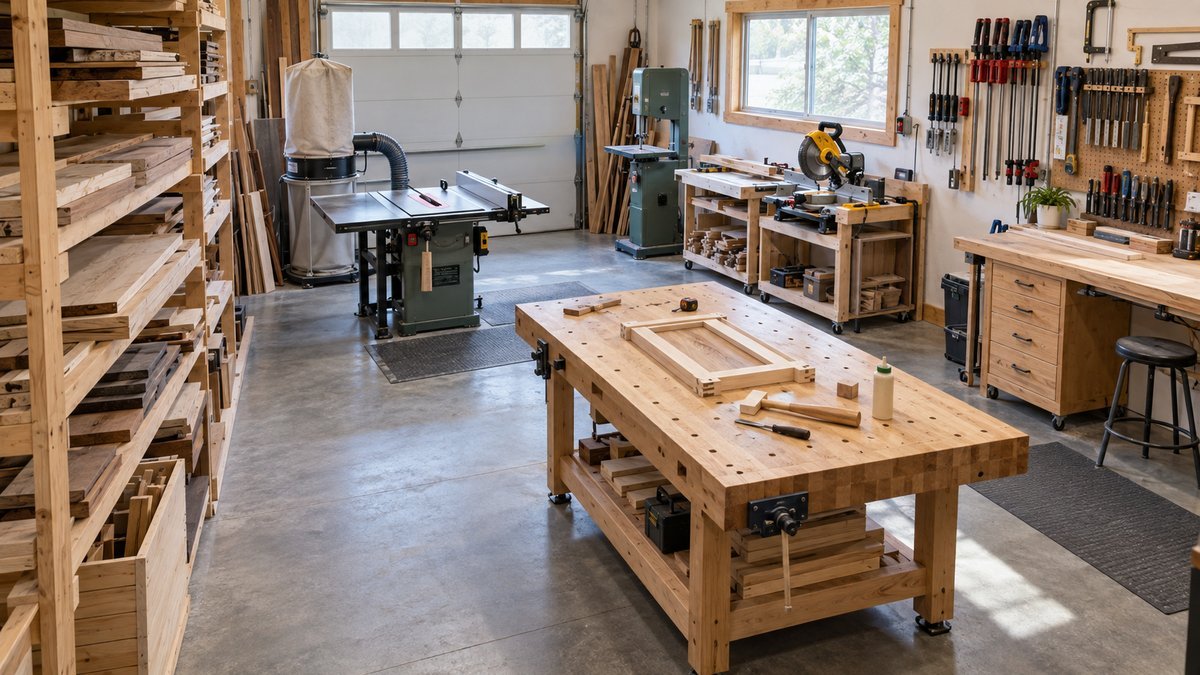
A compact shop feels larger when materials move through it in a sensible order. Think of a simple path: material enters, goes to storage, moves to rough cutting, reaches the bench for joinery and assembly, and then goes to finishing or the exit. Good small workshop workbench placement reduces backtracking and limits the number of times you carry a board around another machine.
Keep the material path simple
Stand at the shop entrance and imagine carrying a full-length board. Can you place it in storage without lifting it over the bench? Can it travel from storage to the main cutting tool without crossing a busy work zone? After cutting, can parts reach the bench without piling up in the walkway? The path does not need to be straight, but it should remain predictable when offcuts, clamps, and a project occupy the room.
Put frequently paired activities close together. Measuring tools, pencils, squares, and clamps belong near the bench. Dusty cutting and sanding tasks may be better near collection and ventilation. Finishing supplies should remain away from sparks, heavy dust, and traffic. If storage is consuming the area around the bench, use ideas from small workshop storage to move suitable items upward while keeping heavy tools safely supported.
Use the bench as machine support only when planned
A bench can sometimes serve as outfeed support, but accidental alignment is not enough. The top must be at a compatible height, flat, stable, and positioned so the workpiece cannot catch. The bench must not force you to stand behind a board in a kickback path or reach over a running tool. A removable auxiliary surface is often safer than permanently compromising the bench height.
Check the complete board travel, not just the area between the machine and bench. Mark the infeed and outfeed path on the floor. Move clamps, cords, and stored materials out of that path. If a machine rolls into position, mark its parked location and working location separately. This is where small workshop workbench placement becomes part of the whole shop rather than an isolated furniture decision.
Choose Fixed, Folding, or Mobile Small Workshop Workbench Placement
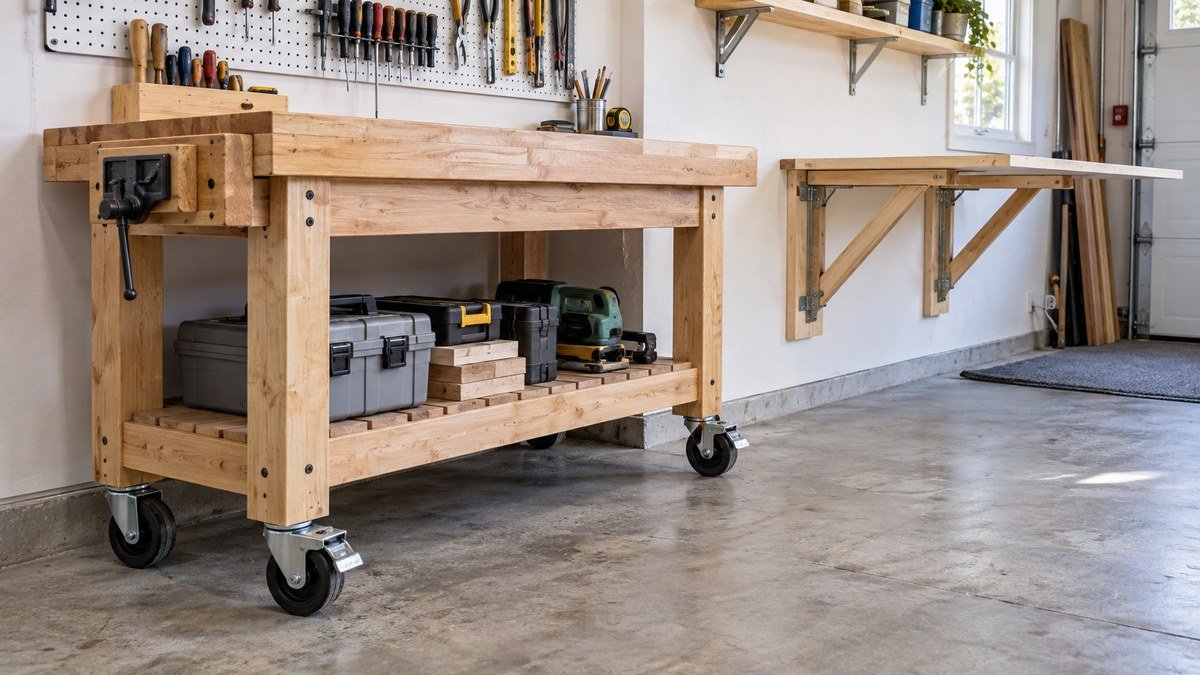
Bench construction changes the layout. A fixed bench rewards a carefully chosen permanent location. A folding bench prioritizes shared floor space. A mobile bench allows the room to change but creates a parking and stability problem. Match the format to how often the room changes and how much force your work applies.
Fixed bench
Choose a fixed bench when hand-planing, chiseling, or repeatable clamping matters more than flexibility. Place it where the floor is sound and where anchoring will not damage utilities hidden in the wall or slab. Plan storage before filling the base; dense cabinets add useful mass, but they can also make future changes difficult. Fixed small workshop workbench placement deserves the most testing because moving it later may require disassembly.
Folding bench
A fold-down top suits a garage that still parks a vehicle, a utility room, or a narrow shed. The folded depth matters as much as the open depth. Check that legs or braces deploy without blocking the walkway and that stored items cannot prevent the bench from closing. Provide a positive lock in both the working and stored positions, and keep the wall area clear of wiring or plumbing before installing fasteners.
Mobile bench
A mobile bench can act as a compact hand-work station against a wall and roll outward for assembly. It needs a defined parking position so flexibility does not become clutter. Wheels should suit the total loaded weight and floor conditions, and the locking system must resist both rolling and swiveling when the bench is in use.
For readers building a rolling base, a researched set of dual-locking workbench casters may be useful because the product category is intended for carts, furniture, and workbenches. Confirm load capacity, mounting pattern, wheel diameter, floor clearance, and lock operation for your design. After installation, test the empty bench before adding tools, then retest it under normal load. Never plane, chisel, or route on a bench that shifts.
If you prefer a guided way to compare fixed and mobile zones, the Beginner’s DIY Workshop Planner can help you record room dimensions, tool locations, and the sequence of work before committing to a layout. Keep the plan practical: one dependable parked position is more valuable than endless theoretical flexibility.
Finalize Safety, Light, Power, Dust, and Storage
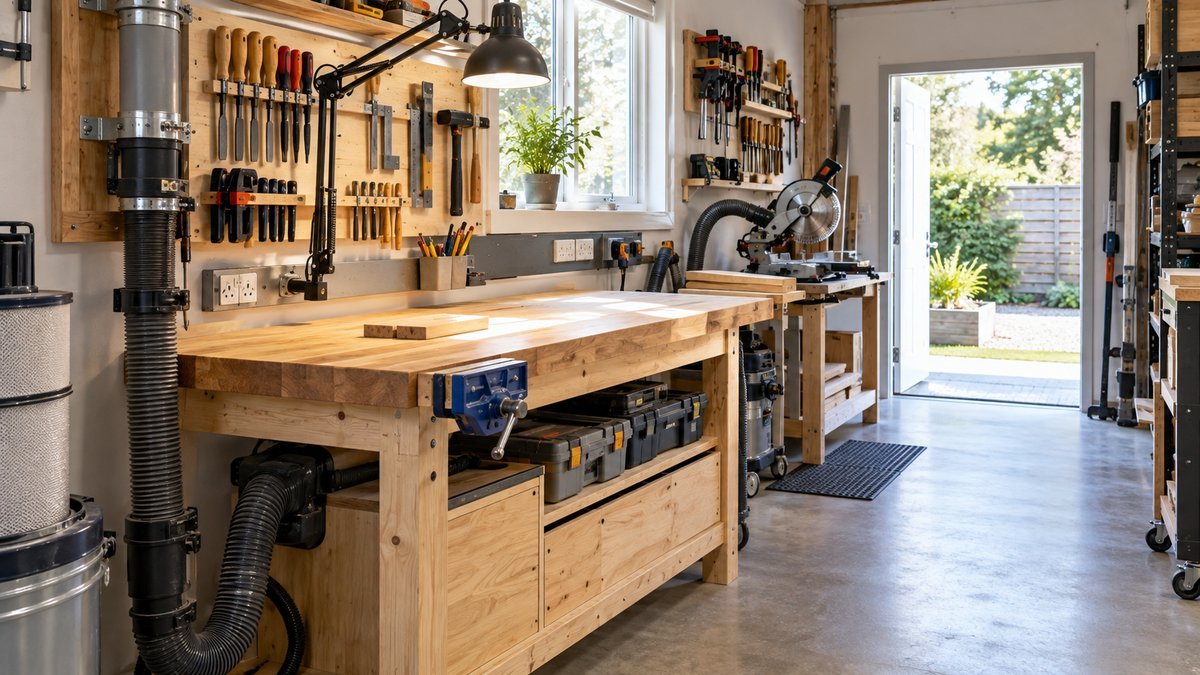
A promising location is not finished until the surrounding systems work. Review the position at the time of day you usually build. Switch on the task lights, plug in the tools you expect to use, connect dust collection, and place the clamps and waste bin where they would sit during a project. This final rehearsal turns small workshop workbench placement into a safe operating setup.
Light and electrical access
Use overhead lighting for general visibility and an adjustable task light for layout lines, joinery, and surface inspection. Side lighting often reveals scratches better than light directly above your head. Keep cords away from feet and sharp edges. Do not route permanent extension cords through pinch points or under a bench where damage is hard to see. If the location requires new outlets or circuits, consult a qualified electrician and follow local requirements.
Dust and cleanup
The bench should not trap a dust hose across the only walkway. Give portable extraction equipment a parked position, and leave enough access to sweep or vacuum beneath and behind the bench. Separate fine-dust tasks from clean assembly when possible. A practical overview of small shop dust collection options can help you decide whether the hose should approach the bench from a wall, ceiling, or mobile unit. Wear appropriate eye, hearing, and respiratory protection for the tool and material, and follow tool and extraction manufacturer guidance.
Tool storage without crowding the surface
Store frequently used light tools within easy reach, but keep the work surface and vise area clear. Heavy tools need secure shelves, cabinets, or hangers designed for their size and load. A researched heavy-duty wall-mounted power-tool organizer may be useful for a compatible garden or garage tool, but it should only be installed on a suitable structure with the correct fasteners and used within the product’s instructions. It is not a universal holder for every woodworking tool.
Before anchoring the bench, complete one final checklist:
- The entrance, exit, and door swings stay clear.
- Your longest normal stock can reach and leave the bench.
- The vise, clamps, and tool handles can operate fully.
- Lighting reveals layout lines without strong glare or shadows.
- Outlets, switches, cords, and dust hoses are accessible and protected.
- Stored tools do not create head hazards or overload the wall.
- A mobile or folding bench locks solidly before work begins.
- Cleanup access remains available after a project is underway.
If every item passes during a taped-floor trial, your small workshop workbench placement is ready to become permanent. If one item fails, adjust the bench before changing the rest of the shop. Small moves can recover a surprising amount of usable space.
Frequently Asked Questions
Should a workbench go against a wall or in the middle of a small workshop?
Against a wall usually preserves more floor area and supports wall-mounted storage, so it is a strong default for hand work and small projects. A center position gives better four-sided access for assembly but needs more circulation space. The right small workshop workbench placement depends on your main tasks, room width, and whether projects can remain on the bench without blocking the exit.
How much clearance should I leave around a workbench?
Leave enough space to stand, turn, operate clamps and tools, and move the stock you normally use without contacting a wall, machine, or doorway. There is no single clearance that fits every shop. Tape the footprint on the floor and rehearse real tasks. Include the length of boards and tool handles, not just your body width, when judging the space.
Can a workbench sit in front of a window?
It can, provided the bench does not block required egress, ventilation, or normal window operation. Protect tools and wood from moisture and direct weather exposure, and add task lighting so changing daylight does not control accuracy. A perpendicular position often captures side light while leaving the window usable. Check local safety requirements where a window serves as an emergency exit.
Should a workbench be the same height as a table saw?
Only if you intentionally plan to use the bench as outfeed support and the arrangement is safe. The top must not sit above the saw surface or catch the workpiece. A comfortable hand-tool or assembly height may differ from the machine height, so do not sacrifice your primary bench tasks for occasional outfeed. A removable support can solve the height difference.
Is a mobile workbench stable enough for woodworking?
It can be stable for many tasks when the base is rigid, the load is balanced, the wheels are correctly rated, and the locks prevent rolling and swiveling. Test it under realistic load before cutting or applying force. For heavy hand-planing or repeated chiseling, a fixed bench or retractable caster system may feel more secure than a bench resting permanently on wheels.
How can I test small workshop workbench placement before building or moving the bench?
Mark the proposed footprint with painter’s tape or cardboard. Place temporary boxes at the intended height, open nearby doors, carry a long board, and rehearse measuring, clamping, assembly, and cleanup. Repeat the test with other tools in their working positions. This mock-up is the fastest way to find conflicts before small workshop workbench placement becomes difficult to change.

Conclusion
The best bench location is not automatically the brightest wall or the center of the room. It is the position that supports your most frequent work, protects the main walkway, handles normal stock lengths, and connects logically with storage and tools. Good small workshop workbench placement also leaves room for light, power, dust collection, cleanup, and future changes.
Start with a measured plan, narrow the options to two positions, and test both with tape before anchoring anything. Choose a fixed, folding, or mobile format that matches how the room is actually used. When the bench remains stable and the shop still works with a project in progress, you have found the right small workshop workbench placement for your space.
Affiliate Disclosure
Affiliate Disclosure: This post contains affiliate links. If you purchase through these links, DIY Wood Haven may earn a commission at no additional cost to you.



Ready to Build Smarter?