Woodworking Project Budget: A Realistic Guide
A realistic woodworking project budget is not a single guess written beside a sketch. It is a short plan that connects the project’s size, materials, tools, supplies, mistakes, and finishing choices before money starts leaving your account. Beginners often price only the boards, then discover that hardware, sandpaper, glue, delivery, and a last-minute tool can double the total. The good news is that budgeting becomes much easier when you separate those costs and add them in the right order.
This guide shows you how to turn a project idea into a practical cost range, compare options without sacrificing safety, and keep enough flexibility for normal surprises. You will build a simple base estimate, add a sensible contingency, and track actual spending while you work. The method applies to a small shelf, a workbench, a cabinet, or most other budget woodworking projects. It also helps you decide when to buy, borrow, rent, simplify, or postpone a feature before it becomes an expensive problem.

1. Define the Project Before You Price It
The fastest way to lose control of a DIY woodworking budget is to price an idea that is still changing. Start with a written scope: what you are building, its finished dimensions, where it will be used, the expected load, and the level of finish. A garage storage shelf has different requirements from a dining-room cabinet, even if both use similar joinery. If the project must fit a specific space, confirm the opening, floor, wall, and clearance measurements before selecting materials.
Make a simple drawing and list the major parts. Include shelves, legs, panels, face frames, doors, drawers, backs, and trim. Then note which features are essential and which are optional. This creates a stable baseline. If the estimate comes in high, you can remove an optional drawer or change the finish instead of randomly cutting important costs. For a structured planning sequence, use this woodworking project planning guide before you build the budget.
Write down three numbers at this stage: your preferred budget, the maximum you can comfortably spend, and the amount you already own in usable materials or tools. Treat the maximum as a firm limit, not a target. If your preferred budget is $150 and your maximum is $200, design the project so the first estimate lands near $150. The remaining room protects you from price changes and small errors.
Also record the assumptions behind the woodworking project budget. Note whether dimensions are final, whether you will paint the project or leave it natural, whether you need delivery, and whether the design depends on hardware available locally. Assumptions turn a rough number into a plan you can review. If a price changes later, you can identify which decision caused the change instead of rebuilding the estimate from memory. This is especially useful when comparing two versions of the same project, such as a plywood cabinet with edge banding versus a solid-wood frame-and-panel design.

2. Estimate Lumber and Sheet Goods Accurately
Materials are usually the largest visible part of the woodworking project budget, but the shelf price is only the starting point. Build a cut list from your drawing, group parts by thickness and material, and calculate how many full boards or sheets you must buy. Stores sell stock in standard sizes, so the amount purchased will be larger than the amount that appears in the finished project.
Add a waste allowance to the woodworking project budget instead of assuming every cut will be perfect. Ten percent is often reasonable for simple projects using straight, clear stock. Fifteen to twenty percent may be safer when grain matching matters, boards have defects, parts are angled, or the project includes many small pieces. Sheet-goods layouts should also account for saw-kerf width and the direction of the face grain. A cutting diagram can reveal whether a small dimension change saves an entire sheet.
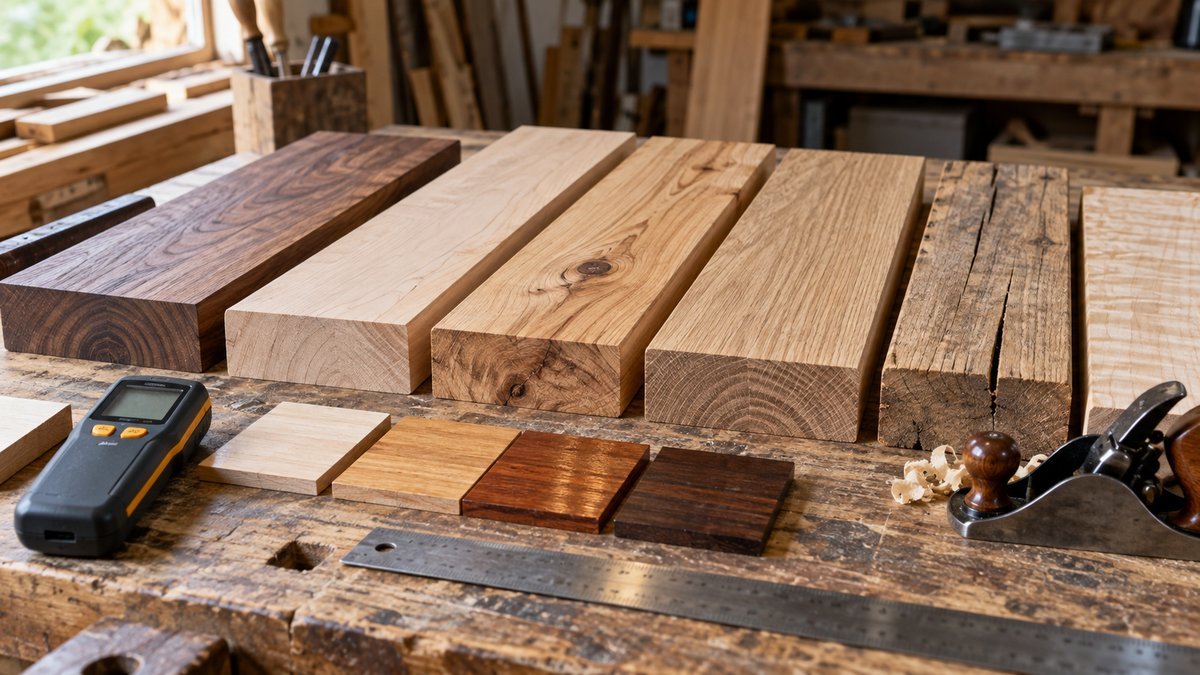
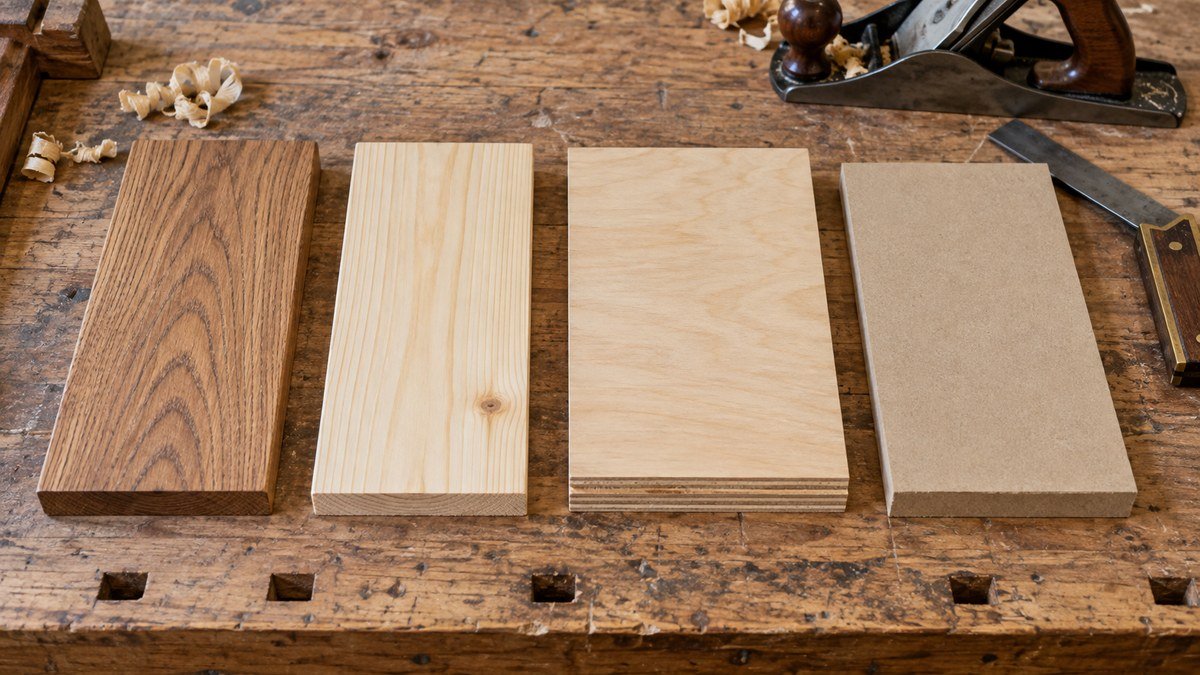
Compare suitable species rather than choosing by appearance alone. Pine or poplar may be economical for painted furniture, while plywood can reduce movement and simplify wide panels. Hardwood prices vary by grade, thickness, and local availability. This guide to types of wood can help you match cost, strength, appearance, and workability before purchasing.
Affiliate note: This section contains affiliate links.
For projects with tight-fitting parts, a digital caliper can help confirm actual board thickness, hardware diameter, and small offsets before you cut. A wood moisture meter may also be useful when you are buying unfamiliar lumber or building furniture that must remain stable indoors. Neither tool replaces good stock selection, but both can reduce the chance of wasting material because a measurement or moisture assumption was wrong.
Remember to include delivery, pickup, and minimum-purchase effects. A store may sell a board cheaply but charge more to deliver it than the board itself. A distant supplier may offer better lumber while adding fuel and travel time. If two stores quote different units, convert them before comparing: price per board foot for rough hardwood, price per linear foot for moulding, and price per full sheet for plywood. Keep taxes in the estimate as well, because the checkout total is the number your budget must cover.

3. Separate Tool Costs From Project Costs
A new tool can make one build easier, but charging its full price to a single woodworking project budget can distort the estimate. Create two columns: project-specific costs and workshop investments. A special router bit needed only for one decorative profile belongs in the project column. A drill, random-orbit sander, or combination square that you expect to use for years is better treated as a workshop investment.
For every missing tool, compare four choices: change the design, borrow it, rent it, or buy it. Changing the design is often the cheapest option. For example, you might adapt a project that calls for large mortises to screws and plugs if the change still meets the strength and appearance requirements. Borrowing works for occasional tools if you can inspect them and use them safely. Renting is practical for expensive equipment with a short period of use. Buying makes sense when the tool will support several planned projects and fits your available storage.
Do not choose a low-cost tool only because it lowers today’s estimate. Check whether it has the capacity, adjustment range, guarding, and accuracy the project needs. A poor tool can damage material and force you to buy a replacement, so it does not save money. If you are still assembling a basic kit, compare your needs with this beginner woodworking tool list and purchase in the order your projects actually require.
For cabinet boxes, frames, or small square assemblies, an adjustable corner clamp set can serve as a focused project aid when you do not already own enough suitable clamps. Confirm the jaw capacity and use it to hold alignment while the real joint, glue, or fasteners provide the strength.
When buying a workshop tool, spread the decision across the projects you genuinely expect to build, but do not use imaginary future savings to justify an unaffordable purchase. Write down the next three likely uses, the storage space required, and the accessories needed to operate it. A machine that needs a blade, dust fitting, mobile base, and dedicated electrical circuit costs more than the sticker price. If those supporting costs push the current build past your maximum, rent or borrow now and revisit the purchase after the project is complete.

4. Include Hardware, Consumables, Finishing, and Safety
Small items are where many beginner woodworking project budget plans fail. A project may need screws, bolts, hinges, drawer slides, shelf pins, knobs, glue, filler, sandpaper, rags, masking tape, brushes, finish, and cleanup supplies. These purchases seem minor one at a time, but together they can rival the lumber cost. Add them as individual lines whenever possible rather than hiding them under a vague supplies total.
Estimate quantities from the plan. Count hinges and handles, determine the screw type and length, and check the coverage stated on the finish container. If you must buy a full package, enter the package price, not the value of the few pieces used. Leftovers may reduce the next project’s cost, but they still affect the cash required today.
Finishing costs can change the woodworking project budget because they depend on the desired appearance and the condition of the wood. A clear oil finish may need fewer supplies than a painted surface that requires filler, primer, paint, and extra sanding. Test the finish on a scrap from the project before committing. A small test can prevent the much larger expense of stripping or refinishing the completed piece.
Safety equipment is part of the build cost, not an optional extra. Budget for eye, hearing, and dust protection appropriate to the tools and finish you will use. If you need basic splash and dust protection for routine shop tasks, these work safety glasses are one researched option; check fit, lens condition, and applicable safety markings before relying on any protective product. Replace damaged protection rather than stretching the budget by continuing to use it.
Consumables should be checked against what is actually usable in the shop. A bottle of glue that has frozen, hardened finish, clogged sandpaper, or incorrect screw lengths should not be counted as available inventory. Inspect supplies before finalizing the estimate and label anything reserved for another job. This prevents the common situation in which a budget looks complete on paper but the build stops because an old product cannot be used. It also reduces duplicate purchases when you keep a short inventory beside your project list.

5. Add Contingency and Test the Total
Once the base estimate is complete, add a contingency for normal uncertainty. For a familiar, well-documented project, 10 percent may be enough. For a first-time build, reclaimed material, a complicated finish, or an uncertain design, 15 to 20 percent is more realistic. Contingency is not a license to add features. It is a reserve for a damaged board, an extra delivery fee, a missing fitting, or another issue you could not reasonably price in advance.
Use three totals: base estimate, expected total, and maximum total. The base estimate includes all known costs. The expected total is the base plus contingency. The maximum total is your personal spending limit. If the expected total exceeds the maximum, revise the scope before buying anything. You might use a less expensive species, reduce dimensions, simplify hardware, choose a wipe-on finish, or schedule a later phase.
Avoid removing safety equipment, structural material, or necessary fasteners to force the number down. Those changes create risk rather than value. Cut decorative extras, premium hardware, complex joinery, or nonessential storage first. A smaller well-built project is usually more satisfying than a larger project that stalls halfway through because the money ran out.
Sample Budget for a Small Wall Shelf
| Category | Base estimate | Planning note |
|---|---|---|
| Lumber and sheet goods | $55 | Includes 15% waste |
| Hardware | $18 | Brackets, screws, anchors |
| Consumables | $14 | Glue and sandpaper |
| Finish | $16 | Small can plus applicators |
| Tool or rental cost | $0 | Use existing tools |
| Base total | $103 | Known costs |
| 15% contingency | $15.45 | Round to $16 |
| Expected total | $119 | Below a $140 maximum |

6. Track Spending and Close the Budget
A woodworking project budget is useful only if you update it. Save receipts and record each purchase under the same categories used in the estimate. Enter the planned amount, actual amount, and difference. This makes overspending visible early, while there is still time to adjust a later choice. It also creates real data for your next project.
Review the budget at three points: before buying materials, after milling and dry fitting, and before finishing. The first review confirms that the project is affordable. The second catches replacement material or hardware changes. The third ensures that finish and final assembly supplies are still covered. Use a woodworking project checklist so you review the woodworking project budget alongside the physical build rather than after you spend the money.
When the project is complete, record the final total and note why important differences occurred. Separate avoidable mistakes from reasonable changes. If you bought a reusable tool, record it as a workshop investment so the next project is not charged for it again. If a package of hardware or finish remains, note the quantity for future planning.
For a reusable way to organize scope, cut lists, tools, purchases, and build notes, the Beginner’s DIY Workshop Planner can keep the project plan and spending record together. The goal is not perfect prediction. It is making informed decisions early enough that cost does not control the project later.
Frequently Asked Questions
How much contingency should I add to a woodworking project budget?
For a straightforward project using familiar materials, start with about 10 percent. Use 15 to 20 percent for a first-time build, uncertain lumber, complex joinery, or a finish you have not used before. The more unknowns in the plan, the larger the reserve should be.
Should I include tools in the project cost?
Include rentals and project-specific cutters, jigs, or accessories in the project budget. Treat a durable tool that will support many future builds as a workshop investment, but still include its purchase in your cash-flow plan so you know what must be paid now.
How do I estimate lumber waste?
Use about 10 percent for simple straight cuts from good stock. Increase the allowance to 15 or 20 percent when defects, grain matching, angled parts, or complicated sheet layouts reduce usable material. Make a cut diagram before purchasing sheet goods.
What should I cut first if the estimate is too high?
Remove or postpone optional features, premium hardware, decorative details, and complicated finishing steps. Do not reduce structural strength or eliminate necessary safety equipment. Recheck dimensions and material choices before changing the essential function.
Is a cheap material always the best budget choice?
No. A lower purchase price can be offset by extra milling, defects, movement, poor finish results, or replacement pieces. Choose the least expensive material that still meets the project’s strength, stability, appearance, and workability requirements.
How can I budget when local prices change often?
Price the exact quantities shortly before buying, record the date of each quote, and use a range rather than one perfect number. Keep the contingency separate and avoid purchasing optional items until you secure the essential materials.
Conclusion
A dependable woodworking project budget starts with a stable scope, a measured cut list, and separate categories for materials, tools, hardware, consumables, finishing, and safety. Add realistic waste, compare buy-borrow-rent choices, and protect the plan with a contingency that matches the project’s uncertainty. Then track actual spending at key build stages so a small overrun does not become a surprise at the end.
The best woodworking project budget is not necessarily the lowest one. It is the amount that lets you complete a safe, useful project without compromising essential materials or running out of money halfway through. Start with a simple project, keep the final numbers, and use what you learn to make the next estimate faster and more accurate.
Before you purchase anything, read the estimate once from top to bottom and confirm that every line supports the finished project. That final pause is often where you catch a missing hinge, an unrealistic waste allowance, or a tool you can borrow instead of buying.
Affiliate Disclosure: This post contains affiliate links. If you purchase through these links, DIY Wood Haven may earn a commission at no additional cost to you.



Ready to Build Smarter?