
Woodworking Shop Electrical Outlets: Planning Guide
Woodworking shop electrical outlets should be planned around your actual tools, work zones, lighting, dust collection, and future needs—not simply around how many receptacles fit on each wall. A shop can have a large outlet count and still be frustrating—or unsafe—if receptacles are in the wrong places or share an overloaded circuit. The goal is to create a practical layout without making extension cords part of the permanent setup.
For many one-person shops, a practical starting point is one duplex receptacle every 4 to 6 feet along usable walls. Add dedicated connections where stationary machines, a dust collector, heater, air conditioner, or compressor require them. This spacing is a planning guideline, not an electrical-code prescription. A qualified electrician and the authority having jurisdiction must confirm circuit capacity, voltage, receptacle type, GFCI/AFCI protection, mounting method, and local requirements.
This guide turns woodworking shop electrical outlets into a layout problem you can solve on paper before requesting electrical work. You will inventory loads, map work zones, separate outlet quantity from circuit quantity, reduce cord hazards, and prepare a clear brief for an electrician. If you are still arranging the room, review this small woodworking shop setup guide first so power follows the workflow rather than fighting it.
1. Inventory Tools and Real Power Demand
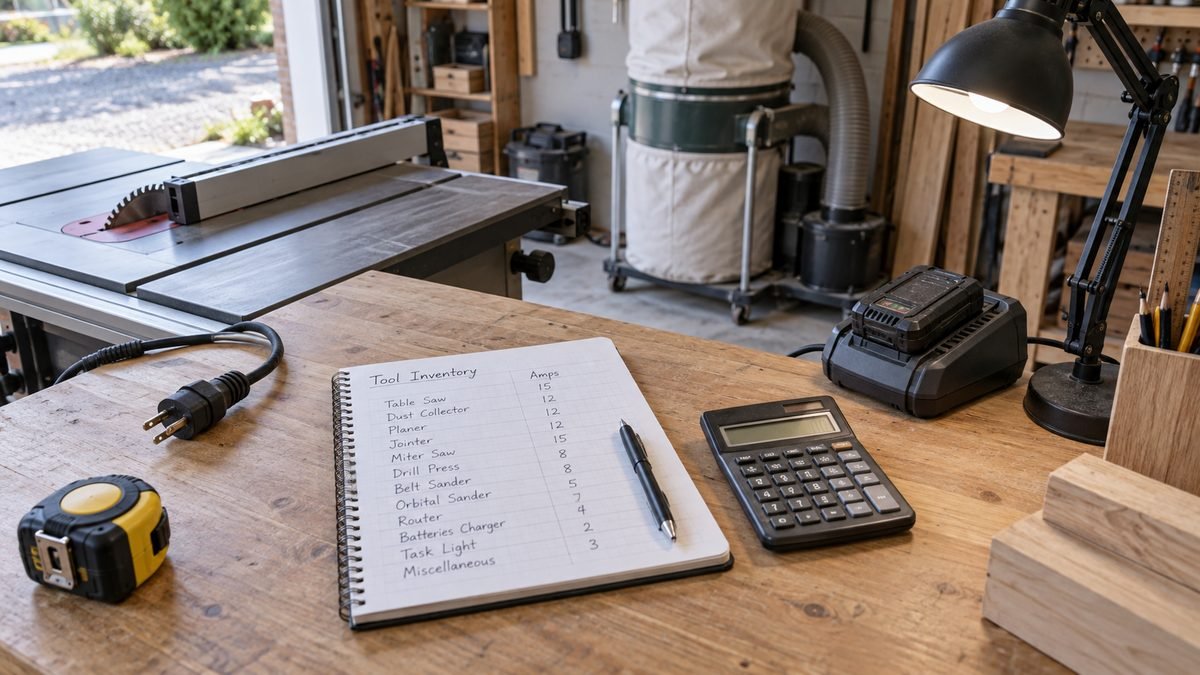
Begin with a tool list rather than a receptacle count. Record every machine you expect to use now, every likely upgrade, and all background loads. Include the table saw, miter saw, planer, jointer, bandsaw, router table, drill press, chargers, task lights, shop vacuum, dust collector, heater, dehumidifier, air conditioner, compressor, radio, and computer. The goal is to see which woodworking shop electrical outlets serve intermittent tools and which loads may run for long periods. This is the foundation of a defensible woodworking shop electrical outlets plan.
Read each nameplate and note voltage, rated current, and any manufacturer instructions about a dedicated circuit. Do not estimate a machine’s electrical needs from horsepower alone. Starting current can be much higher than running current, and two devices that look modest on paper may trip a breaker when they start together. Dust collection is the classic example: it often runs at the same time as the cutting tool, so those two loads belong in the same-use scenario even if they sit on opposite walls.
Identify Simultaneous Loads
Make a simple concurrency table. In one column list the primary machine; in the next list everything that operates with it. A table saw might pair with dust collection and task lighting. A finishing session might pair ventilation, lights, and a small heater. This exercise makes woodworking shop electrical outlets measurable: you are planning combinations of loads, not collecting sockets.
Separate movable benchtop tools from fixed machines. Chargers and sanders can share conveniently placed general-use receptacles when circuit capacity allows. A large dust collector or 240-volt machine may require a purpose-designed connection. If you are still deciding what belongs in the first shop, the beginner woodworking tool list can help you avoid planning outlets for equipment you do not actually need.
Create a future-load line too. A blank space for a larger saw, mini split, or additional dust collector is cheaper to consider before walls are finished. Future capacity does not mean installing unsupported equipment yourself; it means telling the electrician where growth is likely so the service, panel space, raceway, and circuit plan can be assessed together.
2. Turn the Shop Layout Into Outlet Zones
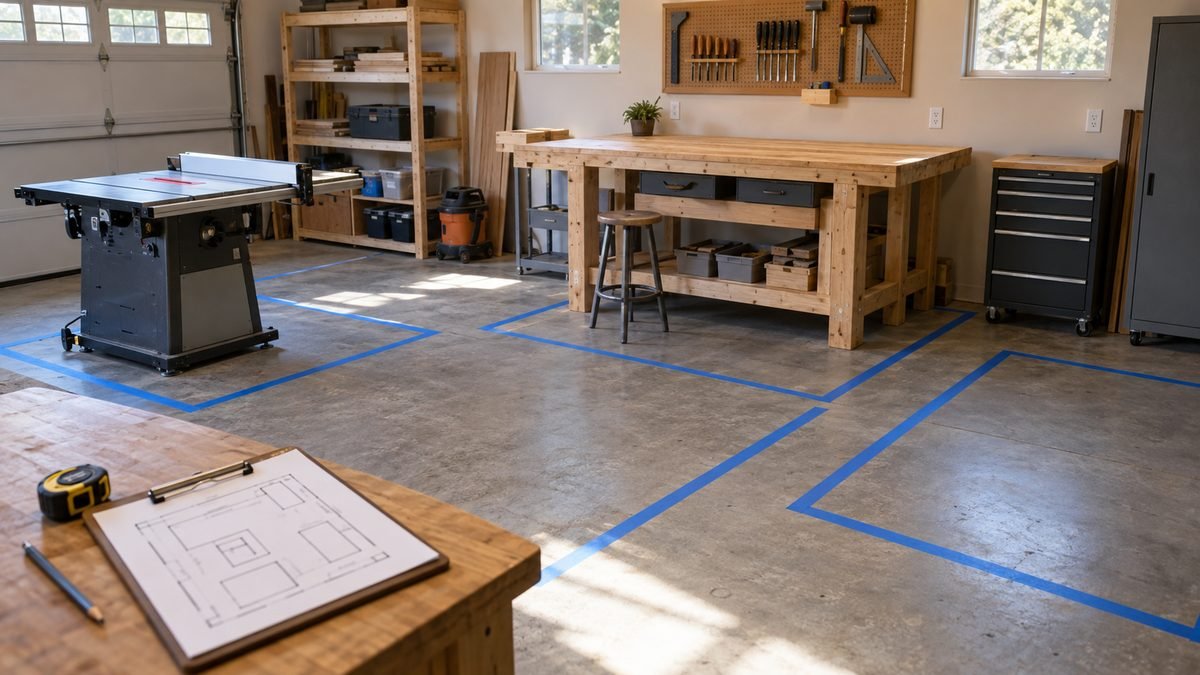
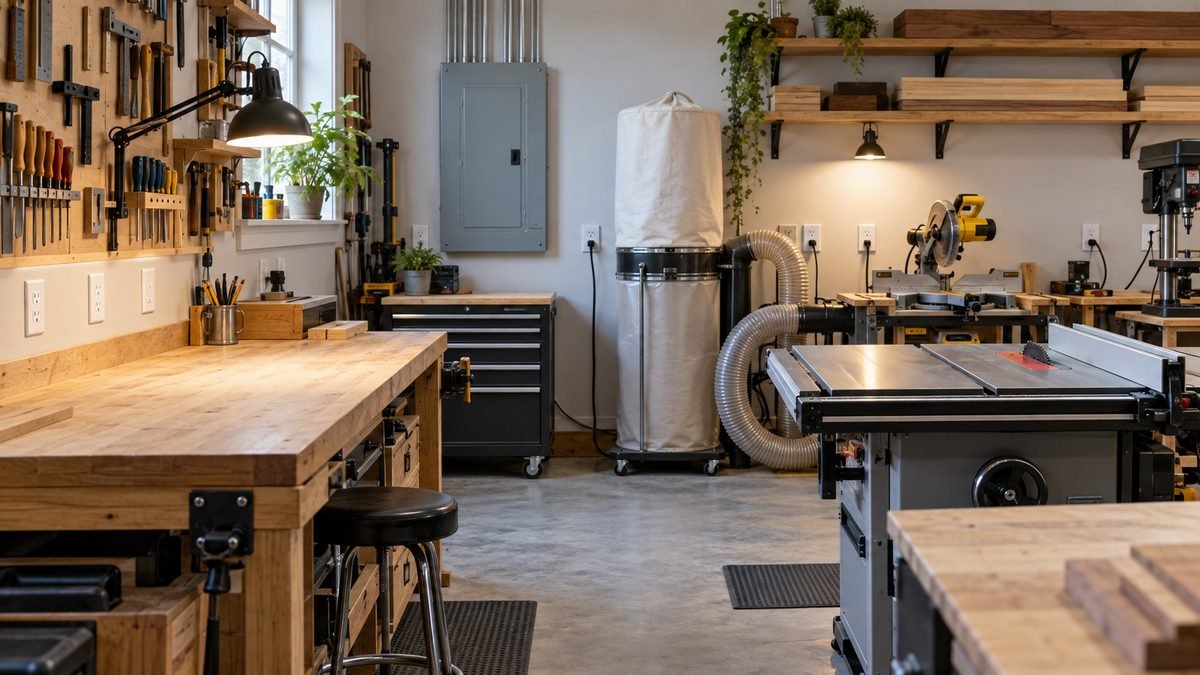
Draw the room to scale and divide it into work zones: milling, cutting, assembly, sanding, finishing, sharpening, charging, storage, and dust collection. Mark doors, windows, garage-door tracks, studs, cabinets, and the parking envelope. Good woodworking shop electrical outlets are reachable after benches and machines are installed—not merely visible on an empty wall. Map woodworking shop electrical outlets only after the major footprints are fixed.
Plan Wall and Island Outlets
For wall zones, a receptacle every 4 to 6 feet is a useful design heuristic because it reduces the temptation to stretch cords across aisles. Add a receptacle at each fixed bench end and near the center of long benches. Mounting height should suit the bench and local requirements; many woodworkers prefer receptacles above benchtop height where plugs remain visible and sawdust is easier to notice, but your electrician must decide the compliant installation.
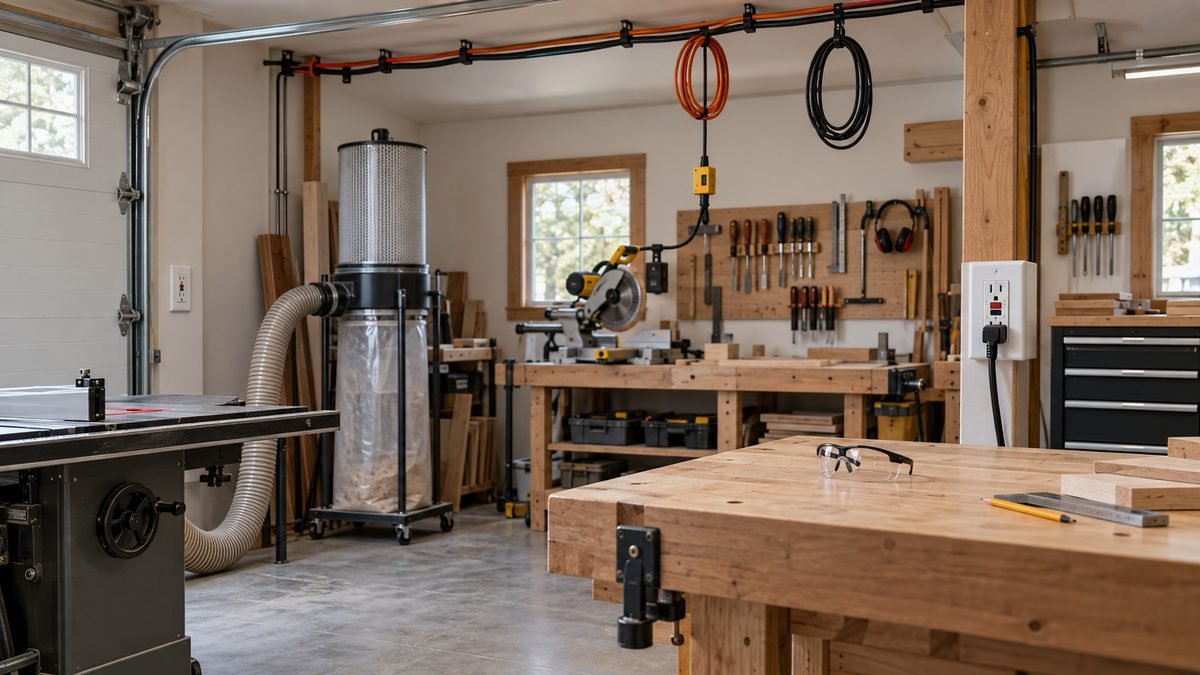
For island machines, do not assume the nearest wall outlet is close enough. Explore an approved ceiling drop, floor box, overhead cord arrangement, or a revised machine position with the electrician. A floor box can create a dust and moisture concern if it is poorly selected or placed. A ceiling solution can keep cords out of walkways, but cable support, strain relief, reach, and tool movement still need planning.
Small garages have an extra constraint: the shop must often return to parking mode. Use the one-car garage workshop layout to mark the car path, folding benches, and mobile-machine storage. Then place woodworking shop electrical outlets where a parked vehicle will not crush cords or block access to disconnects.
Number each planned receptacle on the drawing and give it a zone label, such as W1 for the west-wall bench or M2 for the second milling connection. The labels become a shared language with your electrician and later help you test the finished installation.
3. Plan Circuits Separately From Outlet Count
A receptacle is an access point; a circuit is the path that supplies power. Adding more woodworking shop electrical outlets to one circuit improves convenience but does not create more capacity. This distinction prevents the common mistake of installing a long row of receptacles and expecting every high-demand tool to run simultaneously. Therefore, woodworking shop electrical outlets and circuits must be counted separately.
Separate General and Dedicated Loads
Group loads by realistic use. General bench receptacles may form one group, lighting another, and dust collection another. Stationary machines with manufacturer requirements or high starting current may need dedicated circuits. Heating, cooling, compressors, and battery charging deserve separate consideration because they can operate while a cutting tool is running. Keep lighting independent enough that a tool trip does not suddenly leave a spinning machine in darkness.
Voltage is part of the plan. Some machines can be configured for more than one voltage, while others cannot. Never change plugs, breakers, or internal wiring based on an online chart alone. The electrician should verify the equipment nameplate, conductor size, overcurrent protection, receptacle configuration, grounding, service capacity, and applicable local code.
When evaluating woodworking shop electrical outlets, count simultaneous loads rather than theoretical maximums. A one-person shop usually cannot operate two hands-on machines at once, but a dust collector, heater, charger, and lights can all run in the background. Write down the worst credible combination and let the electrician calculate the required circuits and any service changes.
Leave room in the plan for troubleshooting. A clear panel directory and zone labels are more valuable than a mystery collection of breakers. After professional installation, a circuit-mapping tool may help identify which breaker controls a receptacle, but only use equipment that matches your system voltage and instructions. The 220-volt breaker finder in this article’s research was therefore not selected for a US-focused recommendation.
4. Choose Practical Outlet Locations
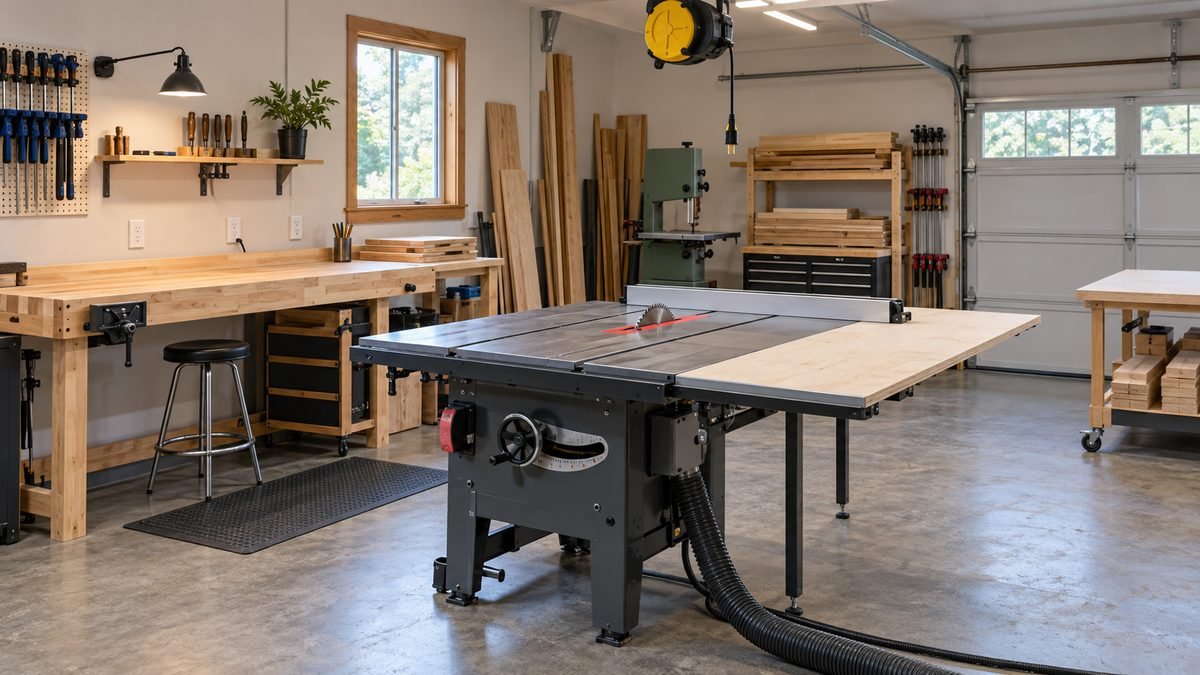
Place receptacles near the work, but not where stock, clamps, doors, or dust hoses will strike plugs. At a miter station, allow for long-board travel. At an assembly bench, keep cords away from clamp handles and glue squeeze-out. Around a table saw, preserve infeed and outfeed paths. The best woodworking shop electrical outlets are easy to reach while the operator remains in a stable position.
Avoid hiding all receptacles behind fixed cabinets. If a connection must be behind equipment, make sure the required disconnect remains accessible and the cord is not pinched. Add general-use receptacles to open wall areas for vacuums, task lights, and temporary tools rather than borrowing a machine’s dedicated connection.
Think About Outlet Height and Accessibility
Think vertically. High receptacles can serve ceiling-mounted filters, garage-door accessories, or retractable cords; mid-height receptacles can serve benches; low locations may serve selected stationary equipment. Each height has tradeoffs involving reach, dust, impact, and cord routing. Ask the electrician to select boxes, covers, and devices rated for the location and environment.
Affiliate note: This section contains affiliate links.
For a flexible work area, a retractable extension cord reel can be useful for keeping temporary power above the floor. Verify the plug type, voltage, current rating, conductor size, listing or certification, and total connected load for your location before purchase. A reel does not replace permanent woodworking shop electrical outlets, and high-load tools should follow the machine manufacturer’s and electrician’s circuit recommendations.
If your shop is extremely compact, compare the outlet map with this 8×8 woodworking shop layout. A tiny floor plan makes reach and cord clearance more important, not less.
5. Add Electrical Protection and Safe Cord Management
Workshop wiring exists in a harsh environment: sharp edges, vibration, dust, moving stock, and occasional moisture. GFCI protection helps reduce shock risk, but the locations and protection methods required vary by jurisdiction and installation. CPSC explains that ground-fault circuit interrupters help protect people from electric shock. Ask your electrician where GFCI and AFCI protection apply and how nuisance trips will be handled without compromising safety around woodworking shop electrical outlets.
Manage Extension Cords Safely
Inspect cords and plugs before use. OSHA guidance says portable cord-and-plug equipment should be visually inspected, and damaged equipment should be removed from service. OSHA also warns against damaged cords and routing that creates hazards; see its guidance on flexible cords and portable power tools. These workplace sources are useful safety references even though your home shop’s legal requirements may differ.
Do not staple extension cords, run them through walls or doorways as permanent wiring, or bury connections under dust. Keep cords away from heat, oil, sharp edges, and cutting paths. OSHA’s construction rule also emphasizes keeping walkways clear and not using worn or frayed cords; the rule text is a good reminder that cord management is part of the electrical plan.
A non-contact tester can be a convenient preliminary awareness tool near woodworking shop electrical outlets. This non-contact voltage tester may help identify the possible presence of AC voltage when used exactly as instructed. It must never be treated as proof that a circuit is de-energized, and it does not authorize DIY electrical work. Confirm the tester on a known live source before and after use, and leave verification and wiring work to a qualified professional.
Dust-control equipment affects electrical safety too. Keep collection hoses from pulling on plugs and avoid sharing a high-demand cutting tool and collector without a verified circuit plan. If you are refining that system, see these affordable small-shop dust collection options and add the chosen collector to the simultaneous-load table.

6. Test the Plan and Prepare an Electrician Brief
Before requesting quotes, stage the shop with painter’s tape or cardboard footprints. Walk through a typical project: bring in lumber, mill it, cut joinery, assemble, sand, and finish. At every step, point to the woodworking shop electrical outlets you would use. If a cord crosses an aisle, passes under stock, or cannot reach without tension, revise the layout. This walkthrough is the fastest way to catch poorly placed woodworking shop electrical outlets.
Create an Electrician Brief
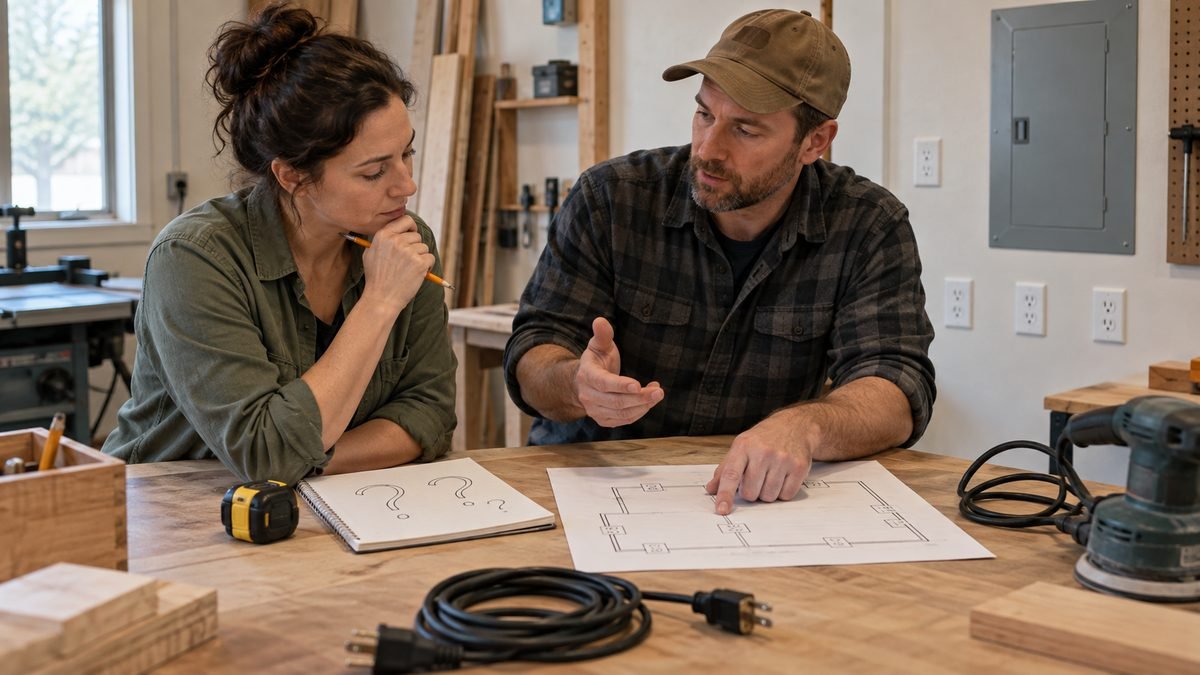
Prepare a one-page brief for the electrician. Include the scaled floor plan, receptacle labels, machine list, nameplate photos, expected simultaneous loads, lighting plan, dust-collection position, heating or cooling equipment, and future tools. Note wet or exterior-adjacent locations and any finished walls. Ask for decisions to be documented: circuit assignment, voltage, protection type, box and cover type, mounting height, and panel labels.
Do not prescribe breaker sizes or conductor sizes unless you are qualified to do so. Your job is to describe how the shop will operate. The electrician’s job is to evaluate the existing service, calculate loads, select compliant materials, obtain permits where required, and perform or supervise the work.
After installation, test the workflow again with the electrician’s instructions. Confirm that labels match, plugs fit securely, cords do not obstruct guards or walkways, and lighting remains available when a tool circuit is off. If anything is unclear, stop and ask for correction before putting the shop into regular use.
A written plan is also useful when the shop changes. For a quick project-planning aid, download the free Weekend DIY Project Checklist. The Beginner’s DIY Workshop Planner can help organize zones, tools, storage, and future upgrades. For a more comprehensive commercial planning resource, Ultimate Small Shop may be useful, but it is optional and separate from the AliExpress recommendations. Revisit woodworking shop electrical outlets whenever you add a major machine or change the layout.
Frequently Asked Questions
How many outlets should a small woodshop have?
There is no universal number. Start with a receptacle every 4 to 6 feet along usable walls, then add locations for benches, stationary machines, dust collection, and overhead needs. The correct woodworking shop electrical outlets plan depends on tool loads, simultaneous use, voltage, circuit capacity, room layout, and local code.
Can all shop outlets be on one circuit?
Usually that is a poor planning assumption. Several outlets can share a circuit, but additional receptacles do not add capacity. A saw and dust collector may run together, while heating, cooling, lighting, or a compressor may operate in the background. Ask an electrician to calculate realistic concurrent loads and determine circuit separation.
Should every stationary tool have a dedicated circuit?
Not automatically. Follow the machine manufacturer’s instructions and the electrician’s load calculation. Some high-demand, continuous, or 240-volt equipment may need a dedicated circuit; smaller tools used one at a time may not. The decision belongs in the electrical design, not a blanket internet rule.
Are ceiling outlets useful in a workshop?
They can be useful for retractable cords, air cleaners, or central work areas because they reduce floor crossings. They must still be properly located, supported, protected, and rated. Do not use a ceiling cord as a substitute for permanent wiring where a fixed woodworking shop electrical outlets solution is appropriate.
How high should workshop outlets be mounted?
There is no single ideal height for every wall. Many builders like receptacles above bench height for visibility and access, while machine connections may be lower or higher. Cabinets, backsplash materials, dust, impact risk, accessibility, and local requirements all matter. Coordinate the height with the final bench plan and electrician.
Can I install the outlets myself?
Electrical work can cause shock, fire, or equipment damage and may require permits and inspection. Rules vary by location. Unless you are legally authorized and competent for the work, use a licensed or otherwise qualified electrician. Even if DIY work is permitted, obtain the required approval and inspection.

Conclusion
The right answer is not a magic outlet count. A reliable woodworking shop electrical outlets plan starts with tools and simultaneous loads, translates the layout into reachable zones, and then lets a qualified electrician determine circuits, protection, voltage, and compliant installation.
Use the 4-to-6-foot wall spacing only as a convenience check. Add purpose-planned locations for benches, stationary machines, dust collection, overhead needs, and future growth. Keep lighting resilient, keep cords out of walkways, and never confuse more receptacles with more electrical capacity.
When the plan is labeled and tested against a real workflow, your electrician can quote the work more accurately and you are less likely to rely on permanent extension cords later. Revisit woodworking shop electrical outlets whenever the shop gains a major machine or changes layout.
Affiliate Disclosure
This article contains affiliate links. If you purchase through an AliExpress or other affiliate link, DIY Wood Haven may earn a commission at no additional cost to you. Recommendations are selected for relevance to the task, but product specifications, plug types, certifications, prices, availability, and suitability can change. Verify every electrical product against your local voltage, code, installation, and safety requirements before buying or using it.




Ready to Build Smarter?