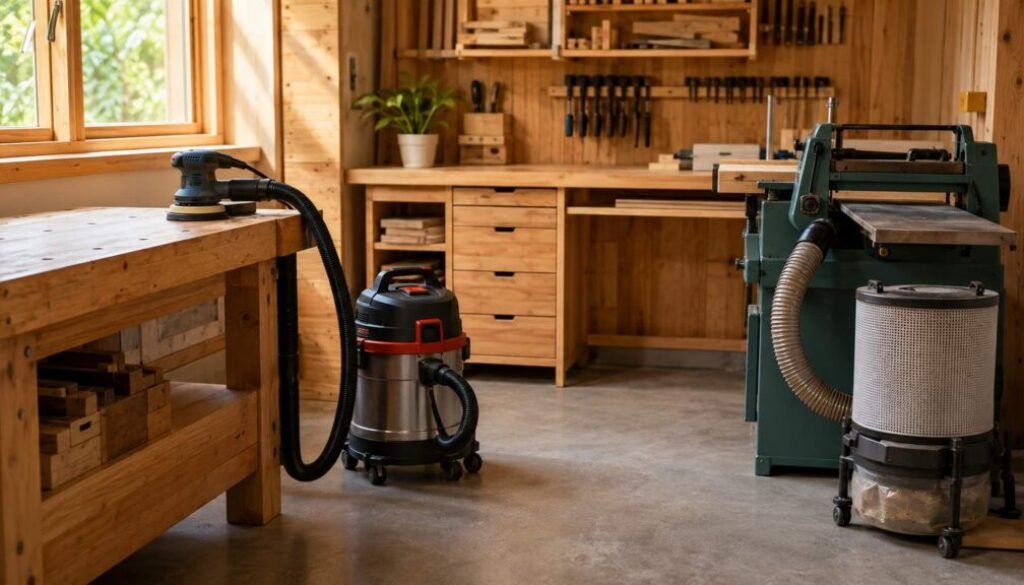
Small Shop Dust Collection: 7 Affordable Options
A good small shop dust collection plan starts at the tool, not with a machine advertised as a complete solution. Chips are easy to see, but the finer dust that escapes into the room is the greater reason to improve capture, cleanup, and work habits.
For a beginner, “affordable” should mean matched to the tools you use—not simply the lowest purchase price. A shop vacuum may work well with a sander’s small port, while a machine that moves a larger volume of chips may need a collector designed for a larger connection. An ambient air cleaner can reduce escaped particles, but it does not replace source capture.
This guide compares seven practical options, explains where each fits, and shows how to build a system in stages. Before changing guards, ports, electrical connections, or filters, follow the equipment manufacturer’s instructions. If you cannot confirm a safe and compatible setup, pause and get qualified help.
Understand Dust Collection Before Choosing Equipment
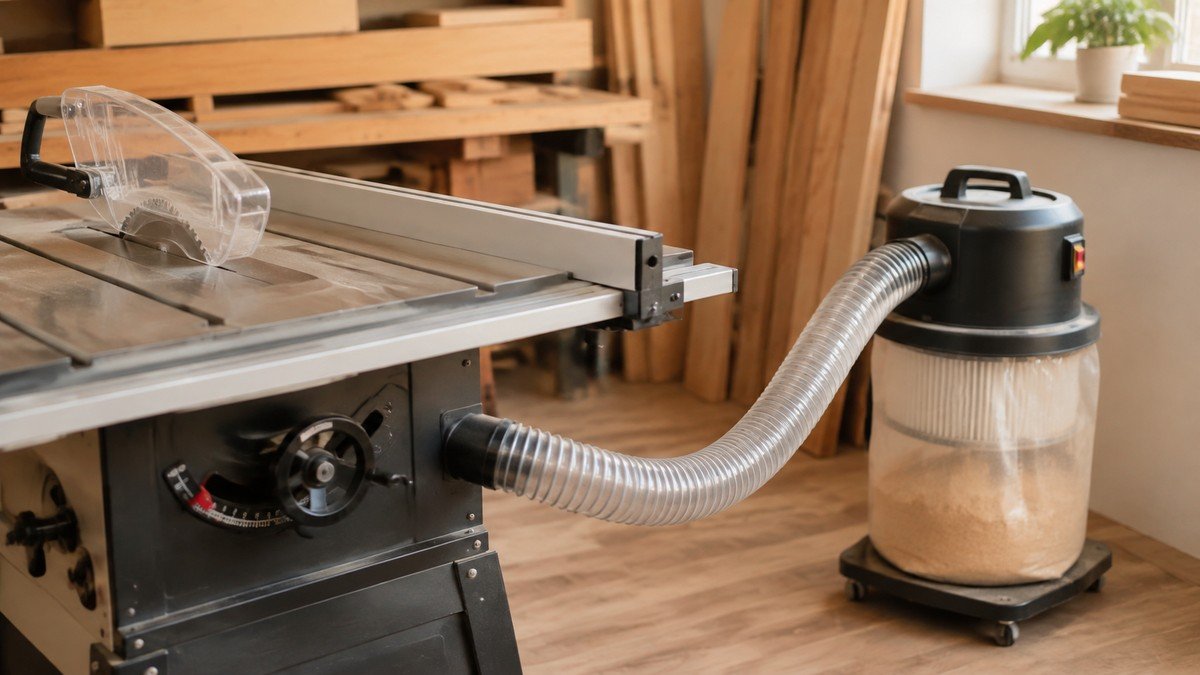
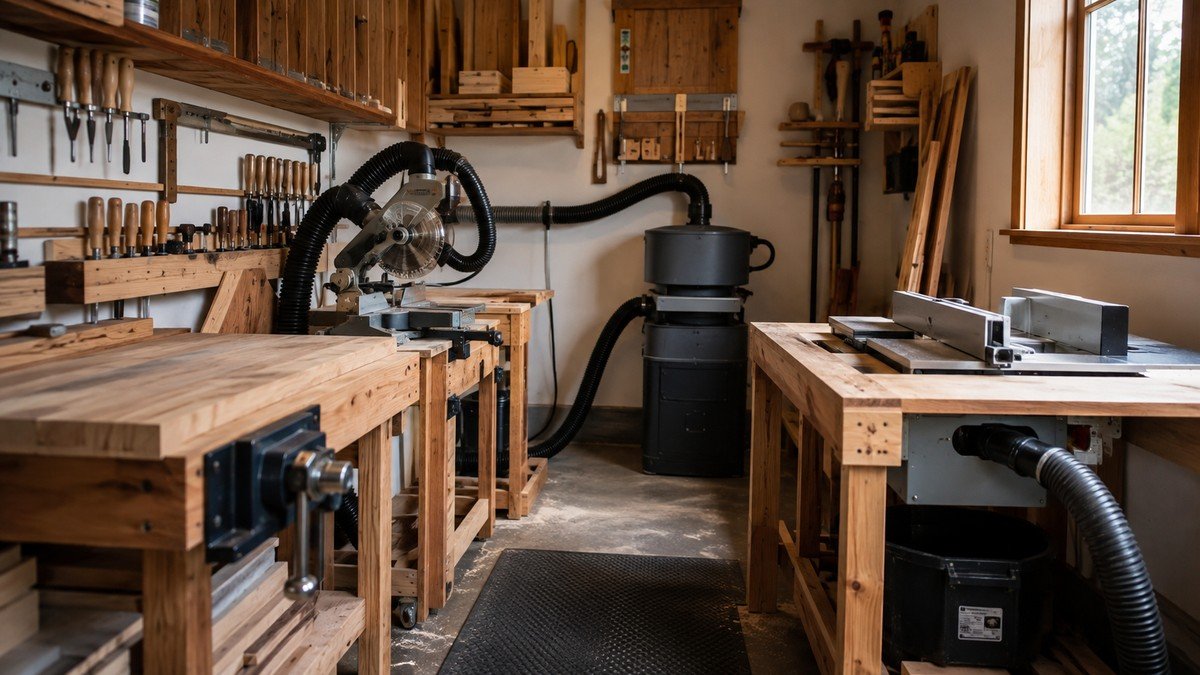
Dust control is a system: a hood captures debris near its source, a hose transports it, a separator or collector removes material from the airflow, and a filter retains smaller particles before air returns to the space. Weakness at any point can reduce the value of the whole setup.
Match the Collector to the Tool
Small-port handheld tools generally need concentrated suction through a relatively narrow hose. Sanders, track saws, and some routers often fall into this category. Larger stationary machines may use wider ports because they produce more chips and need greater airflow. A powerful shop vacuum does not automatically behave like a high-volume dust collector, and a large collector connected through a tiny hose may not perform as expected.
Start with the tool manual. Record the port size, compatible extraction guidance, and any restrictions on adapters. Keep hoses as short and straight as practical. Every unnecessary bend, constriction, corrugated section, or leaking joint adds resistance. Do not remove a guard or alter a safety feature just to improve hose access.
Placement matters in a compact shop. The 8×8 workshop layout guide can help you reserve room for the tool, operator, material path, and extraction hose rather than treating the collector as an afterthought.
Treat Fine Dust as a Health and Fire Hazard
Wood dust can irritate the eyes, skin, and respiratory system, and occupational exposure has been associated with more serious health effects. OSHA’s wood-dust guidance identifies engineering controls, typically local exhaust ventilation with collection near where dust is produced, as the preferred approach.
Dust also creates housekeeping and fire concerns. Keep it away from ignition sources and electrical equipment, and follow applicable instructions for the collector and work area. OSHA warns against blowing accumulated dust with compressed air, because the practice can create a hazardous dust cloud. Use suitable vacuuming or other controlled cleanup instead.
Respiratory protection may still be appropriate when exposure remains, but a respirator is not a substitute for capture and safe work methods. Select, fit, use, and maintain protection according to its instructions and the hazards involved.
Options 1–2: Shop Vacuum and Dust Extractor
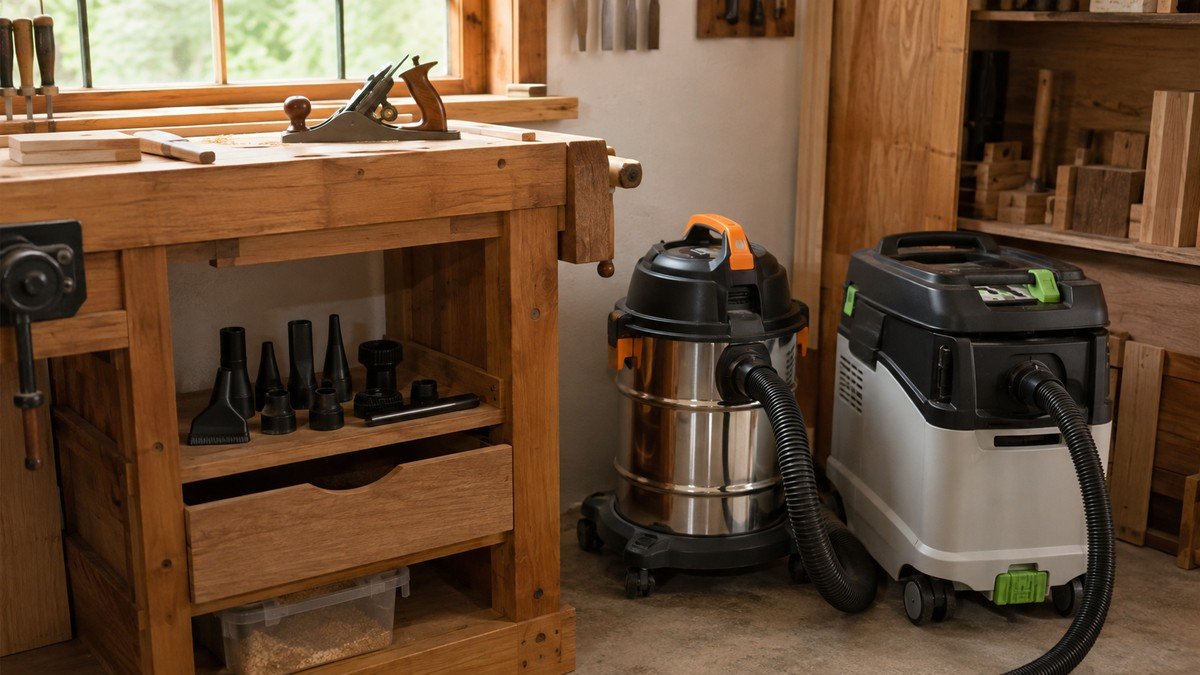
These two choices are commonly suited to handheld tools and compact workstations. Their value depends on filtration, sealing, hose compatibility, maintenance, and how well the hood captures dust at the point of creation.
1. Shop Vacuum with Suitable Filtration
A shop vacuum is often the simplest first step for a small workshop. It is portable, can connect to many small tool ports with the correct adapter, and can handle controlled cleanup. Use only filters and collection bags intended for that vacuum and the material being collected.
A bag can keep much of the debris away from the main filter and make disposal cleaner. A suitable filter matters because visible chips are not the only concern. Check the vacuum’s instructions rather than assuming that any aftermarket filter provides a particular level of performance.
Limitations include noise, small container capacity, and filter loading. A vacuum may struggle with a machine that produces a large volume of chips through a wide port. Do not connect it to hot debris, sparks, liquids, or hazardous material unless the manufacturer explicitly allows that use.
Keep the hose out of the walking route. A short overhead support or bench-edge guide can reduce trips without sharply bending the hose. If the vacuum moves between tools, give adapters and the cord a dedicated storage point so setup remains quick.
2. Compact Dust Extractor
A dust extractor is usually designed around tool-connected work and may offer features such as automatic tool activation, controlled suction, filter-cleaning functions, or better hose management. Actual features vary, so compare the current manuals rather than relying on the category name.
This option can be useful for frequent sanding, routing, or portable cutting where a compact unit follows the tool. Confirm electrical compatibility before using an automatic outlet; the connected tool must remain within the extractor’s stated limits.
An extractor still depends on the tool hood and connection. NIOSH’s table-saw guidance illustrates why traditional collection from only one location may fail to capture fast-moving dust. The broader lesson is to evaluate where debris leaves the tool and use manufacturer-approved capture points.
A compact extractor costs more than a basic vacuum in many markets, but price should not be the only comparison. Consider available filters and bags, replacement cost, noise, capacity, hose fittings, service support, and whether its capabilities match your present tools.
Options 3–4: Cyclone Separator and Portable Collector
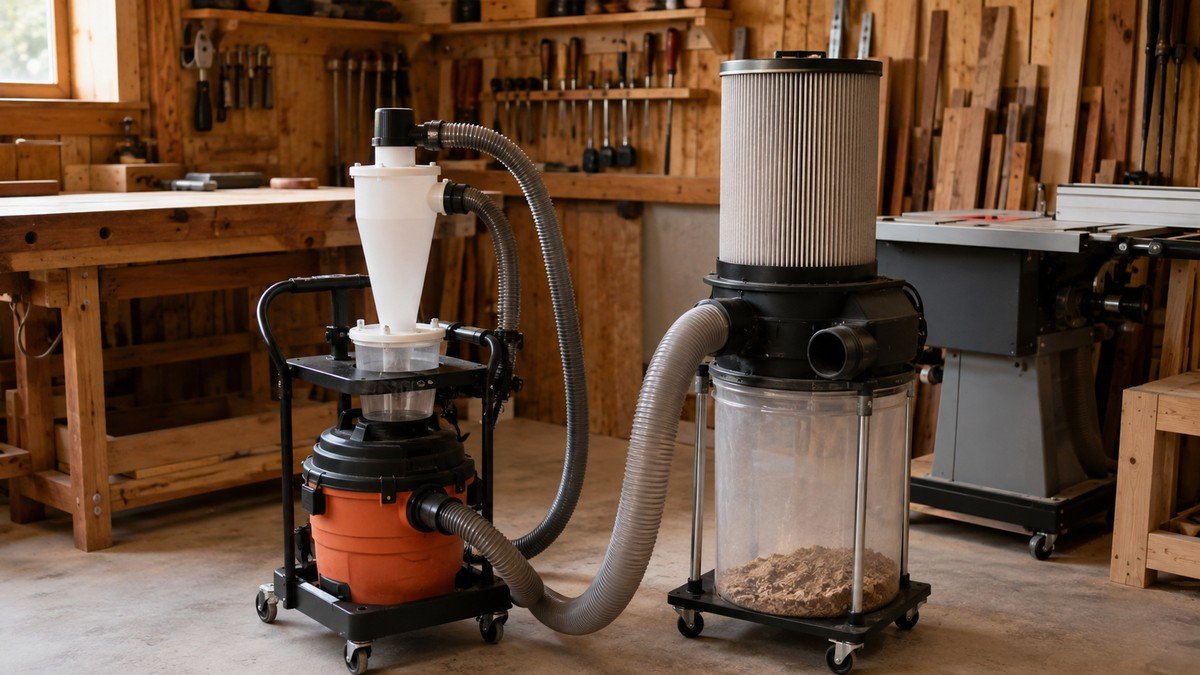
A separator can reduce how much debris reaches a vacuum or collector. A portable single-stage collector serves a different need: moving more air through larger tool ports. Neither option corrects a poor hood or badly restricted hose.
3. Cyclone Pre-Separator
A cyclone pre-separator sits between the tool and the vacuum. The airflow causes much of the heavier material to drop into a separate container before it reaches the vacuum. This can reduce rapid filter loading and make emptying easier during chip-heavy work.
The separator is not a fine-dust filter. Fine particles can continue to the vacuum, so the downstream filter and sealing remain important. Use compatible hoses, fittings, containers, and connections. A thin or unsuitable collection container may collapse under vacuum.
Keep the assembly stable. A tall separator mounted on a small bucket can become top-heavy when a hose pulls sideways. A low rolling base can carry both separator and vacuum, but it must roll safely and have a defined parking place.
Check for leaks at lids and adapters. Avoid complicated runs with multiple reductions. A simple setup with the correct connection often works better than a long chain of convenient but restrictive fittings.
4. Portable Single-Stage Dust Collector
A portable single-stage collector can be appropriate for a planer, jointer, table saw, or other compatible machine with a larger port. It moves chips and dust into a collection bag or container, with a filter handling the returning air.
This category is not interchangeable with a shop vacuum. Confirm the machine’s requirements, collector capacity, filter specifications, hose size, electrical needs, and installation instructions. Avoid guessing at performance from motor size alone.
Position the collector close enough to use a short run without blocking material movement. If it serves one machine at a time, a movable connection may be simpler than building fixed ductwork. Close unused branches only with components intended for the system.
A single-stage design sends collected material through the impeller before it reaches the bag or container. Keep foreign objects, large offcuts, and hardware out of the intake. Disconnect power and follow lockout or servicing instructions before clearing a blockage.
For planning costs alongside tools, power, and storage, see the small woodworking shop setup guide. Build around the dustiest tool you actually use rather than a future collection of machines.
Options 5–6: Two-Stage Collector and Downdraft Table
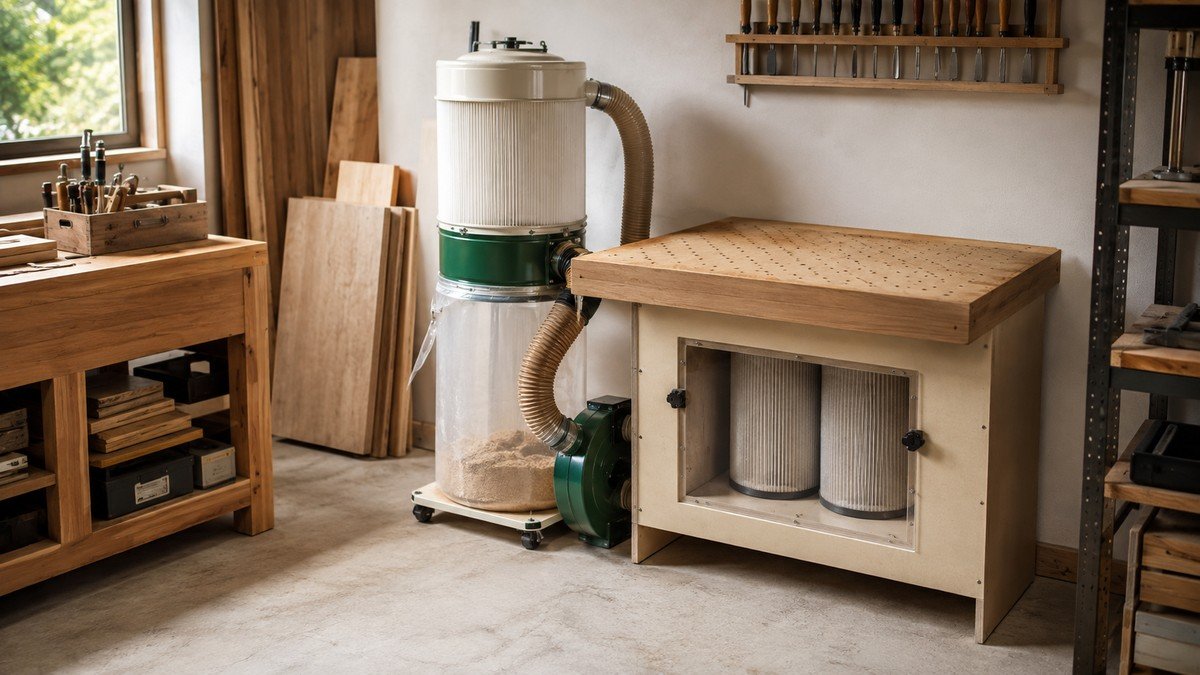
These solutions address different problems. A two-stage collector separates much of the debris before the filter, while a downdraft table creates a capture surface for suitable sanding or handwork.
5. Compact Two-Stage Dust Collector
In a two-stage system, a separator removes much of the heavier material before the airflow reaches the impeller and final filter. This can reduce filter loading and simplify chip disposal. Compact units may fit a small shop better than a large fixed system, but their footprint, noise, power, and clearances still require planning.
Review the full system rather than focusing on one specification. The collector, separator, filter, container, hoses, gates, hoods, and electrical supply must work together. Keep conductive or grounding arrangements exactly as required by the manufacturer; do not improvise a universal grounding method.
If the collector returns filtered air to the shop, inspect seals and filter condition regularly. A full bin can cause material to reach areas where it should not go. Use a visible fill indicator if the system supports one, or establish a conservative inspection routine.
A compact two-stage collector may be more equipment than a shop with only handheld tools needs. Choose it when recurring chip volume and compatible stationary machines justify the space and maintenance.
6. DIY or Commercial Downdraft Table
A downdraft table pulls air through holes or slots in a work surface. It can help capture dust from compatible hand sanding, detail sanding, or other light work performed directly over the surface. It is not suitable for every operation, and it does not replace a tool’s designed extraction port.
A DIY version requires more than drilling holes in a box. The plenum must distribute airflow, the structure must support the work, and the connected vacuum or collector must be appropriate. Avoid exposing a combustible interior to sparks or hot work. Never use the table for materials the system is not designed to collect.
Keep the work close to the active area and avoid covering the entire surface. Use bench dogs or non-obstructive supports when needed, but do not create unstable workholding. Clean the plenum according to a safe procedure with power disconnected.
A commercial table may provide known specifications and maintenance access. Compare surface size, connection, intended operations, filter or collector requirements, noise, and available workspace.
Option 7: Ambient Air Cleaner as Secondary Control
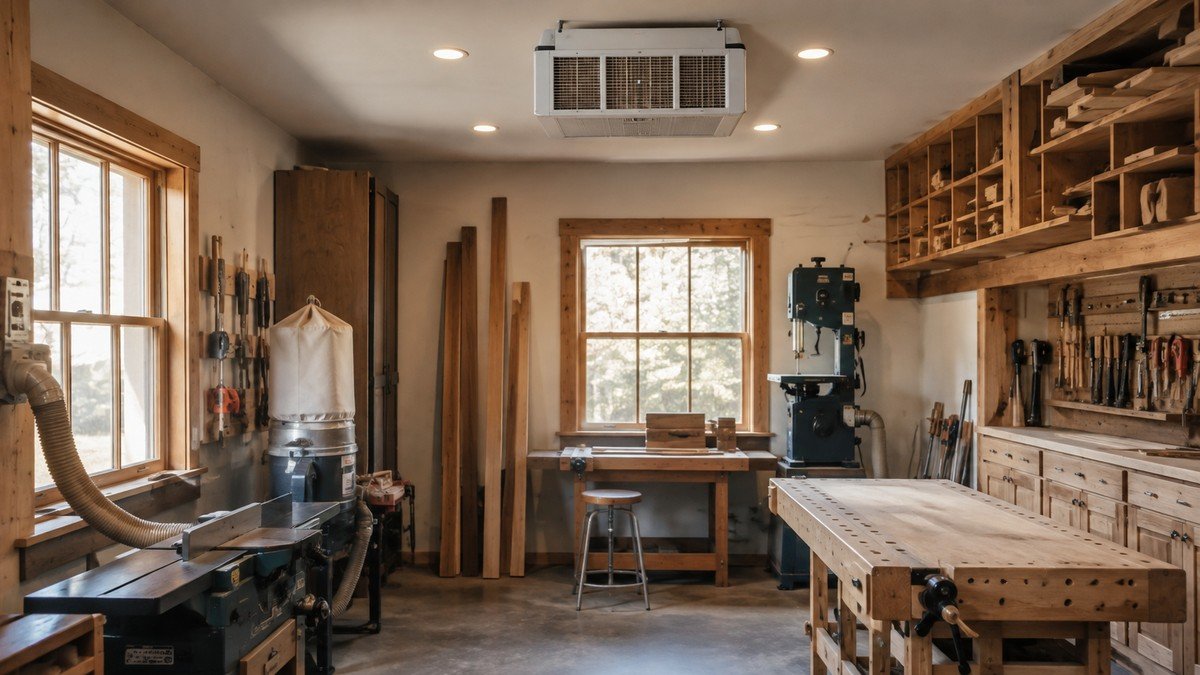
An ambient air cleaner circulates room air through filters. It can capture particles that escaped source collection, but only after they have entered the room. That makes it a secondary control, not the main answer for a dusty saw or sander.
7. Ceiling or Portable Air Cleaner
Choose a unit based on documented filter information, room suitability, service access, and replacement-filter availability. Follow placement instructions. A ceiling-mounted unit needs verified structural support and safe electrical installation; a portable unit needs a position that does not obstruct work or create a trip hazard.
Do not aim discharged air so it blows dust off benches or toward the operator. Keep intake and outlet paths unobstructed. If the device has speed or timer controls, use them according to the manual rather than assuming a longer runtime makes an inadequate source-capture setup sufficient.
Filters load over time. Inspect or replace them according to actual use and manufacturer guidance. A visibly clean outer filter does not prove that every stage is functioning correctly.
An ambient cleaner can be helpful after the tool connection, hood, hose, and collector have been improved. If the budget supports only one change, fix poor capture at the dustiest current operation first.
Build an Affordable System That Works
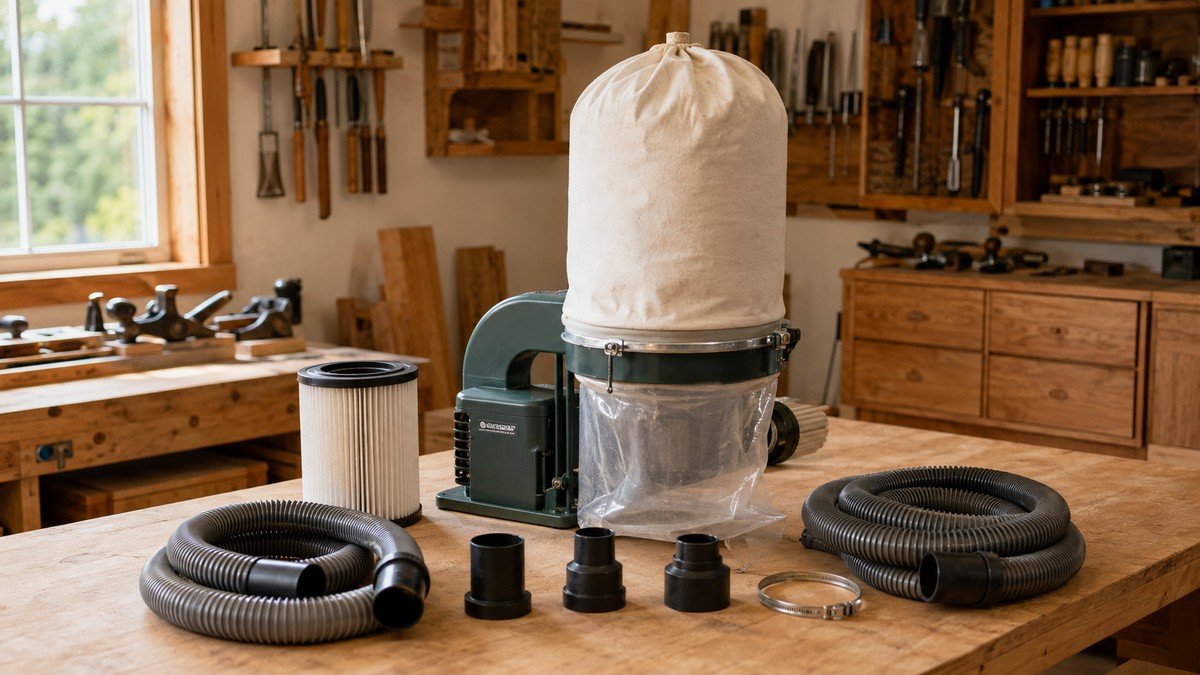
The most economical system is one you can maintain and use every time. Start with a beginner workshop plan that includes equipment space, material travel, electrical access, and a clear evacuation route.
Start with the Dustiest Current Task
Watch one operation with the tool off first. Identify the designed dust port, the direction chips normally travel, where the hose can run, and what access the guard needs. Read both manuals. Then connect compatible equipment and observe from a safe position whether visible debris escapes.
Sanding often produces fine dust close to the work, while planing produces larger volumes of chips. A single device may not suit both. Build a staged system:
- Improve collection at the tool used most often.
- Add suitable filtration and collection bags.
- Shorten the hose and seal compatible joints.
- Add a separator if filter loading is frequent.
- Consider a larger collector only when a compatible machine requires it.
- Add ambient filtration for escaped particles, not as a substitute.
If measuring the available area is difficult, The Beginner’s DIY Workshop Planner provides worksheets for layout, storage, and budget decisions.
Shorten Hoses and Improve Hoods
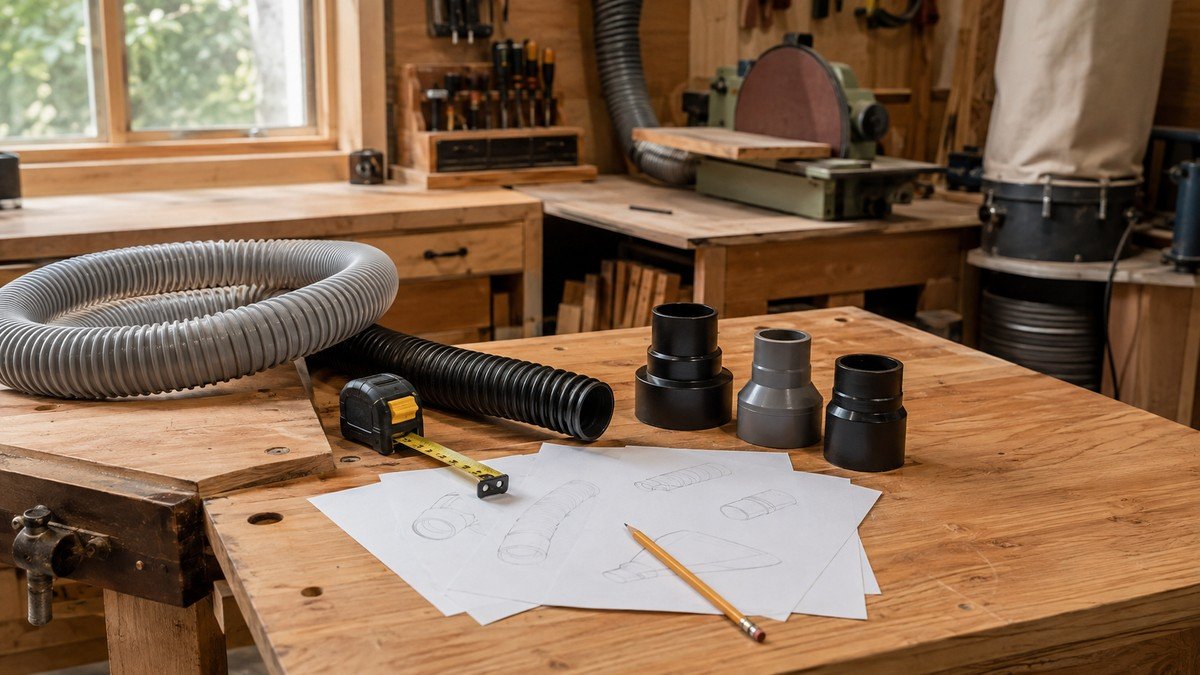
Long corrugated hoses, sharp bends, undersized adapters, and open joints reduce performance. Position the collector to simplify the route. Use the hose diameter and components specified for the equipment, support flexible hose so it cannot kink, and avoid creating a low loop that fills with chips.
Capture hoods work best when they are close to where dust is generated without interfering with guards, fences, work support, or operator control. Use manufacturer-designed accessories when available. Do not enclose a motor or block cooling openings.
A NIOSH workplace evaluation noted that shorter duct runs, fewer severe bends, smoother duct interiors, and improved hooding can improve capture. Treat those as engineering principles, not a guarantee for a particular home-shop setup.
Maintain Filters and Clean Safely
A neglected system loses effectiveness. Before maintenance, switch off, unplug, and follow the manual. Inspect hoses for cracks, check seals, empty containers before they overfill, and service filters using the approved method. Do not beat, brush, wash, or use compressed air on a filter unless its instructions explicitly permit it.
Empty waste without creating a dust cloud. Close bags or containers promptly and follow local disposal requirements. Avoid sweeping fine dust into the air. Vacuum using suitable equipment or use another controlled method recommended for the material and workspace.
Never collect sparks, hot debris, burning material, incompatible liquids, or finishing vapors with ordinary woodworking dust equipment. Keep ignition sources controlled and store finishes according to their labels. If you plan permanent ductwork, a high-volume system, or electrical changes, obtain qualified design and installation advice.
Frequently Asked Questions
Is a shop vacuum enough for a small woodworking shop?
It can be a practical source-capture option for compatible handheld tools and controlled cleanup. It may not move enough air for every stationary machine or large port. Check the tool and vacuum instructions, use suitable filtration and bags, keep the hose short, and evaluate the actual capture at each operation.
Do I need a cyclone separator?
Not always. A separator can reduce how quickly chips fill the vacuum and load its filter, especially during chip-heavy work. It does not replace the final filter or fix a weak hood. Add one when frequent container emptying or filter loading is a demonstrated problem, and use a stable, vacuum-compatible container.
What filter should I use for fine wood dust?
Use a filter explicitly compatible with your collector and intended application. Do not rely on appearance or a generic marketing term. Check the manufacturer’s documentation for filter efficiency, installation, maintenance, and replacement guidance. Make sure the rest of the system is sealed, because an excellent filter cannot correct leaks elsewhere.
Can an air cleaner replace dust collection?
No. An ambient air cleaner handles particles after they escape into the room. Source capture acts earlier, near the tool. Use an air cleaner as a secondary measure after improving hoods, connections, hoses, collection, and cleanup. Continue to use appropriate personal protection when the remaining exposure requires it.
How often should dust collector filters be cleaned?
There is no universal schedule. Follow the manufacturer’s instructions and adjust inspections for actual tool use, material, filter type, and signs of reduced performance. Check the collection container as well; an overfilled bin can cause problems before the filter appears dirty. Record maintenance so it is not forgotten.
Is a DIY dust collection system safe?
It can be built responsibly only when every component, structure, electrical connection, container, and collector is appropriate for the intended load and material. Improvised containers may collapse, poor wiring can create hazards, and unsuitable ducts can leak. Follow manufacturer requirements and obtain qualified help when system design, structure, or electrical capacity is uncertain.
Conclusion
Effective small shop dust collection is less about buying one impressive machine and more about matching capture to each tool. Begin with the operation that releases the most dust during your normal projects. Improve its hood, use the correct connection, shorten the hose, and maintain suitable filtration.
A shop vacuum, extractor, separator, portable collector, compact two-stage unit, downdraft table, and ambient cleaner each solve different problems. Choose only the options your tools and space justify. Keep dust away from ignition sources, avoid compressed-air blowdown, and use controlled cleanup and appropriate personal protection.
Make one improvement, complete a real project, and inspect what escaped. That evidence will tell you whether the next dollar belongs in a better hood, a different collector, improved filtration, or simply a shorter and better-routed hose.
Affiliate Disclosure: This post contains affiliate links. If you purchase through these links, DIY Wood Haven may earn a commission at no additional cost to you.



Ready to Build Smarter?