DIY Woodworking Workshop: Beginner Setup Guide
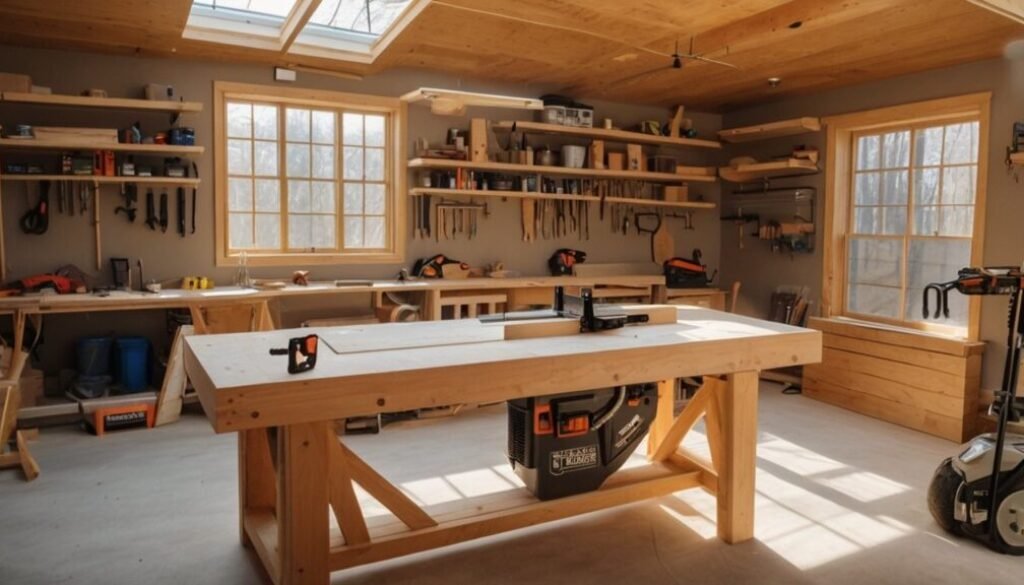
Have you been thinking about creating a DIY woodworking workshop but aren’t sure where to begin? Setting up a DIY woodworking workshop doesn’t have to be expensive or complicated. With the right approach, even a small garage, spare room, or corner of a shed can become a practical space where you can build projects safely and confidently.
A well-planned workshop makes every woodworking project more enjoyable. It helps you stay organized, work more efficiently, and keep your tools within easy reach. For beginners, having a dedicated workspace also makes it easier to develop good habits and learn new skills without feeling overwhelmed. Whether you’re planning simple weekend projects or hoping to build furniture in the future, starting with a functional woodworking workshop setup is a smart investment.
The good news is that you don’t need to buy every tool at once or have a large budget to get started. With a few essentials, some thoughtful organization, and a focus on safety, you can create a workspace that grows alongside your experience. In the sections below, you’ll learn how to plan, equip, and organize a beginner-friendly workshop that fits both your space and your goals.
Choose the Best Location for Your DIY Woodworking Workshop
Choosing the right location is one of the most important steps when building a DIY woodworking workshop. While it’s exciting to shop for tools, your workspace has a much greater impact on safety, comfort, and productivity than many beginners realize.
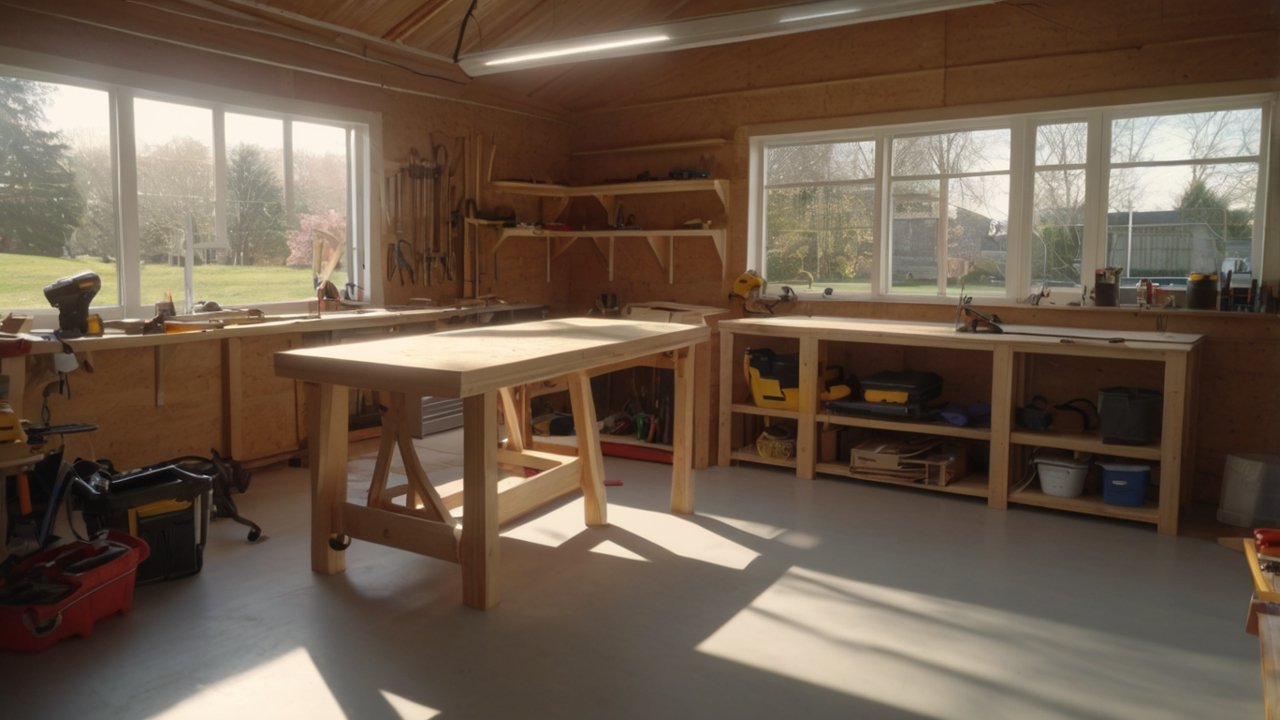
The good news is that you don’t need a large building or a professional shop to get started. Many successful DIY woodworkers begin in a single-car garage, a backyard shed, or even a dedicated corner of a basement. The goal is to create a space that allows you to work safely, stay organized, and enjoy building projects without unnecessary frustration.
If you’re still planning your workshop from scratch, our guide on Setup Woodworking Shop: Layouts and Essential Tools provides a solid foundation for designing an efficient workspace.
Finding the Best Space for Your DIY Woodworking Workshop
Every home offers different possibilities, so the ideal DIY woodworking workshop depends on the space you already have, the types of projects you want to build, and your future woodworking goals.
Before choosing a location, ask yourself a few practical questions:
-
Is there enough room to move lumber safely?
-
Can larger projects be assembled comfortably?
-
Is there adequate lighting throughout the day?
-
Are electrical outlets easily accessible?
-
Can the space be ventilated properly?
-
Will there be room to expand your workshop later?
Planning ahead now can save you from moving heavy equipment or completely reorganizing your shop in the future.
Indoor vs. Garage vs. Shed for a DIY Woodworking Workshop
Each workshop location has its own advantages and limitations.
Garage Workshop
A garage is often the easiest place to start because it already offers many features woodworkers need.
Benefits include:
-
Concrete flooring that supports heavy equipment
-
Existing electrical outlets
-
Large doors for moving lumber
-
Good ventilation opportunities
-
Easy cleanup after dusty projects
The biggest challenge is usually sharing the space with vehicles, bicycles, or household storage. Good organization becomes essential when every square foot matters.
Backyard Shed
A detached shed creates a dedicated woodworking space away from daily household activity. It also helps keep dust and machine noise outside the home.
If you’re planning this type of workshop, you’ll likely benefit from reading Build a Small Shed Step by Step: Easy Beginner Guide before beginning your conversion.
You’ll also want to consider insulation, electrical service, weather protection, and future storage needs if your workshop will be used year-round.
Basement or Spare Room
Indoor workshops work well for smaller woodworking projects, especially if you prefer using hand tools or portable power tools.
However, sanding and cutting wood indoors requires careful dust management. Fine wood dust can spread throughout your home and linger in the air if ventilation is poor.
Organizations such as OSHA recommend controlling wood dust through proper ventilation, dust collection, and appropriate personal protective equipment whenever necessary.
Lighting and Ventilation for Your DIY Woodworking Workshop
Lighting is one feature many beginners underestimate.
Good lighting makes measuring, marking, cutting, and assembling projects much easier while reducing eye strain.
Whenever possible, combine natural daylight with bright LED shop lighting to eliminate shadows around your:
-
Workbench
-
Table saw
-
Miter saw
-
Assembly area
-
Finishing station
Ventilation deserves equal attention.
Whether you’re cutting hardwood, sanding furniture, or applying finishes, fresh airflow helps improve comfort and reduce airborne dust.
Many home workshops eventually include:
-
Shop vacuum with dust collection
-
Air filtration unit
-
Portable fan
-
Open windows or garage doors when weather allows
As Fine Woodworking frequently recommends, collecting dust at the source is often far more effective than cleaning it afterward.
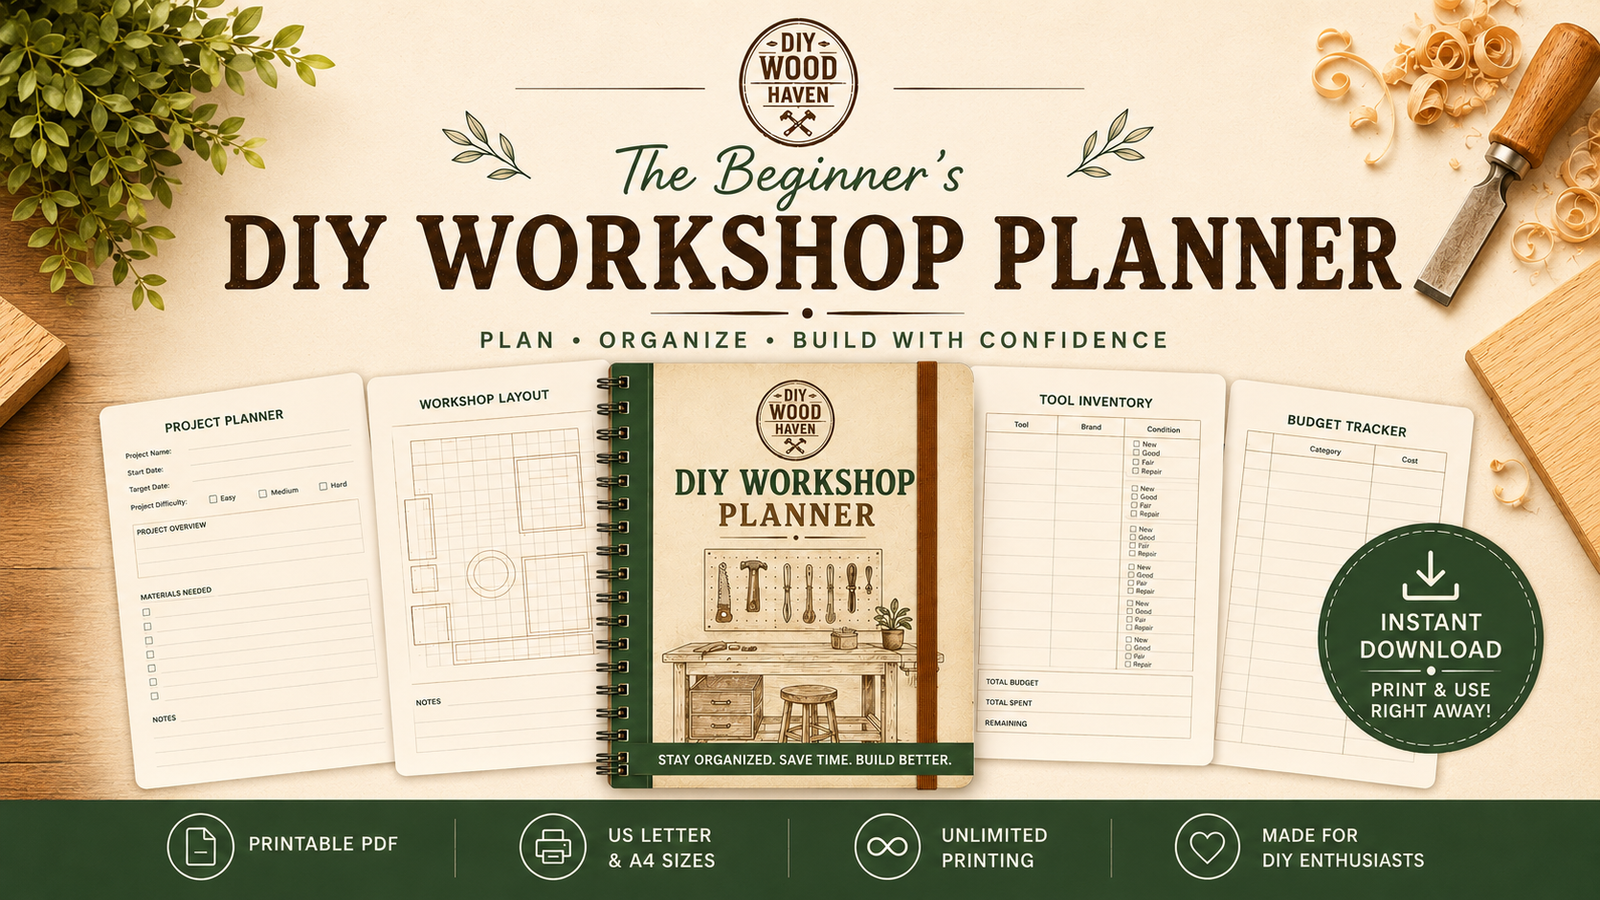
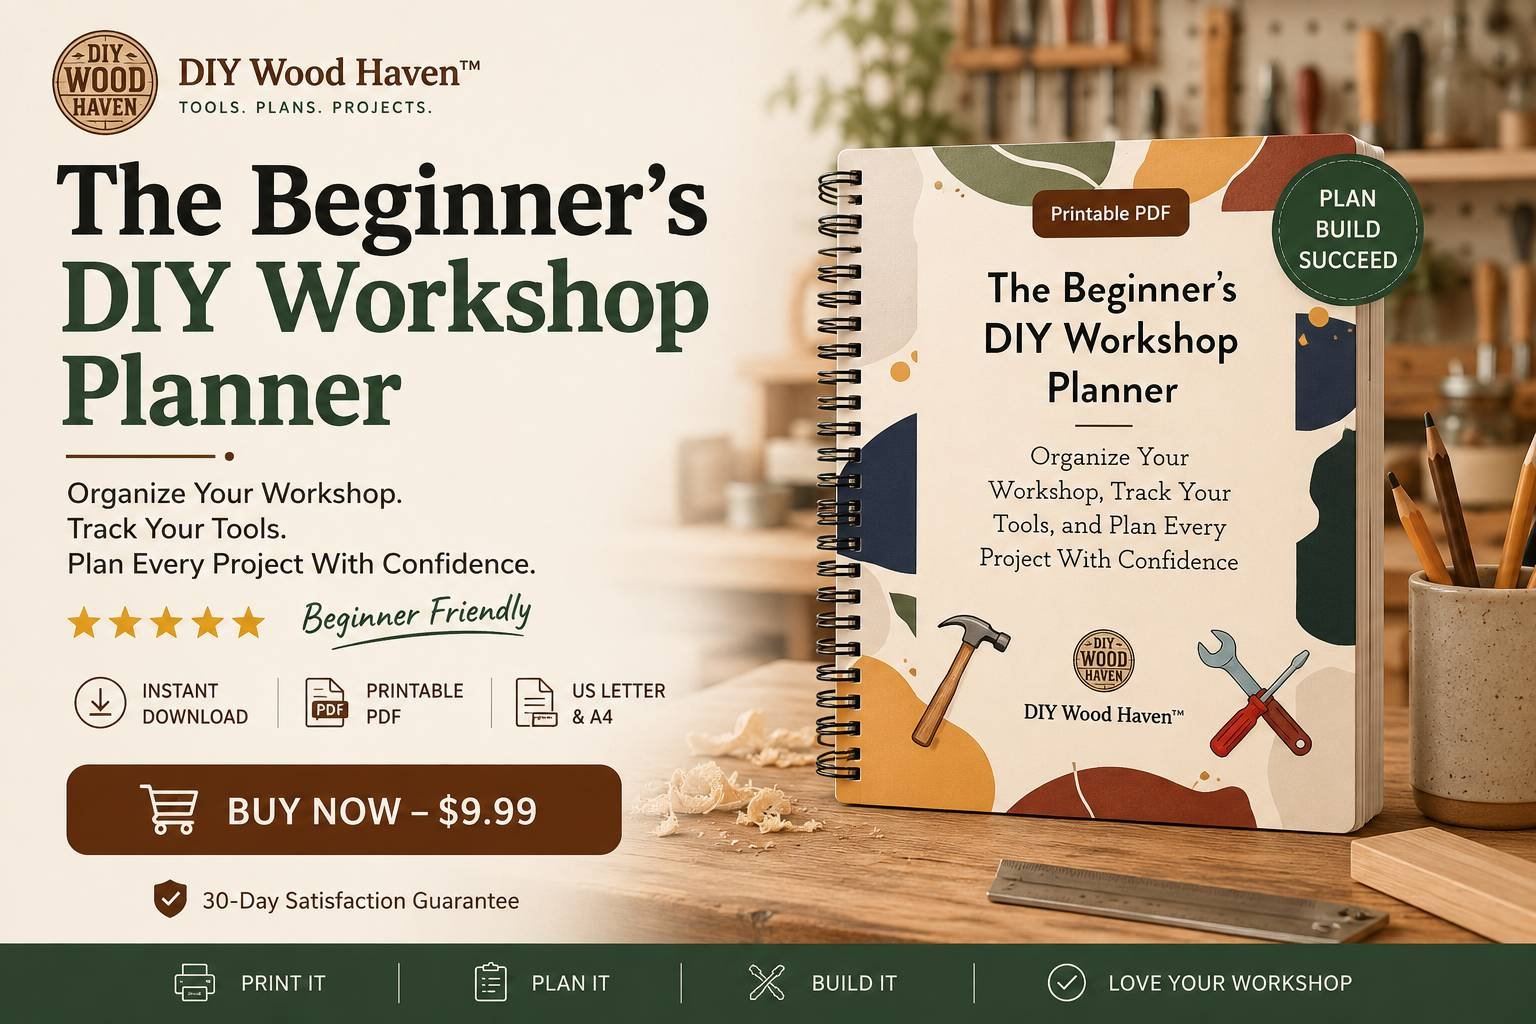
If you’re planning your workshop layout before buying additional tools, The Beginner’s DIY Workshop Planner can help you organize floor plans, tool placement, measurements, and future upgrades in one convenient place.
Planning the Layout of Your DIY Woodworking Workshop
Once you’ve selected the location, think about how materials will move through your shop.
An efficient DIY woodworking workshop follows a natural workflow from raw lumber to finished project.
A simple sequence looks like this:
-
Lumber storage
-
Measuring and marking
-
Cutting
-
Joinery
-
Assembly
-
Sanding
-
Finishing
Keeping these work areas reasonably close together reduces unnecessary walking and makes larger projects much easier to manage.
Leave enough clearance around major tools so long boards can pass through safely without hitting walls, shelving, or other equipment.
If you’re new to selecting lumber, our Types of Wood: Complete Guide for Every Project explains how different wood species affect strength, appearance, and ease of use.
Safety Considerations for Your DIY Woodworking Workshop
A safe workshop starts long before the first cut.
Every DIY woodworking workshop should have:
-
Safety glasses
-
Hearing protection
-
Dust mask or properly fitted respirator
-
First aid kit
-
Fire extinguisher
-
Clearly marked walkways free of clutter
Avoid running extension cords across walkways whenever possible, and always keep frequently used tools within easy reach to reduce unnecessary movement while working.
Developing the habit of cleaning your workshop after every project also improves safety by reducing slipping hazards and making tools easier to find during your next build.
Publications like Popular Woodworking often emphasize that an organized workshop isn’t just more efficient—it’s also one of the easiest ways to prevent common woodworking accidents.
If you’re working with limited garage space, some DIY builders also explore UltimateSmallShop for ideas on organizing compact workshops and improving workflow. It’s an optional planning resource that may be helpful depending on the size of your workspace.
Choosing the right location lays the foundation for every future project. By prioritizing space, lighting, ventilation, organization, and safety from the beginning, your DIY woodworking workshop will be ready to grow alongside your woodworking skills for years to come.
Essential Tools Every Beginner Needs for a DIY Woodworking Workshop
One of the biggest misconceptions about building a DIY woodworking workshop is that you need to buy every tool before you can start woodworking. In reality, many experienced woodworkers began with only a handful of reliable tools and expanded their collection as their skills improved.
Investing in quality tools that match your current projects is far more practical than filling your workshop with expensive equipment you’ll rarely use. A well-planned workshop focuses on versatility, safety, and efficiency rather than owning every tool available.
If you’re looking for beginner-friendly projects to practice with your new tools, check out Beginner Woodworking Projects: 10 Easy Builds to Try for simple builds that help develop essential woodworking skills.
Start with Essential Hand Tools
Every DIY woodworking workshop should include a basic set of hand tools. Even if you plan to use power tools for most tasks, hand tools remain indispensable for measuring, adjusting, assembling, and fine-tuning projects.
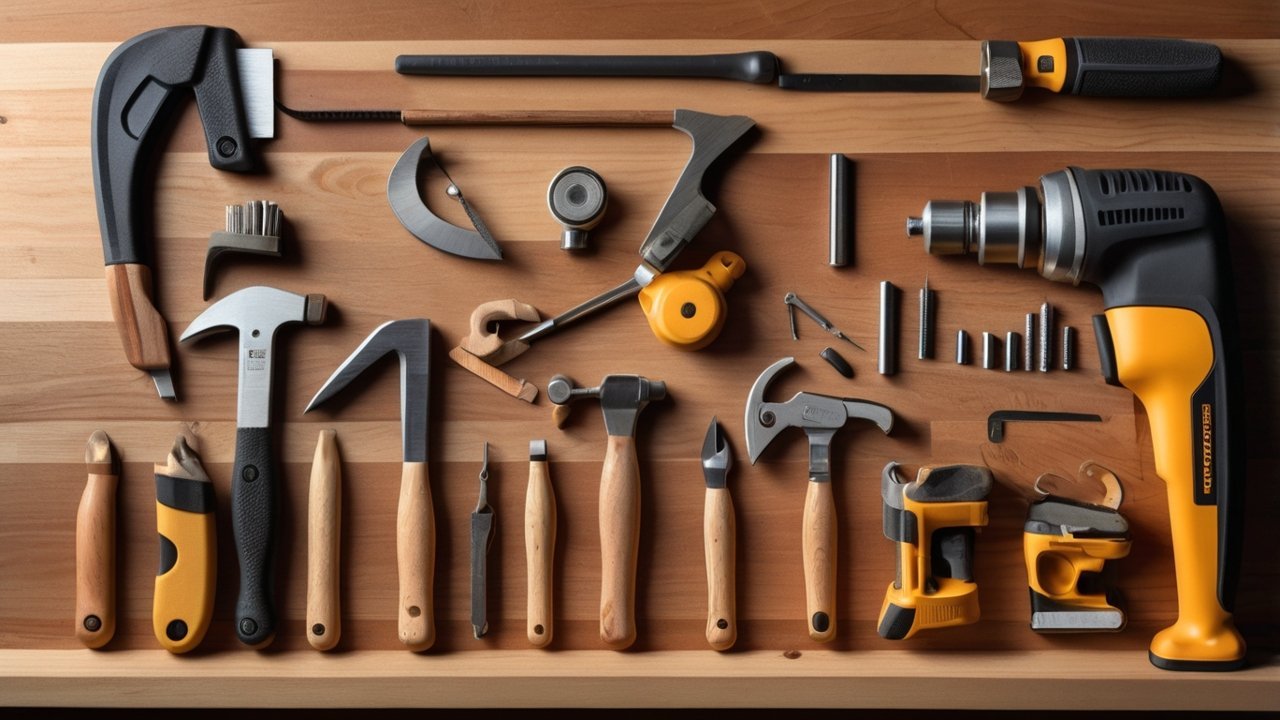
A beginner toolkit should include:
-
Tape measure
-
Combination square
-
Speed square
-
Carpenter’s pencil
-
Marking knife
-
Claw hammer
-
Screwdriver set
-
Wood chisels
-
Utility knife
-
Clamps in various sizes
Among these, clamps are often underestimated. Many woodworkers quickly discover that it’s almost impossible to have too many clamps when assembling furniture, cabinets, or decorative projects.
Learning accurate measuring and marking techniques early will improve every project you build and reduce costly mistakes.
Must-Have Power Tools
After mastering the basics, several power tools can dramatically improve productivity inside your DIY woodworking workshop.
The most useful beginner power tools include:
Circular Saw
A circular saw offers excellent versatility and can handle most straight cutting tasks. When paired with a straight edge guide, it provides surprisingly accurate cuts without requiring a full-size table saw.
Cordless Drill and Driver
Perhaps the most frequently used tool in any workshop, a cordless drill handles drilling, driving screws, installing hardware, and countless other everyday tasks.
Choose a model with variable speed and enough battery capacity to complete larger projects comfortably.
Random Orbital Sander
Smooth surfaces are essential for professional-looking results.
A random orbital sander removes imperfections quickly while producing fewer swirl marks than many other sanding tools.
Before applying paint or protective finishes, you may also find our guide on Top Wood Finishing Techniques: Get a Pro Look Every Time helpful for achieving better results.
Jigsaw
A jigsaw is ideal for:
-
Curved cuts
-
Interior cutouts
-
Decorative shapes
-
Small woodworking projects
Its flexibility makes it one of the most beginner-friendly power tools available.
When Should You Buy Larger Machines?
Many beginners believe a table saw should be their first major purchase.
While a table saw is extremely useful, it isn’t always necessary during the early stages of building a DIY woodworking workshop.
Depending on your projects, you may eventually add:
-
Table saw
-
Miter saw
-
Router
-
Router table
-
Thickness planer
-
Drill press
-
Band saw
Instead of purchasing everything immediately, buy tools only when your current projects genuinely require them.
If you’re considering adding a planer to your workshop, our guide Woodworking Planers: How They Work & Top Picks explains when they’re worth the investment and how to choose the right model.
Likewise, if you’re interested in creating stronger furniture, Wood Joinery Techniques: 10 Must-Know Types for DIY Projects introduces the essential joints every woodworker should learn.
Choosing Quality Over Quantity
A common beginner mistake is buying the cheapest version of every tool.
Low-quality tools often produce inaccurate cuts, wear out quickly, and can even become safety hazards.
Instead, focus on purchasing reliable tools that offer:
-
Solid construction
-
Comfortable grips
-
Accurate adjustments
-
Easy blade or bit replacement
-
Readily available accessories
As your skills improve, you can gradually upgrade individual tools instead of replacing your entire collection.
If you’re organizing future tool purchases, The Beginner’s DIY Workshop Planner is a useful resource for tracking equipment, budgeting for upgrades, and planning your workshop layout as it grows.
Don’t Forget Safety Equipment
No DIY woodworking workshop is complete without proper safety gear.
Always keep these essentials nearby:
-
Safety glasses
-
Hearing protection
-
Dust mask or respirator
-
Push sticks
-
Fire extinguisher
-
First aid kit
Wood dust can become a long-term health concern, particularly when working with hardwoods or engineered wood products. OSHA recommends using effective dust collection systems and wearing appropriate respiratory protection whenever dust exposure cannot be adequately controlled.
Developing safe habits from the beginning protects both your health and your projects.
If you’re planning a compact workshop and want ideas for maximizing limited space while organizing your growing collection of tools, some DIY woodworkers also explore UltimateSmallShop for workshop layout inspiration. It’s an optional resource that may be especially helpful if you’re working in a garage or small shed.
Remember, the best DIY woodworking workshop isn’t the one with the most expensive tools. It’s the one equipped with the right tools, organized efficiently, and ready to help you build projects safely and confidently.
Set Up Your DIY Woodworking Workshop for Safety and Efficiency
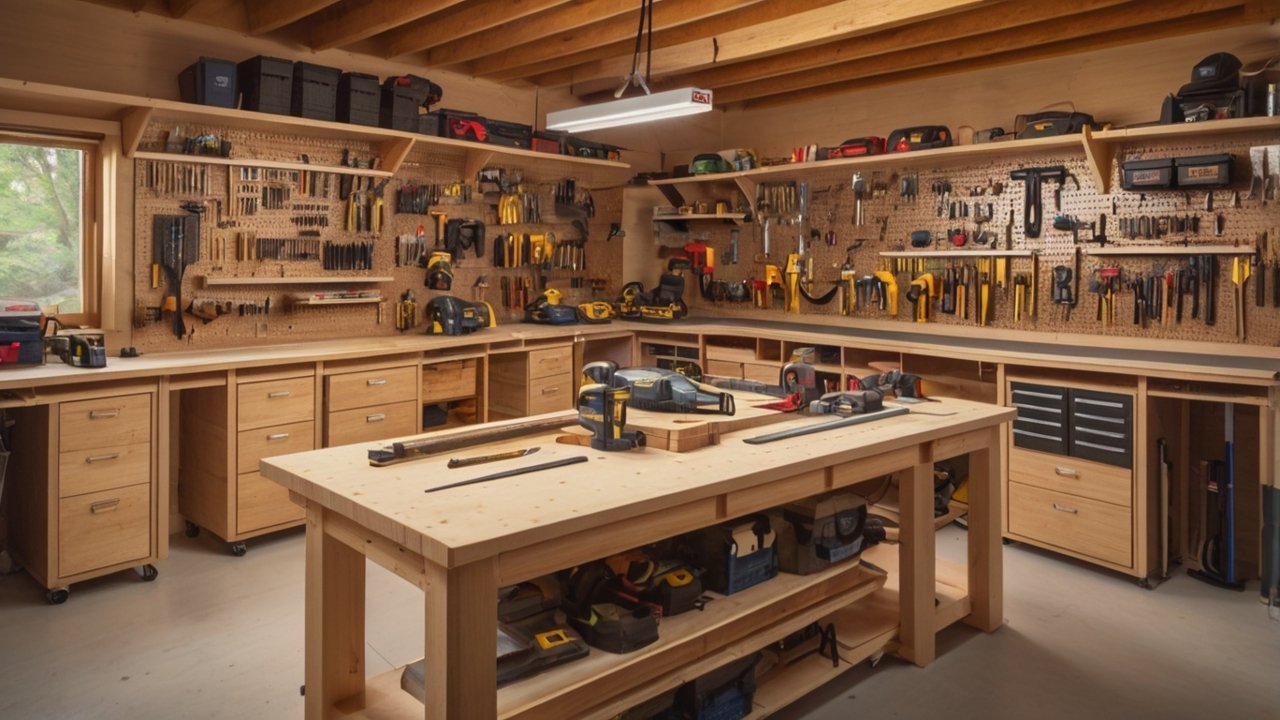
A well-designed DIY woodworking workshop isn’t just about having the right tools—it’s about creating a workspace that allows you to work safely, comfortably, and efficiently. Even a small workshop can feel spacious and productive when it’s organized with a smart layout.
Many beginners place tools wherever they fit, only to discover later that moving lumber, assembling projects, or cleaning up becomes frustrating. Taking time to plan your workshop now will save countless hours in the future.
If you’re still designing your workspace, our guide on Setup Woodworking Shop: Layouts and Essential Tools offers additional ideas for creating an efficient shop layout.
Design an Efficient Workflow
One of the easiest ways to improve any DIY woodworking workshop is to arrange your tools according to the order you actually use them.
A practical workflow looks like this:
-
Lumber storage
-
Measuring and marking
-
Cutting
-
Joinery
-
Assembly
-
Sanding
-
Finishing
Following this sequence minimizes unnecessary walking and helps keep projects moving smoothly from start to finish.
Try to position frequently used tools near your primary workbench while leaving enough clearance around larger equipment for handling long boards safely.
Maximize Space in a Small Workshop
Many home workshops are limited to a garage, basement, or backyard shed, but a smaller space doesn’t have to limit your productivity.
Here are several ways to make the most of your workshop:
-
Install wall-mounted tool racks.
-
Use pegboards for hand tools.
-
Add shelves above workbenches.
-
Store lumber vertically when possible.
-
Use rolling carts for portable tools.
-
Choose foldable or mobile workbenches.
Keeping the floor clear improves both efficiency and safety by reducing tripping hazards.
If you’re planning a workshop inside a shed, Shed Storage Ideas: 15 Smart Ways to Maximize Space provides practical storage solutions that work equally well in woodworking shops.
Improve Lighting and Ventilation
Good lighting is essential for accurate measuring, cutting, and finishing.
Ideally, combine natural daylight with bright LED shop lights positioned over:
-
Your workbench
-
Table saw
-
Miter saw
-
Assembly area
-
Finishing station
Avoid creating shadows that make precise cuts more difficult.
Ventilation is equally important.
Wood dust can accumulate quickly when cutting or sanding, especially in enclosed spaces. OSHA recommends controlling dust at its source whenever possible by using proper dust collection equipment and wearing respiratory protection when necessary.
Basic ventilation improvements include:
-
Opening windows or garage doors
-
Using a shop vacuum with dust collection
-
Installing an air filtration system
-
Adding portable fans to improve airflow
For additional guidance on finishing projects safely, read Top Wood Finishing Techniques: Get a Pro Look Every Time before applying stains, paint, or protective finishes.
Plan Electrical Outlets and Power Access
Extension cords stretched across the floor create unnecessary safety hazards.
Whenever possible, position your major tools close to electrical outlets and consider adding additional outlets if your workshop will continue expanding.
Think ahead about future equipment such as:
-
Table saw
-
Dust collector
-
Air compressor
-
Planer
-
Band saw
Planning your electrical layout now helps avoid expensive changes later.
If you’re upgrading your workshop over time, The Beginner’s DIY Workshop Planner is useful for sketching layouts, tracking equipment purchases, and planning future improvements.
Build Safe Habits from Day One
Safety isn’t just about protective equipment—it’s also about developing consistent habits every time you enter your DIY woodworking workshop.
Always remember to:
-
Wear safety glasses.
-
Use hearing protection around loud machinery.
-
Wear a dust mask or respirator when sanding.
-
Keep blades sharp and properly adjusted.
-
Remove clutter from walkways.
-
Store flammable finishes safely.
-
Unplug tools before changing blades or bits.
Many woodworking accidents happen because of rushing or working in a disorganized environment. Spending a few minutes cleaning your workshop after each project greatly reduces future risks.
If you’re planning to build furniture or larger woodworking projects, understanding strong joints is equally important. Our guide Wood Joints Explained: 15 Essential Joints for Woodworkers explains the most common joinery methods every DIY woodworker should know.
For woodworkers building a compact garage or basement shop, some DIY enthusiasts also use UltimateSmallShop as an additional source of workshop layout ideas. It’s an optional resource that may help you maximize limited space without overcrowding your workshop.
By designing your DIY woodworking workshop with safety, organization, and efficiency in mind from the beginning, you’ll create a workspace that’s enjoyable to use and capable of supporting increasingly ambitious woodworking projects.
Organize Your DIY Woodworking Workshop for Better Productivity
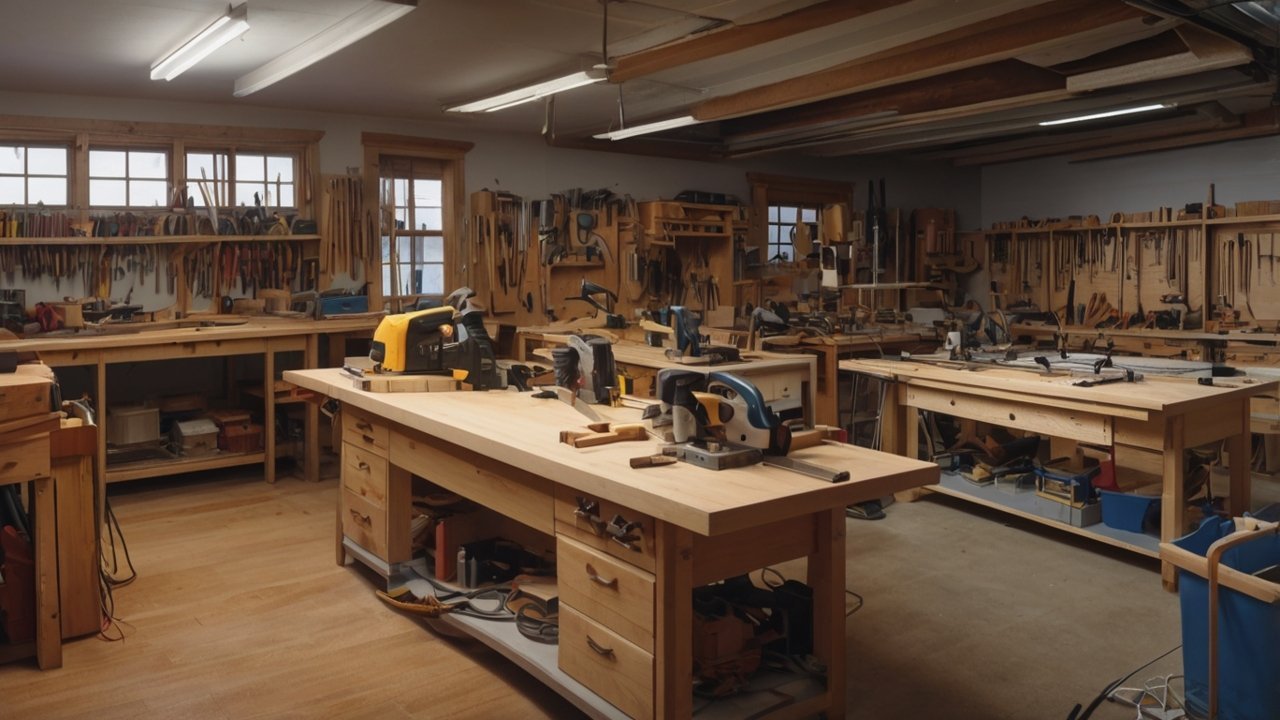
A clean and organized DIY woodworking workshop can dramatically improve both productivity and safety. While it’s tempting to focus on buying new tools, experienced woodworkers know that an efficient storage system often has a greater impact on daily workflow than another piece of equipment.
When every tool has a designated place, you’ll spend less time searching for supplies and more time building projects. Better organization also helps protect expensive tools, reduces clutter, and minimizes workplace accidents.
If you’re still planning your overall workshop layout, our guide on Setup Woodworking Shop: Layouts and Essential Tools provides additional ideas for creating an efficient workspace from the beginning.
Store Tools Where You Use Them
One of the simplest ways to improve your DIY woodworking workshop is to organize tools based on how often you use them.
Frequently used tools should remain within easy reach of your main workbench, while specialty tools can be stored on higher shelves or inside cabinets.
For example:
-
Measuring tools near the workbench
-
Clamps mounted on nearby wall racks
-
Sanders close to the finishing area
-
Drill bits organized beside your drill
-
Router accessories stored together
Grouping similar tools together creates a smoother workflow and reduces unnecessary movement around the shop.
Pegboards, magnetic tool holders, drawer organizers, and labeled storage bins are inexpensive upgrades that make a noticeable difference.
Organize Lumber and Materials
Wood storage often becomes one of the biggest challenges in any growing DIY woodworking workshop.
Instead of stacking lumber randomly on the floor, create a dedicated storage area where boards remain dry, straight, and easy to access.
Good lumber storage practices include:
-
Store boards horizontally with proper support.
-
Keep sheet goods against sturdy wall racks.
-
Separate hardwoods from softwoods.
-
Label offcuts by size and species.
-
Discard unusable scraps regularly.
Choosing the right material is equally important. Before starting your next project, read Types of Wood: Complete Guide for Every Project to learn which wood species work best for different applications.
If you’re building furniture, Types of Wood for Furniture: 10 Best Options & Uses offers more detailed recommendations for selecting durable and attractive lumber.
Create Dedicated Work Zones
As your tool collection grows, dividing your DIY woodworking workshop into work zones makes projects easier to manage.
Typical zones include:
-
Lumber storage
-
Cutting area
-
Joinery station
-
Assembly bench
-
Sanding station
-
Finishing area
-
Hardware and fastener storage
Keeping each activity in its own area reduces clutter and prevents projects from interfering with one another.
For example, separating sanding and finishing areas helps minimize dust contamination that can ruin painted or stained surfaces.
If you’re planning to improve your finishing results, Polyurethane Wood Finish: Best Types and How to Apply Them explains how proper preparation and workspace organization contribute to a smoother finish.
Keep Your Workshop Clean
Cleaning your workshop after every project is one of the easiest habits you can develop.
Simple daily routines include:
-
Sweep or vacuum sawdust.
-
Empty dust collection containers.
-
Return tools to their storage locations.
-
Wipe down work surfaces.
-
Remove scrap wood and offcuts.
-
Inspect power cords and blades.
Regular maintenance extends the life of your equipment while creating a safer working environment.
According to OSHA, controlling wood dust and maintaining clean walkways are important steps in reducing fire hazards and improving workplace safety.
Plan for Future Growth
Most woodworkers quickly outgrow their first workshop layout.
As you complete more projects, you’ll likely add new tools, storage cabinets, and work surfaces. Planning for future expansion now makes upgrades much easier later.
If you’re keeping track of workshop improvements, tool purchases, or future project ideas, The Beginner’s DIY Workshop Planner is a practical resource for organizing measurements, equipment lists, budgets, and layout changes in one place.
You’ll also discover that building projects naturally requires more storage over time. If you’re looking for beginner-friendly builds that help improve your skills while organizing your shop, explore Simple Woodworking Projects: 15 Easy Beginner Builds for ideas that are both practical and rewarding.
For DIY woodworkers with limited space, some builders also use UltimateSmallShop for additional inspiration on organizing compact workshops efficiently. It’s an optional resource that may help you maximize every square foot without overcrowding your workspace.
An organized DIY woodworking workshop doesn’t happen overnight. By creating logical storage systems, maintaining clean work areas, and planning for future growth, you’ll build a workshop that’s safer, more efficient, and far more enjoyable to use for every woodworking project.

Budget-Friendly Tips for Building a DIY Woodworking Workshop
Building a DIY woodworking workshop doesn’t have to cost thousands of dollars. Many experienced woodworkers started with a modest budget, a few reliable tools, and a simple workspace. The key is to invest wisely, prioritize essential equipment, and upgrade your shop gradually as your skills and projects grow.
Instead of trying to build the perfect workshop overnight, focus on creating a functional workspace that meets your current needs. With careful planning, you can save money while still building a safe, productive, and enjoyable workshop.
If you’re looking for beginner-friendly projects that don’t require expensive equipment, check out Woodworking Projects: 10 Easy Builds for Beginners for affordable ideas that help you develop practical woodworking skills.
Buy Essential Tools First
One of the most common mistakes beginners make is purchasing too many tools too quickly.
Instead, start with the essentials you’ll use on nearly every project:
-
Tape measure
-
Combination square
-
Cordless drill
-
Circular saw
-
Random orbital sander
-
Clamps
-
Safety equipment
As you gain experience, you’ll have a much better understanding of which larger tools will truly improve your workflow.
For example, if your projects begin requiring smoother lumber, our guide Woodworking Planers: How They Work & Top Picks explains when investing in a planer becomes worthwhile.
Buying tools only when needed helps prevent unnecessary spending and keeps your DIY woodworking workshop focused on practical improvements.
Shop Smart for Equipment
You don’t always need brand-new tools.
Many excellent woodworking tools can be found through:
-
Local estate sales
-
Garage sales
-
Online marketplaces
-
Tool liquidation stores
-
Woodworking clubs
-
Community auctions
Before purchasing used equipment, inspect it carefully for damaged parts, excessive wear, missing safety guards, and motor performance.
High-quality used tools often outperform inexpensive new tools and can provide years of reliable service.
Build Your Own Workshop Furniture
One of the easiest ways to save money is by building your own workshop furniture instead of buying expensive commercial versions.
Projects worth building yourself include:
-
Workbenches
-
Clamp racks
-
Tool cabinets
-
Wall-mounted storage
-
Mobile tool carts
-
Lumber racks
These projects improve your workshop while also giving you valuable woodworking experience.
If you’re looking for ideas, DIY Wooden Furniture: 15 Easy Projects for Beginners includes practical builds that can easily be adapted for workshop use.
You can also gain additional experience through Easy Small Woodworking Projects: 12 Weekend Ideas before tackling larger workshop upgrades.
Save Money on Lumber
Lumber often becomes one of the largest ongoing expenses in a DIY woodworking workshop.
Fortunately, there are several ways to reduce costs without sacrificing quality.
Consider:
-
Buying rough lumber when appropriate.
-
Saving usable offcuts for future projects.
-
Repurposing reclaimed wood.
-
Purchasing materials during seasonal sales.
-
Planning projects carefully to minimize waste.
Understanding wood species also helps prevent expensive purchasing mistakes.
Before your next project, read Types of Wood: Complete Guide for Every Project to learn which woods offer the best value for different applications.
If you’re interested in reclaimed materials, Reclaimed Wood Furniture Table: 9 Smart Eco-Luxury Reasons explores the benefits of using recycled wood for furniture and DIY projects.
Plan Your Budget Before You Buy
Impulse purchases can quickly drain your workshop budget.
Instead, create a simple purchasing plan that prioritizes:
-
Essential tools
-
Safety equipment
-
Storage solutions
-
Dust collection
-
Future machine upgrades
Tracking purchases also helps prevent buying duplicate tools or accessories.
To stay organized, The Beginner’s DIY Workshop Planner provides a convenient place to record workshop layouts, equipment lists, project plans, and future upgrade goals.
Invest When It Makes Sense
Although saving money is important, there are times when investing in quality resources pays off over the long term.
If you’re planning to build a complete workshop with optimized layouts, storage ideas, and step-by-step project plans, some DIY woodworkers choose UltimateSmallShop for additional guidance. It’s an optional resource that may help you avoid costly layout mistakes and make better use of limited workshop space.
Remember that every successful DIY woodworking workshop grows over time. By buying only what you need, building your own storage solutions, shopping carefully for tools, and planning future upgrades, you can create a professional-quality workshop without exceeding your budget.
Common Beginner Mistakes to Avoid in Your DIY Woodworking Workshop
Building a DIY woodworking workshop is an exciting milestone, but many beginners make avoidable mistakes that lead to wasted money, inefficient workflows, and even safety hazards. The good news is that most of these problems can be prevented with proper planning and a willingness to learn from experienced woodworkers.
By recognizing these common mistakes early, you can build a workshop that grows with your skills while avoiding costly setbacks.
If you’re still planning your workspace, our guide on Setup Woodworking Shop: Layouts and Essential Tools is an excellent resource for creating a practical and efficient workshop from the start.
Buying Too Many Tools Too Soon
One of the biggest mistakes beginners make is assuming they need every woodworking tool before starting their first project.
While professional workshops may contain dozens of machines, most DIY projects can be completed with a relatively small collection of quality tools.
Start with the essentials:
-
Tape measure
-
Combination square
-
Circular saw
-
Cordless drill
-
Random orbital sander
-
Clamps
-
Safety equipment
As your projects become more advanced, you’ll naturally discover which additional tools are worth purchasing.
If you’re unsure where to begin, Beginner Woodworking Projects: 10 Easy Builds to Try offers simple projects that require only basic tools while helping you build confidence.
Ignoring Workshop Organization
A cluttered DIY woodworking workshop quickly becomes frustrating and unsafe.
Leaving tools scattered across benches or storing lumber wherever space is available wastes time and increases the risk of accidents.
Instead, create designated storage areas for:
-
Hand tools
-
Power tools
-
Fasteners
-
Measuring equipment
-
Clamps
-
Lumber
-
Finishing supplies
Developing the habit of returning every tool after use makes each future project more enjoyable and productive.
If you’re looking for additional organization ideas, Shed Storage Ideas: 15 Smart Ways to Maximize Space includes practical storage solutions that work well in both sheds and home workshops.
Overlooking Safety
Many beginners focus on tools while overlooking safety equipment and safe working habits.
Every DIY woodworking workshop should include:
-
Safety glasses
-
Hearing protection
-
Dust mask or respirator
-
Push sticks
-
Fire extinguisher
-
First aid kit
Never remove blade guards or bypass safety features simply to save a few seconds.
According to OSHA, proper dust collection, hearing protection, and respiratory protection play an important role in reducing long-term health risks associated with woodworking.
Safety should become part of every project—not something you think about only after an accident.
Choosing the Wrong Wood
Selecting unsuitable lumber can make even simple woodworking projects unnecessarily difficult.
Some woods are easier to cut, sand, and finish than others, while certain species are better suited for furniture, outdoor projects, or decorative pieces.
Before buying materials, read Types of Wood: Complete Guide for Every Project to understand the characteristics of common wood species.
If you’re planning to build furniture, Types of Wood for Furniture: 10 Best Options & Uses can help you choose durable and attractive materials that match your project goals.
Making informed material choices saves both time and money.
Skipping Project Planning
Rushing into a project without a plan often leads to inaccurate measurements, wasted materials, and unnecessary frustration.
Before making the first cut:
-
Review the project plans.
-
Measure twice.
-
Confirm material quantities.
-
Check tool availability.
-
Organize hardware.
-
Prepare your workspace.
Spending a few extra minutes planning can prevent hours of rework later.
To stay organized, The Beginner’s DIY Workshop Planner helps you record measurements, workshop layouts, tool inventories, shopping lists, and future project ideas in one convenient place.
Trying to Build Everything Alone
Many beginners spend countless hours searching for workshop layouts and project ideas through trial and error.
While experience is the best teacher, learning from proven resources can shorten the learning curve considerably.
If you’re planning to create a compact, efficient workshop, some DIY woodworkers choose UltimateSmallShop for additional workshop layout ideas and storage solutions. It’s an optional resource that may help you avoid common setup mistakes while making the most of limited space.
Remember, every experienced woodworker was once a beginner. By avoiding these common mistakes, planning carefully, staying organized, and prioritizing safety, your DIY woodworking workshop will become a productive space where you can confidently build projects for years to come.
Common Beginner Mistakes to Avoid in Your DIY Woodworking Workshop
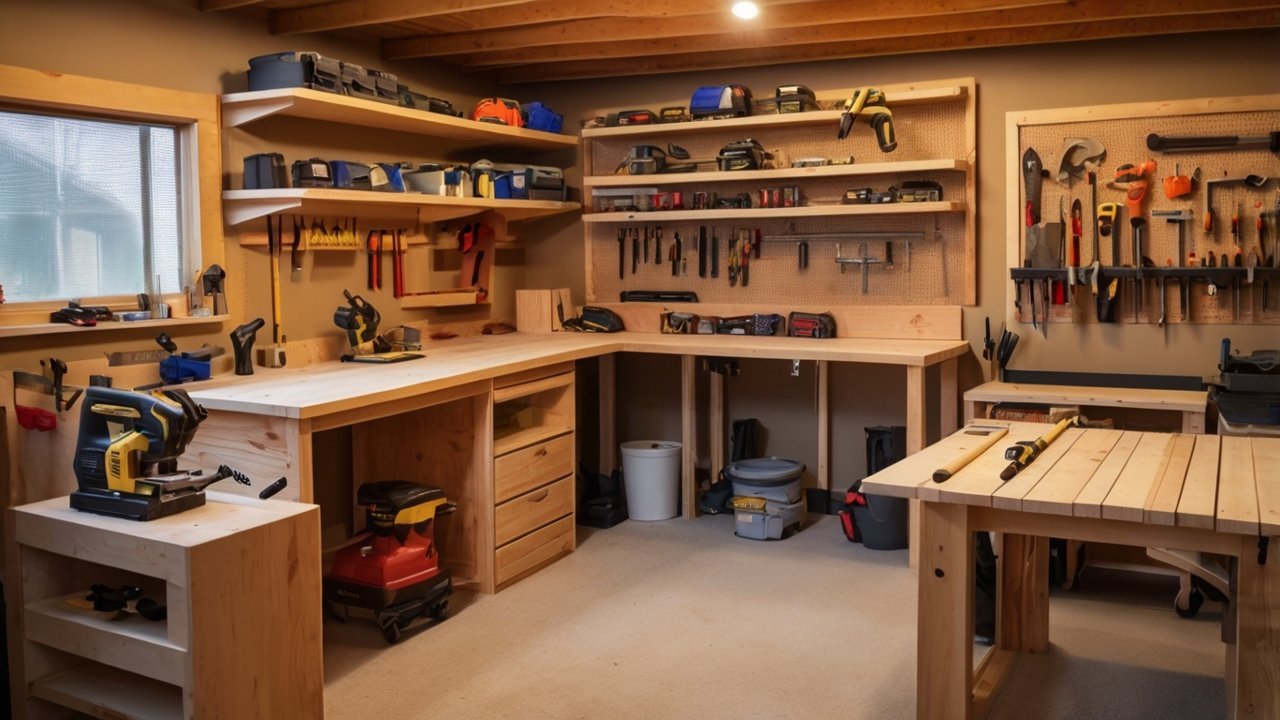
Building a DIY woodworking workshop is an exciting milestone, but many beginners make avoidable mistakes that lead to wasted money, inefficient workflows, and even safety hazards. The good news is that most of these problems can be prevented with proper planning and a willingness to learn from experienced woodworkers.
By recognizing these common mistakes early, you can build a workshop that grows with your skills while avoiding costly setbacks.
If you’re still planning your workspace, our guide on Setup Woodworking Shop: Layouts and Essential Tools is an excellent resource for creating a practical and efficient workshop from the start.
Buying Too Many Tools Too Soon
One of the biggest mistakes beginners make is assuming they need every woodworking tool before starting their first project.
While professional workshops may contain dozens of machines, most DIY projects can be completed with a relatively small collection of quality tools.
Start with the essentials:
-
Tape measure
-
Combination square
-
Circular saw
-
Cordless drill
-
Random orbital sander
-
Clamps
-
Safety equipment
As your projects become more advanced, you’ll naturally discover which additional tools are worth purchasing.
If you’re unsure where to begin, Beginner Woodworking Projects: 10 Easy Builds to Try offers simple projects that require only basic tools while helping you build confidence.
Ignoring Workshop Organization
A cluttered DIY woodworking workshop quickly becomes frustrating and unsafe.
Leaving tools scattered across benches or storing lumber wherever space is available wastes time and increases the risk of accidents.
Instead, create designated storage areas for:
-
Hand tools
-
Power tools
-
Fasteners
-
Measuring equipment
-
Clamps
-
Lumber
-
Finishing supplies
Developing the habit of returning every tool after use makes each future project more enjoyable and productive.
If you’re looking for additional organization ideas, Shed Storage Ideas: 15 Smart Ways to Maximize Space includes practical storage solutions that work well in both sheds and home workshops.
Overlooking Safety
Many beginners focus on tools while overlooking safety equipment and safe working habits.
Every DIY woodworking workshop should include:
-
Safety glasses
-
Hearing protection
-
Dust mask or respirator
-
Push sticks
-
Fire extinguisher
-
First aid kit
Never remove blade guards or bypass safety features simply to save a few seconds.
According to OSHA, proper dust collection, hearing protection, and respiratory protection play an important role in reducing long-term health risks associated with woodworking.
Safety should become part of every project—not something you think about only after an accident.
Choosing the Wrong Wood
Selecting unsuitable lumber can make even simple woodworking projects unnecessarily difficult.
Some woods are easier to cut, sand, and finish than others, while certain species are better suited for furniture, outdoor projects, or decorative pieces.
Before buying materials, read Types of Wood: Complete Guide for Every Project to understand the characteristics of common wood species.
If you’re planning to build furniture, Types of Wood for Furniture: 10 Best Options & Uses can help you choose durable and attractive materials that match your project goals.
Making informed material choices saves both time and money.
Skipping Project Planning
Rushing into a project without a plan often leads to inaccurate measurements, wasted materials, and unnecessary frustration.
Before making the first cut:
-
Review the project plans.
-
Measure twice.
-
Confirm material quantities.
-
Check tool availability.
-
Organize hardware.
-
Prepare your workspace.
Spending a few extra minutes planning can prevent hours of rework later.
To stay organized, The Beginner’s DIY Workshop Planner helps you record measurements, workshop layouts, tool inventories, shopping lists, and future project ideas in one convenient place.
Trying to Build Everything Alone
Many beginners spend countless hours searching for workshop layouts and project ideas through trial and error.
While experience is the best teacher, learning from proven resources can shorten the learning curve considerably.
If you’re planning to create a compact, efficient workshop, some DIY woodworkers choose UltimateSmallShop for additional workshop layout ideas and storage solutions. It’s an optional resource that may help you avoid common setup mistakes while making the most of limited space.
Remember, every experienced woodworker was once a beginner. By avoiding these common mistakes, planning carefully, staying organized, and prioritizing safety, your DIY woodworking workshop will become a productive space where you can confidently build projects for years to come.
Affiliate Disclosure
This article may contain affiliate links. If you purchase through these links, I may earn a small commission at no additional cost to you. I only recommend tools, materials, and resources that I believe are genuinely useful for DIY enthusiasts and woodworkers. Your support helps keep this website running and allows me to continue creating helpful woodworking content.