Small Workshop Storage Ideas: 15 Ways to Save Floor Space
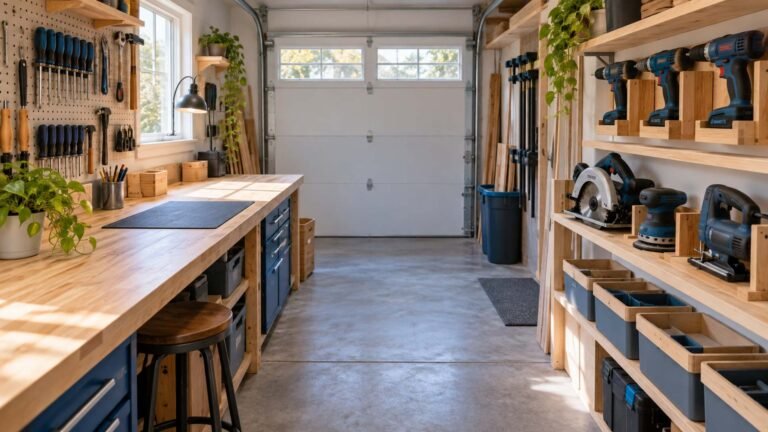
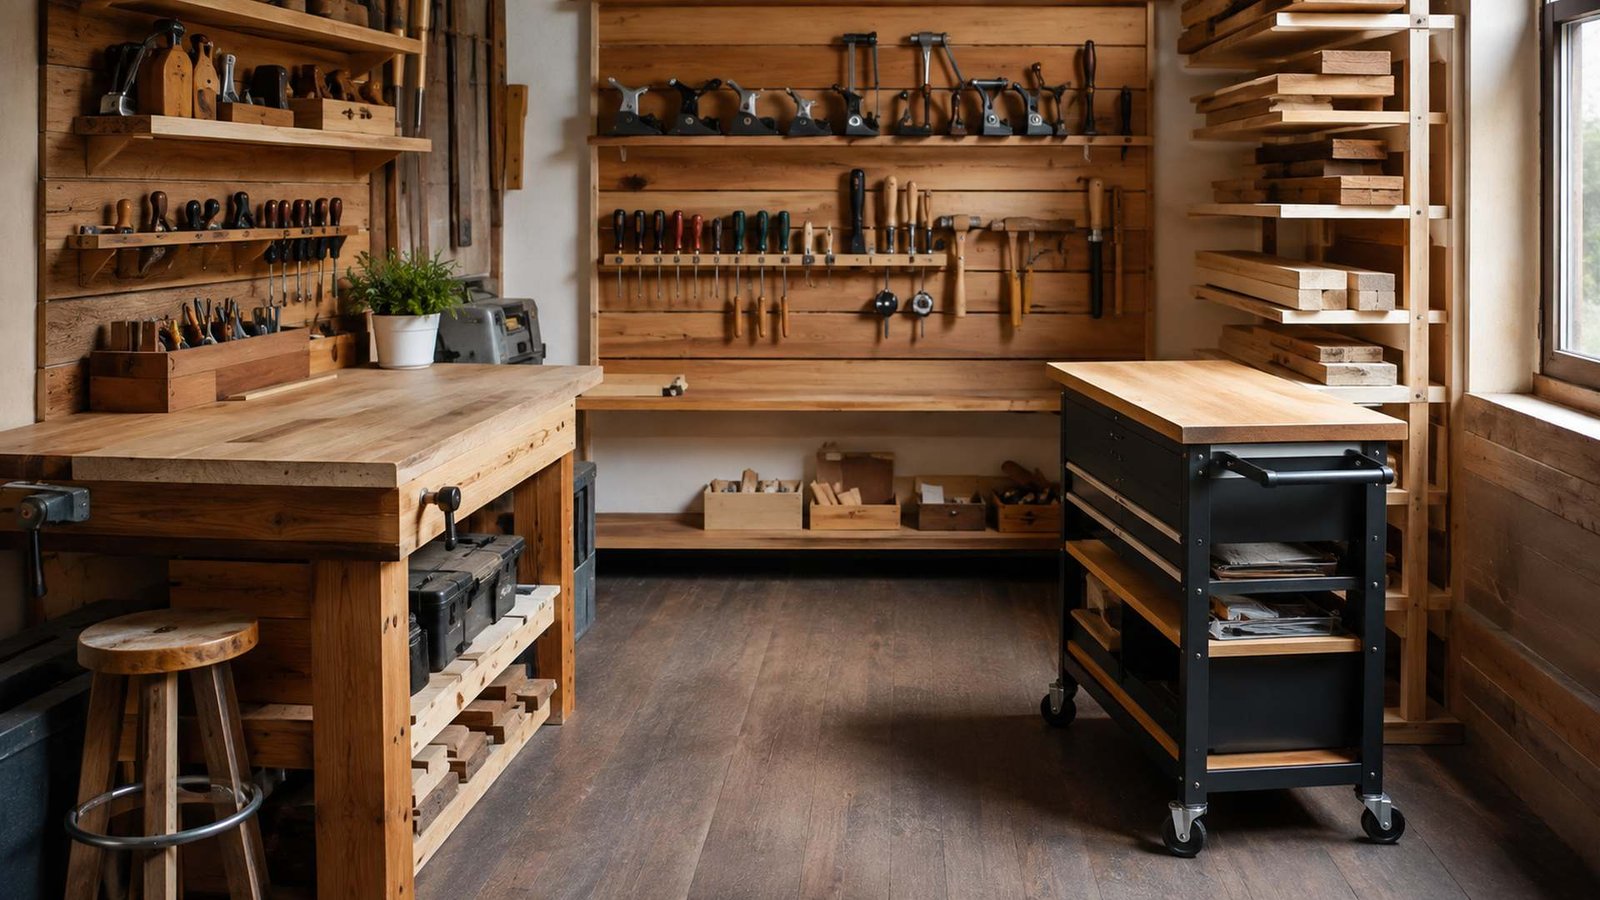
A crowded shop is rarely caused by one large tool. More often, offcuts, clamps, hardware, chargers, and half-finished projects gradually occupy every open surface. The most useful small workshop storage ideas solve that problem without taking more floor area away from the work itself.
Good storage is not simply a collection of cabinets. It is a system that puts frequently used tools close to the work zone, keeps heavy items safely supported, and gives every movable station a clear place to return. That matters in a garage, shed, basement, or spare room where a few inches can determine whether you can move a board safely.
This guide covers 15 practical ways to use walls, benches, corners, doors, and mobile bases. You do not need to install them all. Start with the source of your worst daily clutter, build one solution, and adjust it after a real project.
Plan Storage Before You Build It
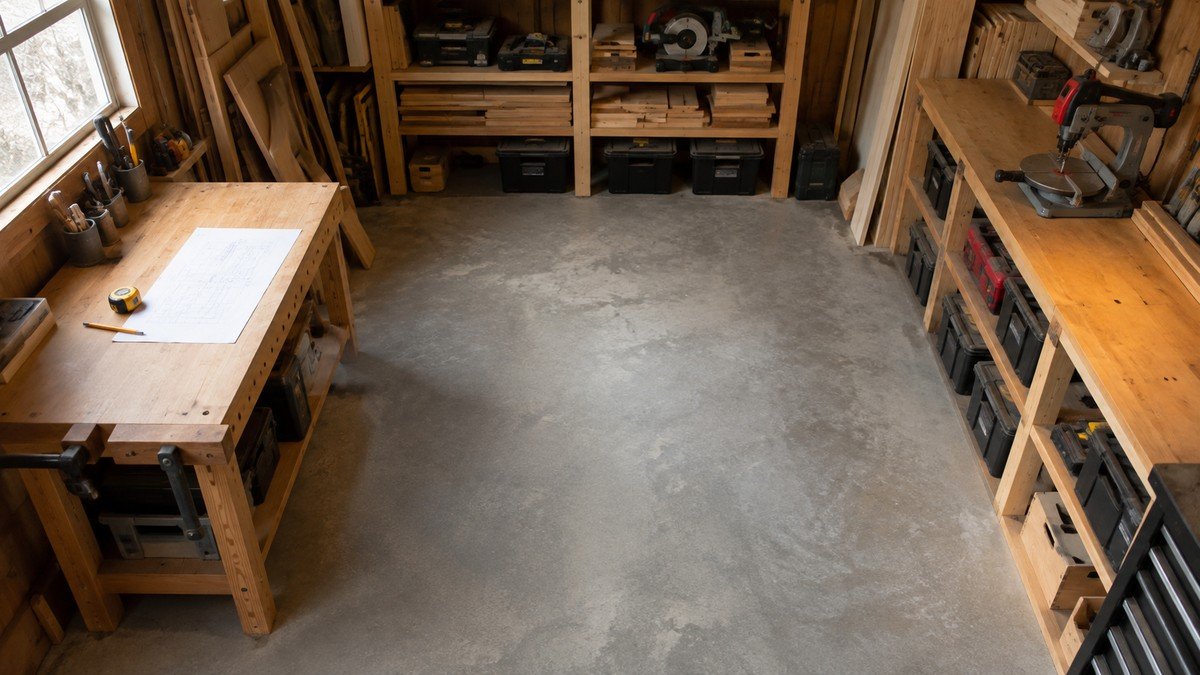
Storage works best when it reflects what you actually own and how you work. Buying bins before sorting usually creates containers full of unrelated objects. Instead, begin with a quick inventory and a simple sketch. The same approach used for a beginner workshop setup applies here: measure first, protect the working route, and add fixtures only where they support the workflow.
Remove, Group, and Measure
Move obvious trash, unusable scraps, and duplicate packaging out first. Then group the remaining items by function: measuring, cutting, drilling, sanding, assembly, finishing, maintenance, and safety. Put fasteners and small hardware in their own group. Separate project materials from permanent tool storage so a current build does not permanently reshape the shop.
Measure the usable wall sections, the space below benches, and any shallow gaps beside cabinets. Record door swings, window openings, outlets, lights, ventilation, and garage-door tracks. Also measure the tools and containers that will occupy a proposed fixture. A shelf that fits the wall but not the sander is not useful.
Consider frequency as well as size. Tools used during nearly every session should be reachable without moving another object. Occasional jigs can go higher or deeper. Heavy tools belong lower, where lifting is controlled. Chemicals and finishes need storage appropriate to their labels and must stay away from heat or ignition sources.
Protect Access and Working Clearances
Draw the normal walking path and the space required to operate each tool. Keep electrical panels, utility equipment, doors, windows, and emergency access unobstructed. If your workshop shares a garage with a vehicle, check door and hatch movement before fastening anything to the wall.
Do not treat the ceiling as free space until you inspect the structure and understand the load. Storage should attach to suitable framing with hardware rated for the intended load. When the structure or capacity is uncertain, ask a qualified professional rather than estimating.
A useful plan has three layers: daily-use storage near the work, secondary storage at the edges, and temporary space for the active project. The 8×8 workshop layout guide can help you think through compact zones before committing to cabinets.
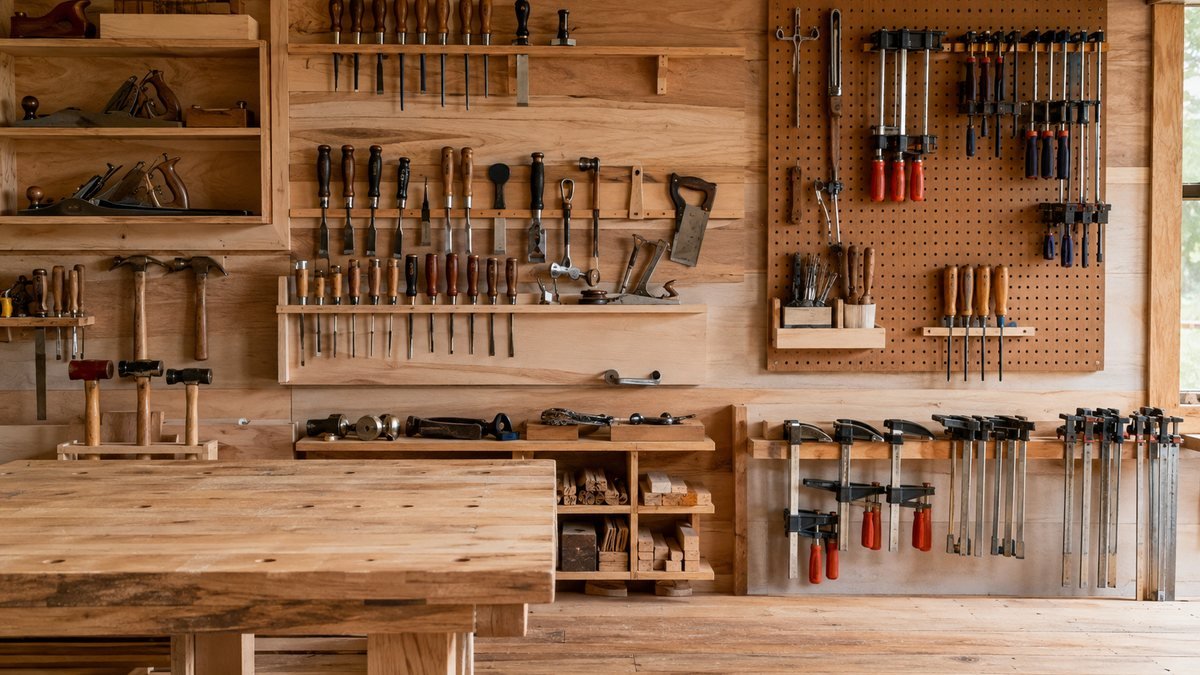
Use Walls for Everyday Tools
Walls can hold a surprising amount without reducing the central work area. The goal is not to cover every wall. It is to create shallow, secure storage that shows you what is available and makes returning a tool easy.
1. Modular French-Cleat Panels
A French-cleat wall uses matching beveled strips: one secured to the wall and another attached to a holder. The holder can be lifted and repositioned as your tool collection changes. This is useful for drills, measuring tools, small planes, sanding supplies, and custom holders.
Secure the wall cleats to appropriate framing and size each holder for its load. Test new holders low over a clear area before relying on them. Keep the heaviest items below shoulder height. Leave enough spacing so removing one tool does not knock another from its holder.
The main advantage is adaptability. You can begin with a short panel behind the bench and add holders only when a storage need is proven.
2. Shallow Shelves and Pegboard
Shallow shelves keep small containers visible and reduce the temptation to create a deep pile. Add a front lip where items could slide. Pegboard is useful for light hand tools because hooks can be rearranged quickly, although frequently removed hooks may need retainers.
Avoid hanging heavy tools from an unknown panel or unsupported edge. Follow the panel and hook manufacturer’s limits, and anchor the panel properly. Use outlines, labels, or consistent positions if several people share the shop.
Place measuring and marking tools away from grinding dust and finishing spills. Store delicate squares so they cannot be bent, and protect cutting edges rather than leaving them exposed.
3. Compact Clamp and Hand-Tool Racks
Clamps consume floor space when leaned in a corner and become awkward to sort when stacked horizontally. A wall rack can hold bar clamps vertically or horizontally, depending on wall height and the rack design. Position it close to the assembly bench but outside the main walking route.
Build the rack around the clamps you own, not the largest collection you imagine buying. Provide positive support so the clamps cannot roll or slide off. A separate shallow rack can hold saws, chisels, and layout tools with guards or enclosed cutting edges.
Leave room for your hand to lift each tool without touching the one beside it. Dense storage is only efficient if retrieval remains simple.
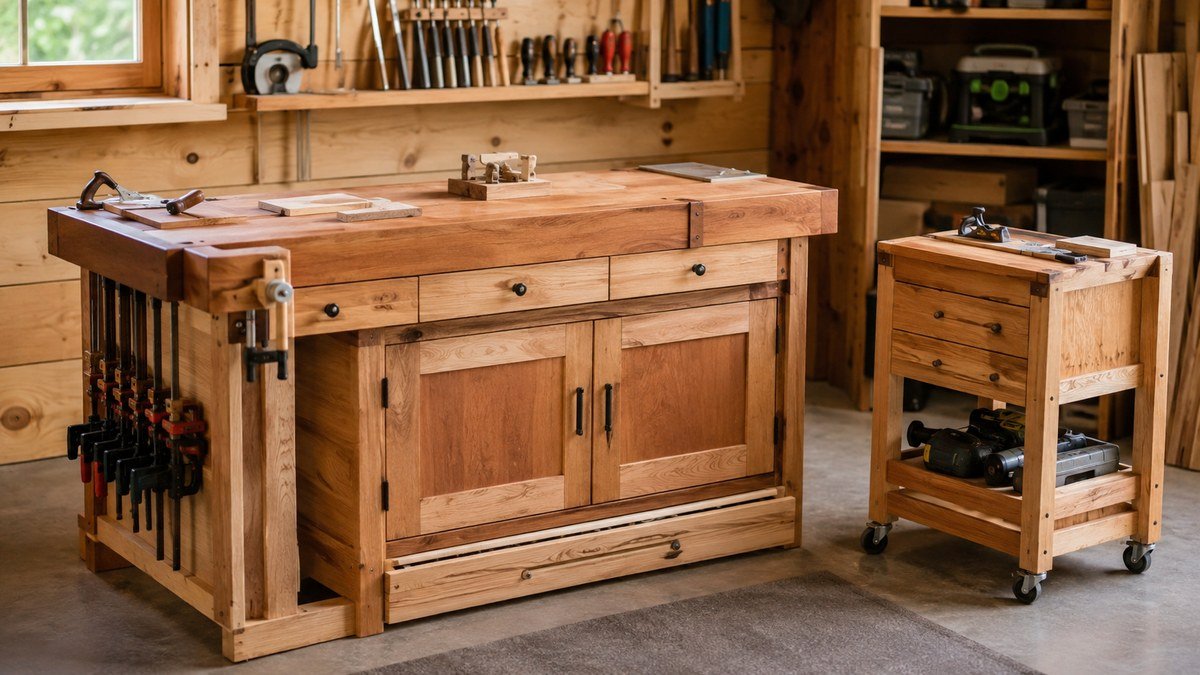
Put Cabinets and Benches to Work
Benches and cabinets occupy floor area already, so the volume beneath and around them should work hard. The trick is to add storage without weakening the bench, blocking clamps, trapping dust, or making maintenance impossible.
4. Under-Bench Drawers
Shallow drawers are ideal for measuring tools, drill bits, abrasives, and frequently used hand tools. Several shallow drawers are often easier to manage than one deep drawer where items stack. Dividers prevent contents from shifting and make missing tools obvious.
Keep drawer units clear of holdfast holes, vises, clamp edges, and bench hardware. Allow space for seasonal wood movement in a wooden bench, and avoid modifications that weaken structural rails. Full-extension access can be convenient, but any slides must be installed within their stated load and mounting requirements.
Use the top drawer for light daily tools and lower drawers for heavier items. A removable tray can bring a complete task set to another workstation.
5. Toe-Kick Storage
The recessed space beneath a base cabinet can sometimes hold a very shallow drawer for flat, light items such as manuals, templates, sanding sheets, or small layout aids. It is a useful place only when the drawer will not interfere with your stance or collect wet debris.
Seal the drawer against floor dust as practical, provide a stop, and ensure the pull does not protrude into the walking path. Avoid using this space for heavy tools or anything you need during an emergency.
Toe-kick storage is a finishing detail, not a first priority. Build it after the main shop layout has proved comfortable.
6. Fold-Down Workbench
A fold-down bench can create assembly or layout space and disappear when the shop must serve another purpose. It needs secure wall attachment, a rigid top, and supports that transfer the working load appropriately. Hinges alone should not be expected to carry bench loads.
Before building one, decide what work it will support. Light assembly and layout have different demands from hand-planing or a mounted power tool. Check the folded position for pinch points and secure the top so it cannot fall open.
Keep the wall area immediately below organized so the legs or braces can deploy fully. If a permanent heavy bench fits your workflow better, do not choose a folding design only because it appears compact.
7. Rolling Tool Cart
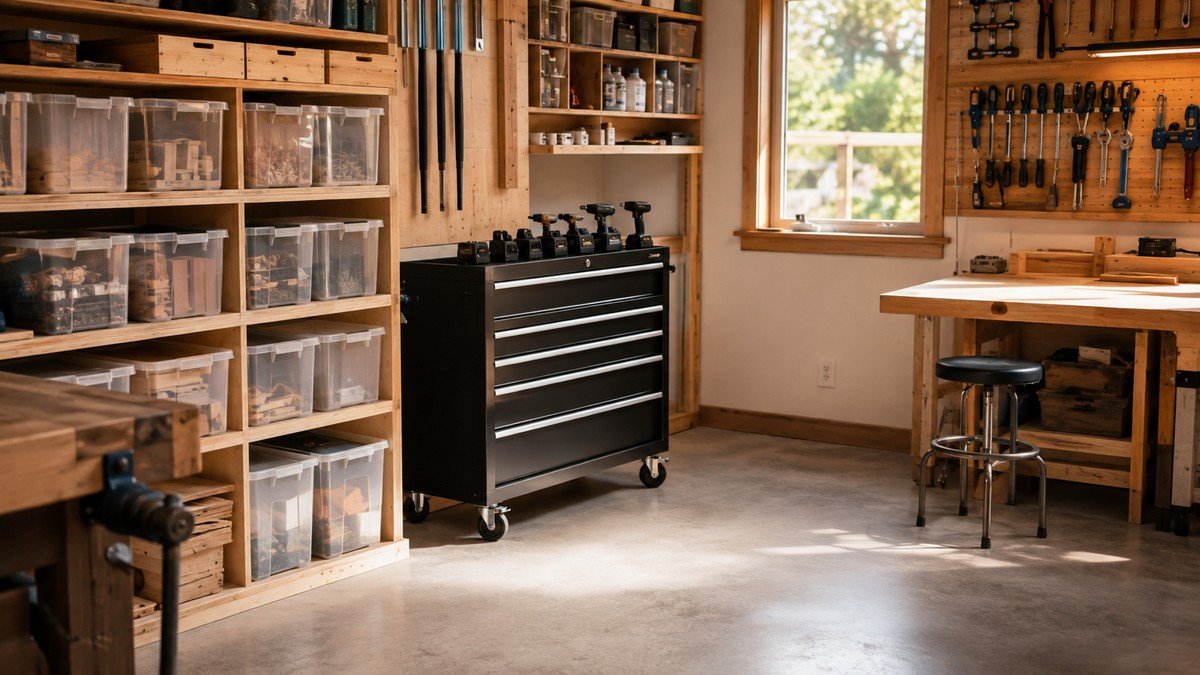
A rolling cart can combine a small work surface with drawers or shelves. It is especially helpful when one set of tools serves several stations. Design the cart around door widths, turning space, floor condition, and a defined parking location.
Use wheels and fasteners suitable for the loaded cart, keep heavy items low, and do not rely on wheel brakes alone for operations that create strong lateral force. A machine cart may require leveling feet or another way to place the load firmly on the floor.
An open cart is easy to inspect; a closed cart controls dust better. Choose based on what it stores. For broader purchasing priorities, the small woodworking shop budget guide helps separate essential improvements from attractive extras.
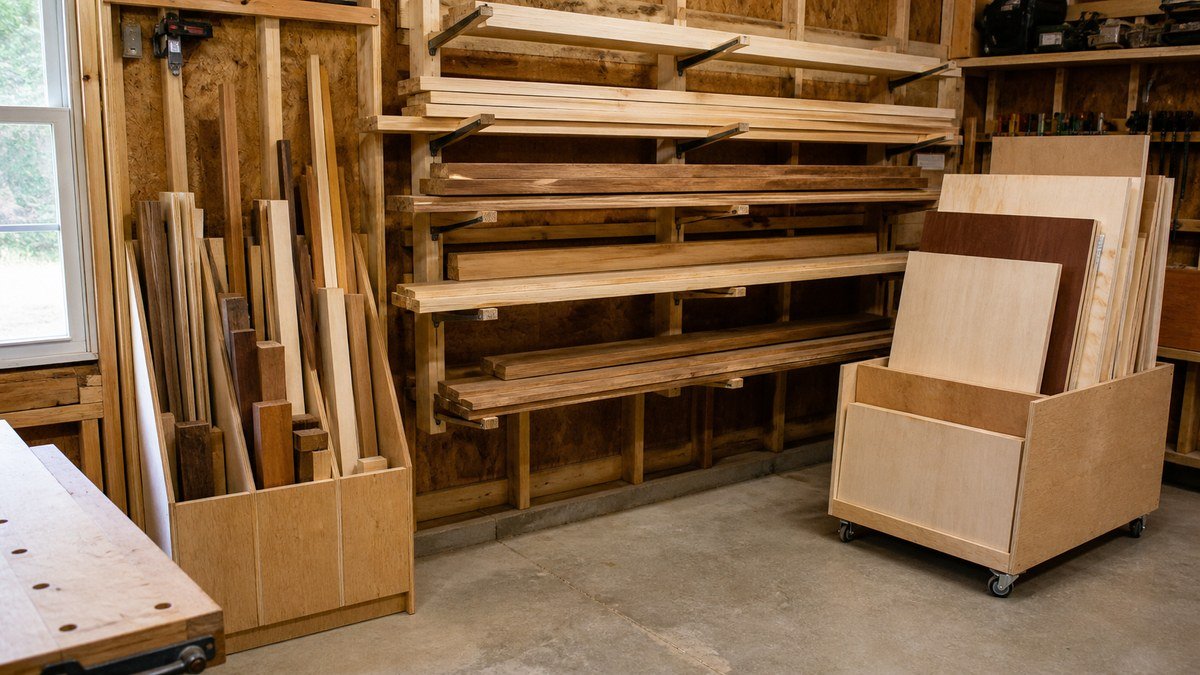
Store Lumber and Sheet Goods Safely
Lumber storage must support the material, protect it from moisture, and avoid creating a top-heavy obstacle. The right system depends on the stock you normally buy and the projects you actually build.
8. Vertical Scrap-Wood Bins
A divided floor bin keeps short offcuts upright and sorted by length or material. Use a broad, stable base and limit the height so pieces cannot lean into a walkway. Smooth exposed edges and avoid narrow slots that make scraps difficult to retrieve.
Set a maximum scrap length and minimum useful size. When a compartment fills, remove pieces that have no planned use. A scrap bin becomes clutter again if it accepts every fragment indefinitely.
Place it near the cutting area but outside the material travel path. Never reach blindly among sharp or splintered pieces; remove them where you can see the contents.
9. Horizontal Lumber Racks
Wall-mounted arms can support longer boards in horizontal layers. Mount them to suitable structure and follow the system’s load, spacing, and installation requirements. Distribute stock evenly and prevent round pieces or narrow strips from rolling.
Store heavier boards on lower levels and keep the highest practical shelf within controlled reach. Avoid positioning lumber above a parked vehicle, frequently occupied bench, or doorway. Inspect supports periodically for loosened hardware or deflection.
Sticker boards when air circulation is needed and keep lumber away from damp masonry where practical. A smaller, planned inventory is easier to protect and safer to handle than a wall filled to capacity.
10. Compact Sheet-Goods Cart
A divided cart can hold manageable sheet goods and narrow panels on edge while providing a separate pocket for useful offcuts. Keep the base wide enough for stability and the dividers strong enough to prevent sheets from falling sideways.
Full sheets are heavy and awkward in a tiny shop. If your projects allow, have material broken down before bringing it inside or use a supported cutting method suitable for the tool. Never pull a sheet from the middle of an unstable stack.
Plan the cart’s route before building it. It must pass through the shop and reach a safe cutting position without requiring you to twist around other machines.
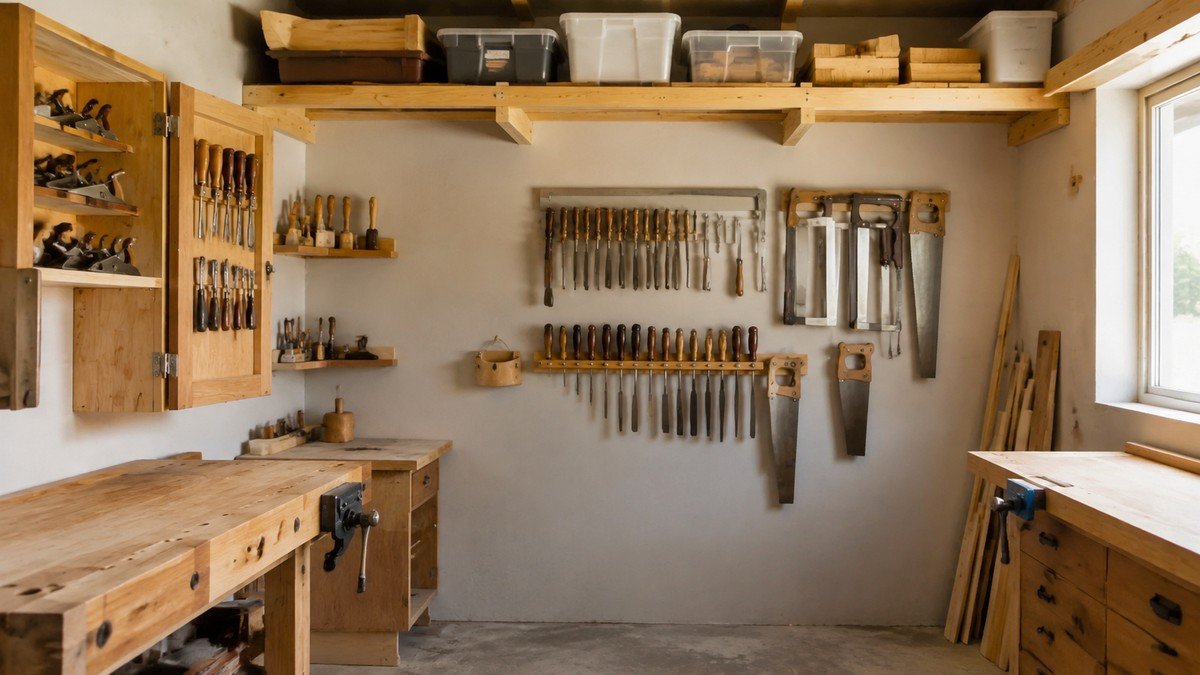
Capture Awkward and Overhead Space
Corners, doors, and high walls can provide useful secondary storage, but they also invite unsafe improvisation. Use these areas for light or infrequently accessed items and keep the working zone clear.
11. Door-Back Organizers
The back of a cabinet door can hold light measuring tools, instruction sheets, small sanding accessories, or personal protective equipment. Keep the load modest so hinges still operate smoothly. Check that mounted items do not strike shelves when the door closes.
A wall door can sometimes support a lightweight organizer designed for that purpose, but confirm that it does not reduce required clearance or interfere with the handle. Do not place sharp or heavy tools where a swinging door could dislodge them.
12. Corner Shelves
Triangular or wraparound corner shelves can store light containers that otherwise occupy a bench. Shallow shelves preserve visibility and headroom. Add a front restraint when vibration or door movement could shift the contents.
Avoid deep blind corners that collect unknown hardware. A rotating tray may help with small supplies, provided it is stable and appropriate for the load. Keep finishing products separate and follow their storage labels.
Corner storage works best when it serves the adjacent station. Sandpaper near sanding or glue supplies near assembly reduce unnecessary movement.
13. Ceiling Storage for Light Items
Overhead racks may suit light seasonal jigs, empty cases, or low-use materials when the structure and installation are verified. They are not the default answer for dense lumber, heavy machines, or loosely stacked objects.
Maintain clearance from lights, doors, tracks, sprinklers, ventilation, and utilities. Do not store objects above a vehicle or a place where people regularly stand. Use positive restraints and inspect mounting points.
If access requires an unstable reach, the storage is too high or the item is too heavy. Use an appropriate step platform on a clear floor, and move the item to lower storage if retrieval is not controlled.
Make Storage Mobile, Visible, and Easy to Reset
A compact workshop stays organized only when returning tools is faster than leaving them on the bench. Visibility, clear labels, and a short cleanup routine matter more than matching containers.
14. Labeled Small-Parts Storage
Sort screws, bolts, washers, anchors, and specialty hardware by a system you can maintain. Transparent drawers or open-front bins make quantities visible. Labels should describe size and type clearly enough that you do not need to open several containers.
Affiliate note: This section contains affiliate links.
A wall-mounted parts-bin organizer may be useful when you have a suitable wall, many small fasteners, and enough mounting support. Confirm the included components, dimensions, wall compatibility, and load information on the current listing before ordering. Keep the heaviest hardware in lower bins and avoid placing open bins where dust from a machine is directed toward them.
Do not buy a large organizer before sorting. Empty bins consume wall space too. Start with the hardware used in current projects and leave a modest amount of room for common additions.
15. Mobile Bases and Charging Stations
A mobile base can allow a stationary tool or cabinet to share floor area, but mobility must not compromise stability. Match the base to the equipment, total load, footprint, center of gravity, and floor condition. Follow the equipment and base instructions, and confirm the tool is stable before use.
Create a fixed parking outline for every mobile station. If two carts depend on the same parking spot, the reset will fail. Route dust hoses and cords so they do not cross the walking path.
A small charging station can group compatible chargers, spare batteries, and manuals. Provide ventilation required by the manufacturer, keep the area dry, and avoid improvised electrical modifications. Damaged batteries and cords should be removed from service according to appropriate guidance.
End each session with the same reset:
- Switch off and unplug tools where appropriate.
- Return hand tools to their visible positions.
- Collect hardware and label any new containers.
- Remove dust using suitable collection methods.
- Stow carts and check the walking route.
- Record storage problems noticed during the project.
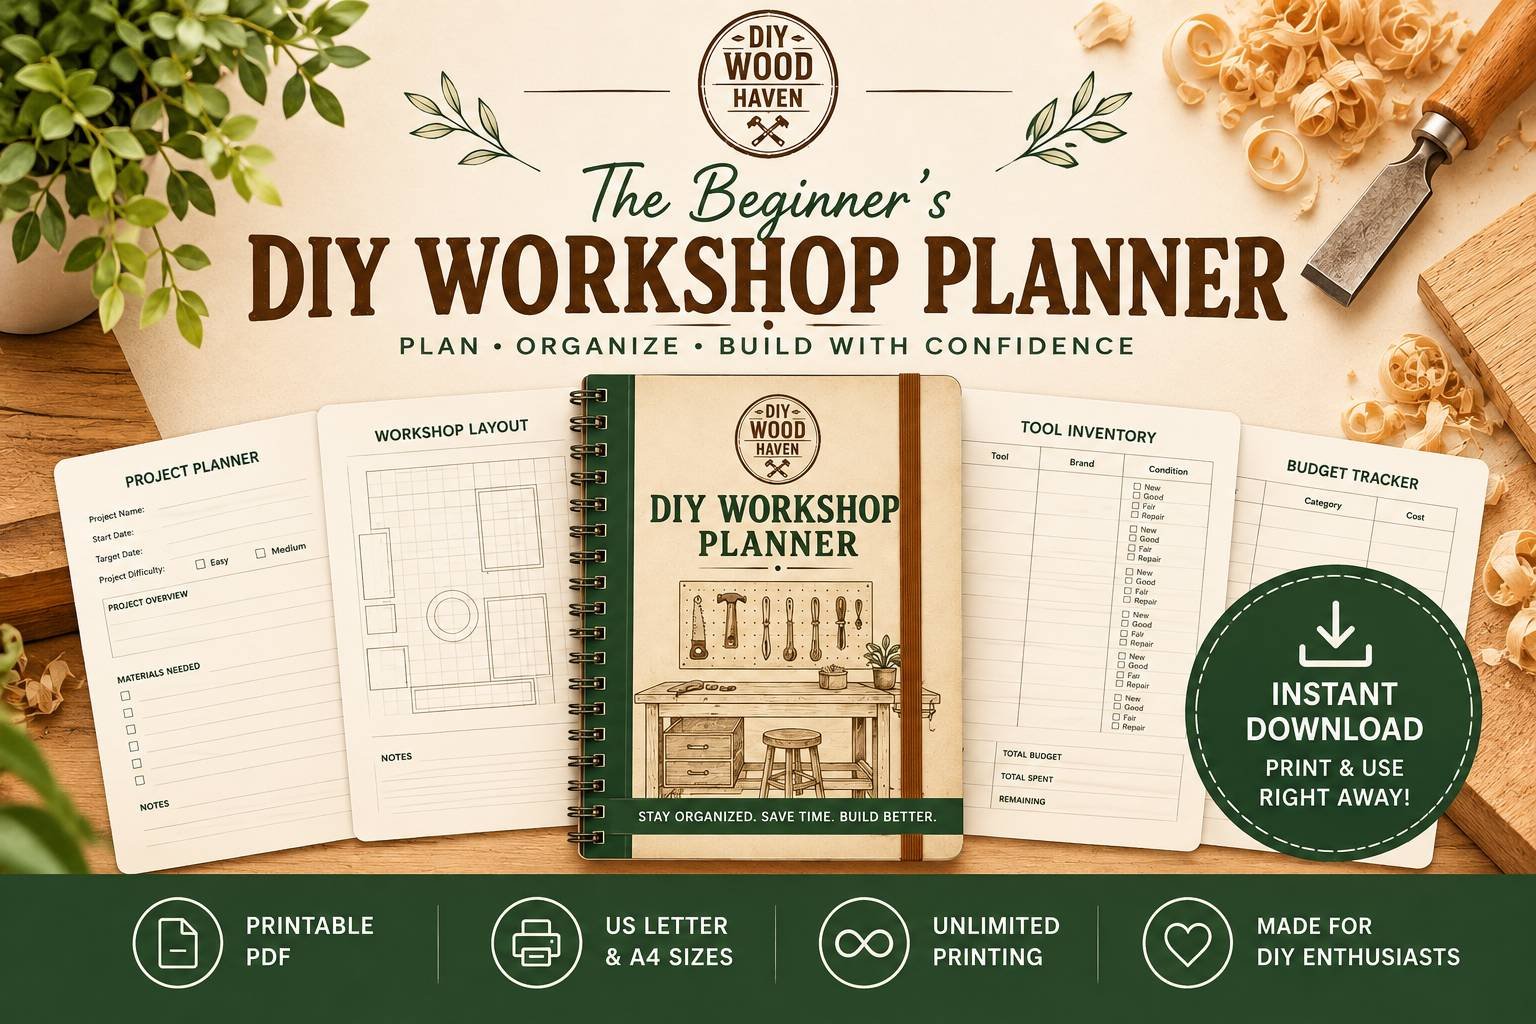
If you want a paper system for measurements, zones, storage priorities, and budget choices, The Beginner’s DIY Workshop Planner can help organize those decisions before you build more fixtures.

Frequently Asked Questions
What is the cheapest way to organize a small workshop?
Start by removing unusable scraps and grouping what remains. Reuse sound containers, add clear labels, and build simple holders from suitable offcuts. A short wall cleat, shallow shelf, or divided scrap bin can solve a specific problem without reorganizing the entire shop. Spend first on secure mounting and safe support, not decorative matching storage.
Is pegboard or a French-cleat wall better?
Pegboard is quick to rearrange and works well for light hand tools. A French-cleat system can support custom holders and may adapt better to changing tool shapes. Either system must be mounted correctly and used within the capacity of its panels, fasteners, and wall structure. Choose the one that makes daily tools easiest to return.
How should lumber be stored in a small shop?
Support long boards evenly, keep heavy stock low, and prevent material from rolling or falling into the aisle. Short scraps can go in a stable divided bin. Sheet goods need controlled edge support or a suitable cart. Protect wood from damp surfaces and avoid keeping more material than your available storage can safely hold.
Is ceiling storage safe in a garage workshop?
It can be appropriate for light items when the building structure, rack, fasteners, clearances, and installation are suitable. It should not obstruct garage-door hardware, lighting, ventilation, utilities, or access. Avoid storage above vehicles and occupied work areas. If structural capacity is uncertain, obtain qualified advice before installation.
How deep should workshop shelves be?
There is no universal depth. Measure the items the shelf must hold, then use the shallowest practical depth that supports them securely. Shallow shelves improve visibility and reduce hidden piles. Consider head clearance, door movement, the walking route, wall structure, and the manufacturer’s requirements for any purchased brackets.
How do I keep a small workshop organized?
Give every frequently used item a clear home close to where it is used. Limit scrap and supplies to defined containers, label small parts, and reserve parking spots for mobile stations. Finish each session with the same short reset. When clutter returns, fix the specific storage failure instead of adding another general-purpose cabinet.
Conclusion
The best small workshop storage ideas do more than hold tools: they protect the floor area needed to move, support material, and work safely. Begin with an inventory and a measured plan. Move daily tools to shallow wall storage, use the space already occupied by benches, and control lumber and hardware before they become permanent piles.
Choose one frustration to solve first. That might be clamps leaning in a corner, fasteners covering the bench, or a cart without a parking place. Build or buy the smallest suitable solution, complete a real project, and see whether cleanup becomes easier.
Storage should remain adjustable as your work changes. Secure every fixture, respect load limits and access requirements, and keep heavy items low. A shop that resets easily will usually feel larger—and be more useful—than one filled with storage that was never planned.
Affiliate Disclosure: This post contains affiliate links. If you purchase through these links, DIY Wood Haven may earn a commission at no additional cost to you.