
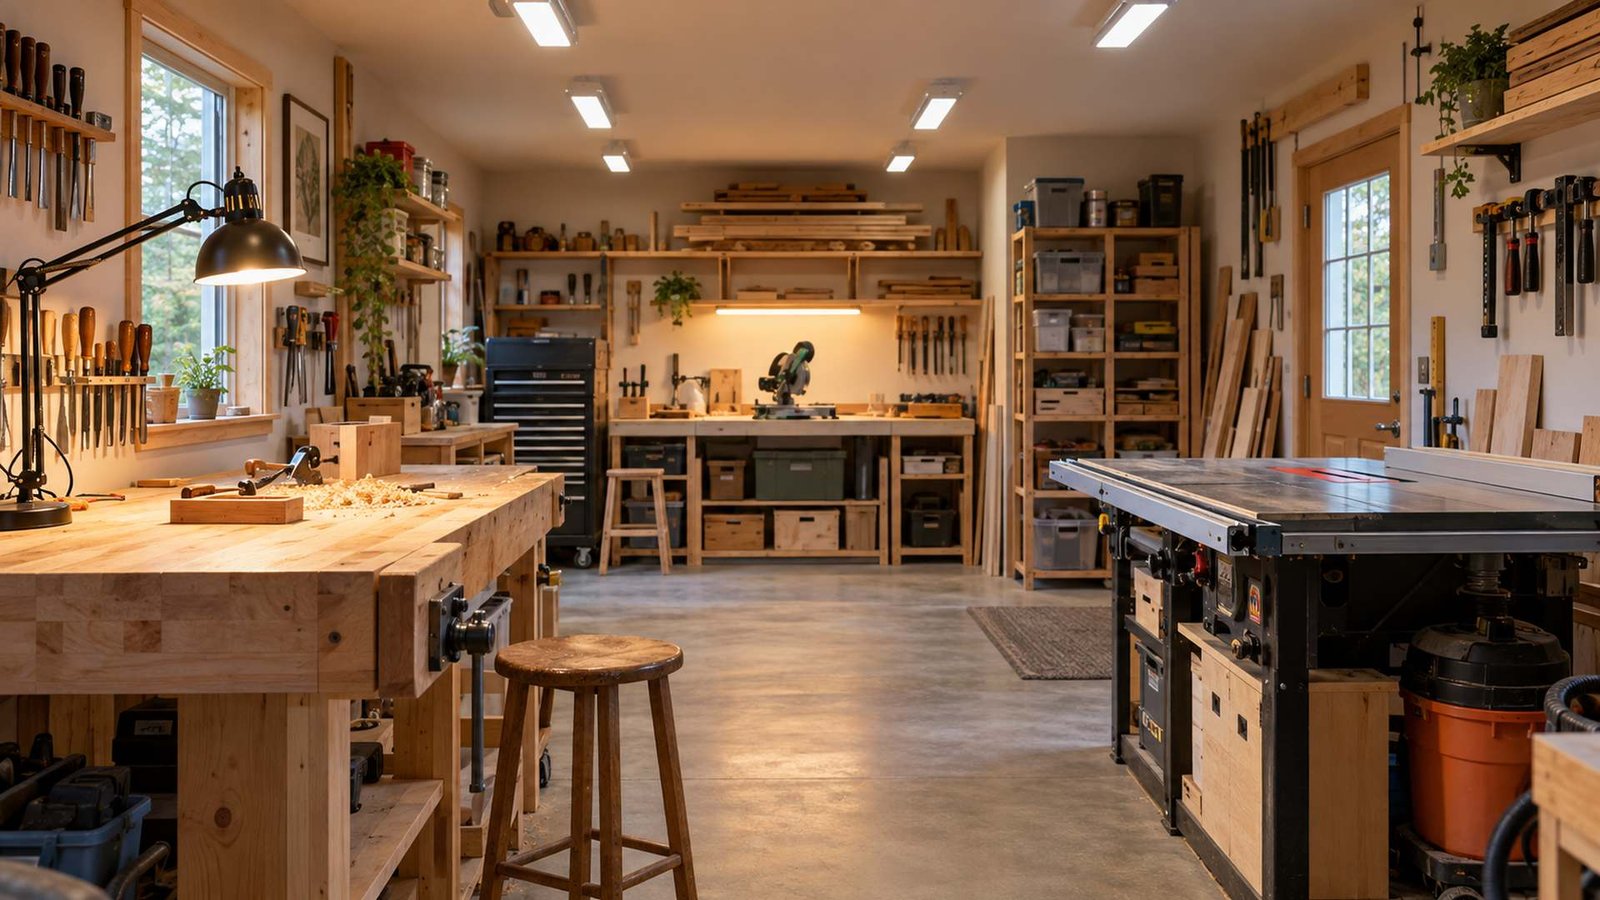
Small Workshop Lighting Planning Guide
Good small workshop lighting makes layout lines easier to see, helps reveal sanding scratches, and reduces the strain of working in dim corners. A shop can have bright fixtures and still perform poorly if your body casts a shadow over the bench, a bare lamp creates glare, or a machine blocks the light exactly where a cut must be watched.
The useful question is not simply how many lamps will fit on the ceiling. It is how much light reaches each working surface, how evenly it arrives, and whether the color and direction help you judge the material. This guide explains small workshop lighting in practical terms: how to map your tasks, understand common specifications, combine ambient and task light, position fixtures, and test the result before making permanent electrical changes.

1. Assess Your Workshop Tasks and Existing Light
Start with the work, not the fixture catalog. Measuring a pencil line, following a saw cut, inspecting a glue joint, and evaluating a finish create different visual demands. A useful small workshop lighting plan identifies where each task occurs and what currently makes it difficult to see. This prevents a common mistake: adding one very bright ceiling light while leaving the bench or machine in shadow.
Map work zones and visual tasks
Sketch the room and mark the workbench, stationary machines, portable-tool area, sharpening station, lumber storage, finishing space, doors, and windows. Add the normal standing position for each task. The location of your head and shoulders matters because a light behind you may illuminate the room while your body blocks the work. Note where long boards travel so low fixtures or hanging cords do not enter the material path.
Walk through a typical project and list the details you need to see in each zone:
- Fine layout lines, ruler marks, and pencil contrast at the bench
- Blade, bit, fence, and workpiece position at machines
- Scratch patterns and glue squeeze-out during sanding and assembly
- Color, sheen, and surface defects during finishing
- Floor obstacles, cords, offcuts, and clear access to exits
If the room layout is still changing, plan lighting alongside a small woodworking shop setup rather than treating it as an isolated upgrade. Fixtures, storage, dust hoses, and machines all compete for ceiling and wall space. A paper plan lets you spot those conflicts before hardware is installed.
Check daylight and current problem areas
Observe the room in the morning, afternoon, and at the hours when you normally build. Window light can be excellent but changes with weather, season, blinds, and the position of the sun. It may also produce glare on a glossy board or leave the opposite side of a machine dark. Treat daylight as a useful layer, not the only source needed for accurate work.
With existing lights on, place a board at every major work position. Move your hands as if marking, drilling, sanding, and assembling. Look for hard-edged shadows, bright reflections, dark tool controls, and areas where your eyes must repeatedly adjust between bright and dim zones. Photographing each station from the normal viewing position can help you compare conditions. This simple audit gives the small workshop lighting plan a clear purpose.
2. Understand Lumens, Lux, Color Temperature, and CRI
Lighting packages use several terms that describe different qualities. Lumens describe the light output of a source. Lux describes how much light reaches a surface; one lux is one lumen spread over one square meter. A high-lumen fixture can still produce a dim bench if it is mounted far away, aimed poorly, blocked, or distributing most of its output somewhere else. For small workshop lighting, the work-surface result matters more than the largest number on the box. Record these terms consistently when comparing small workshop lighting options.
Use lumens and measured illuminance correctly
A floor-area calculation can provide a rough starting point, but it cannot account for dark walls, ceiling height, fixture beam shape, dust on diffusers, cabinet shadows, or the higher visibility needed for precision work. Manufacturer layout information, when available, is more useful than dividing one lumen number by the room area and assuming the result will be uniform.
Affiliate note: This section contains affiliate links.
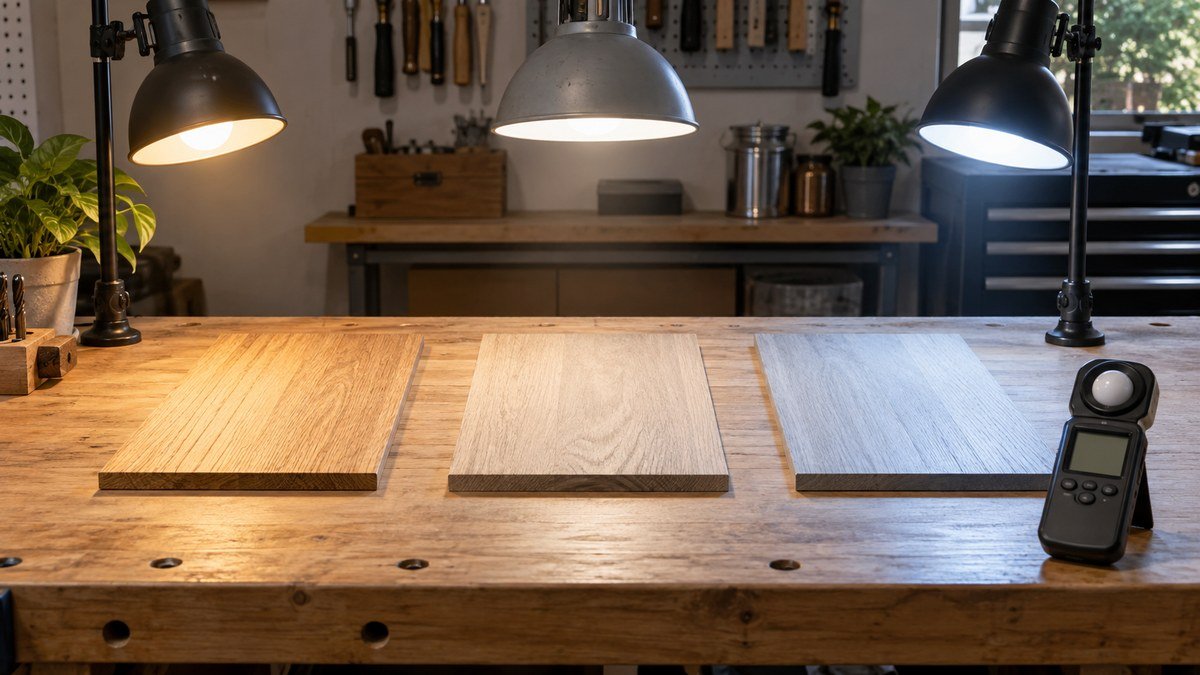
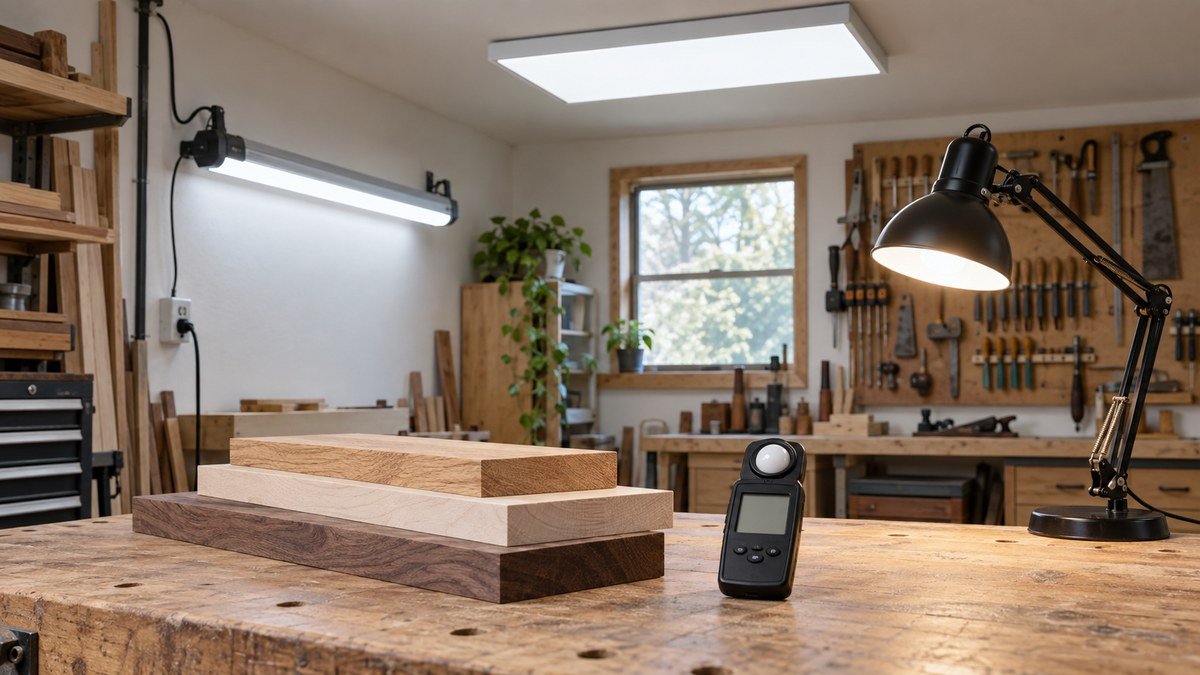
A researched portable digital lux meter can help compare the amount of light reaching different benches and machines. Use it as a repeatable comparison tool rather than proof that one reading guarantees safe or comfortable work. Hold the sensor at the actual work surface, keep your body in the normal position, and record several points instead of only the brightest spot. Follow the meter instructions and use the same method before and after changes.
You can also evaluate uniformity without a meter. Move the same board around the room and judge whether layout marks remain equally readable. If one corner requires squinting or a portable lamp, it needs a task-light solution even when the center of the room feels bright. The amount of small workshop lighting should be determined zone by zone, not from a single ceiling-level impression.
Choose color temperature and color rendering for shop work
Color temperature, expressed in kelvins, describes whether white light appears warmer or cooler. It does not describe brightness. Very warm light can feel comfortable but may make color comparison less neutral, while very cool light can feel harsh in a small reflective room. A neutral appearance is often practical for general woodworking, but comfort and existing daylight still matter. Compare sample fixtures in the actual shop when possible.
Color rendering describes how faithfully colors appear under a source. It matters when you compare wood species, inspect stain, match paint, or judge whether sanding has removed a finish. Do not rely only on a marketing phrase. Review the manufacturer’s current color information, choose consistent light sources in areas where finishes are evaluated, and inspect important color decisions under the lighting where the finished piece will be used.
Flicker and noise can also affect comfort and camera use. If you notice visible pulsing, headaches, distraction, or bands in video, investigate the fixture, driver, dimmer compatibility, and electrical supply. A lighting upgrade should make the shop easier to use, not merely look brighter in a photograph.

3. Build a Layered Small Workshop Lighting Plan
Layered lighting uses broad ambient coverage for safe movement, task lighting for detailed work, and portable lighting for temporary or enclosed areas. This approach is more flexible than expecting one fixture type to handle every operation. It also allows small workshop lighting to adapt when a bench rolls away from the wall or a machine changes position.
Start with even ambient lighting
Ambient fixtures should make the overall room easy to navigate and reduce strong contrast between adjacent zones. Several well-spaced sources often create more even coverage than one intense fixture in the center. Consider the ceiling height, door tracks, storage racks, dust piping, and the open position of cabinet doors before choosing locations. Diffusers can soften bright points and make a compact room feel more comfortable.
A square room does not automatically need a symmetrical pattern. Put coverage where people stand and material moves. In an 8×8 woodworking shop layout, a central machine or tall storage unit may interrupt a neat fixture grid. Adjust the pattern so the bench, machine controls, and walking path remain visible rather than preserving visual symmetry on the ceiling.
Add task lights at benches and machines
Task lights bring illumination closer to layout lines, blades, drill points, and surface defects. Use adjustable fixtures when the workpiece height or viewing angle changes. Mount the light outside the tool’s operating path, protect it from accidental impact, and keep its cord away from cutters, hot surfaces, and moving material. A task light should supplement safe general visibility, not leave the rest of the area dark.
A researched rechargeable under-cabinet LED light may be useful as supplemental light inside a storage cabinet or beneath a shallow shelf. The researched product is marketed for indoor cabinet use and includes a motion-sensor function, so verify its operating modes, charging method, mounting security, and suitability for the shop location. Do not use a motion-activated decorative light as the sole source for a cutting operation.
Keep portable lighting available
A portable light is useful when changing a blade, looking inside a cabinet, repairing a machine, or working on a project that temporarily blocks a fixed fixture. Give it a storage and charging location so it is ready without leaving a cable across the floor. Magnetic and clamp mounts can be convenient, but they must grip a stable surface and stay clear of vibration and moving parts.
The aim is not to cover every wall with lamps. Use the ambient layer for predictable coverage and add a portable layer only where the task changes. This keeps small workshop lighting practical while avoiding a clutter of adapters, chargers, and unused fixtures.
4. Choose Fixtures for a Compact Woodworking Shop
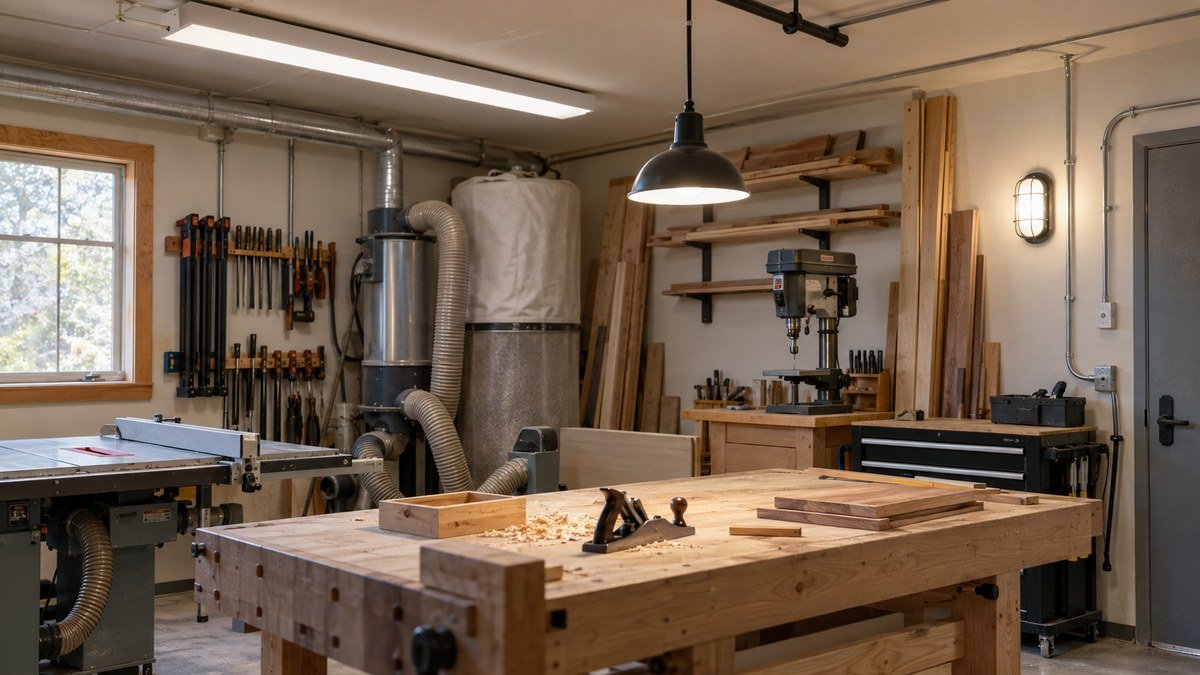
Fixture selection should follow the layout and task audit. Compare light distribution, mounting options, diffuser quality, serviceability, cord or wiring method, temperature limits, and environmental suitability. Workshop LED lighting can be efficient and compact, but the word LED alone does not guarantee even output, accurate color, low glare, or a safe installation.
Choose small workshop lighting fixtures only after deciding which work zones need broad coverage and which need adjustable task light.
Compare integrated fixtures and replaceable lamps
An integrated LED fixture combines the light source and driver in one unit. It can create a slim, simple installation, but the whole fixture may need attention if a nonreplaceable component fails. A fixture using replaceable lamps can be easier to service, although lamp compatibility and enclosure limits still matter. Decide whether you value a low profile, simple replacement, directional control, or the ability to change the lamp later.
For plug-in fixtures, check the cord length, plug type, switching method, and whether the product is intended to be linked with other units. Do not exceed the manufacturer’s linking or electrical limits. For hardwired fixtures, use equipment suitable for the location and obtain qualified help where the work is outside your knowledge or local requirements. The best small workshop lighting is not the brightest product; it is a system whose fixtures suit the room and can be installed correctly.
Consider dust, impact, moisture, and temperature
Woodworking creates airborne dust that can settle on lenses, reduce output, and collect around openings. A fixture above a dusty process may need easier cleaning or an enclosure appropriate for that environment. Keep lighting away from spray finishing, flammable vapors, and any operation for which the equipment is not rated. General shop lighting is not a substitute for equipment designed for hazardous locations.
Garages and sheds may experience moisture, heat, cold, and insects that an indoor household fixture was not designed to handle. Read the current product documentation for environmental ratings and operating temperatures. Protect fixtures from boards, ladders, and overhead storage. A wire guard or different location may be more useful than replacing a damaged lamp repeatedly.
Vertical storage can also block a wall light or force a fixture too close to lumber. Review these small workshop storage ideas while planning wall-mounted lights so clamps, cabinets, and long stock do not create new shadows. Leave access for cleaning and future replacement.

5. Position Lights to Control Shadows and Glare
Placement determines whether useful light reaches the work. A bright fixture directly behind your normal stance can turn your hands into a shadow. A bare source in front of you can cause glare that hides the same pencil line you wanted to see. Effective small workshop lighting uses direction, spacing, and shielding to keep the task visible from the actual working position.
Light the work from more than one direction
At a bench, place broad light so your head and shoulders do not block every ray. A second source from the side or front can soften the remaining shadow. At a machine, check the complete path of the workpiece and your normal hand positions. Do not mount a light where material, a guard, a dust hood, or an open machine cover will strike it.
Use temporary clamp lights to test angles before installing permanent fixtures. A researched rechargeable magnetic clamp work light may help illuminate a temporary inspection or maintenance task. Confirm that the clamp or magnetic base holds securely, keep the lamp away from cutters and heat, and never attach it to a moving guard or vibrating component. Rechargeable work lights still need a safe charging and storage routine.
Protect sight lines and reflective surfaces
If you can see an intense bare lamp while looking at the cut line, change the angle, add an appropriate diffuser, or choose a fixture with better shielding. Glossy finishes, metal machine tables, and white walls can reflect bright points into your eyes. Test while standing and seated, because the glare angle changes with your viewing height.
Light-colored walls and ceilings can help spread light, while very dark surfaces absorb more of it. That does not mean every shop should be painted white. It means surface colors affect the result and should be considered when comparing fixture output. Clean, matte surfaces often make small workshop lighting feel more even without creating mirror-like reflections.
Plan switching and lighting zones
Separate general lighting from task lights when practical. A person entering the shop should be able to illuminate a safe path before crossing the room. Bench and machine lights can then operate only when needed. Clearly located switches reduce the temptation to work in a dim area because the correct light is inconvenient to reach.
A shared garage needs special attention because lights, hanging cables, and switches must work in both parking and workshop modes. A one-car garage workshop layout can help you coordinate lighting zones with movable equipment and the path of the garage door. Keep fixtures and cords clear of tracks, springs, open doors, and vehicle movement.
6. Install, Test, and Maintain Workshop Lighting Safely
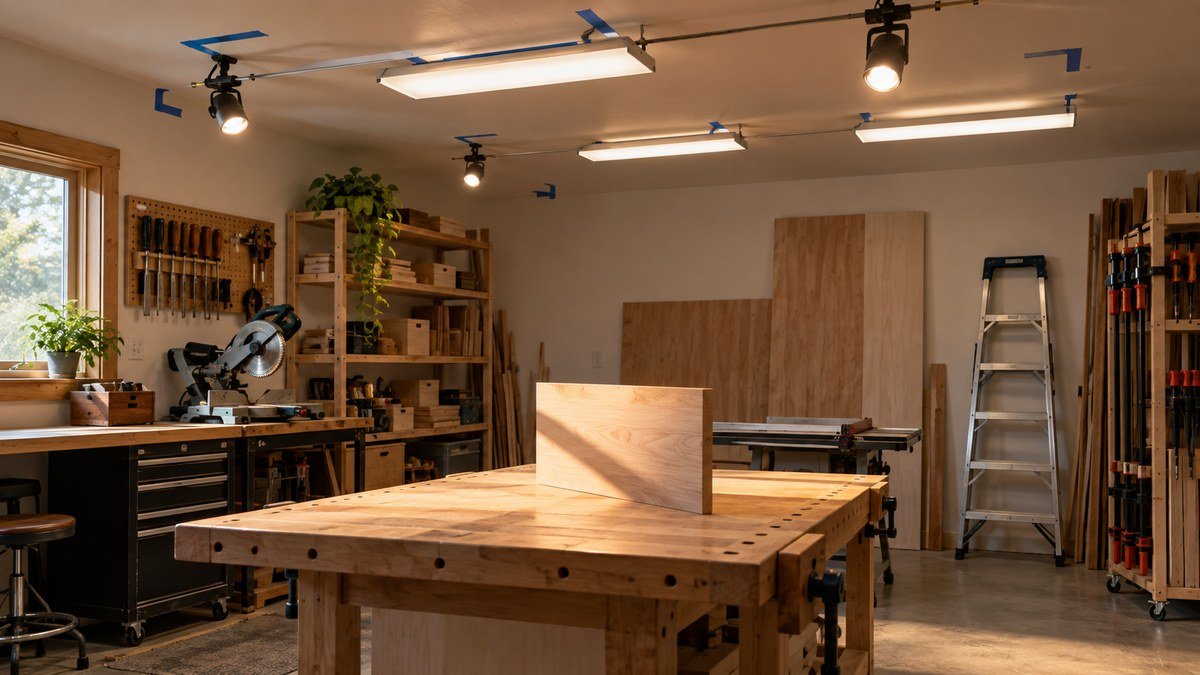
Do not make every decision on paper. A temporary test shows whether fixture positions work with real tools, real boards, and your normal body position. It is the final step that turns a theoretical small workshop lighting plan into a usable workshop system.
Use a temporary test before permanent installation
- Mark proposed fixture centers on the ceiling or wall without drilling.
- Use safely supported temporary lights to approximate the direction and coverage.
- Place the same board at the bench and each machine, then inspect layout lines and surface scratches.
- Move your hands and body through the real task to reveal shadows.
- Check for glare while standing, seated, and looking along a machine table.
- Compare daylight and nighttime conditions before approving the layout.
Adjust one variable at a time: position, direction, diffuser, or task-light angle. If a light meter is used, record several points at the work surface and repeat the same measurement method. The goal is consistent usable visibility, not the highest reading in one spot.
Handle electrical work and mounting responsibly
Use fixtures, cords, plugs, fasteners, and controls that are rated for their purpose and environment. Mount hardware to suitable structure and follow the manufacturer’s instructions. Do not support a fixture by its cord, run temporary wiring through pinch points, or overload a circuit or linked-fixture system. Keep extension cords out of permanent service unless the product and local requirements expressly allow the intended use.
If new circuits, hardwired fixtures, or controls are needed, consult a qualified electrician and follow applicable local requirements. Turn off and verify power before permitted electrical work, and do not rely on a wall switch alone as proof that a circuit is de-energized. Good small workshop lighting must be electrically safe as well as visually effective.
Clean and review the system
Dust on a lens or diffuser reduces useful output and can make one zone gradually dimmer than another. Clean fixtures only when power is safely off and according to the product instructions. Inspect cords, plugs, mounts, diffusers, and linked connections for damage. Replace or repair equipment through an appropriate qualified route rather than taping over heat or electrical damage.
Coordinate fixture cleaning with the shop’s broader dust collection plan. Better capture at the source can reduce how quickly dust settles on lights, but it does not eliminate inspection. Recheck the lighting whenever a tall cabinet, dust pipe, machine, or workbench moves.
The Beginner’s DIY Workshop Planner can help record fixture positions, work zones, outlets, and changes before installation. Keep one version of the plan with the actual layout so future additions do not block a light or recreate a shadow you already solved.
Frequently Asked Questions About Small Workshop Lighting
How bright should a small woodworking workshop be?
There is no single brightness number that suits every task and room. Begin with even general visibility, then add focused task light where you measure, cut, sand, and inspect finishes. Evaluate the light at the work surface rather than at the fixture. If marks disappear, your body creates a deep shadow, or adjacent zones feel dramatically different, improve the placement or add task lighting.
Is LED lighting suitable for a woodworking shop?
LED fixtures can work well because they are available in many shapes, outputs, and mounting styles. Suitability depends on the specific product, its light distribution, color quality, glare control, temperature limits, environmental rating, and installation method. Review current manufacturer information and choose equipment appropriate for dust, moisture, and possible impact in the intended location.
What color temperature is best for woodworking?
A neutral-looking white is a practical starting point for many woodworking tasks, but there is no universal best setting. Compare samples in the real shop alongside daylight and the materials you use. Consistency and color rendering matter when matching wood, stain, or paint. Inspect critical finish colors under the lighting where the completed piece will normally be seen.
How can I reduce shadows over a workbench?
Avoid relying on one light directly behind your normal standing position. Spread ambient fixtures so light arrives from more than one direction, then add an adjustable task light from the side or front. Test with your hands, clamps, and a representative project on the bench. Reposition the source until your body no longer hides the layout line.
Can I use plug-in shop lights instead of hardwired fixtures?
Plug-in lights may be suitable when they are designed for the location, mounted securely, connected within their stated limits, and supplied by an appropriate outlet. Route cords away from walkways, doors, sharp edges, heat, and moving material. Do not treat an ordinary extension cord as permanent building wiring. Seek qualified electrical advice when the installation requires new outlets or circuits.
How do I know whether my workshop needs more lighting?
Your small workshop lighting needs improvement if you regularly move a portable lamp, struggle to see pencil marks, miss sanding scratches, work in your own shadow, or experience distracting glare. Audit each station at the times you normally work. More fixtures are not always the answer; better spacing, direction, diffusion, cleaning, or a focused task light may solve the problem.

Conclusion: Plan Small Workshop Lighting Around Real Work
The right amount of small workshop lighting is the amount that makes each task clearly visible without deep shadows, harsh glare, or unsafe dark paths. Begin with a map of the room and its work zones. Use broad ambient light for movement, focused task light for detail, and portable light for temporary work. Compare fixtures by distribution, color quality, mounting, maintenance, and suitability for the actual environment.
If you want a broader step-by-step system for planning a compact shop around tools, storage, workflow, and lighting, the Ultimate Small Shop guide may help you organize those decisions before you install fixtures.
Before permanent installation, test positions with real boards, tools, and body movements. Correct the direction before simply adding more output, and obtain qualified help for electrical changes. When the bench, machines, floor, and finish-inspection area remain easy to see throughout a normal session, your small workshop lighting plan is doing its job.
Affiliate Disclosure
Affiliate Disclosure: This post contains affiliate links. If you purchase through these links, DIY Wood Haven may earn a commission at no additional cost to you.




Ready to Build Smarter?