How Much Lumber to Build a Shed?
If you are asking how much lumber to build a shed, the honest answer is that the total depends on the footprint, wall height, roof, openings, framing spacing, foundation, and local requirements. Two sheds with the same floor area can need noticeably different quantities when one has taller walls, a steeper roof, wide doors, or longer overhangs.
The reliable method is to estimate the shed one assembly at a time. Start with an approved plan, calculate the floor, walls, roof, and sheet goods separately, then add trim and a sensible waste allowance. This guide shows the process and includes an 8-by-10-foot planning example. The example illustrates the math; it is not a permit-ready materials list or a substitute for your actual drawings.
Start With Shed Size, Design, and Local Requirements
Dimensions that change the estimate
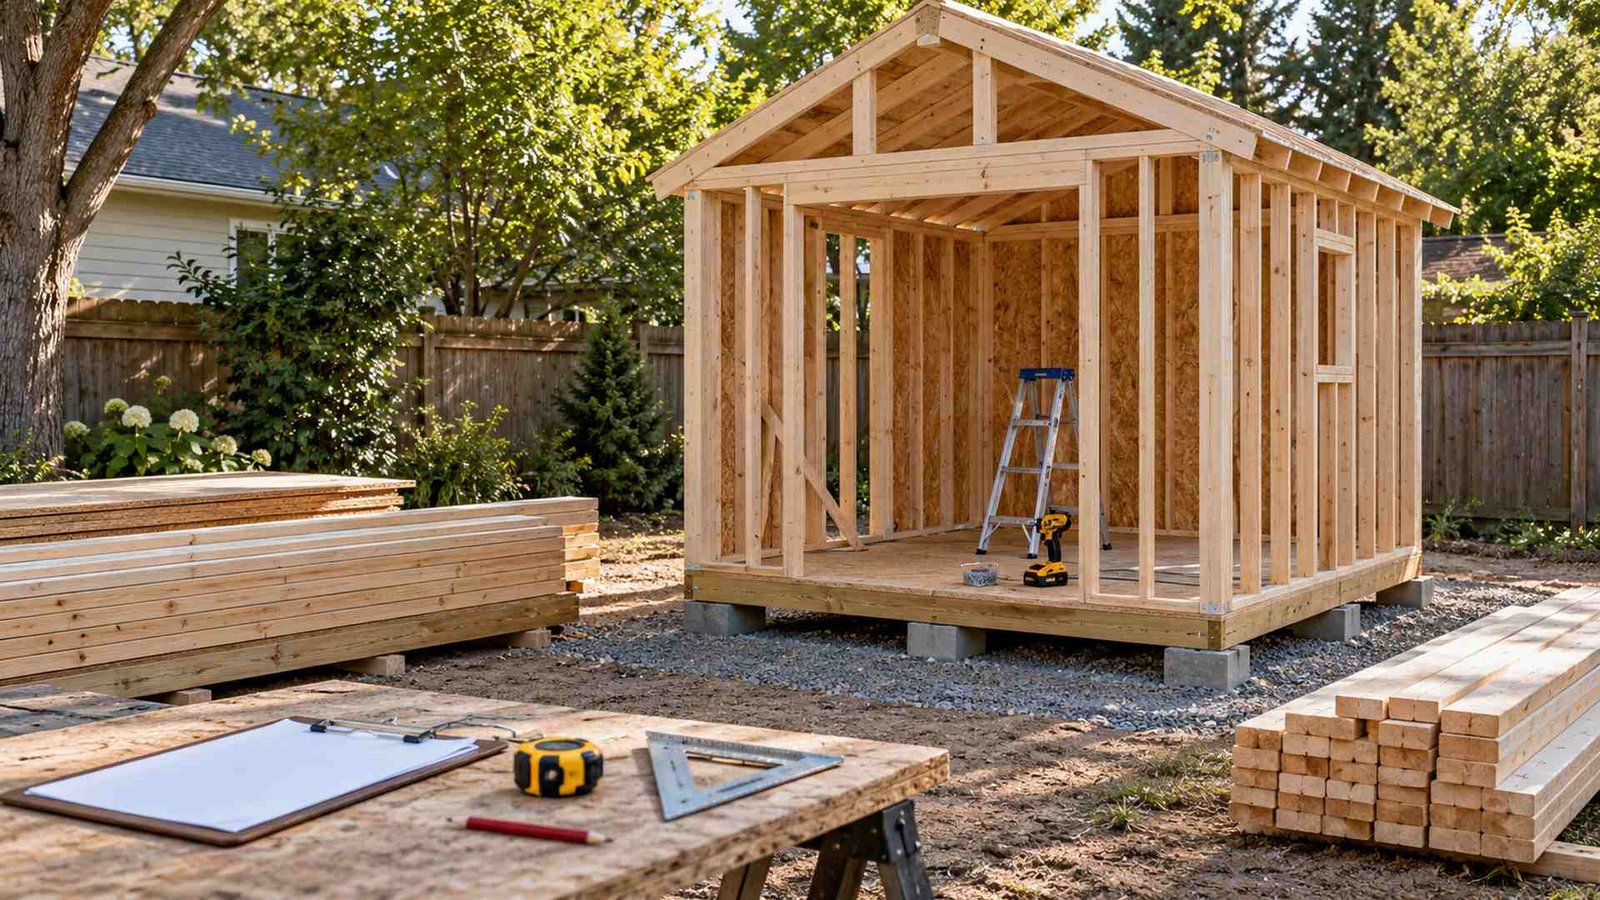
Write down the outside floor dimensions, wall height, roof type, pitch, overhangs, stud and rafter spacing, door size, window size, siding system, and foundation type. Use dimensions from one coordinated plan rather than mixing details from several designs. Small changes multiply across the building. Raising four walls by one foot adds wall studs, sheathing, siding, corner trim, and often door-framing changes.
The roof has an equally large effect. A simple single-slope roof and a gable roof cover similar floor areas but use different rafters, plates, gable framing, fascia, and sheathing layouts. Snow and wind requirements may control lumber size and spacing. Frost depth and soil conditions may control the foundation. Ask the local building department which rules, permits, setbacks, and inspections apply before finalizing the estimate.
Before deciding how much lumber to build a shed, freeze the main design choices on one plan revision. Record the revision date on the worksheet so a later door, roof, or wall change does not silently invalidate the quantities you already calculated.
Affiliate note: This section contains affiliate links.
A complete plan makes the estimate much easier because it establishes the dimensions and structural system. Readers comparing shed designs can inspect the seller’s current My Shed Plans collection. Treat all package details as seller claims and confirm the live contents, access terms, and refund conditions before purchasing.
Use an approved plan before calculating
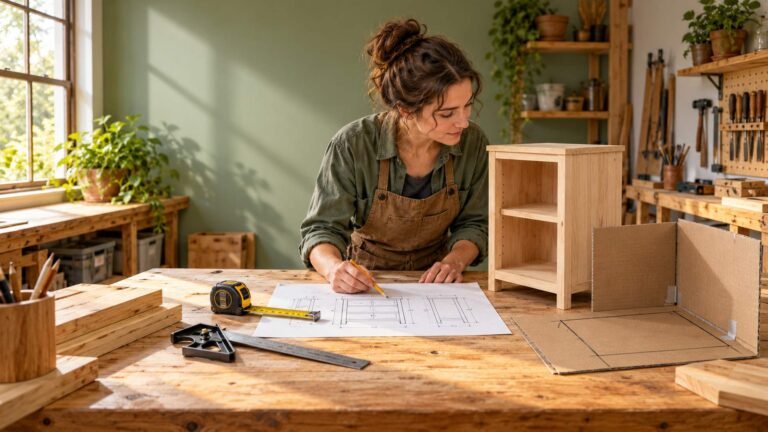
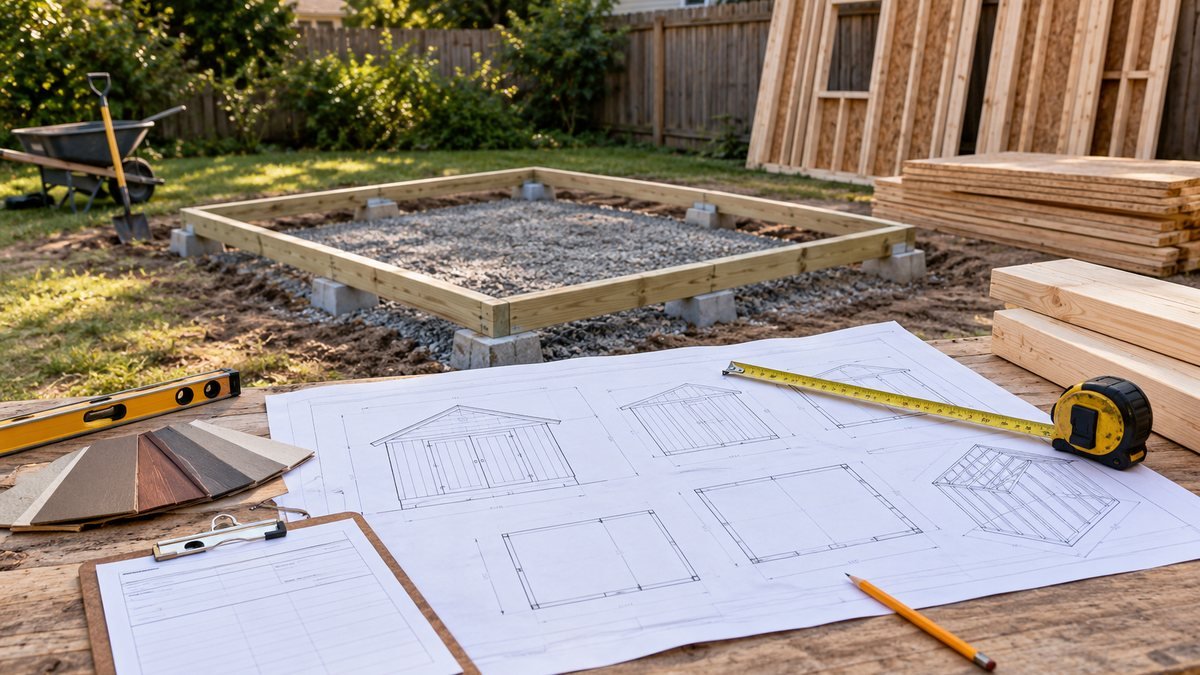
A sketch is useful for ideas, but a lumber order needs more detail. The plan should identify structural members, spacing, grades or treatment, sheet thicknesses, connections, and openings. If any of those items are missing, resolve them before pricing materials. Guessing a rafter size or replacing treated lumber with untreated stock can create safety and durability problems.
Review common shed building mistakes before calculating. Errors such as ignoring the foundation, omitting double plates, or forgetting header framing can make an apparently precise shopping list incomplete.
When cutting, drilling, or fastening structural lumber, use appropriate eye and hearing protection and follow each tool manufacturer’s instructions. The protective safety glasses from this article’s current research document are one possible option, but verify fit, coverage, and suitability for your task before ordering.
Calculate Lumber for the Floor and Foundation
Floor framing
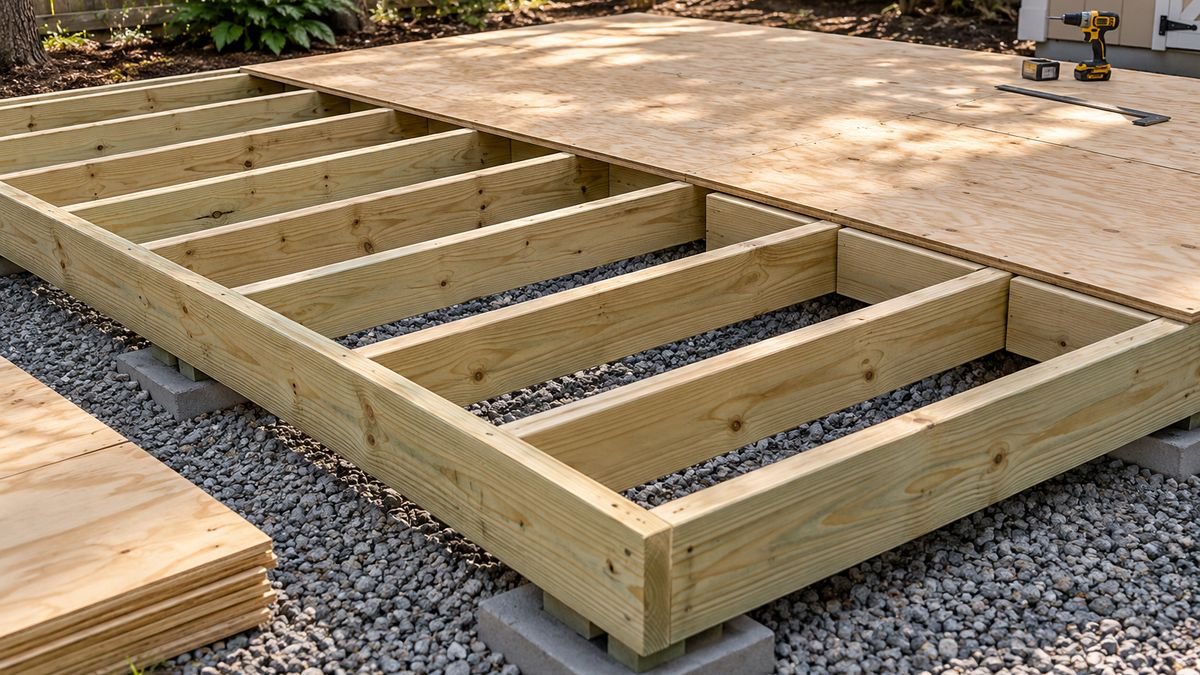
Begin with the foundation shown in the plan: skids, piers, posts, beams, a slab edge, or another approved system. Only count wood members that the chosen system actually uses. Ground-contact and near-ground locations may require pressure-treated lumber of the correct use category. Local requirements and the plan should determine treatment, size, span, and connections.
For a framed floor, count perimeter rim boards, interior joists, blocking, beams, and skids separately. If joists run across an 8-foot width and are spaced along a 10-foot length at 16 inches on center, a planning formula is ceiling(120 ÷ 16) + 1. That gives nine joist lines, including both ends. The exact plan may add doubled members at openings, seams, or concentrated loads.
Convert every required run into purchasable stock lengths. Two 10-foot rim boards are not automatically equivalent to four 5-foot pieces because splices need support and may not be allowed where convenient. Choose lengths that suit the framing layout, then add only the joints and blocking required by the plan.
When checking how much lumber to build a shed, keep the structural count and the purchasing count in separate columns. The first records what the plan requires; the second converts those needs into the stock lengths and sheet sizes the supplier actually sells.
Floor sheathing
Floor area equals length multiplied by width. An 8-by-10-foot floor covers 80 square feet. A nominal 4-by-8 sheet covers 32 square feet, so 80 ÷ 32 equals 2.5 sheets and rounds up to three before considering layout. Sheet direction, supported edges, tongue-and-groove profiles, and cuts around posts can change the practical quantity.
Compare the structural floor with appropriate shed flooring ideas so the estimate distinguishes the subfloor from a finish surface, coating, or removable floor system.
Estimate Wall Framing and Openings
Studs, plates, and corners
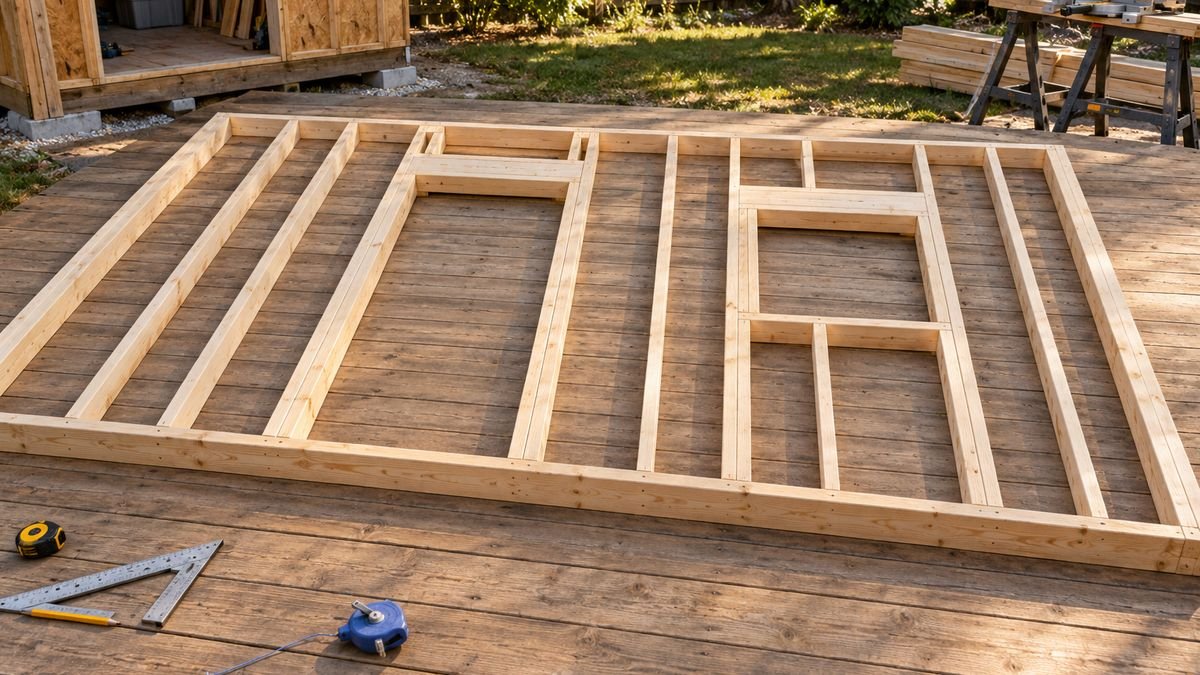
Calculate each wall separately. For a wall length measured in inches, divide by the stud spacing, round up, and add one end stud. A 10-foot wall at 16 inches on center needs ceiling(120 ÷ 16) + 1, or nine basic stud positions. An 8-foot wall needs ceiling(96 ÷ 16) + 1, or seven. Two of each wall length produce 32 basic positions before adding corners, openings, intersecting walls, gable ends, or plan-specific reinforcement.
Plates are easier to estimate in linear feet. A shed with two 10-foot walls and two 8-foot walls has a 36-foot perimeter. One bottom plate plus two top plates equals three perimeter runs, or 108 linear feet before deductions or extras. Convert that figure into actual board lengths while placing joints over studs and following the plan’s splicing rules.
Corners require enough material for structural fastening and interior or exterior finishes. Do not add a generic number without checking the corner detail. A two-stud corner, three-stud corner, ladder backing, and advanced-framing detail use different quantities. Add backing only where the wall finish or connection requires it.
Doors and windows
Subtracting a door opening from wall area does not mean subtracting all of its lumber. The opening usually adds king studs, jack or trimmer studs, a header, and sometimes cripple studs. Windows also add a rough sill and lower cripples. Count these components from the framing elevation, and confirm header size and support from the approved plan.
A chalk line reel can help transfer long wall and sheet-layout lines after the estimate becomes a cutting and assembly plan. Keep the line clear of your eyes and snap it only after confirming both endpoints.
Calculate Roof Framing, Sheathing, and Trim
Rafters or trusses
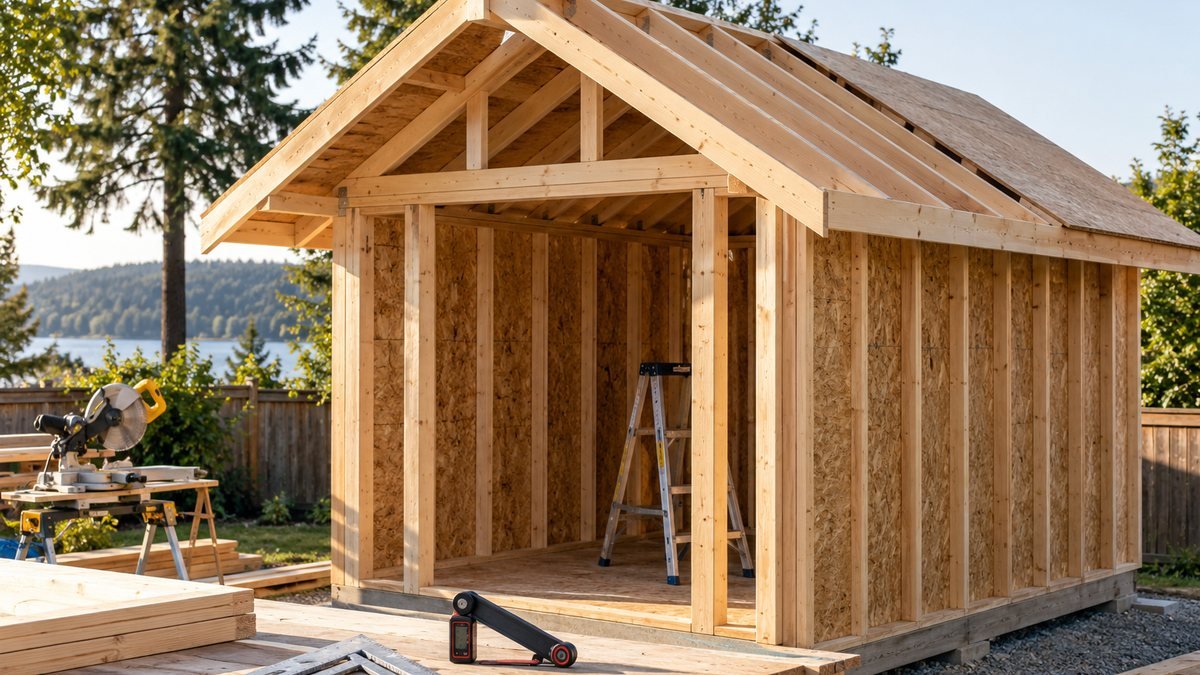
Do not estimate a pitched roof from floor area alone. Start with the horizontal run from the wall to the ridge, add the horizontal overhang, and multiply by the roof-slope factor. For a 4-in-12 pitch, the factor is about 1.054. A 4-foot half-span plus a 1-foot overhang therefore produces an approximate sloped rafter length of 5 × 1.054, or 5.27 feet, before accounting for cuts and the ridge detail.
Rafter count depends on building length, spacing, and whether the ends use additional members. At 16 inches on center along a 10-foot building, use the same ceiling(120 ÷ 16) + 1 logic for nine rafter positions. A gable roof uses a pair at each position, so the planning count is 18 rafters before outlookers, gable details, or doubled members. Engineered trusses must come from an appropriate supplier or design, not a guessed field conversion.
A digital angle finder may help check roof pitch or tool setup during layout. It does not determine structural dimensions; use the approved plan and verify the device against a known level or angle.
Roof sheets and exterior boards
For a gable roof, multiply the sloped rafter length by the roof length including end overhangs, then double the result. In the example, a 5.27-foot slope and a 12-foot overall roof length give about 63.2 square feet per side, or 126.5 square feet total. Four 4-by-8 sheets cover 128 square feet in theory, but seams, orientation, edge support, and offcuts may make five sheets the realistic layout.
Measure fascia, rake boards, and trim as linear runs. Keep these quantities separate from structural framing because dimensions, grades, and finishes differ. Roof underlayment, shingles or panels, drip edge, flashing, fasteners, and sealants are not lumber, but they belong on the complete material list.
Use this guide to waterproof a shed when checking the roof, wall, and base details that your lumber-only estimate does not cover.
Build a Shed Lumber Estimate With Waste
A practical component worksheet
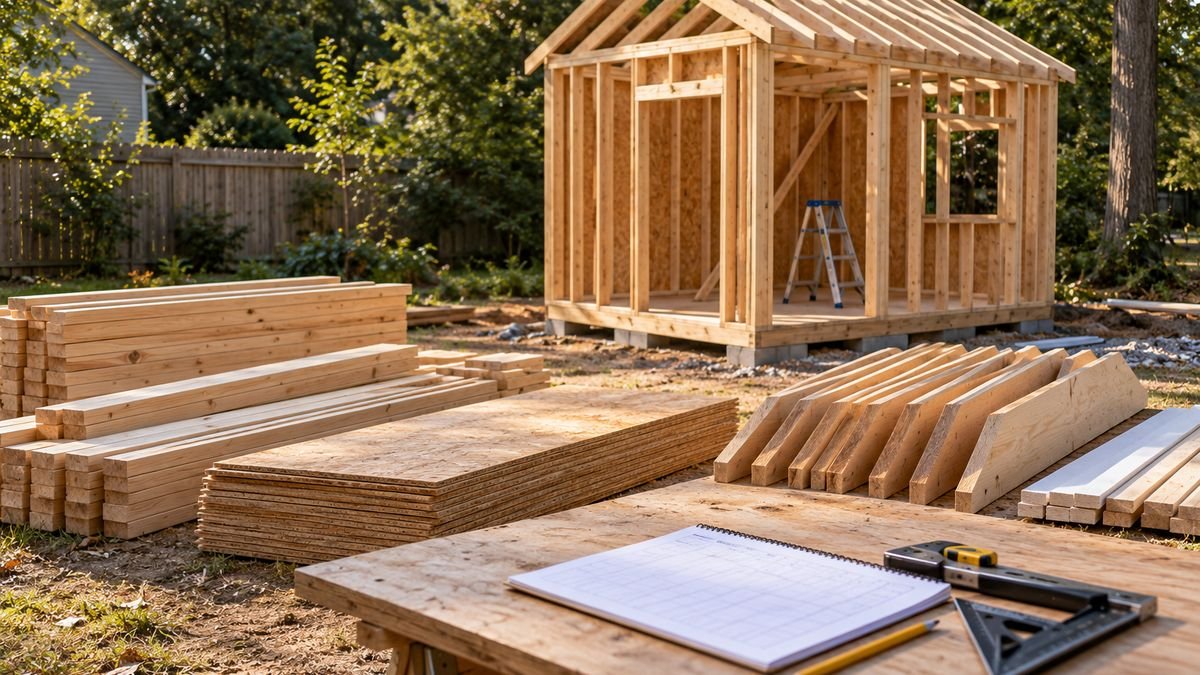
A worksheet prevents double-counting. Create one line for every member or sheet category and record the plan reference, nominal size, treatment or grade, required length, quantity, and purchase length. Keep floor joists separate from wall studs even when both are nominal 2-by material; they may require different lengths, grades, or treatment.
- Foundation: skids, posts, beams, and blocking specified by the chosen system.
- Floor: rim boards, joists, blocking, and floor sheathing.
- Walls: studs, plates, corners, headers, jack studs, sills, cripples, and wall sheathing.
- Roof: ridge or trusses, rafters, outlookers, fascia, rake boards, and roof sheathing.
- Exterior details: trim and any wood siding not already counted as structural sheathing.
For the illustrative 8-by-10-foot shed, the simple calculations above suggest nine floor-joist lines, 32 basic wall-stud positions before extras, 108 linear feet of plates, three floor sheets, and approximately five roof sheets after layout. Those figures are not a complete shed lumber list. They exclude the selected foundation, door and window framing, gable studs, wall sheets, trim, blocking, and structural adjustments required by the actual plan.
Waste and buying lengths
Add waste after laying out cuts, not as a substitute for planning. Straight repetitive framing may need only a modest allowance, while complex roof cuts, sheet layouts, poor stock, or unfamiliar work may need more. Many DIY lists use roughly 5 to 15 percent as a planning range, but the correct allowance depends on board quality, available lengths, defects, and whether offcuts can serve elsewhere.
Buying longer boards can reduce joints and create useful offcuts, but it can also increase cost, transport difficulty, and waste. Compare cut combinations before ordering. Inspect critical boards for crown, twist, splits, and severe wane, and confirm that structural stamps and treatment match the plan. Set questionable pieces aside rather than forcing them into rafters, headers, or long straight walls.
A clear cut list makes how much lumber to build a shed easier to verify. Assign useful offcuts before applying a waste percentage, then keep one or two replaceable common pieces available if the project schedule makes a return trip especially difficult.
Turn the Estimate Into a Store-Ready List
Group by size, grade, and treatment
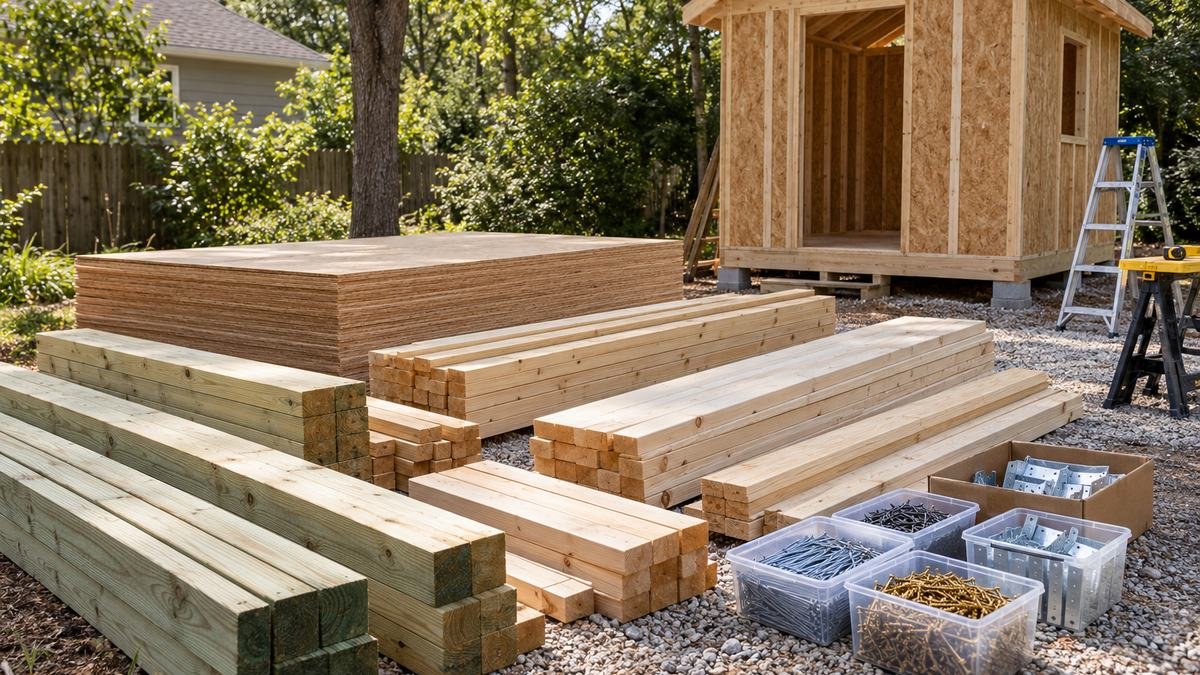
A store-ready list should distinguish nominal dimensions, actual purchase lengths, species or structural grade when specified, treatment, and quantity. Separate sheet goods by thickness and exposure rating. Do not combine visually similar materials if one is rated for ground contact, exterior exposure, roof decking, or structural use and the other is not.
Group non-lumber items in their own sections: fasteners, connectors, anchors, roofing, flashing, housewrap, siding, doors, windows, vents, and finishes. This keeps the lumber subtotal useful without hiding essential parts of the project. It also makes it easier to compare delivery fees and stock availability across suppliers.
Supplier stock can change the answer to how much lumber to build a shed in purchasable pieces without changing the structural design. Confirm available lengths, sheet thicknesses, treatment categories, and delivery limits before turning the worksheet into a final order.
Before the store trip, compare your planned tools with this complete shed building tools checklist. Renting or borrowing a specialized tool may be more practical than changing the framing method after materials arrive.
Final verification before purchase
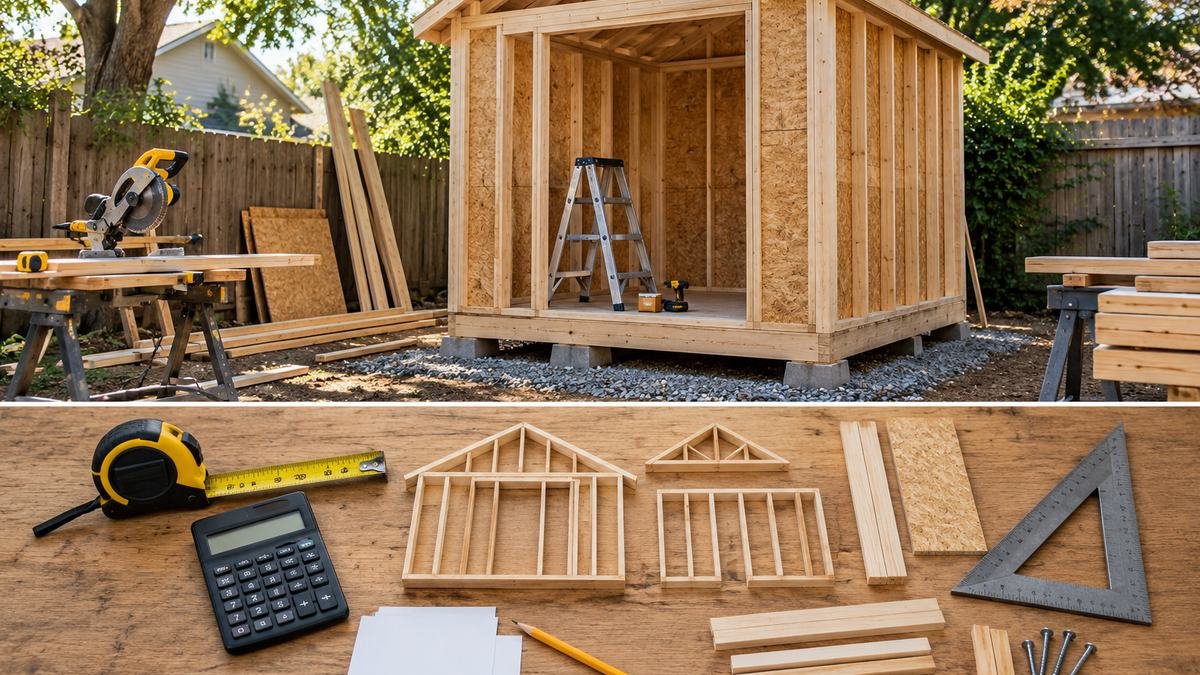
Read the plan from foundation to roof and check off each assembly against the worksheet. Confirm that every sheet edge has support, every opening has its framing, and every structural connection has the specified hardware. Recheck arithmetic and units. Then compare the list with the site: access, storage, weather protection, delivery space, and safe lifting can influence purchase lengths and delivery timing.
Follow a coordinated small shed construction sequence so materials arrive when they can be protected and used. Staging everything outdoors too early can expose lumber and sheet goods to unnecessary moisture.
For a compact planning aid before you commit to a full shed, download the Free Weekend DIY Project Checklist. It can help you practice organizing tools, materials, and work steps on a smaller project.
This last review is the best answer to how much lumber to build a shed. The calculated quantity is only useful when it matches the final plan, the site, and the way the building will actually be assembled.
Frequently Asked Questions
How much lumber do I need for an 8×10 shed?
There is no universal total. An 8-by-10-foot shed with 8-foot walls, a gable roof, and 16-inch spacing can begin with the component calculations in this guide, but the final quantity depends on the foundation, pitch, openings, treatment, sheathing, siding, overhangs, and local structural requirements.
How many 2×4 studs are needed for a small shed?
Count each wall at the plan’s spacing, then add corners, intersections, doors, windows, gables, and any required reinforcement. The example produces 32 basic wall positions before extras. It is not a final stud count because the opening and corner details have not been added.
How much extra lumber should I buy for waste?
Use a cut layout first, then add an allowance that reflects stock quality and project complexity. Rough planning often falls near 5 to 15 percent, but repetitive framing may need less and complex cuts may need more. Keep usable offcuts assigned to blocking, cripples, or trim where appropriate.
How do doors and windows change a shed lumber estimate?
Openings remove some common studs and sheathing area but add kings, jacks or trimmers, headers, sills, and cripples. Large openings may also change bracing and wall design. Count the exact framing detail shown in the approved plan rather than simply subtracting the opening area.
Should shed floor lumber be pressure treated?
Parts near soil, concrete, moisture, or weather often require treated material, but the correct treatment depends on exposure and local rules. Follow the approved plan, product labeling, connector compatibility guidance, and local building requirements. Do not assume all treated lumber has the same use rating.
Can I estimate shed lumber without a plan?
You can make a rough budget, but you cannot create a dependable purchase list without deciding the structural system, spacing, openings, roof, and foundation. If you are still asking how much lumber to build a shed after measuring the footprint, the missing information is usually in the plan details rather than the arithmetic.

Conclusion
To calculate how much lumber to build a shed, divide the project into foundation, floor, walls, roof, sheathing, and trim. Count pieces from the approved drawings, convert linear feet into available stock lengths, lay out sheet goods, and add waste only after the cuts are understood. Keep hardware, roofing, siding, and finishes on the broader material list even though they are not lumber.
Use the example as a worksheet model, not a universal shopping list. Verify dimensions, loads, treatment, openings, and connections with the final plan and local requirements. One careful review before purchase is far less expensive than discovering a missing header, short rafter, or unsupported sheet edge after construction has started.
Affiliate Disclosure: This post contains affiliate links. If you purchase through these links, DIY Wood Haven may earn a commission at no additional cost to you.


Ready to Build Smarter?