

Woodworking Dimensions: Calculate Every Cut Correctly
Accurate woodworking dimensions are the difference between parts that assemble smoothly and a project that needs constant rescue work. A single number on a drawing can control several rails, panels, gaps, and joints. If that number is wrong, the error often spreads through the entire build before you notice it.
The solution is not to measure everything repeatedly. It is to build a clear chain from the finished size to each individual part, using actual material thickness and known allowances. This woodworking measurement guide shows how to define the outside size, calculate furniture dimensions, include joinery and hardware, prepare a cut list, and verify the result before the first cut.

Begin With the Finished Size and Function
Start by defining what the completed project must do and where it must fit. A bookcase may need to clear a baseboard, hold a particular row of books, and pass through a doorway. A table must provide comfortable legroom while fitting the available floor area. Write these requirements before calculating parts, because they establish which woodworking dimensions are fixed and which can change.
Define the outside dimensions and useful openings
Record the finished width, height, and depth of the project. Then list the important internal openings, such as a cabinet bay, drawer cavity, shelf spacing, or knee clearance. Do not assume that the outside dimensions alone describe function. Two cabinets with the same exterior width can have different usable space because their side thicknesses, frames, dividers, and door systems differ.
Measure the destination at more than one point. Walls, floors, and alcoves may not be square. A compact laser distance meter can help when checking a long room dimension or a high opening, but confirm critical installation measurements with a second method. Leave a sensible fitting allowance instead of designing to a perfect theoretical gap.
Affiliate note: This section contains affiliate links.
Choose one unit system and clear references
Use inches or millimeters consistently within a drawing and cut list. Converting back and forth creates rounding errors and makes shop notes harder to check. If a purchased component uses another unit system, write the exact conversion once beside that component rather than converting the entire project.
Every part also needs a reference face and reference edge. Measurements taken from several different edges can accumulate error even when each mark seems accurate. Establish one square face, mark it clearly, and derive connected measurements from it. This discipline is part of good woodworking project planning; it keeps calculations, layout, and assembly aligned.
Measure Real Materials Before Calculating
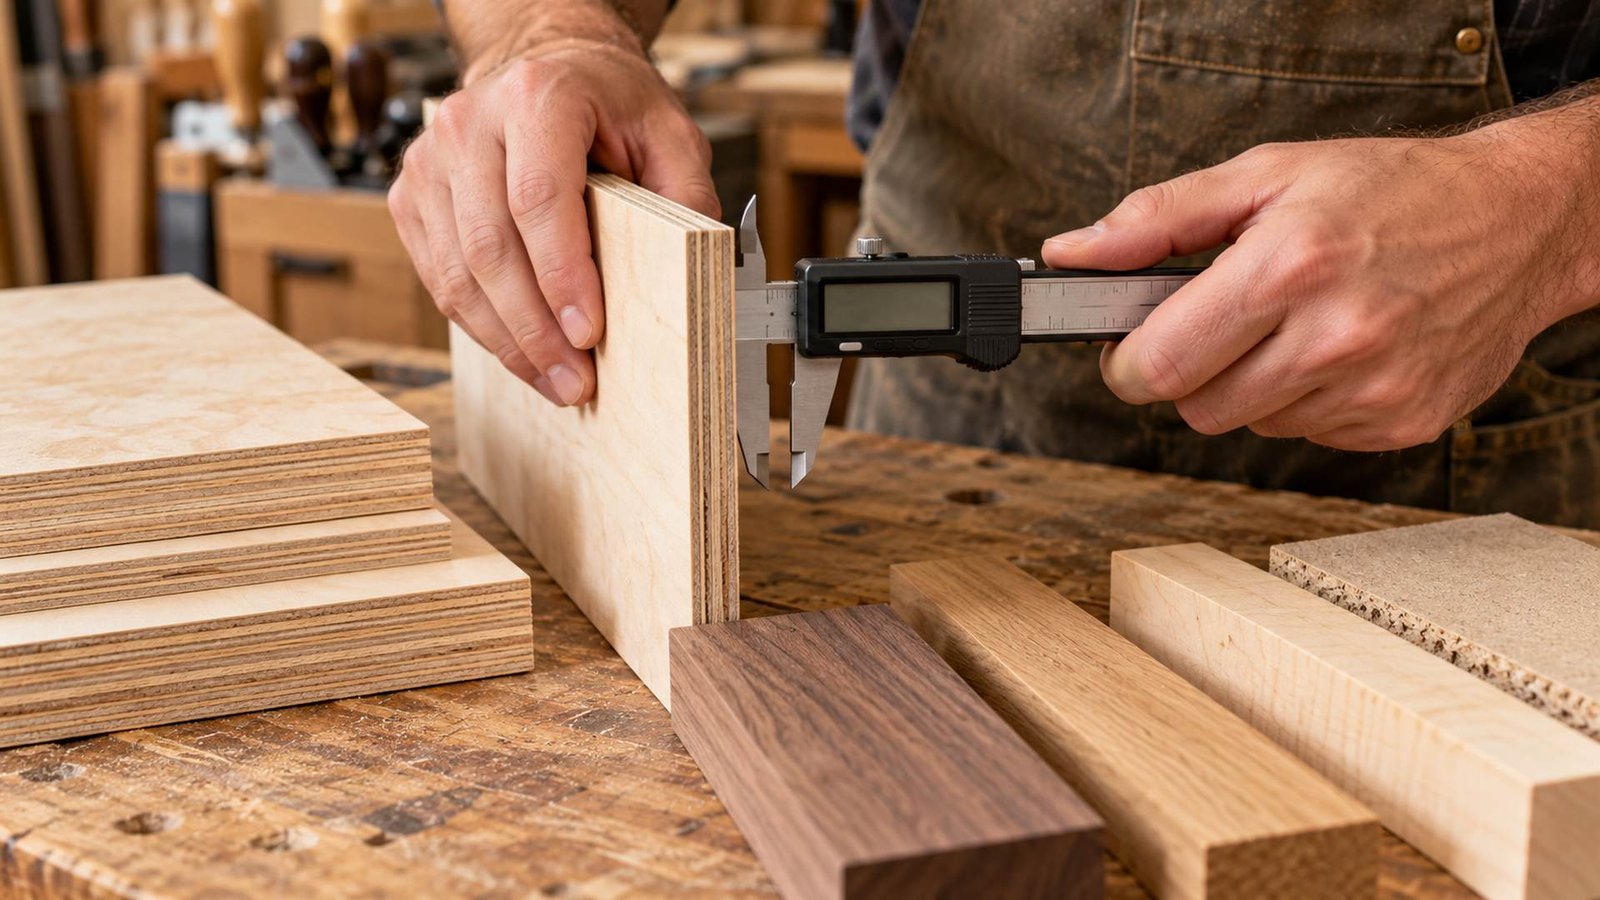
Nominal labels are useful for shopping, but calculations need actual measurements. A board sold as one inch thick is normally thinner after surfacing. Plywood may vary from its stated thickness, and hardware can differ slightly from a catalog description. Measure the material and components that will enter the assembly before finalizing woodworking dimensions.
Check thickness, width, and condition
Measure boards at several points, especially after milling. Note the minimum usable width after removing rough edges or defects. Check whether a long board is bowed, cupped, or twisted, because straightening it may reduce its final size. Solid wood should also be reasonably acclimated before you lock in tight-fitting measurements.
For plywood, small hardware, and joinery samples, a digital caliper provides a direct reading that is easier to repeat than estimating between tape marks. Use the actual value when calculating grooves, rabbets, panel offsets, and hardware recesses. Record the measurement on the working drawing so it does not disappear into memory.
Set tolerances according to function
Not every part requires the same precision. A rough blank can be slightly oversize because it will be trimmed later. A drawer side, hinge boring pattern, or fitted panel needs a tighter tolerance. Decide where accuracy matters instead of applying one arbitrary tolerance to every line.
Separate three kinds of numbers: target finished size, machining allowance, and acceptable variation. For example, a rail may finish at 600 mm, begin as a 604 mm blank, and allow only a small difference after trimming. Keeping those numbers in separate cut-list columns prevents an oversize blank from being mistaken for the final part.
Build a Dimension Chain From Overall Size to Parts
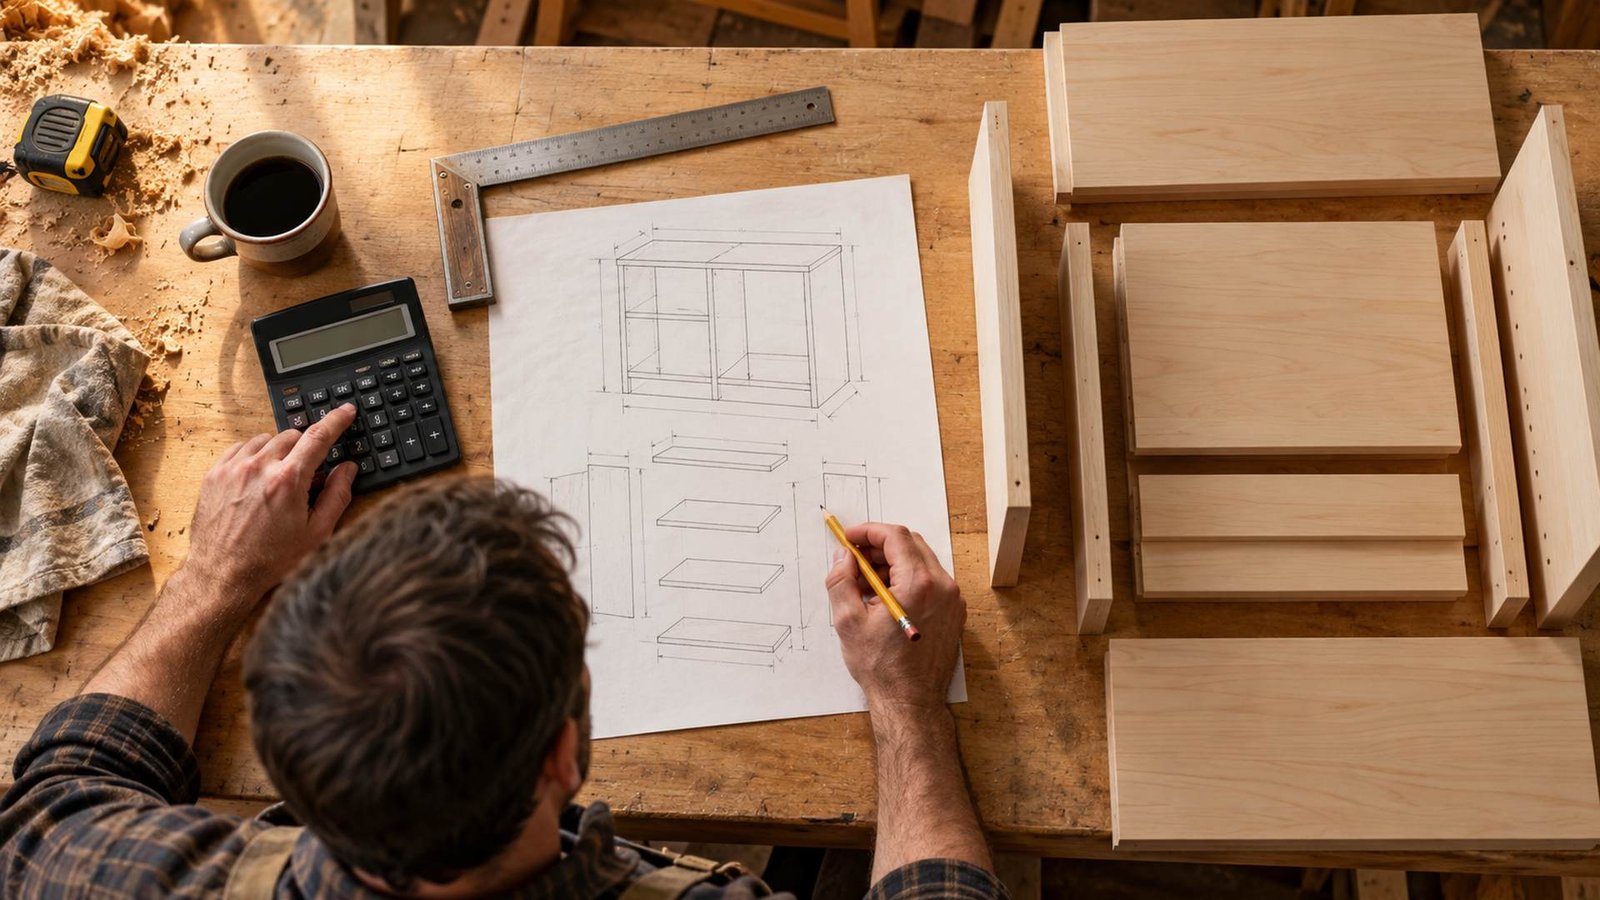
A dimension chain connects the overall size to the parts that create it. Working through that chain is the safest way to calculate woodworking dimensions. Instead of copying isolated measurements, write an equation that explains where each size comes from. The equation becomes a checkable record when stock thickness or project size changes.
Work from the outside inward
Suppose a frameless cabinet must be 900 mm wide and uses two sides that each measure 18 mm thick. The inside width is 900 – 18 – 18 = 864 mm. If a center divider of the same thickness creates two equal bays, each opening becomes (864 – 18) / 2 = 423 mm. The calculation shows exactly which pieces control the result.
Now reverse the equation: 423 + 423 + 18 + 18 + 18 = 900 mm. Working both inward and outward catches a missing component. This habit is especially useful for face frames, inset doors, drawer stacks, and any assembly with repeated reveals.
Calculate frames, panels, and doors separately
For a table base, leg spacing depends on the overall top size, overhang, and leg thickness. If a 1,200 mm top has a 50 mm overhang at both ends and 70 mm legs, the apron length between legs is 1,200 – 100 – 140 = 960 mm. A decorative apron extension or tenon allowance belongs in another calculation; it should not be hidden inside the visible span.
Door calculations depend on the door style. An inset pair must fit the opening plus planned gaps. If the opening is 600 mm and the design uses two doors with a 2 mm gap at each outside edge and 2 mm between doors, the total gap is 6 mm. Each door is therefore (600 – 6) / 2 = 297 mm. Overlay doors require hinge and overlay data instead of the same formula.
Use an adjustable combination square to establish and verify the reference edge used for these layouts. Check the tool against itself before trusting it: draw a line, flip the square, and compare the second line. If the lines diverge, adjust or replace the tool before transferring calculated sizes.
Account for Joinery Hardware and Wood Movement
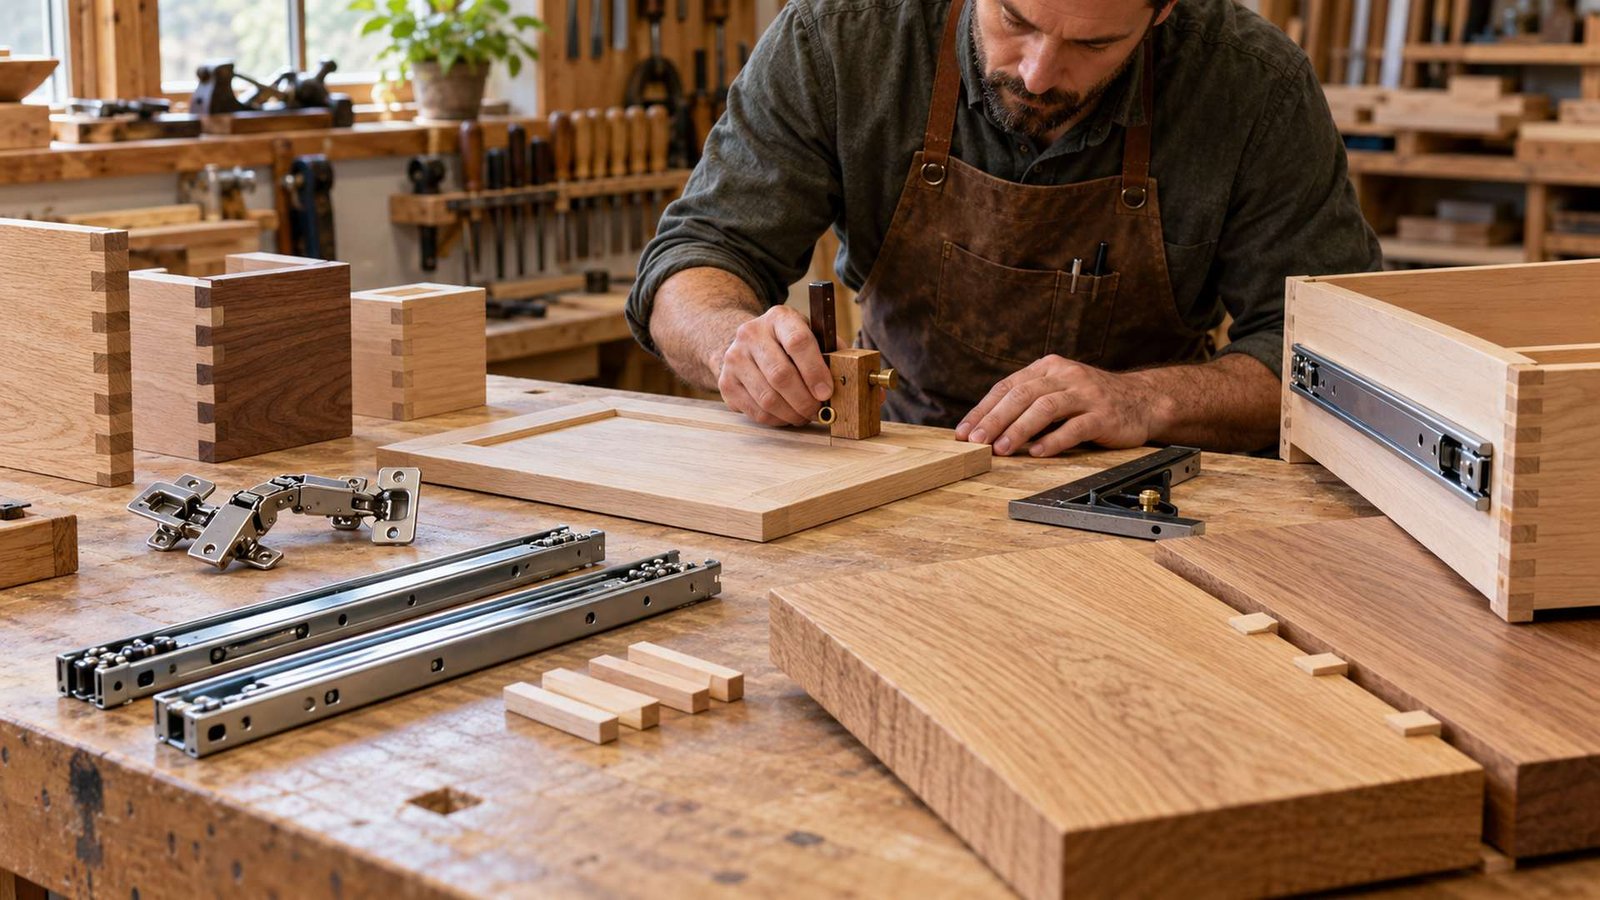
Part size is not always the same as visible size. Joinery adds concealed length, hardware consumes space, and solid wood changes across the grain. Reliable woodworking dimensions make those effects explicit rather than treating them as last-minute corrections.
Add joinery allowances to blank sizes
A rail with tenons needs a finished shoulder-to-shoulder length plus the tenon length at both ends. If the visible rail is 500 mm and each tenon is 25 mm, the blank must provide at least 550 mm before trimming. A panel captured in grooves must enter the grooves while retaining the designed expansion clearance. Label shoulder dimensions and overall blank dimensions separately.
For dados, rabbets, mortises, and dowel locations, calculate from the actual material thickness and the chosen reference face. Review the strength requirements of the selected wood joinery techniques before shortening a joint to make a changed part fit. Joint depth and edge distance are structural decisions, not merely arithmetic.
Protect clearances and movement
Drawer slides, hinges, runners, and lift mechanisms have manufacturer-defined clearances. Use those values as fixed constraints. The opening determines the drawer or door only after the hardware allowance is subtracted. Test unfamiliar hardware on scrap before cutting all related parts.
Solid-wood panels need room for seasonal movement across the grain. A tabletop, raised panel, or wide shelf should not be trapped by fasteners or grooves that prevent movement. The exact allowance depends on species, grain orientation, moisture range, and width. When movement is significant, use an appropriate calculator or trusted technical reference rather than guessing.
A positioning marking gauge can help transfer a repeated offset from a verified reference edge to several parts. Set it from the drawing or a story stick, lock it, and test the setting on scrap. A physical setting reduces repeated reading errors, but the original calculation still belongs in the plan.
Turn the Calculations Into a Reliable Cut List
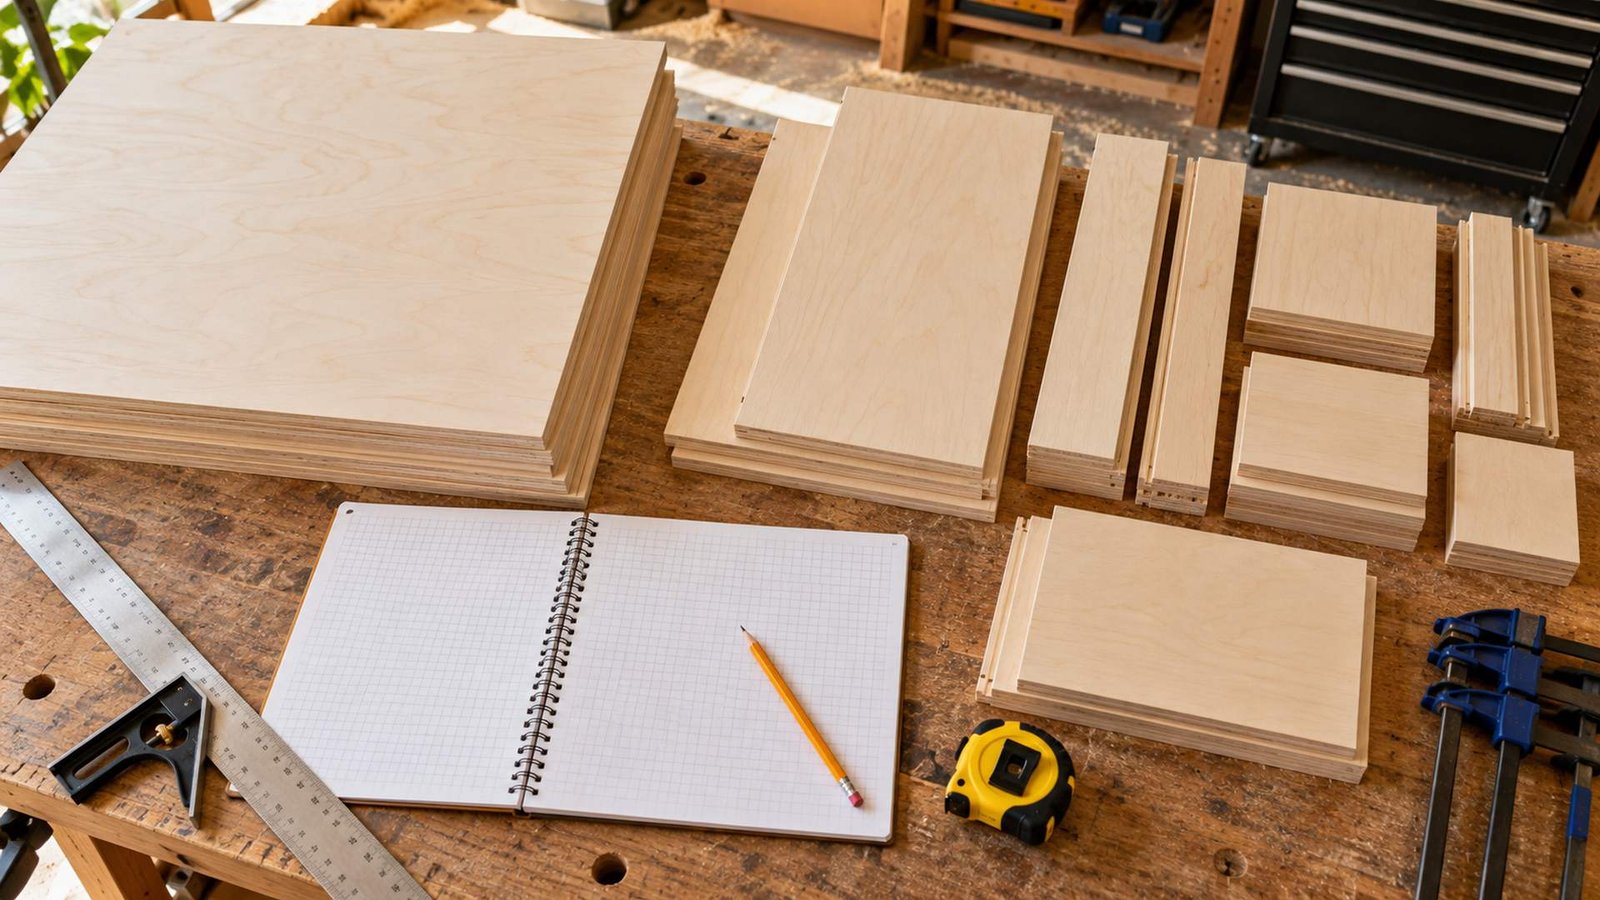
Once the equations are correct, transfer them to one authoritative cut list. Give every part a unique name and quantity. Include finished thickness, width, and length, then add separate notes for rough blank size, grain direction, edge treatment, joinery, or mirrored orientation. This structure turns woodworking dimensions into shop instructions.
Keep one source of truth
Avoid maintaining several competing lists on loose pages. If a dimension changes, update the drawing and cut list together, mark the revision date, and cross out the obsolete version. The making a woodworking cut list guide provides a practical structure for organizing parts before material is cut.
Group parts by assembly, such as base, case, doors, drawers, and trim. This makes omissions easier to spot and supports staged construction. For a broader planning worksheet that links measurements, tools, layout, and project preparation, the Beginner’s DIY Workshop Planner can provide a reusable starting point.
Plan material layouts with kerf and waste
A cut list describes finished parts; a material layout explains how they come from real boards and sheets. Include saw kerf between cuts, trimming allowance at rough ends, and extra material for defects or grain matching. Keep long structural parts away from knots or severe grain runout.
Lay sheet-goods parts out with the correct grain or face orientation. Check whether a part must be mirrored before cutting a second copy. When purchasing lumber, compare the layout with this guide to estimating how much wood a project needs. Total area or board feet alone may not reveal that one required part is longer or wider than the available stock.
Verify Every Critical Measurement Before Cutting
Verification should happen before the saw starts, not only after a part fails to fit. A strong check uses a different route from the original calculation. If you derived an opening by subtraction, rebuild the overall dimension by addition. If a calculator produced a value, confirm it with a sketch, story stick, or test assembly.
Use independent checks and story sticks
Mark major positions on a story stick instead of repeatedly reading a scale. Shelf locations, drawer heights, and repeated offsets can be transferred directly from the stick to matching parts. Label the reference end and orientation so the tool cannot be flipped accidentally.
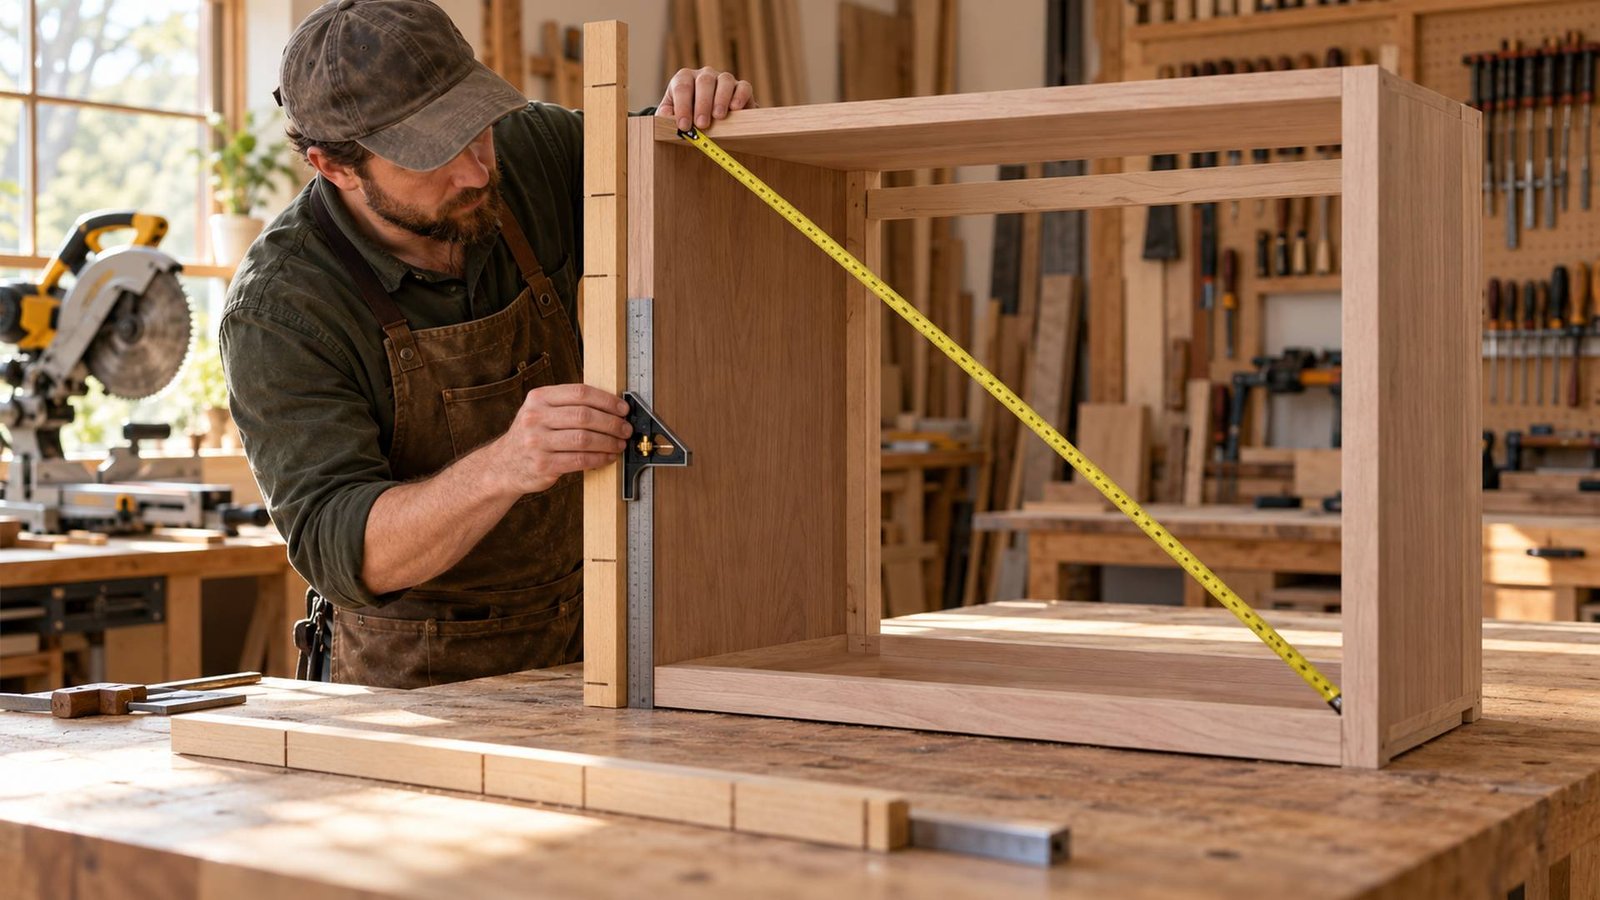
Check rectangular assemblies by measuring both diagonals. Equal diagonals indicate square only when opposite sides are also equal, so confirm the side measurements first. For angles other than 90 degrees, make a full-size template or test piece. A cheap scrap test can expose a calculation or machine-setting error before valuable stock is involved.
Use a final measure mark cut sequence
Before each critical cut, identify the part, finished size, reference edge, waste side, and whether the mark represents the near or far side of the kerf. Mark all identical parts from the same setup when possible. Stop if the physical piece conflicts with the cut list; investigate the difference rather than choosing whichever number seems convenient.
A final checklist helps make this repeatable. Download the Free Weekend DIY Project Checklist and adapt it to your shop. Before cutting, confirm actual stock thickness, overall size, dependent equations, joinery allowances, hardware clearances, grain direction, quantities, and material availability.
At this point, the woodworking dimensions should agree across the drawing, equations, cut list, and real materials. That agreement is the signal to cut. If one source differs, the project remains in the planning stage.
Create a Small Calculation Worksheet
A simple worksheet makes the reasoning visible. For each assembly, list the controlling overall size, every fixed component, every required gap, and the remaining adjustable part. Write the equation beside the result. This format makes it easier to see whether a thickness was subtracted once, twice, or not at all.
Add a source column for each value. Mark whether the number came from the room, the measured material, the hardware instructions, or a design choice. When a part changes, revise the source value and recalculate every dependent result. Do not type a new answer over the old one without noting the revision, because that removes the trail you need for troubleshooting.
Keep calculations at full precision until the final practical dimension is selected. Round once, then check how the rounded value affects the total assembly. If several equal parts share a remaining distance, calculate the total gaps first and divide what remains. Finally, build the overall dimension from the rounded parts to confirm that the project still reaches the intended finished size.

Frequently Asked Questions
What is the difference between nominal and actual woodworking dimensions?
Nominal size is a category or trade label. Actual size is what the material measures in the shop. Calculations for joints, openings, panels, and hardware should use the actual measured thickness and width whenever the difference affects fit.
Should I use inches or millimeters?
Either system works. Choose the one you can read and calculate consistently, then keep it throughout the drawing and cut list. Avoid mixing decimal inches, fractions, and millimeters unless a purchased component requires a clearly documented conversion.
How much tolerance should I allow in furniture parts?
Tolerance depends on function. A rough blank can be generously oversize, while a drawer opening or hinge location needs tighter control. Define a target size and acceptable variation for critical parts instead of applying one tolerance to the entire project.
How do I calculate cabinet doors and drawers?
Start with the verified opening, then subtract the planned gaps and hardware clearances. Divide only after all fixed allowances are included. Inset and overlay systems use different formulas, so follow the selected hinge or slide specifications.
When should joinery allowances be added to the cut list?
Add them when the rough or blank size must include hidden material beyond the visible finished span. Keep the finished dimension and blank dimension in separate fields so the allowance cannot be mistaken for the final size.
How can I avoid cumulative measurement errors?
Measure repeated locations from one reference edge, use story sticks or fixed setups, and verify the final total independently. Avoid stepping a short measurement along a long board, because each small placement error can add to the next.

Conclusion
Good woodworking dimensions begin with the finished function, not the saw. Define the outside size and useful openings, measure actual materials, and build equations that connect the overall project to every part. Include joinery, hardware, movement, kerf, and waste as visible allowances rather than hidden assumptions.
Then transfer the results to one cut list and verify them through a second route. A few extra minutes with a sketch, calculator, story stick, or test piece can save hours of repair and replacement. When the drawing, calculations, list, and material all agree, you can make the first cut with confidence.
Affiliate Disclosure
Affiliate Disclosure: This post contains affiliate links. If you purchase through these links, DIY Wood Haven may earn a commission at no additional cost to you.




Ready to Build Smarter?