Woodworking Shop Workflow for Small Spaces
A good woodworking shop workflow helps you move from rough lumber to finished project without repeatedly shifting tools, stepping over cords, or carrying parts back across the room. In a small workshop, that matters even more because every bench, cart, and storage rack competes for the same limited floor area.
The goal is not to copy a professional cabinet shop or force every machine into a permanent station. Your goal is to arrange the work so material moves in a clear sequence, frequently used tools stay convenient, and temporary work zones can expand without blocking exits or creating unsafe shortcuts.
This woodworking shop workflow guide shows you how to define the work your shop must support, map the path of materials, create practical zones, place tools in useful order, and coordinate storage with power and dust collection. You will also learn a simple way to test the plan during a real project and refine it using evidence instead of guesswork.
Define the Work Your Shop Must Support
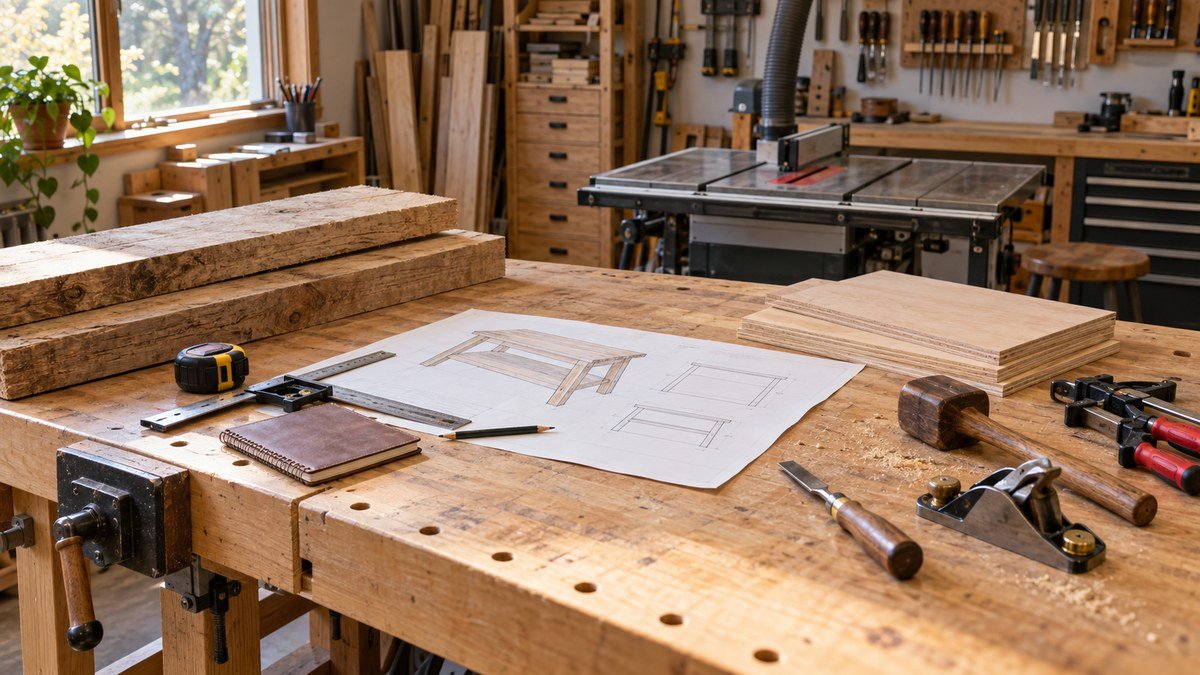
The most useful woodworking shop workflow starts with the projects you actually build. A layout designed for turning pens will look very different from one designed for cabinets, dining tables, or built-ins. Before moving a single machine, list the types of projects you expect to complete during the next year.
For each project type, note four things:
- The largest raw material you bring into the shop.
- The operations you perform most often.
- The largest component you must assemble.
- The amount of temporary space needed for drying, finishing, or storage.
A furniture builder may need room to break down sheet goods, joint and plane boards, cut joinery, dry-fit large assemblies, and apply finishes. A weekend DIYer may rely mainly on a circular saw, miter saw, drill, and folding bench. Neither person benefits from copying the other’s floor plan.
Map Your Project Sequence
Next, write the normal sequence of operations. A basic solid-wood project might follow this path:
- Bring lumber into the shop and inspect it.
- Store or acclimate the material.
- Cut rough parts to manageable length.
- Joint, plane, or otherwise prepare the stock.
- Make final cuts and joinery.
- Dry-fit and assemble the project.
- Sand, finish, and allow the project to cure.
- Store tools, offcuts, and the finished piece.
This sequence becomes the backbone of your woodworking shop workflow. It reveals which tools should sit near each other, where a shared bench makes sense, and where a permanent station may interrupt rather than help.
Also identify constraints that cannot move: doors, stairs, vehicles, electrical panels, windows, low ceilings, water heaters, and structural posts. A thoughtful woodworking shop setup works around those fixed elements instead of treating the room as an empty rectangle.
Do not begin by assigning every square foot. Keep some uncommitted space for stock handling and assembly. Open floor area is a working tool in a small shop, not wasted space.
Map Material Movement From Entry to Exit
Once the project sequence is clear, trace how material enters, travels through, and leaves the room. The best woodworking shop workflow minimizes unnecessary turns, long carries, and backtracking while keeping emergency paths open.
Start at the door. Ask where sheet goods and long boards can be set down safely without blocking access. Lumber storage should be close enough to reduce carrying, but it must not narrow the doorway or force you to lift boards around machines. Store frequently used stock between knee and shoulder height when practical, reserving higher or lower positions for lighter or less common material.
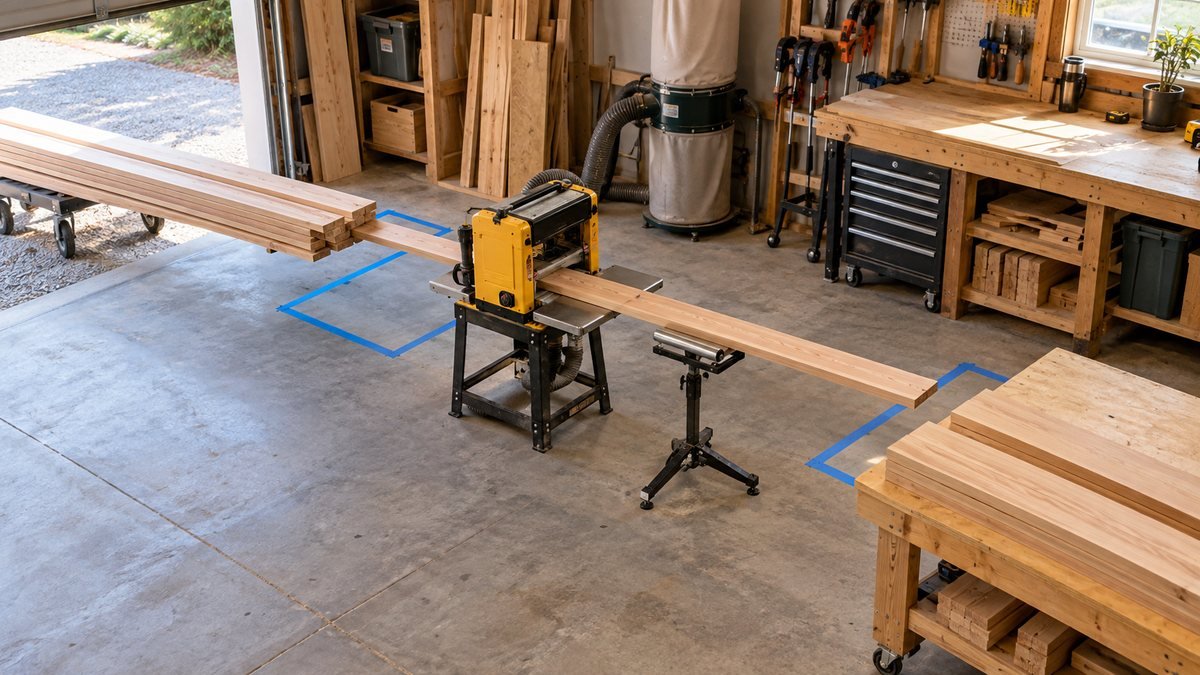
Then map the travel path for the longest board you expect to process. Measure more than the machine footprint. A planer, table saw, or jointer needs infeed and outfeed clearance, plus room for your stance. The path may extend through an open doorway or across a shared aisle, but it should not cross a stair, heater, finishing zone, or pile of offcuts.
A compact 8×8 woodworking shop layout shows why shared clearance can be valuable. Two machines can face the same open aisle when they are not used simultaneously. The floor remains available for assembly between operations.
Test Material Paths Before Moving Tools
Use painter’s tape or cardboard templates to mark machines, carts, and material paths. Walk through a pretend project while carrying an empty box or light board. Notice where you must rotate awkwardly, step backward, or set material down just to open a door. Those moments are workflow problems.
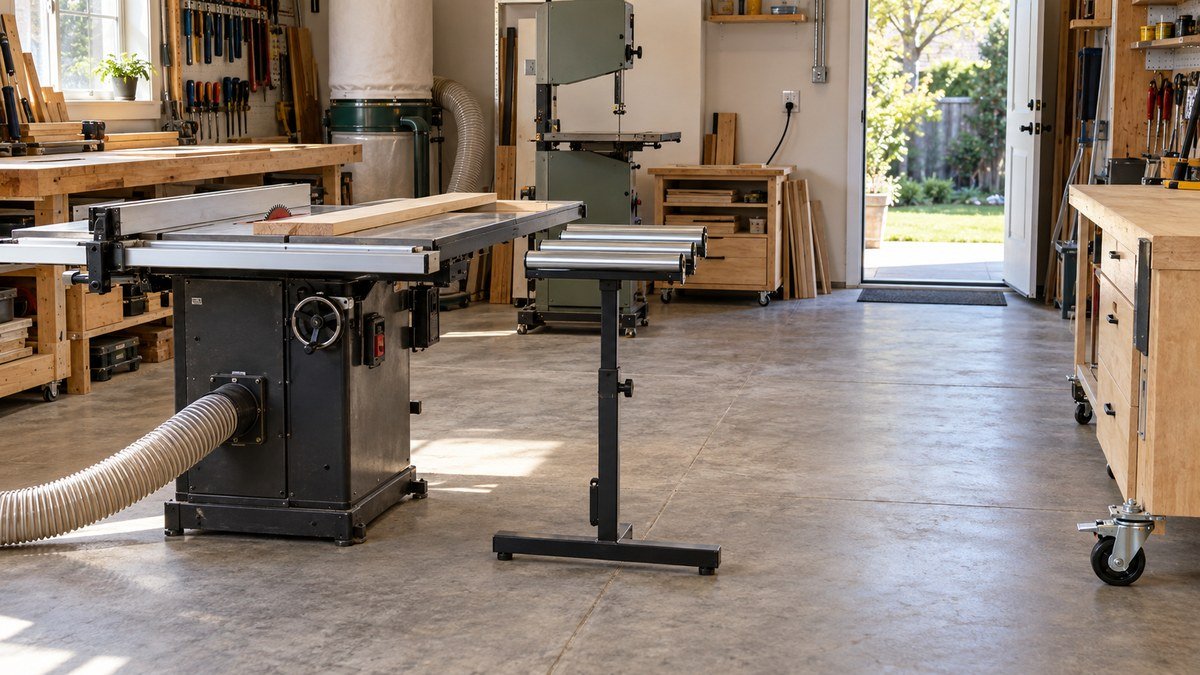
For occasional long stock, an adjustable roller support stand can provide temporary infeed or outfeed support when it is set to the correct height on a level floor. Position it so the board remains controlled throughout the cut, and treat it as supplemental support rather than a replacement for safe handling.
Affiliate note: This section contains affiliate links.
Your map should include finished parts as well as raw stock. Provide a safe place for cut components and assemblies so they do not return to the lumber rack or land on the floor. Even a labeled shelf or mobile parts cart can prevent repeated sorting and keep the woodworking shop workflow moving forward.
Create Functional Zones in a Small Shop
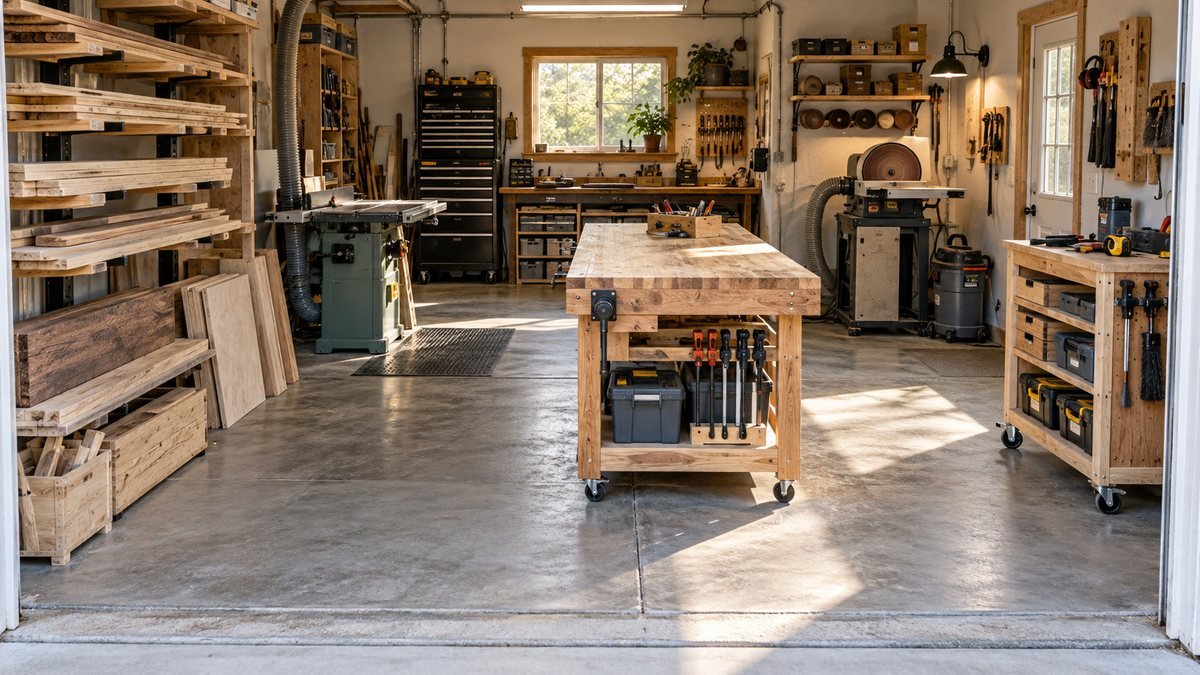
Zones organize related tasks without requiring a separate room or permanent station for every activity. When planning a woodworking shop workflow, use some version of these areas:
- Material storage and rough breakdown.
- Milling and dimensioning.
- Cutting and joinery.
- Assembly and clamping.
- Sanding and surface preparation.
- Finishing and drying.
- Tool storage and cleanup.
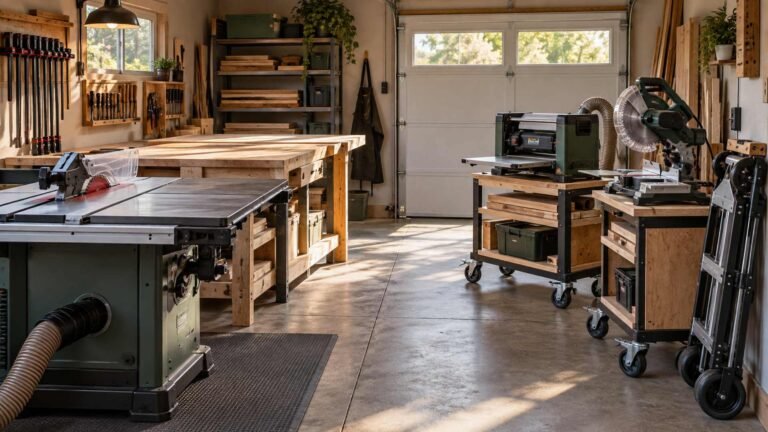
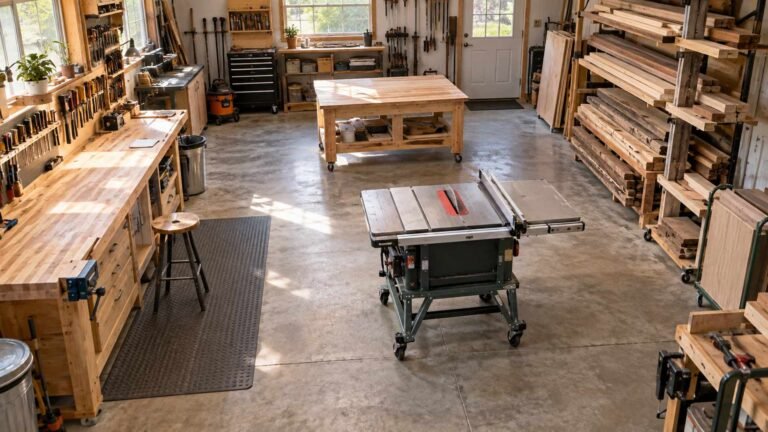
In a small shop, zones can overlap. A table saw outfeed table may also serve as an assembly bench. A mobile planer can roll into the central aisle for use and return to a wall afterward. A folding finishing surface can occupy the assembly area only after the dusty machining work is complete.
The important rule is that overlapping zones should be separated by time and setup, not by wishful thinking. Do not sand beside a wet finish or store clean hardware beneath an uncontrolled dust source. Plan how the room changes from one task to the next.
Prioritize High-Frequency Work Zones
Keep the highest-frequency zone easiest to access. If most projects begin with a miter saw and end at a central bench, those stations deserve convenient positions. A specialized tool used twice a year should not control the entire layout.
A one-car garage workshop layout requires an additional transition: the shop may need to return to parking mode. Assign every mobile cart a marked parking location, and avoid storing loose items where a vehicle or garage door can contact them.
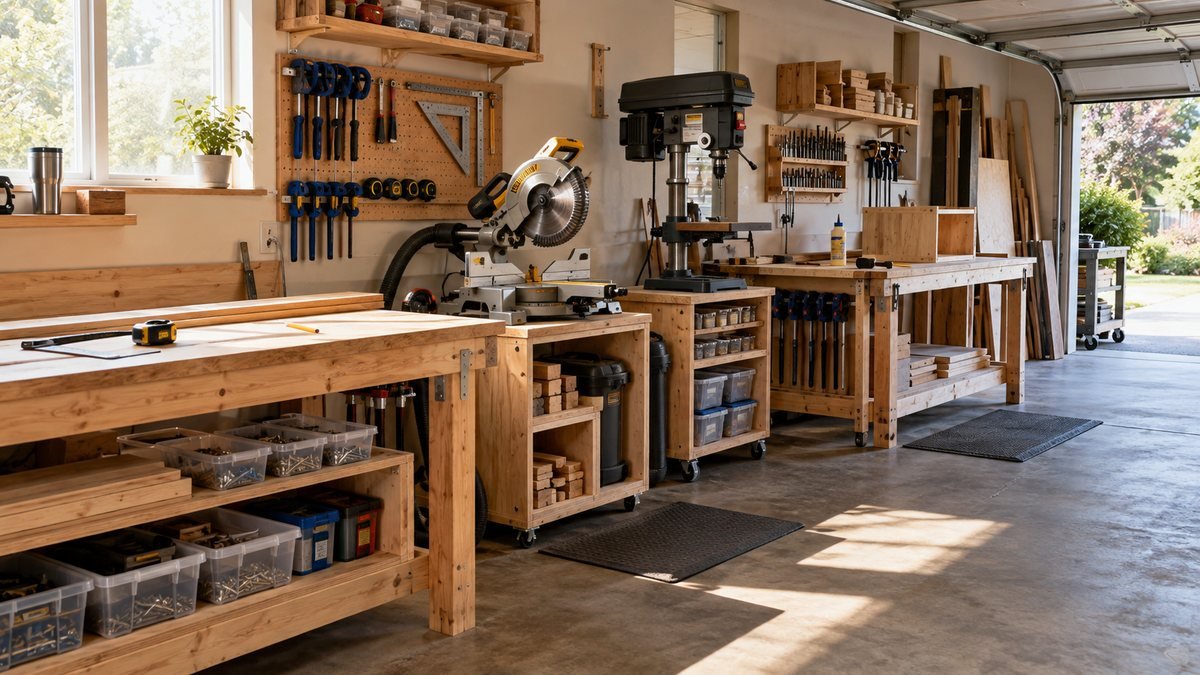
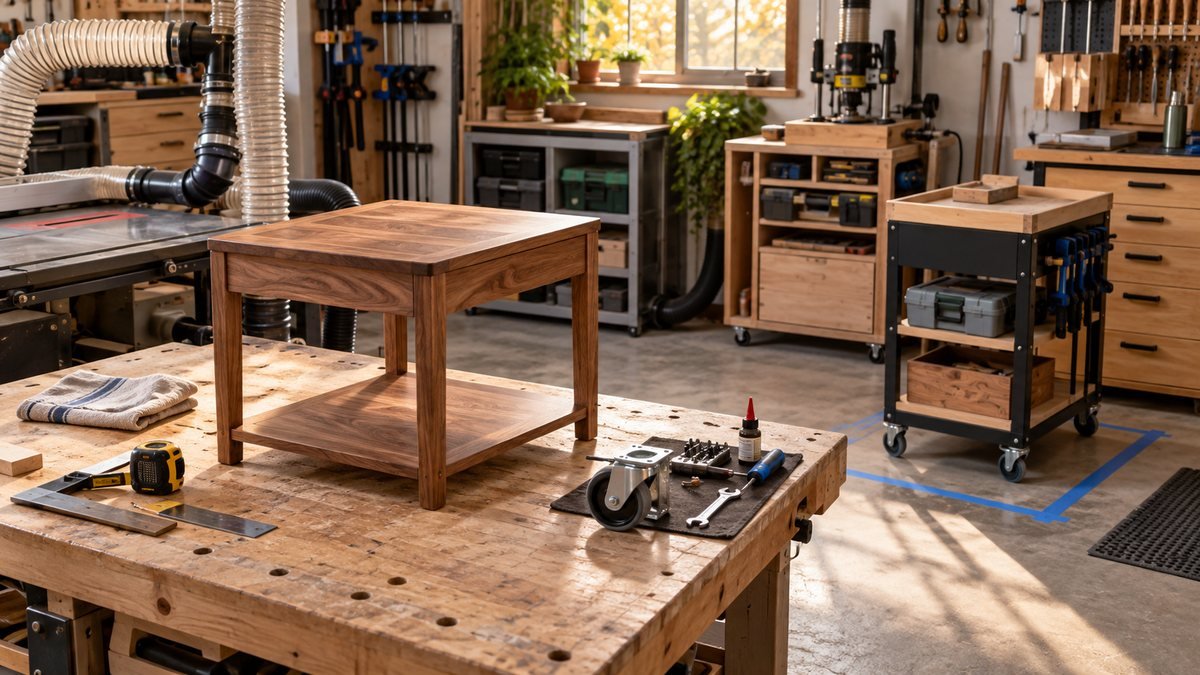
For a shared zone, retractable workbench caster wheels may help move a shop-built bench or cart while allowing it to rest on its legs during use. Verify that the mounting method and combined load rating suit the bench, stored tools, and workpiece. Test stability with tools unplugged before working on the surface.
The purpose of zoning is not to make the room look perfectly organized. It is to ensure that each task has the space, support, and nearby accessories required when you reach that stage of the project.
Place Tools in the Sequence You Use Them
Tool placement should follow both frequency and sequence. A woodworking shop workflow becomes inefficient when a regularly paired set of tools lives on opposite sides of the room or when using one machine requires moving several unrelated stations.
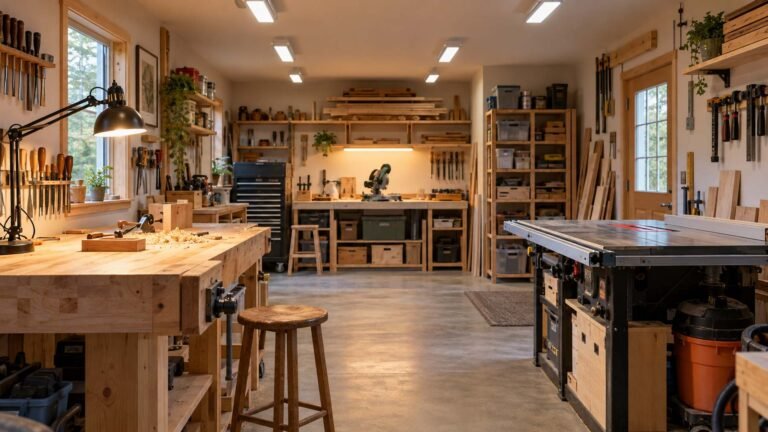
Begin with anchor stations. These are the surfaces or machines that need the most stability, alignment, or daily access. For many shops, the main workbench and table saw are anchors. In others, the anchor may be a miter saw bench, assembly table, or hand-tool bench.
Place complementary tools nearby. Measuring and marking tools belong close to the main bench. Planer accessories and support stands should stay with the planer. Router bits, wrenches, featherboards, and dust adapters should live at or beside the router station. Keeping a complete “tool neighborhood” reduces searching and forgotten setup steps.
Improve Handoffs Between Tools
Think about handoffs. Where does a board go immediately after it leaves the saw? Where do small parts wait before assembly? Can clamps be reached while you are holding a joint in position? A landing surface between operations often improves the woodworking shop workflow more than another storage cabinet.
Use the reach test for small tools. Stand where the task happens and note what you can reach without leaving the station. Keep safety equipment, setup tools, and frequently used consumables within that zone. Less common accessories can occupy secondary storage.
Do not place every machine against a wall automatically. Some tools need access from several sides, while others work well in shallow wall stations. Orient long-feed machines toward the longest available dimension, a door, or a temporarily open area. Ensure that your body is never trapped between moving stock and a wall.
Mobility should reduce setup, not create it. A cart is successful when it rolls out, locks solidly, connects quickly, and returns to a defined bay. If you must unload the top, find a missing wrench, untangle a cord, and rebuild support every time, redesign the station.
Finally, separate walking paths from cutting paths. Family members should not need to cross behind an operating saw to reach a door or freezer. The person operating the tool should have a clear retreat path without stepping over hoses, scraps, or cart wheels.
Plan Storage Power and Dust Collection Together
Storage, electricity, and dust collection are often planned separately, yet all three determine whether a woodworking shop workflow feels smooth or frustrating. Treating these utilities as one woodworking shop workflow system prevents a perfectly placed machine from becoming inconvenient because its cord cannot reach safely, its hose blocks the aisle, or its fence is stored across the room.
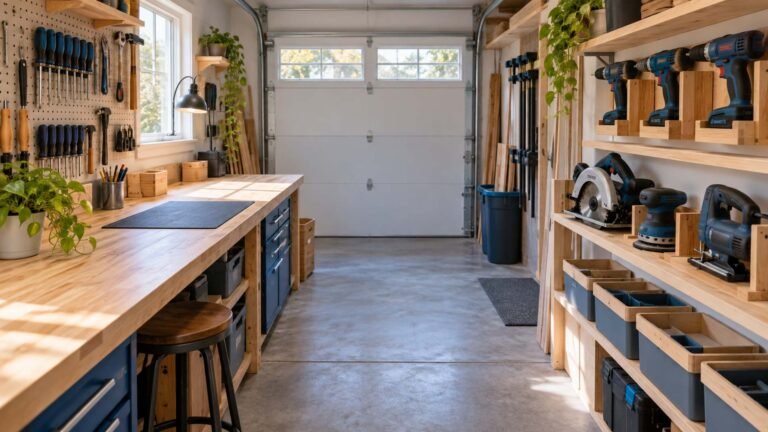
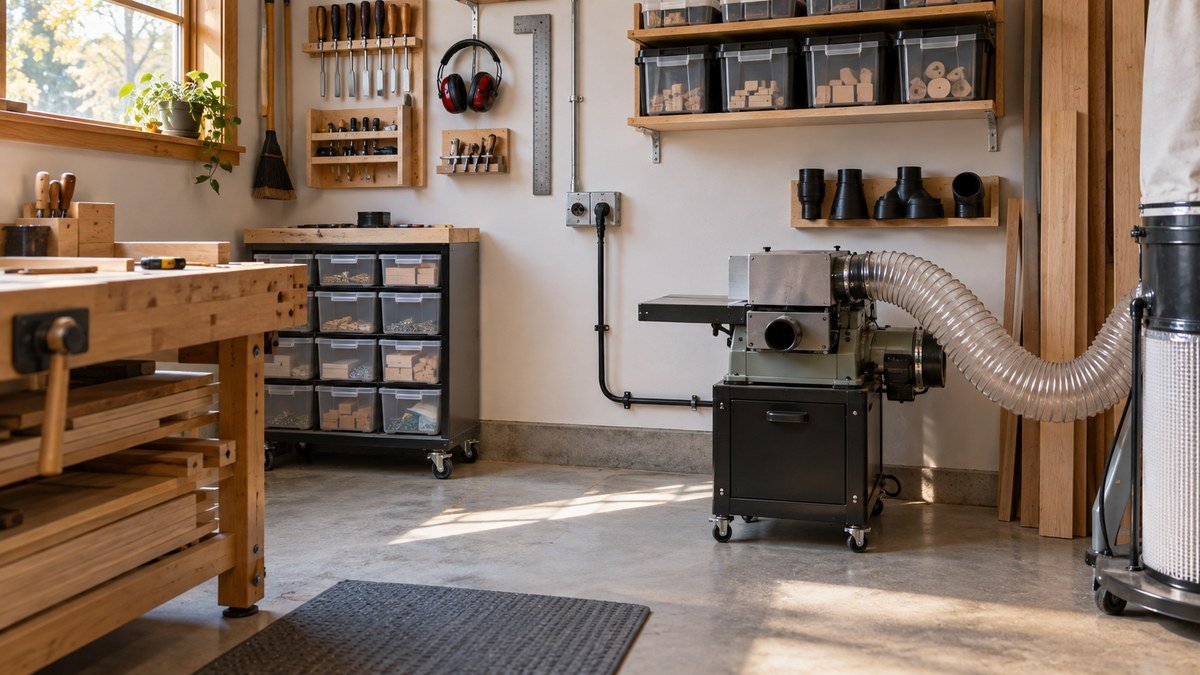
Store accessories at the point of use. A shallow drawer beneath a benchtop tool can hold its adjustment wrench, push devices, spare inserts, and adapters. Vertical racks can keep jigs visible without consuming floor space. Label closed bins so you do not repeat the same search during every project.
Plan outlets around stations rather than stretching cords across traffic paths. Follow each tool manufacturer’s electrical requirements, including circuit capacity and approved cord size. Avoid daisy-chained extension cords. If temporary cords are unavoidable, route them where feet, wheels, sharp edges, and moving material cannot contact them.
The 220V extension cord reel in the research results is not included here because voltage, plug type, circuit compatibility, and local electrical requirements cannot be assumed. Convenience never justifies recommending incompatible electrical equipment.
Coordinate Dust Collection With Tool Placement
Dust collection should follow the same sequence as the tools. Put the collector where hoses can reach without sharp bends or permanent floor crossings. Keep reducers and adapters with the machines they serve. If one extractor serves several stations, plan a repeatable connection routine and a storage point for the unused hose.
A clear dust-collection hose can make blockages easier to notice in a compact system, but confirm its diameter, wall thickness, static-control needs, and connection method before ordering. It should not sag into a walkway or pull against a machine port.
For more detailed options, review these small-shop dust collection approaches. Dust control is part of the woodworking shop workflow from the first cut, not a cleanup step added at the end.
Finish the utilities plan with cleanup. Place a broom, vacuum attachments, and waste container where they are easy to reach but outside the cutting path. Create separate containers for reusable offcuts, ordinary waste, and finishing materials as appropriate. Empty containers before they block movement.
Test Refine and Maintain the Workflow
A drawing cannot reveal every problem. The most reliable woodworking shop workflow test is to build a real project, observe the friction, and change one issue at a time.
Choose a representative project rather than an unusually large or tiny build. Before starting, take a few photos of the room and note the starting locations of mobile stations. Then record each time you experience one of these problems:
- Carrying material across the same path more than once.
- Moving a tool only to reach another tool.
- Searching for an accessory or adapter.
- Waiting for a surface to become available.
- Stepping over a cord or hose.
- Setting parts on the floor.
- Blocking a door, panel, or emergency path.
- Lifting something that could roll or slide safely.
Refine the Layout From Real Projects
At the end of the project, group the notes by cause. If you repeatedly walk for clamps, move clamp storage closer to assembly. If cut parts crowd the saw, add a small landing shelf or parts cart. If a mobile station remains in one location for several projects, consider giving it a fixed home.
Change only one or two major elements before the next test. Moving every station at once makes it difficult to know which adjustment helped. Small revisions also reduce the temptation to build elaborate cabinets before the arrangement is proven.
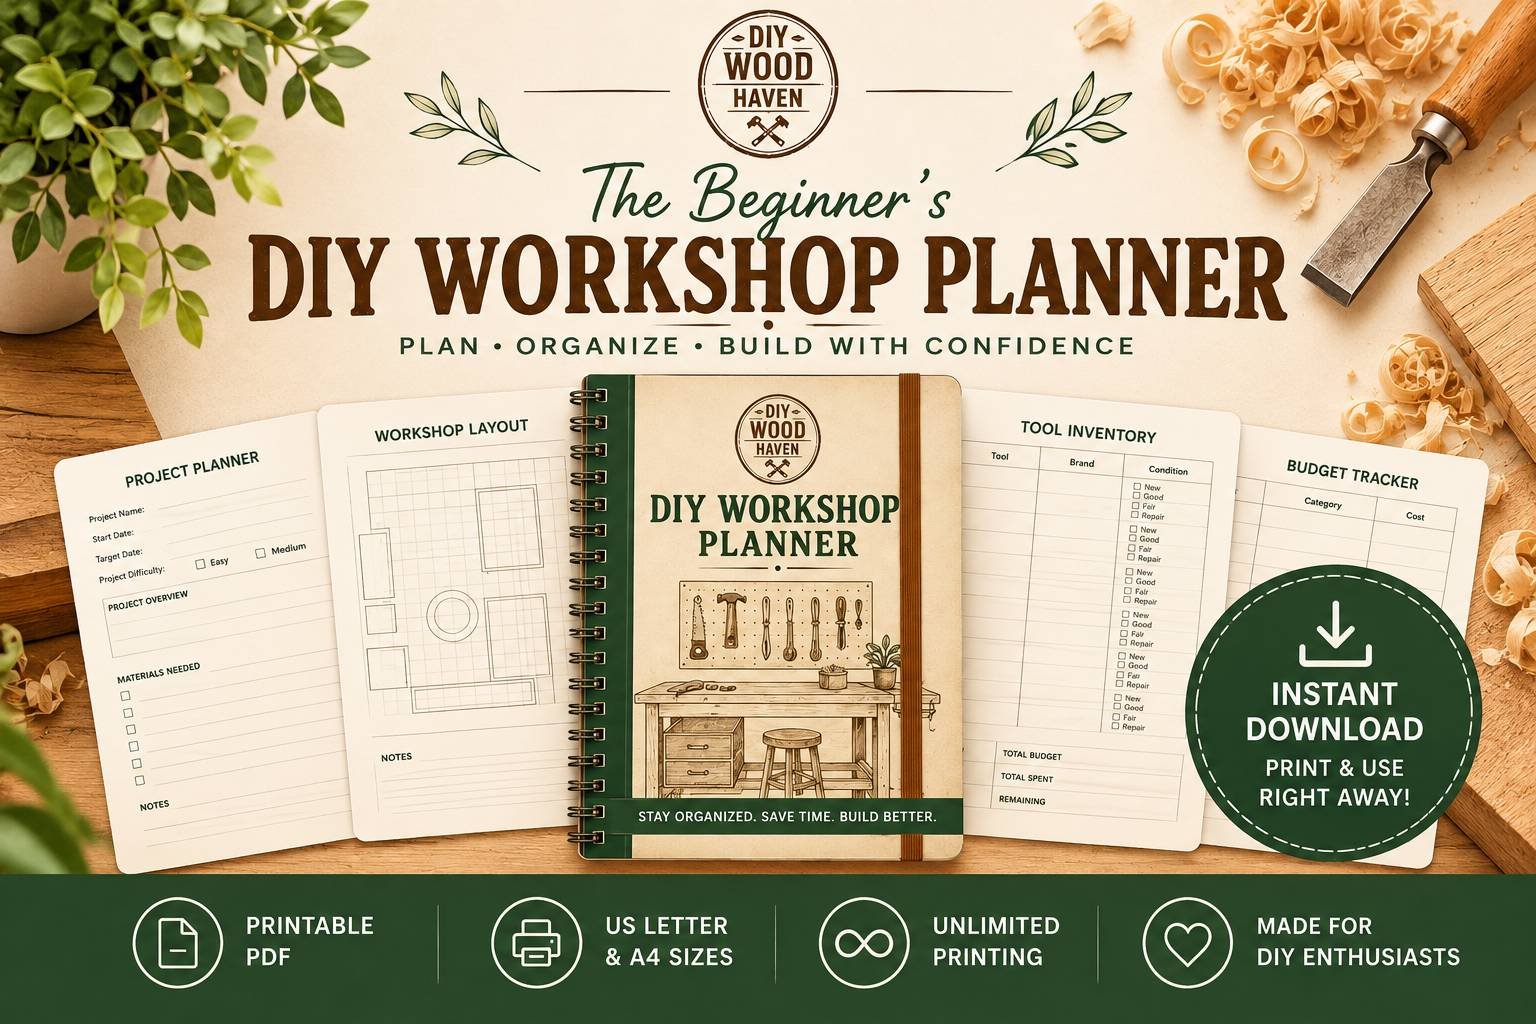
The Beginner’s DIY Workshop Planner provides a structured way to record zones, tool priorities, and layout decisions. You can also use the Free Weekend DIY Project Checklist to organize a test project while observing how the room performs. The checklist is a free resource, not a product recommendation.
Review the woodworking shop workflow whenever your work changes. A new machine, larger project type, shared storage requirement, or different vehicle can alter the best arrangement. Schedule a quick review after several projects or whenever a recurring obstacle appears.
Maintenance matters too. Wheels collect dust, hose fittings loosen, storage fills with duplicates, and clear floor markings disappear. Periodically inspect mobile bases, tighten hardware, clean electrical areas, and return accessories to their assigned stations. A workflow remains useful only when the systems supporting it stay reliable.
Frequently Asked Questions
How much space do I need for an effective woodworking shop workflow?
There is no universal minimum. An effective woodworking shop workflow depends on the size of your materials, the operations you perform, and whether zones can share space at different times. Begin by measuring the longest stock, largest assembly, and required machine clearances. A compact room can work well when tools have assigned parking positions and the central area remains flexible.
Which woodworking station should be closest to the shop entrance?
Material storage or rough breakdown usually benefits from being near the entrance because it reduces carrying long boards through the room. However, the doorway must remain clear, and stored lumber cannot interfere with exits or doors. Finishing areas may need a different position based on ventilation and dust separation. Let material movement and safety determine the choice.
Should a table saw be the center of a small shop?
Only if your projects and use frequency justify it. A centrally placed saw can share an outfeed table with assembly work, but it may consume the most valuable open space. Woodworkers who rely on track saws, hand tools, or a miter saw may prefer a central bench instead. The woodworking shop workflow should reflect your real process, not a conventional diagram.
How can I reduce repeated tool setup in a small workshop?
Keep each tool’s accessories, dust adapter, adjustment wrench, and safety devices at the station. Use positive stops, marked parking positions, and support surfaces that align predictably. Group tools used in sequence and avoid stacking one machine behind another. Time the full setup and reset routine; then remove the step that creates the most delay.
What is the safest way to route power cords and dust hoses?
Keep them away from feet, wheels, blades, hot surfaces, and the path of moving stock. Use approved electrical equipment that matches the tool and circuit, and follow manufacturer instructions. Whenever possible, route utilities overhead or along walls rather than across aisles. Disconnect tools before changing the layout, and inspect hoses and cords regularly.
How often should I revise my woodworking shop layout?
Review it after several representative projects, after adding or removing a major tool, or when the same bottleneck appears repeatedly. Do not rearrange the room simply because a new layout looks attractive online. A useful woodworking shop workflow changes in response to observed problems, different projects, and new safety or storage requirements.

Conclusion
A productive woodworking shop workflow follows the path of the work. It begins with the materials and projects you actually handle, then coordinates zones, tools, storage, power, dust collection, and cleanup around that sequence.
Start by mapping one representative project from entry to completion. Protect the material path and emergency access, give high-frequency tools convenient stations, and let occasional-use equipment share flexible space. Test the arrangement during real work and record where you walk, wait, search, lift, or move things unnecessarily.
You do not need to solve the entire shop in one weekend. Fix the most frequent obstacle, complete another project, and evaluate the result. Over time, those small evidence-based improvements create a workshop that is safer, easier to reset, and better matched to the way you build.
Affiliate Disclosure
Affiliate Disclosure: This post contains affiliate links. If you purchase through these links, DIY Wood Haven may earn a commission at no additional cost to you.




Ready to Build Smarter?