How to Organize Power Tools in a Small Workshop
Learning how to organize power tools is one of the fastest ways to make a small workshop safer and easier to use. When drills, sanders, saws, batteries, cords, and accessories compete for the same shelf, even a simple project begins with a search. Tools get stacked where they can fall, batteries remain on chargers, and the workbench becomes a permanent parking area instead of a place to build.
A useful system does not require matching cabinets or a large budget. It requires clear zones, storage that fits each tool, and a return routine simple enough to follow at the end of a tiring session. This guide explains how to organize power tools by frequency, workflow, size, and risk. You will create a safer charging area, control cords and accessories, and choose flexible storage that can change as your tool collection grows.
1. Audit Your Power Tools and Available Space
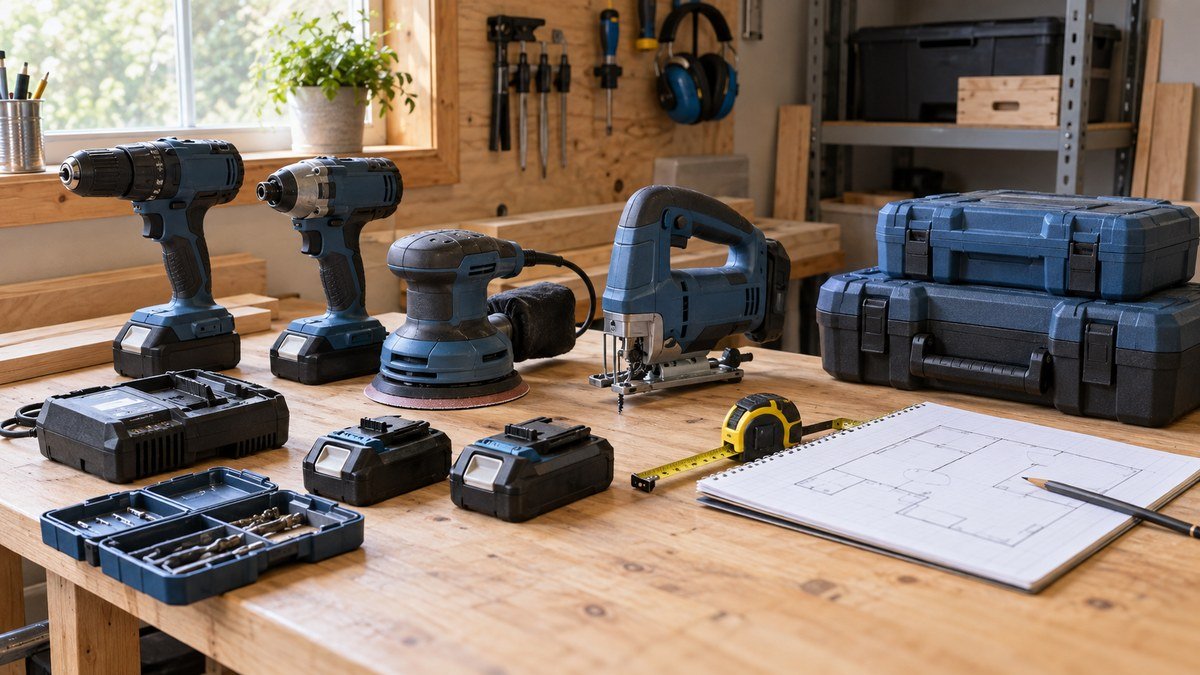
Before buying bins or building a rack, take every portable power tool out of its current hiding place. Include corded tools, cordless tools, chargers, spare batteries, cases, blades, bits, guides, and tool-specific wrenches. The first step in how to organize power tools is seeing the entire collection at once. A storage plan made from memory usually overlooks bulky cases and small accessories that later spill onto the bench.
Create a simple tool inventory
Make one row for each tool and record its normal task, dimensions, weight, power source, accessories, and frequency of use. You do not need a complicated spreadsheet. A notebook list is enough if it helps you distinguish a weekly drill from a router used twice a year. Mark tools that share batteries or dust ports, and note any damaged cords, cracked housings, or missing guards that need attention before storage.
Sort the collection into four temporary groups:
- Frequently used tools that should be reachable without moving another item
- Occasionally used tools that can live higher, lower, or farther from the main bench
- Heavy or awkward tools that require a stable shelf, cart, or dedicated base
- Tools to repair, donate, sell, or recycle instead of returning to storage
Be realistic about duplicates. Two drills may be useful when one holds a drill bit and the other drives screws, but three broken sanders do not deserve prime space. Keep the tool that works, the accessories that fit it, and a reasonable number of consumables. Removing unusable equipment is part of learning how to organize power tools because empty space is what allows a system to function.
Measure storage areas and movement paths
Measure wall sections, shelf depths, cabinet openings, the space beneath the bench, and the clear height above doors or windows. Record outlets, switches, studs, pipes, and anything that should not be drilled into. Then identify the path used to bring lumber into the shop and move work between cutting, assembly, and finishing. Storage should not narrow that path or put a heavy tool where it must be carried around obstacles.
If you are reorganizing the whole room, a practical small woodworking shop setup can help you see how storage, machines, and work surfaces compete for the same space. Readers working in an especially compact room can also compare an 8×8 woodworking shop layout. Measure the real room rather than copying another shop exactly.
2. Group Tools by Frequency and Workflow
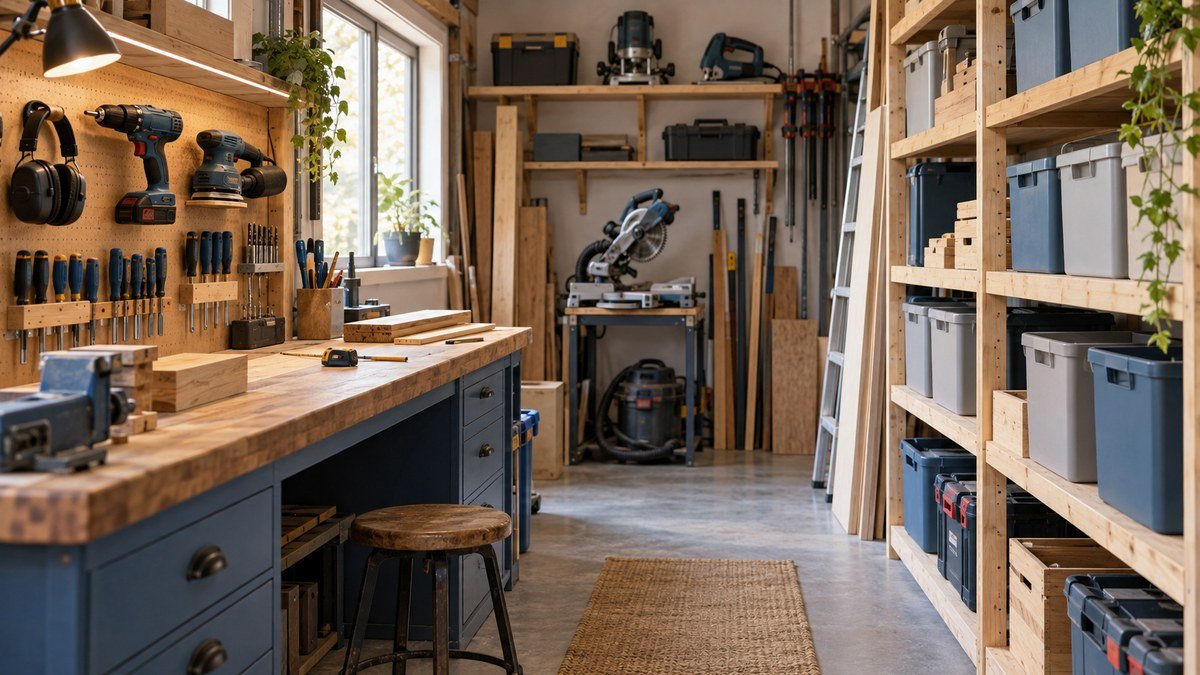
A good system follows the work rather than the shape of the empty wall. Think about the sequence of a typical project: measure, cut, drill, assemble, sand, and clean. Place tools near the zone where they are used, while keeping the most frequently handled items within a comfortable reach. This workflow approach is central to how to organize power tools in a limited footprint.
Build primary, secondary, and reserve zones
The primary zone is the area you can reach without bending deeply, climbing, or moving another tool. Reserve it for the drill/driver, impact driver, orbital sander, or other tools you use most. The secondary zone includes lower cabinets, high shelves, and mobile carts for tools used monthly. The reserve zone holds seasonal equipment, large cases, and specialty jigs. Clear labels make the reserve zone useful even when it is out of sight.
Do not store a tool simply because it fits. A jigsaw that is always used at the bench should not live across the room beside a garden tool. Likewise, a circular saw used at a cutting station does not need to occupy the best drawer near the assembly area. When deciding how to organize power tools ask where the tool is picked up, where it is used, and where its dust or offcuts will be controlled.
Make a home for every tool
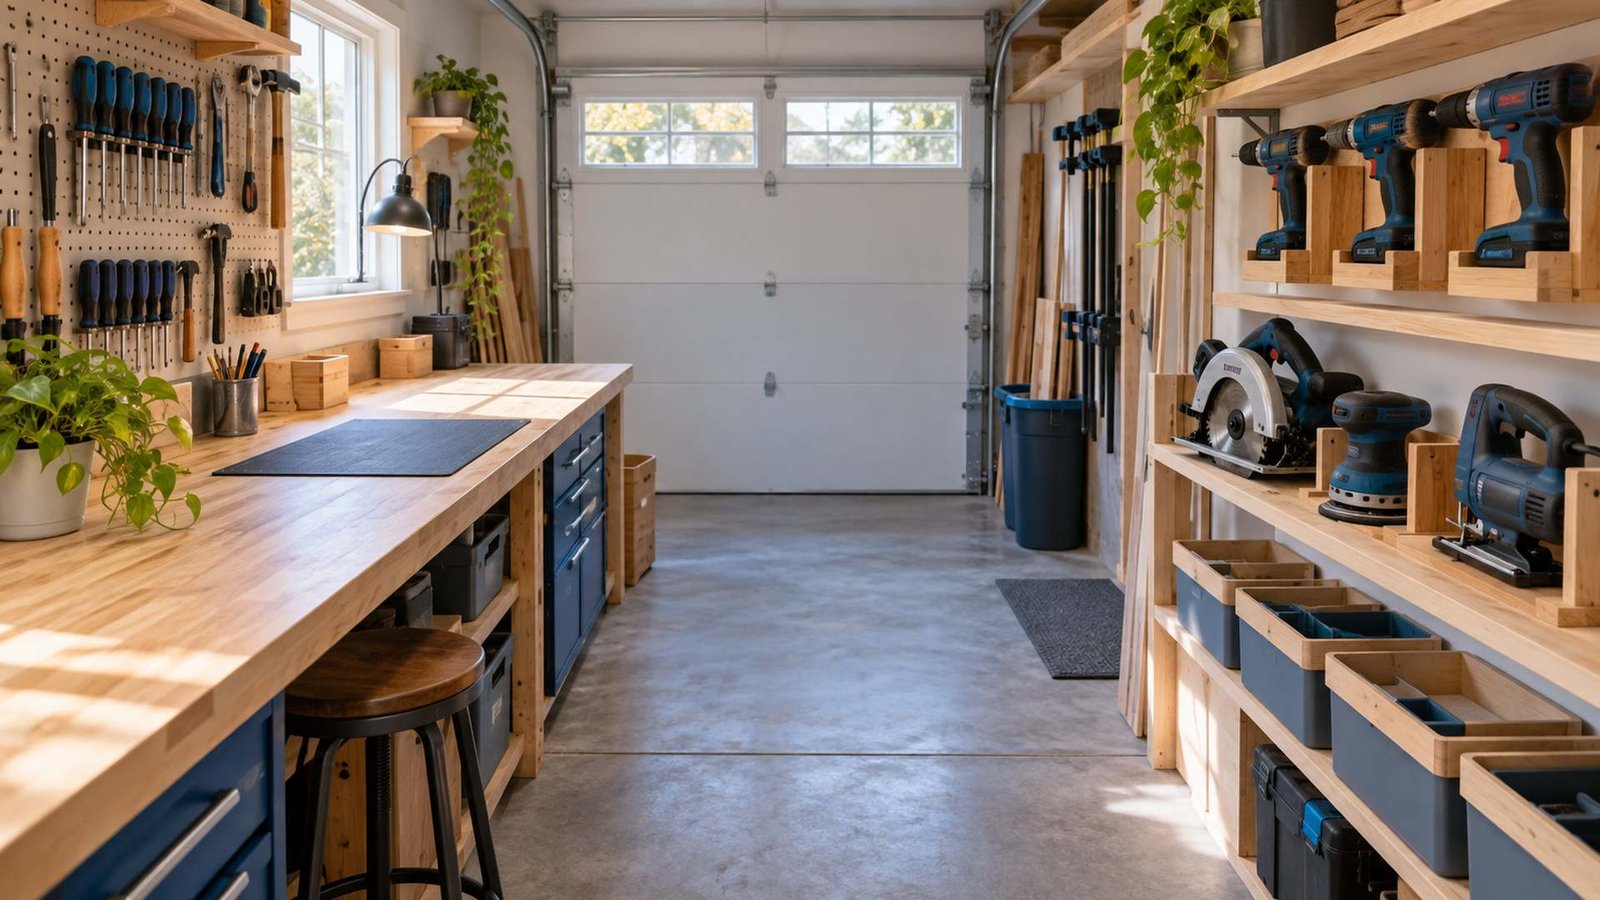
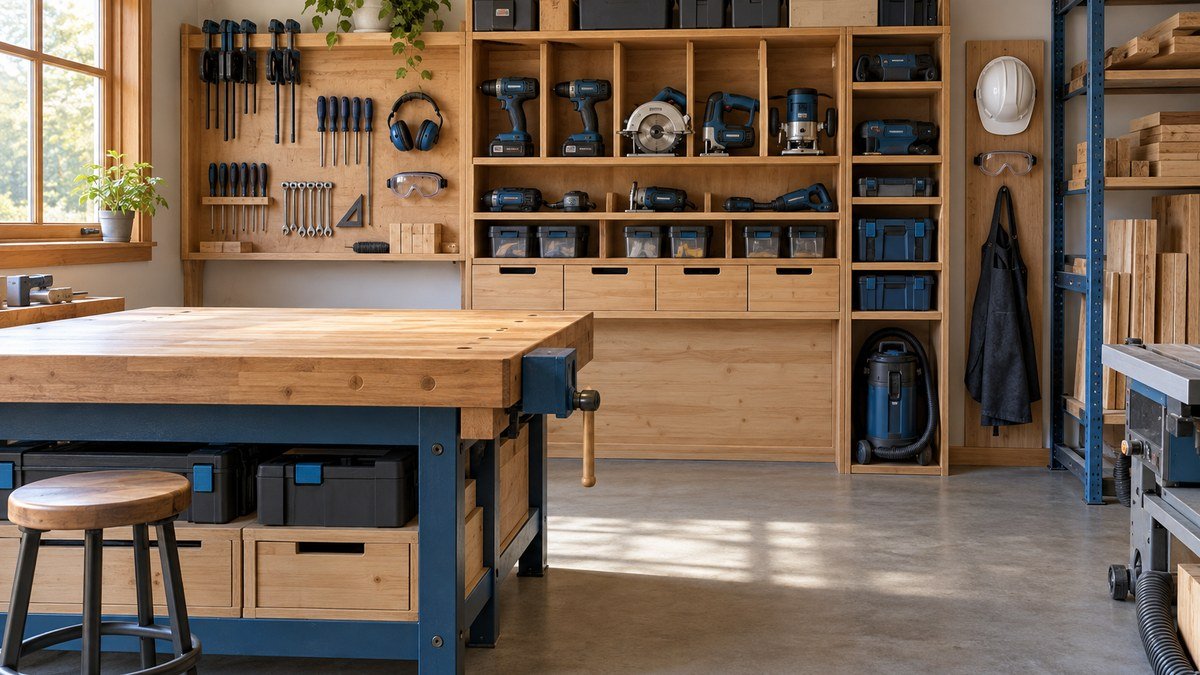
Give every tool one named home. Use a label, outline, shelf divider, or fitted space so that an empty location is immediately obvious. Avoid deep piles. If removing one tool requires lifting two others, the system will eventually fail. Horizontal shelves work for stable cases and larger tools; vertical dividers can keep saws, nailers, and flat cases from collapsing into a stack.
Affiliate note: This section contains affiliate links.
For tools with safe hanging points, a heavy-duty wall-mounted power-tool organizer from this article’s research list may help move suitable equipment off the floor. The researched model is marketed primarily for garage and garden tools, so confirm that each woodworking tool fits securely, remains within the stated load limit, and cannot slide out. Mount any rack to an appropriate structure with the correct fasteners; never assume drywall alone can hold a heavy tool.
Small items carried around the shop can use a different solution. A researched cordless drill belt clip and tool hanger may be useful for temporary access while measuring or assembling. Treat it as a portable holder, not the permanent home for a loaded tool unless the product instructions, mounting point, and tool geometry all support that use.
3. Choose Storage That Fits Each Tool
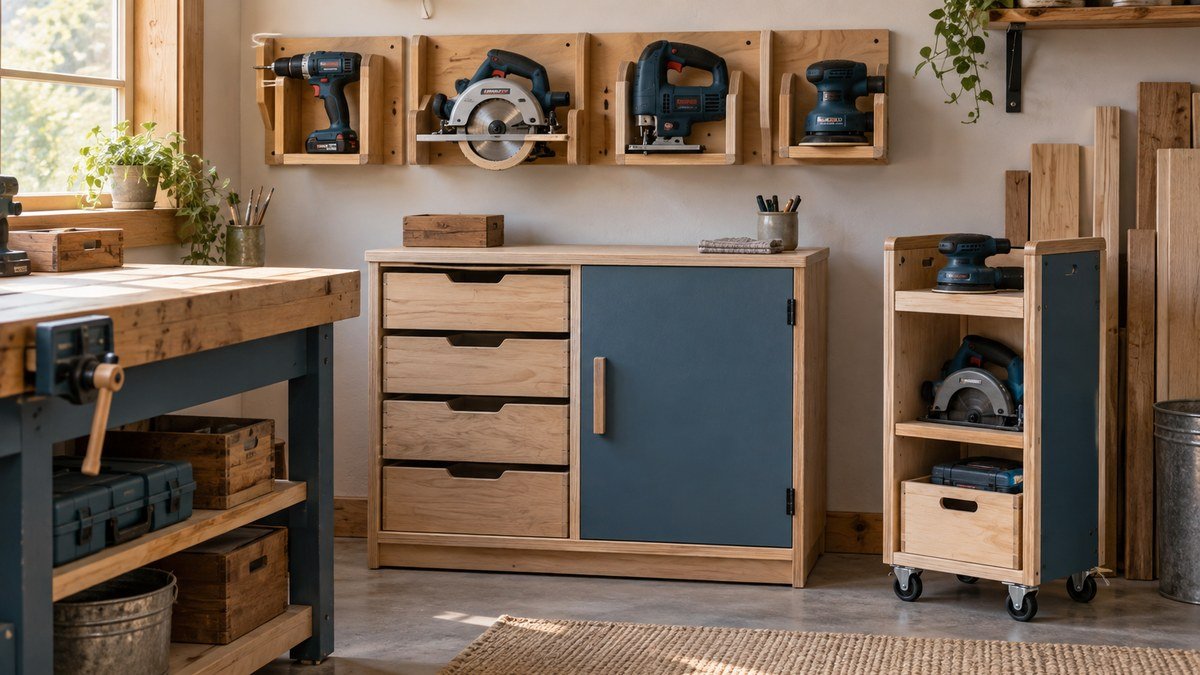
There is no single best container for every tool. Open shelves provide fast access but collect dust. Drawers protect tools but can hide them. Cabinets reduce visual clutter but need door clearance. Wall systems save floor space but require sound mounting and careful weight distribution. The practical answer to how to organize power tools is usually a combination of these methods.
Use walls for light and frequently used tools
Wall storage is most valuable between shoulder and waist height, where tools can be removed without overreaching. French cleats, pegboard, slatwall, and purpose-built holders can all work. Keep heavy tools lower and close to the wall. Do not place sharp accessories at eye level, and avoid holders above a seated workstation or anywhere a falling tool could strike someone.
A modular wall lets you adjust spacing when a tool is replaced. Leave room for the tool’s handle, battery, and dust port rather than tracing only the main housing. If a corded tool hangs vertically, support the tool itself rather than suspending its weight from the cord. More ideas for using vertical space appear in these small workshop storage ideas, but the wall must remain structurally sound and the work area below it must stay clear.
Use drawers and cabinets for protected storage
Drawers are excellent for compact tools, batteries, and matched accessories when the drawer can carry the load. Use shallow drawers where possible; a single layer is easier to scan than a deep bin. Add simple dividers or foam only after living with the arrangement for a few projects. A precise insert made too early can lock you into a layout that does not match the work.
Cabinets protect tools from airborne dust and reduce the visual noise of a crowded shop. Install doors and drawers so they cannot open into a saw path or block the only walkway. Ventilation may be needed around chargers, but storage cabinets are not substitutes for following battery and charger instructions. When considering how to organize power tools balance dust protection against the need to see and reach the tool.
Use carts and tool cases intentionally
A mobile cart can group tools used for one process, such as sanding or assembly, and roll near the project. It needs a defined parking place, wheels rated for the loaded weight, and locks that keep it still. Do not create a cart so wide that it becomes another fixed obstacle. A narrow cart often holds more useful tools than a deep cabinet because every shelf remains visible.
Manufacturer cases protect tools during transport and keep specialty accessories together, but mixed case sizes waste shelf space. Keep a case when the tool travels, needs calibrated parts, or benefits from impact protection. For shop-only tools, a labeled shelf or drawer may be faster. If you are still deciding which tools deserve space, compare the collection with a beginner woodworking tool list and prioritize versatile tools before specialty purchases.
4. Build a Safe Charging and Battery Station
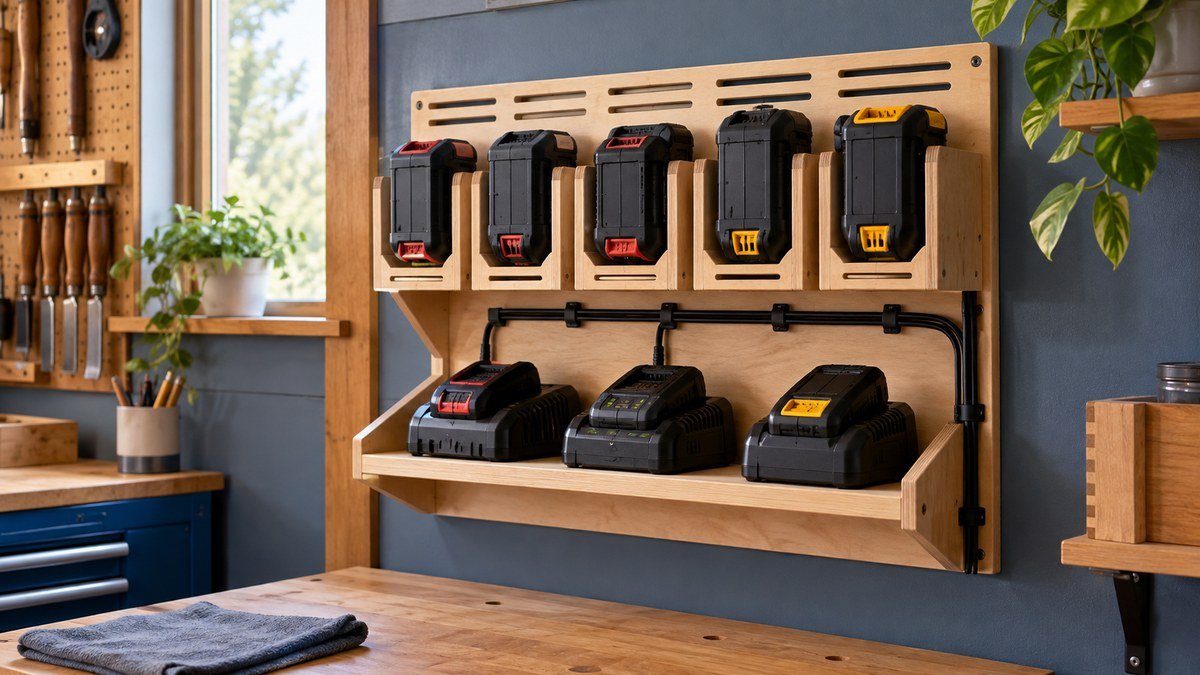
Cordless tools simplify storage only when batteries and chargers have a controlled home. Scattered chargers consume outlets, trap dust, and make it difficult to know which battery is ready. A charging station is an important part of how to organize power tools because it separates electrical equipment from cutting debris, liquids, metal shavings, and crowded work surfaces.
Choose a visible, ventilated location
Use a dry area with good airflow and a nearby permanent outlet. Keep chargers away from direct sunlight, heaters, flammable finishing supplies, and areas where dust accumulates heavily. Do not cover chargers or enclose them in a sealed box while operating. Follow the manufacturer instructions for temperature, spacing, compatible batteries, and charging time. Damaged, swollen, unusually hot, or wet batteries require appropriate isolation and disposal guidance rather than routine storage.
Mounting chargers can save shelf space only when the charger is designed for it and the fasteners do not damage the housing. Route cords so they do not bear the charger’s weight or cross the floor. A clearly labeled power switch or outlet strip can help you see what is energized, but it does not override electrical ratings or local requirements. Consult a qualified electrician if the shop needs new outlets or circuits.
Separate charged, waiting, and questionable batteries
Use distinct labeled positions for charged batteries, batteries waiting to be charged, and batteries removed from service. This simple flow prevents repeated testing and reduces the chance that a questionable pack returns to a tool. Avoid exposed metal hardware that could contact battery terminals, and do not store loose fasteners in the same tray.
For a compatible platform, a researched wall-mounted battery holder for Makita 18V packs may provide defined storage positions. It is brand- and battery-format-specific, so verify the exact pack model, engagement method, mounting orientation, and load before purchase. It contains no battery. Never force an incompatible pack into a holder, and follow the battery manufacturer’s storage guidance.
A battery station should be easy to inspect during cleanup. If dust from sanding reaches it, improve extraction or move the station. This is where tool storage connects with a broader small-shop dust collection plan. When you decide how to organize power tools treat chargers as active electrical equipment, not ordinary shelf clutter.
5. Organize Cords, Bits, Blades, and Small Accessories
A power tool is only ready when its cord, blade, bit, fence, wrench, and dust adapter can be found. Accessories often create more disorder than the tools because they are small, numerous, and easy to mix. A complete plan for how to organize power tools therefore assigns accessories to the tool, task, or size system that makes retrieval obvious.
Control extension cords without tight bends
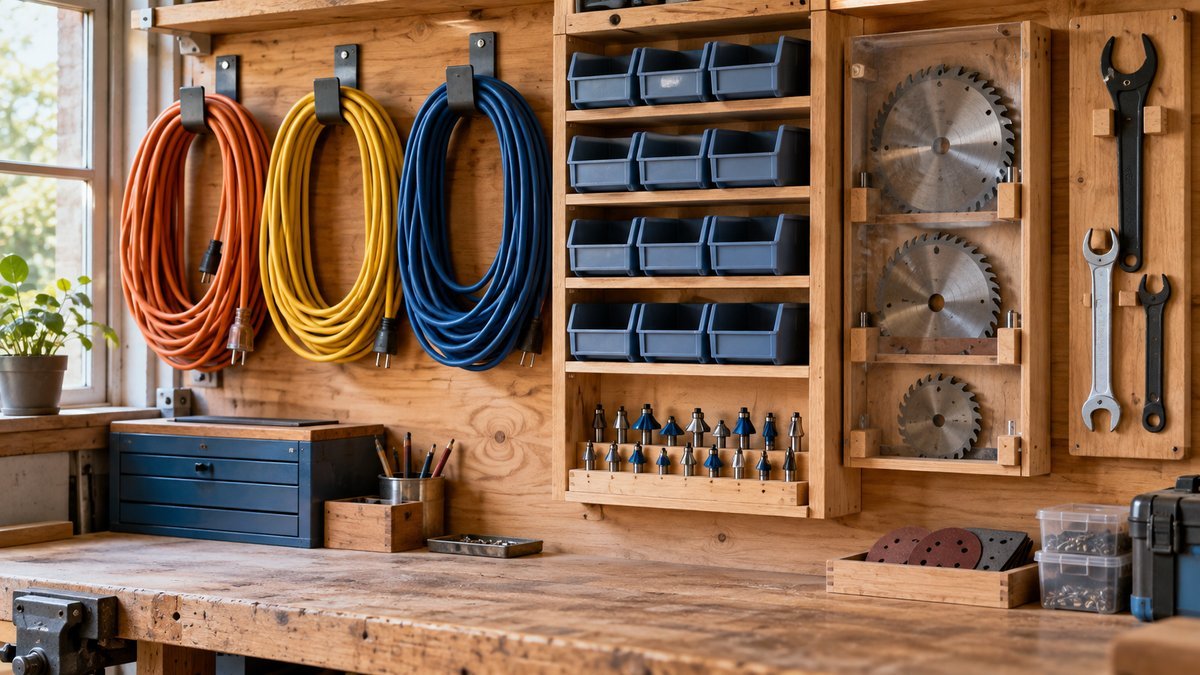
Inspect cords before storage and remove damaged equipment from service. Coil extension cords in broad loops rather than wrapping them tightly around your hand and elbow, which can encourage twists. Secure the coil with a reusable strap and label its length and rating. Hang it from a wide hook that supports the coil without a sharp pressure point. Keep connectors clean, dry, and off the floor.
Where a portable supply is appropriate, a researched multi-purpose extension cord reel may help contain a long cable. Confirm voltage, plug and socket type, current rating, cable specification, and suitability for your location before use. Fully unwind a reel when the manufacturer requires it for the intended load, and never treat a reel as permanent wiring. Keep it out of cutting paths and away from moisture.
Keep bits and blades near the tool family
Group drill and driver bits by function and size, then label compartments with markings that remain visible. Store saw blades so teeth do not contact each other or your hand. Router bits need secure individual positions that protect cutting edges. Keep tool-specific wrenches and guides in the same drawer, case, or labeled pouch as the tool whenever possible.
Do not assume that a product title makes an accessory suitable. One item returned by this article’s product research was a dental bur sterilization box described as a drill-bit organizer. It was excluded because its intended use, hole sizes, material requirements, and workshop suitability were not established. Selecting storage by actual use rather than a search phrase is an important part of how to organize power tools.
Use labels that answer practical questions
Good labels tell you what belongs in the space and, when helpful, what it fits. Examples include “5-inch sanding discs,” “jigsaw blades—wood,” “router collets and wrenches,” or “charged 18V packs.” Use large text that can be read without emptying a shelf. Color can distinguish categories, but do not rely on color alone if several people use the shop.
A small open bin is useful for accessories waiting to be returned. Empty that bin during the end-of-session reset rather than allowing loose items to spread across the bench. The goal is not to label every screw; it is to eliminate decisions at the moment you put a tool away.
6. Maintain the System and Keep It Safe
Even a well-designed layout will drift if returning a tool takes too long. The final lesson in how to organize power tools is maintenance: make the correct action the easy action, then review the system after real projects. A five-minute reset is more valuable than an elaborate arrangement that needs an hour to restore.
Use a short end-of-session reset
- Unplug corded tools and remove accessories that should not stay installed.
- Brush or vacuum dust from tools according to their instructions; do not use unsafe cleaning methods.
- Return each tool to its labeled home and put batteries in the correct station.
- Coil cords, store blades and bits, and empty the temporary return bin.
- Clear the bench, floor, exits, electrical panels, and access to safety equipment.
Keep the reset short by storing each item near its work zone. If the same tool is repeatedly left out, the storage location is probably inconvenient rather than the user being careless. Move the holder closer, lower the shelf, or remove an unnecessary door. A system that adapts to behavior is more durable than one that depends on perfect discipline.
Review loads, fasteners, cords, and batteries
Every few months, inspect shelves, wall systems, hooks, casters, labels, cords, and battery packs. Tighten hardware only according to the product or fastener guidance. Look for sagging, cracks, corrosion, heat damage, frayed insulation, and overloaded storage. Heavy tools should remain low and stable. Keep required exits and safety equipment accessible even when a project is in progress.
Update the inventory when a tool enters or leaves the shop. New tools do not automatically deserve the easiest location; frequency and workflow still decide priority. If you want to plan zones on paper before moving cabinets, the Beginner’s DIY Workshop Planner can help record measurements, tool homes, and changes. Revisiting the plan is part of how to organize power tools as the workshop develops.
Use this final organization checklist
- Every tool has one visible, labeled home.
- Frequently used tools can be removed without shifting another tool.
- Heavy tools are stored low or on supports designed for the load.
- Wall storage is fixed to suitable structure with appropriate hardware.
- Chargers have ventilation and are separated from dust, liquids, and finishing supplies.
- Batteries are compatible with their holders and questionable packs are isolated.
- Cords do not cross walkways or carry the weight of stored tools.
- Bits, blades, guards, guides, and wrenches are stored with clear labels.
- The bench, exits, electrical access, and safety equipment remain clear.
If several checks fail, change one zone at a time and test it for a week. This keeps the shop usable while you improve it. The best answer to how to organize power tools is not the arrangement with the most containers; it is the one that lets you begin work, switch tasks, and clean up without creating new hazards. Use this checklist whenever you reconsider how to organize power tools in the available space.
Frequently Asked Questions About How to Organize Power Tools
What is the best way to organize power tools in a very small workshop?
Start with an inventory, keep only useful equipment, and place frequently used tools in a primary reach zone. Combine shallow wall storage with drawers or cabinets that protect less-used tools. Keep heavy equipment low, assign a parking place to any cart, and preserve the main walkway. Testing one zone at a time is more reliable than buying a complete storage system before understanding the workflow.
Should power tools be stored in their original cases?
Keep original cases when tools travel, need impact protection, or include fitted accessories that are difficult to replace. For tools that remain in the shop and are used frequently, labeled open storage or a drawer may be faster and more space-efficient. Store the manual and model information even if the bulky case is removed, and never discard protective components required for transport or safe storage.
Is it safe to hang power tools on a wall?
It can be safe when the holder matches the tool, the wall and fasteners support the total load, and the tool cannot slide or be pulled down accidentally. Heavy tools belong lower, and nothing should hang over a person, fragile work, or an exit. Inspect the holder periodically. Follow the holder and tool manufacturers’ instructions rather than relying only on appearance.
Where should cordless tool batteries and chargers be stored?
Use a dry, ventilated, visible area away from direct heat, moisture, heavy dust, metal debris, and flammable finishing supplies. Use only compatible chargers and follow manufacturer guidance for storage temperature and charge state. Keep battery terminals protected from loose metal objects, and remove damaged or unusually hot packs from normal service.
How do I keep power-tool cords from becoming tangled?
Coil each cord in broad, relaxed loops, secure it with a reusable strap, and give it a labeled hook or reel. Do not hang a tool by its cord or force a cord into a tight wrap around the housing. Store extension cords by length and rating, inspect them before use, and keep them out of walkways and cutting paths.
How often should I reorganize power tools?
Perform a quick reset after every work session and a deeper inspection every few months. Reorganize when a tool is repeatedly left out, a new tool enters the shop, or a storage location creates lifting, access, or dust problems. Knowing how to organize power tools is an ongoing process; small adjustments based on real use are more effective than a complete annual overhaul.

Conclusion: How to Organize Power Tools for a Workshop That Works
The key to how to organize power tools is to match storage to frequency, workflow, weight, and safety. Begin with a complete inventory, remove unusable equipment, and reserve the easiest reach for the tools used most often. Use walls for compatible light tools, drawers or cabinets for protected storage, and carts only when they have a stable working position and a defined place to park.
Finish the system with a ventilated battery station, broad cord coils, labeled accessories, and a five-minute reset. Test each change during real projects and move anything that remains inconvenient. When every tool has an obvious home and the bench and walkway stay clear, you have learned how to organize power tools in a way that supports safer, calmer, and more productive work.
Affiliate Disclosure
Affiliate Disclosure: This post contains affiliate links. If you purchase through these links, DIY Wood Haven may earn a commission at no additional cost to you. Product availability, specifications, compatibility, and prices may change; verify current details and follow the manufacturer’s instructions before purchase or use.




Ready to Build Smarter?