How Much Space for Woodworking Shop? Beginner Guide
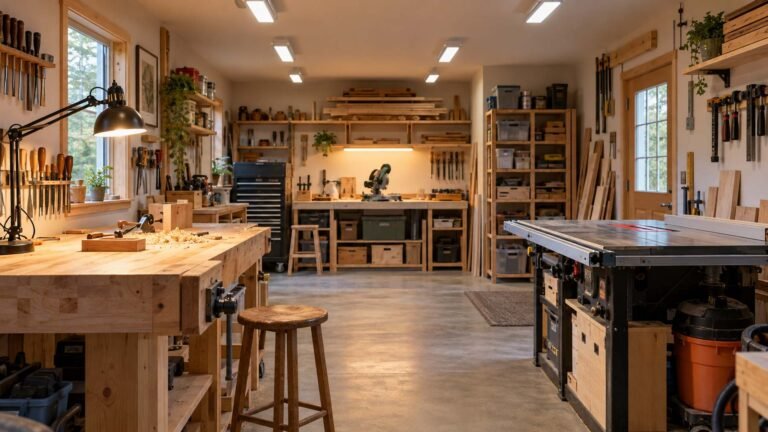
Wondering how much space for woodworking shop use is actually necessary? The reassuring answer is that you do not need a huge detached building to start making useful projects. You need enough room for the work you plan to do, the tools you truly use, and the boards or panels that must move safely through those tools.
A compact room can support boxes, shelves, repairs, small furniture, and plenty of hand-tool work. A larger garage makes long stock, sheet goods, assembly, and stationary machines easier. Square footage matters, but it is only one part of the decision. Door position, ceiling height, storage, lighting, dust control, and clear operating paths can make two rooms of the same size feel completely different.
This guide shows you how to estimate a realistic home woodworking shop size. You will learn to measure tool operating zones, compare common shop sizes, plan a simple workflow, and make limited space work harder without crowding the room.
What Determines How Much Space a Woodworking Shop Needs?
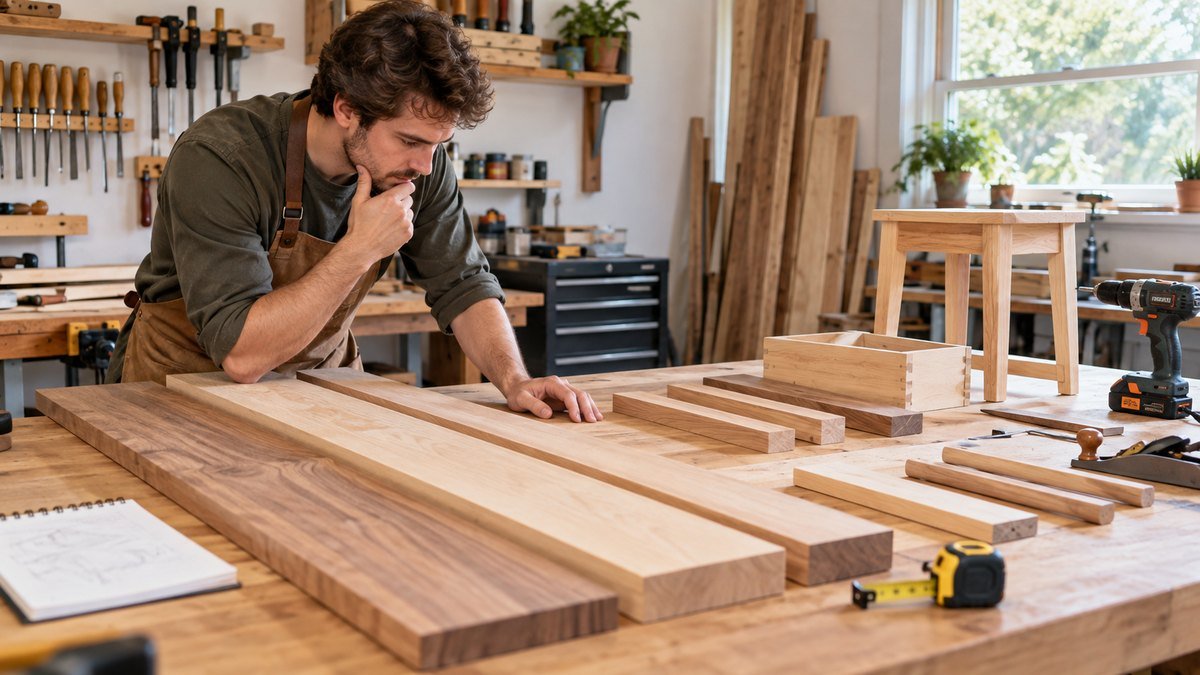
There is no single minimum workshop size that fits every woodworker. A person building picture frames with hand tools has different needs from someone milling rough lumber or assembling dining tables. Start with the work, not an idealized tool list.
Start with the projects you plan to build
List five projects you expect to make during the next year. Note their finished dimensions and the largest material each project requires. Small boxes and wall shelves may fit comfortably in a spare-room corner. Cabinets and tables need more assembly space. Full plywood sheets and long hardwood boards create the greatest pressure because they need room before, during, and after a cut.
If you are still deciding what to build, these easy small woodworking projects can help you choose a realistic starting scale. Your project list should determine which tools deserve permanent space.
Separate tool footprints from working space
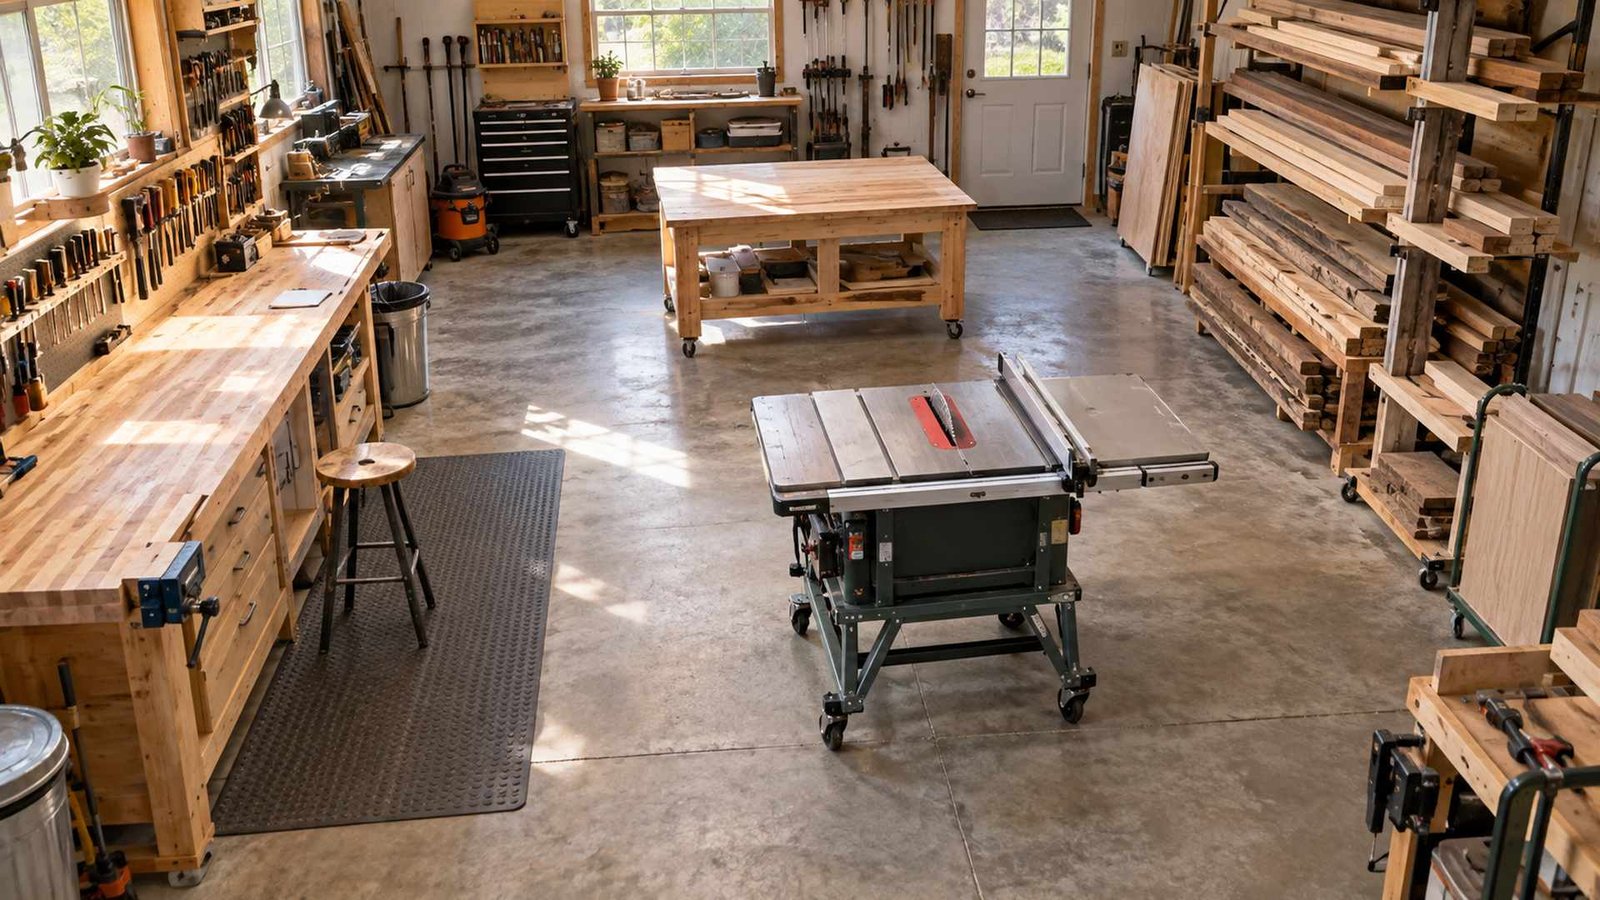
A table saw may look compact when measured from edge to edge, but its operating zone is much larger. You need an operator position, access to controls, and clear infeed and outfeed paths for the workpiece. A planer needs room for a board on both sides. A drill press needs space to position wider parts and operate its handles.
Measure the machine body, then add the workpiece envelope around it. Use the longest board you routinely expect to process—not an unusual once-a-year piece. Follow the manufacturer’s instructions for setup, guards, support, and operating clearance.
Account for lumber, parts, and assembly
Raw material is only the beginning. A project also creates cut parts, jigs, clamps, hardware, and pieces waiting for glue or finish. If every flat surface is occupied, even a generous room becomes difficult to use. Reserve a landing area for parts and enough clear floor space to assemble your typical project.
Common Home Woodworking Shop Sizes and What They Can Handle
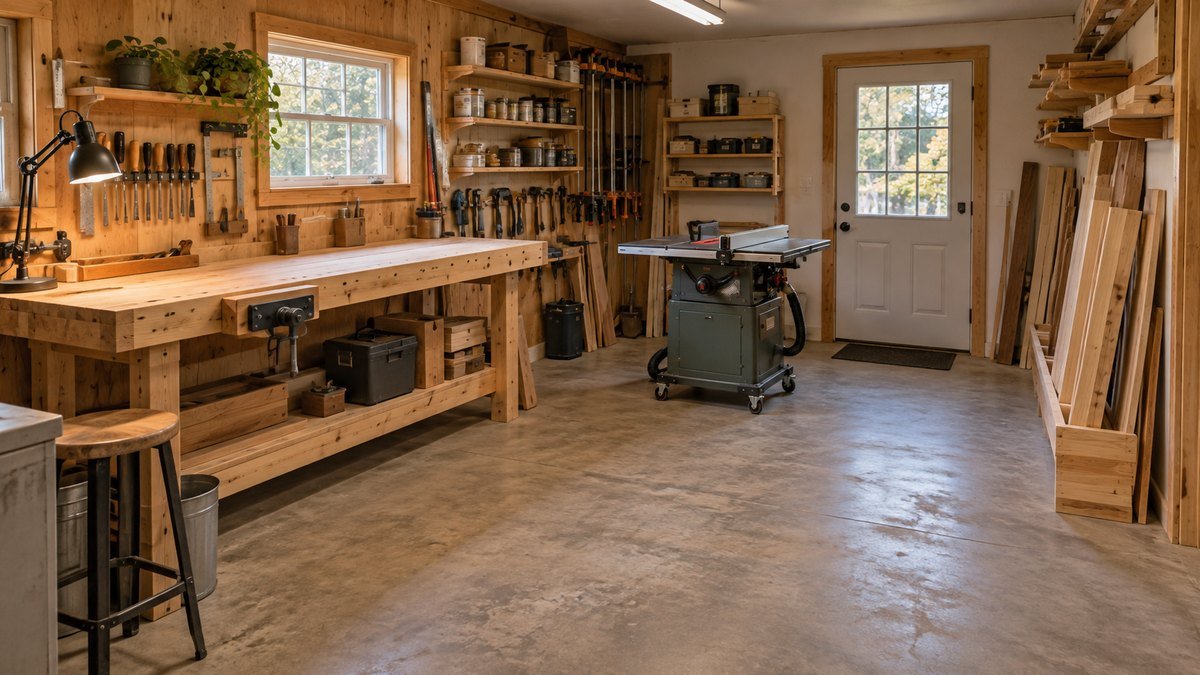
Shop-size categories are useful for comparison, but they are not promises. A careful layout can make a small room productive, while poor storage can make a larger garage frustrating.
Very small and shared spaces
A closet, balcony-adjacent work area, utility-room corner, or section of a shared garage can support portable tools and hand-tool work. The most practical setup uses a folding bench or compact worktable, stackable storage, and tools that return to cabinets after each session. Break down large material elsewhere and bring in manageable pieces.
Shared rooms require a strict cleanup routine. Dust, sharp tools, finishes, and cords cannot remain where family members, children, pets, vehicles, or household equipment may encounter them. Avoid high-fume finishing in unsuitable indoor spaces.
An 8×8 or similar compact shop
An 8×8 room provides 64 square feet. It can become a capable small woodshop when the center stays flexible and larger tools sit on stable locking bases. A wall bench, shallow tool storage, restrained lumber rack, and one roll-out machine can support many beginner projects. See the best 8×8 woodworking shop layout for beginners for a detailed arrangement.
The main compromise is material movement. Long boards may need to align with a doorway, while full sheets often need to be cut down outside the room. Do not rely on an open door if it exposes people outside to a cutting path or creates an uncontrolled work area.
A small garage or dedicated room
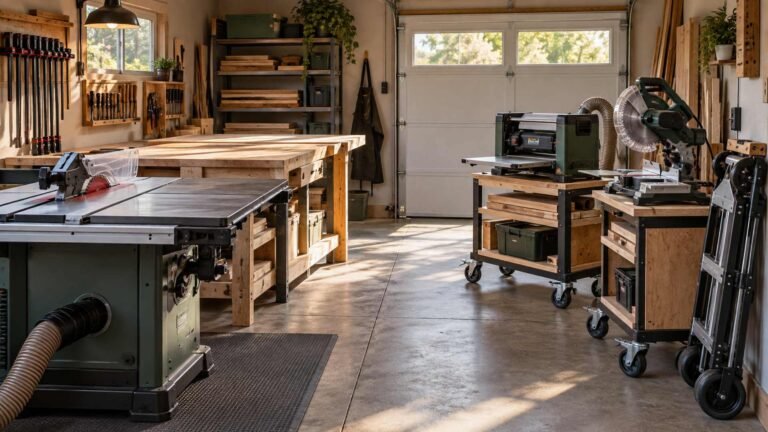
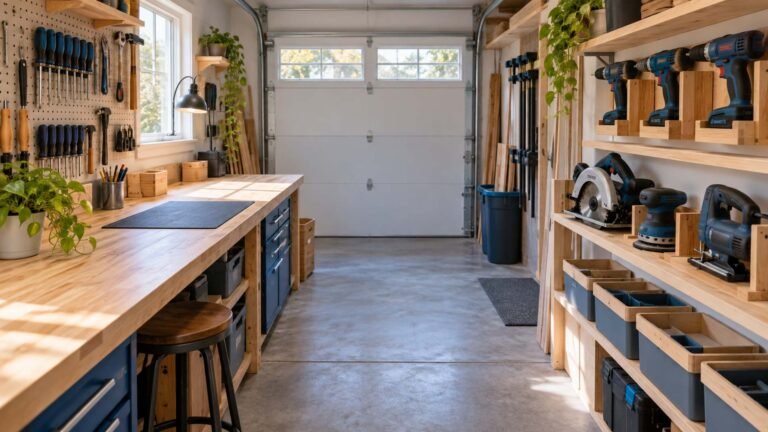
A one-car garage or similar dedicated space gives you more freedom to separate storage, machining, and assembly. It may accommodate a table saw, planer, bandsaw, larger bench, and mobile assembly table. The extra area also makes dust hoses and electrical cords easier to route.
If the garage must still hold a vehicle, the usable shop is the space remaining after the car, door tracks, stored household items, and required walking paths are considered. A successful dual-use plan depends on mobile equipment and clearly marked parking positions. The one-car garage workshop layout guide explores that tradeoff.
How to Calculate Your Minimum Workshop Size
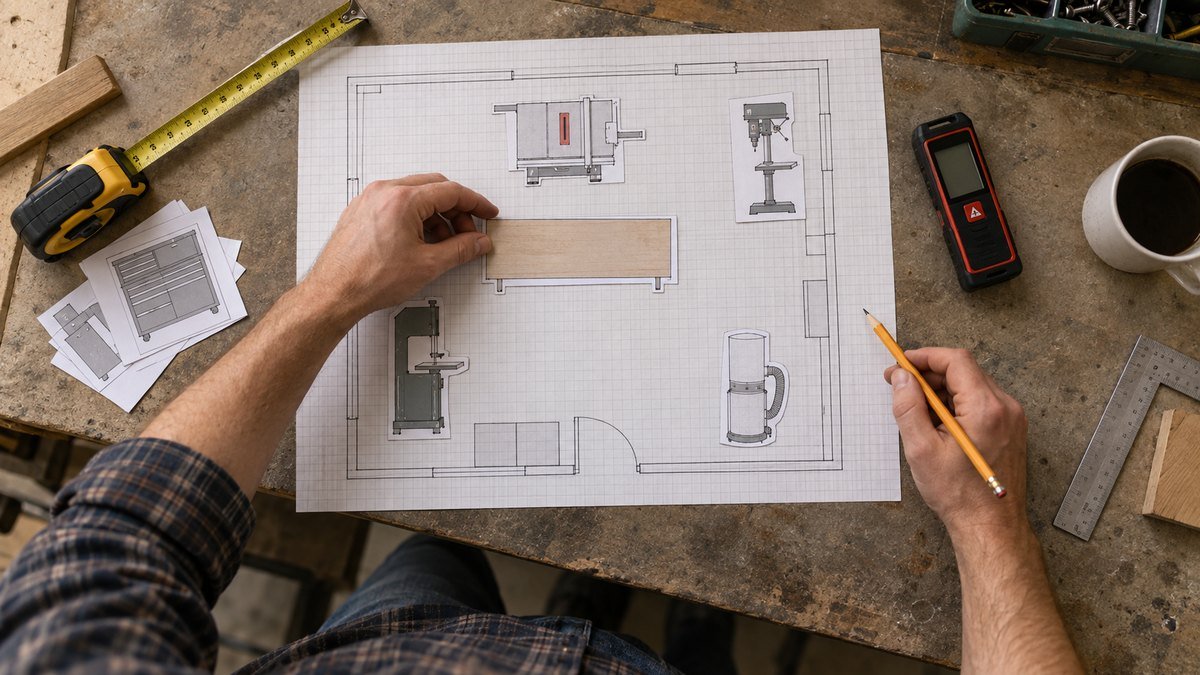
The most reliable way to decide how much space for woodworking shop use you need is to draw the room and test the equipment at scale. A simple plan reveals conflicts before you move heavy tools or build permanent cabinets.
Measure the room and fixed obstacles
Record every wall length, ceiling height, window, outlet, switch, vent, column, and low beam. Draw the door in both its closed and open positions. Note anything that must remain accessible, including an electrical panel, water heater, attic hatch, or garage-door mechanism.
Affiliate note: This section contains affiliate links.
A compact laser tape measure and distance meter from this article’s product research may help when recording room dimensions. Confirm its current listing details and accuracy requirements before relying on it, and verify critical measurements with a suitable tape or other trusted method.
Draw tool and workpiece envelopes
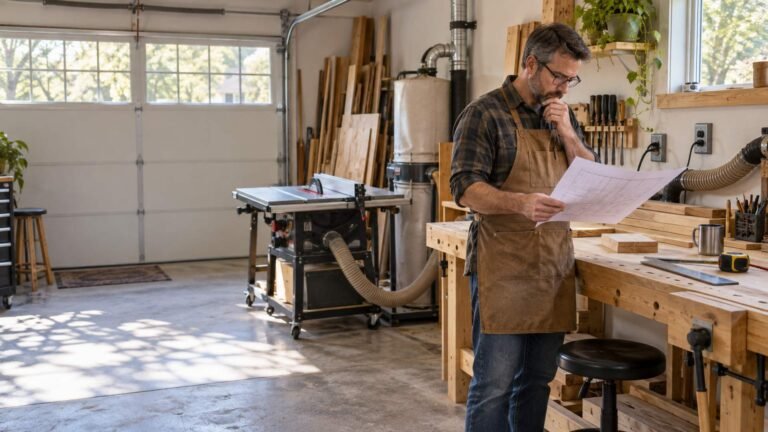
Create a scaled outline of the room on graph paper. Make a movable template for each bench, cabinet, and machine. Draw a second outline for the operating zone: operator position, fence travel, access doors, dust hose, and the path of a normal workpiece. A machine that fits on paper but cannot accept stock does not fit in practice.
Use The Beginner’s DIY Workshop Planner to organize room measurements, tool priorities, and layout decisions. Keep the plan focused on your real workflow rather than filling every empty corner.
Test the longest typical board
Cut a strip of cardboard or use a light board that represents your common stock length. Carry it from storage to each planned tool position. Turn it, place it on supports, and move it to the next operation. Painter’s tape on the floor can mark machine bodies and safe walking paths.
If the test board hits a wall, door, vehicle, or another machine, change the layout. Sometimes rotating a mobile machine ninety degrees solves the problem. In other cases, the right answer is to process long stock outdoors or buy material already cut closer to project size.
Build a Workflow Before You Add More Tools
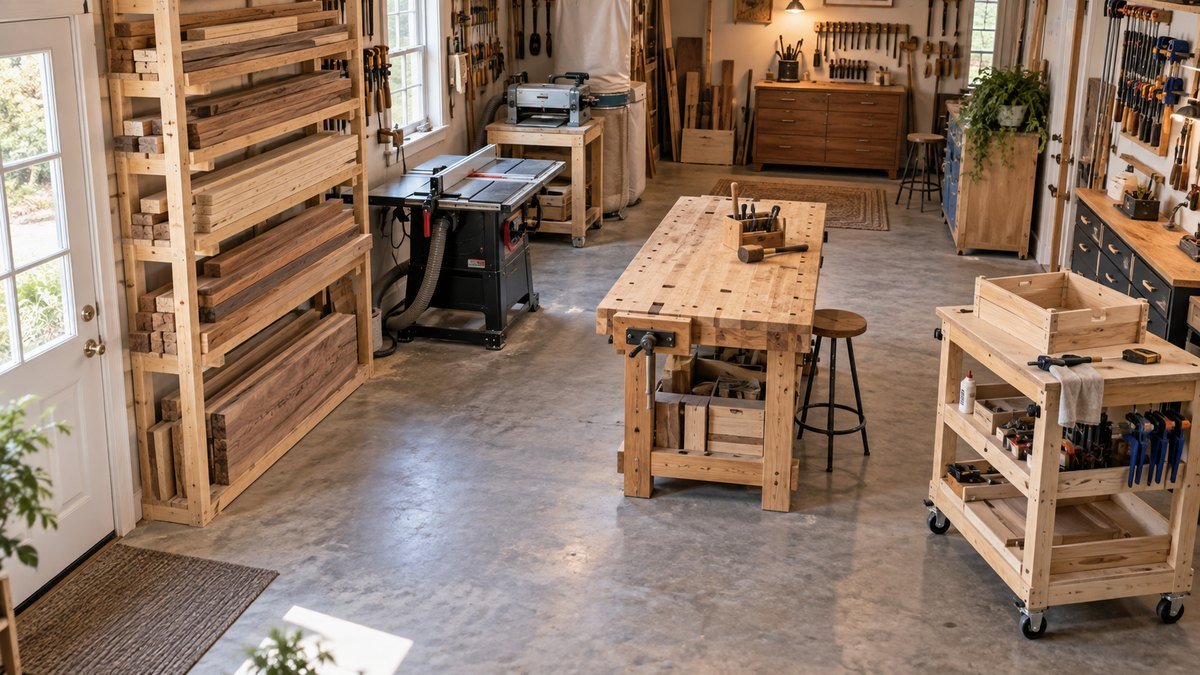
A good shop layout follows the order of work. Material enters, is inspected and cut, moves through joinery and assembly, and finally reaches sanding or finishing. The path does not need to be perfectly linear, but repeated lifting and backtracking signal a layout problem.
Create simple work zones
Divide the shop into practical zones: material storage, cutting and milling, bench work, assembly, and cleanup. In a tiny room, these zones overlap. The workbench might handle layout, joinery, routing, assembly, and sanding at different times. What matters is that each task can happen without rebuilding the entire room.
For a broader planning overview, review workshop layouts and essential tools. Use the ideas as a framework, then adapt them to your walls, machines, and projects.
Use one surface for several jobs
A bench or rolling cart can serve as an outfeed surface, assembly table, and temporary landing area if its height, stability, and construction suit those jobs. Avoid building several single-purpose tables until repeated projects prove they are necessary.
A fold-down surface can also create temporary capacity. The researched self-locking folding workbench brackets are an example of hardware that may support a space-saving surface. Check the listing, wall construction, load requirements, fasteners, and locking operation carefully; product suitability must be confirmed before installation.
Keep the exit and main aisle clear
Every working configuration needs a clear route to the exit. Do not park a machine, vacuum, lumber cart, or project where it traps you behind a running tool. Keep power cords and dust hoses away from walking paths. When a mobile machine rolls into the center, confirm that its casters are locked and its supports are stable before use.
Make a Small Woodshop Feel Larger
More square footage is helpful, but organization often delivers the fastest improvement. The goal is not to store the maximum number of objects. It is to keep the active tool and workpiece accessible while everything else has a compact home.
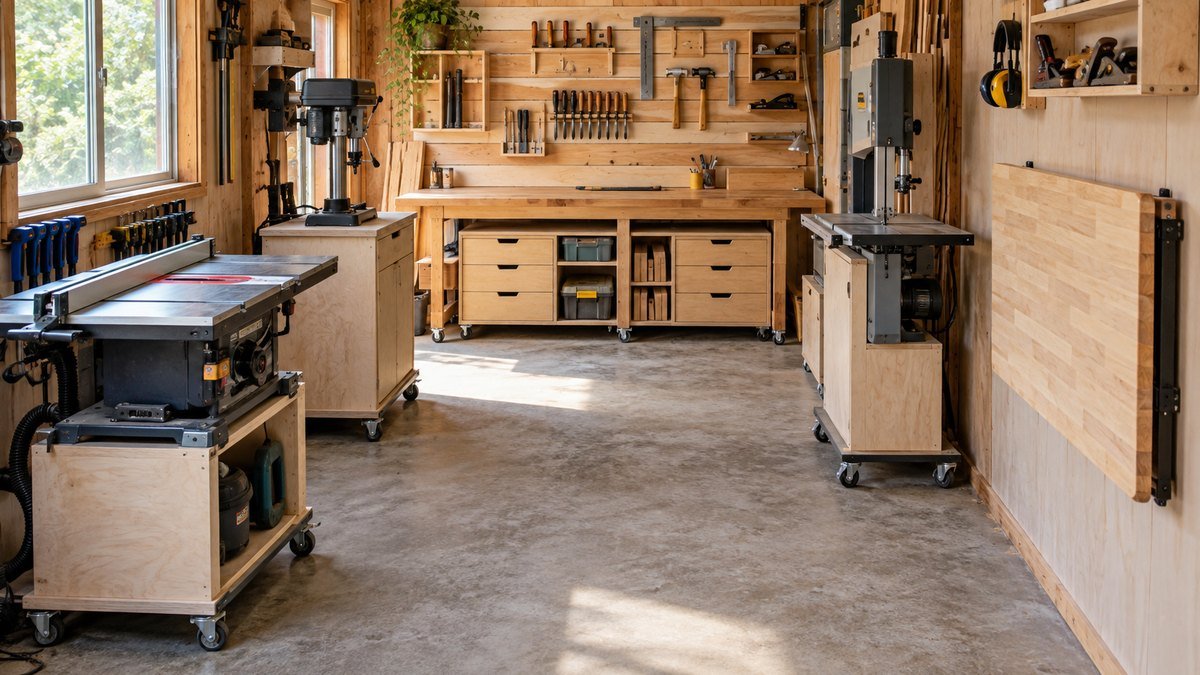
Put large tools on stable mobile bases
Mobility lets one open area serve several machines. Park tools against a wall and roll out only the one needed. Choose a base rated and sized for the machine, maintain a low stable center of gravity, and lock it securely before operation. Do not allow mobility hardware to interfere with guards, leveling feet, or controls.
Use walls and under-bench space
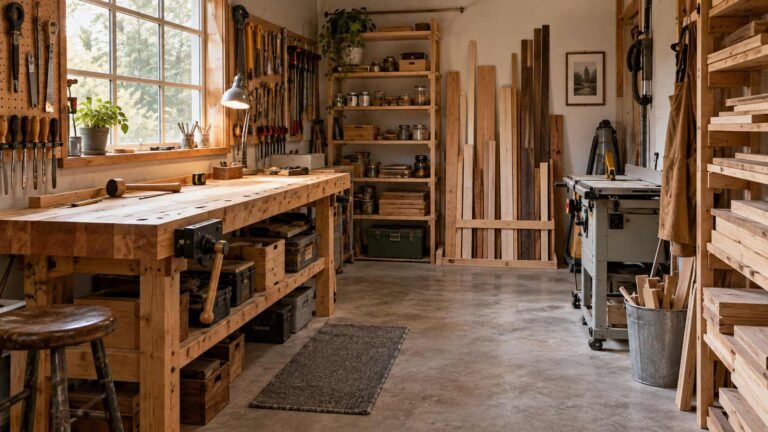
Shallow wall cabinets, French cleats, pegboard, and purpose-built holders keep frequently used tools near the bench without consuming floor area. Store heavy items low and secure racks to suitable framing. Under-bench drawers are useful for measuring and marking tools, while a lower shelf can hold planes or clamps if it does not block cleanup.
The ideas in small workshop storage solutions can help you decide what belongs on a wall, under a bench, or on a rolling cart.
Limit scrap and material storage
Lumber inventory can quietly consume more space than tools. Buy for planned projects, separate usable pieces from true waste, and set a physical limit for offcuts. Store long boards so they cannot tip, keep heavy material low, and avoid overhead storage that is difficult to load safely.
Plan for Safety, Dust Control, Power, and Future Growth
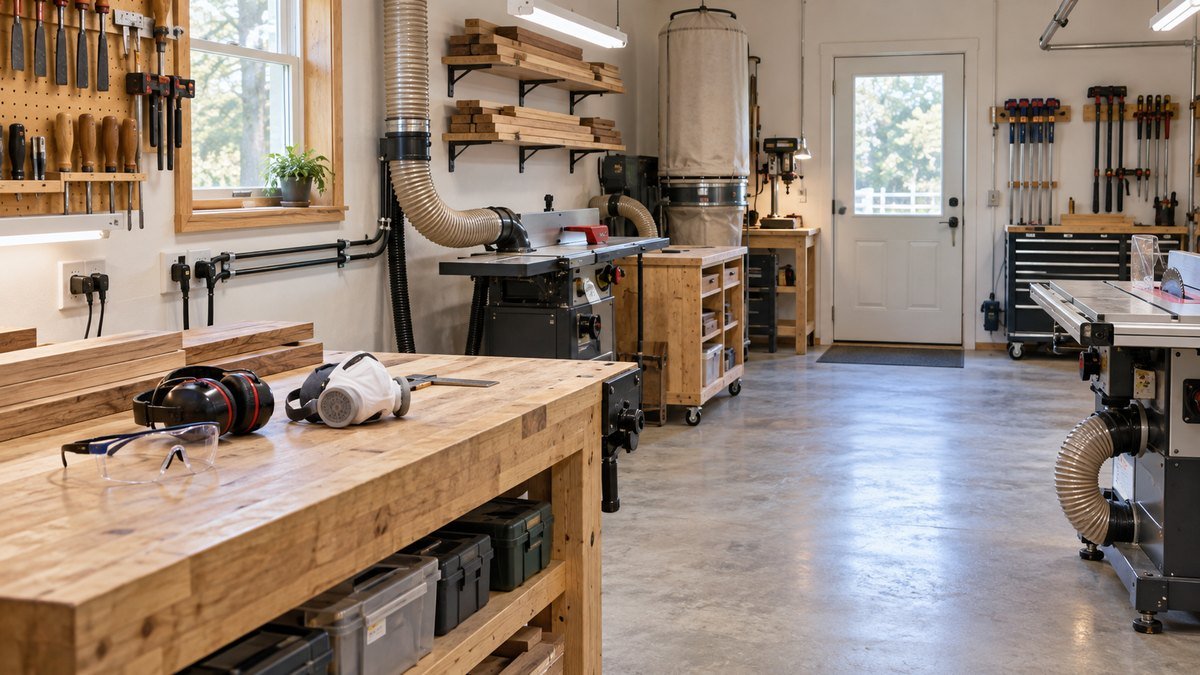
A room is not large enough merely because the tools fit. It must also support safe body position, visibility, dust capture, ventilation, and reliable power.
Preserve safe operating clearance
Stand where you would normally operate each tool. Make sure you can reach controls without leaning across a cutter and can step away without hitting storage. Allow room for guards, fences, doors, and maintenance panels to move through their full range. Support long workpieces so they do not tip or lever against a blade or cutter.
Wear eye and hearing protection when appropriate, use suitable respiratory protection for airborne dust, and follow the tool manufacturer’s instructions. A compact shop magnifies poor housekeeping, so vacuum settled dust rather than blowing it into the air.
Plan utilities before final placement
Map outlets and lighting along with tool positions. Avoid making extension cords a permanent wiring system. If tools and dust collection may run together, confirm that the electrical system can support the load. Ask a qualified electrician about new outlets, circuits, or other changes rather than improvising.
Use bright ambient lighting plus task lighting at the bench and machines. Arrange fixtures to reduce shadows on layout and cut lines. Plan dust hoses so they are short enough to manage and do not cross the main aisle.
Leave flexibility for one future upgrade
Do not fill every wall on day one. Leave one adaptable parking spot, cabinet bay, or length of cleat for a future need. After several projects, you may discover that better assembly support, dust control, or lumber storage matters more than the machine you originally expected to buy.

Frequently Asked Questions
Can you build furniture in a small woodworking shop?
Yes. Small tables, stools, cabinets, shelves, and other furniture can be built in a compact shop when material is cut to manageable size and the center remains flexible. Use mobile tools, plan an assembly area, and move finishing to an appropriate ventilated location when necessary.
Is an 8×8 shed big enough for woodworking?
An 8×8 shed can support many beginner projects, portable tools, a wall bench, and selected compact machines. It is less convenient for full sheets and long boards. The answer depends on door position, utilities, ventilation, storage, and the operating clearance required by your tools.
How much room does a table saw need?
Measure more than the saw cabinet. Include the operator position, fence and guard movement, and clear infeed and outfeed paths for the longest stock you commonly cut. Consult the saw manual and test the complete workpiece envelope before committing to a location.
Can a one-car garage work as a woodshop and still park a car?
It can, but tools need defined parking places and stable mobile bases. Dust and sharp objects must be cleaned up before the vehicle returns. Mark the car footprint, preserve walking clearance, and make sure stored lumber or equipment cannot contact the vehicle or garage door.
What tools take the most workshop space?
Tools that process long or wide material usually demand the largest operating zones. A table saw, jointer, planer, or miter-saw station may occupy modest floor space but need long material paths. Assembly tables and lumber racks can also dominate a small room.
How can I test a shop layout before moving heavy tools?
Draw the room to scale, make paper tool templates, and mark full-size footprints with painter’s tape. Use cardboard to represent benches and a light strip to represent a normal board. Rehearse the workflow, door movement, maintenance access, and exit path before moving machinery.

Conclusion
The answer to how much space for woodworking shop use you need is not a single square-foot number. It is the smallest room that safely supports your normal projects, complete tool operating zones, material storage, assembly, dust control, and a clear exit.
Begin with five realistic projects. Measure the room and fixed obstacles, draw the tools at scale, and test the longest board you expect to use. Preserve an open work area and resist filling it with machines before your workflow proves they are necessary.
A compact shop with mobile equipment and disciplined storage can be more useful than a larger cluttered room. Plan first, build a few projects, and improve the layout only when repeated experience shows where the real bottleneck is.



Ready to Build Smarter?