The Best 8×8 Woodworking Shop Layout for Beginners
An 8×8 woodworking shop layout has only 64 square feet to work with, so every permanent object must earn its footprint. That sounds restrictive, but it can also make a beginner’s shop simpler, calmer, and easier to maintain. The goal is not to squeeze a commercial cabinet shop into a garden shed. It is to create a safe, flexible room where material can move from storage to cutting, joinery, assembly, and cleanup without constant collisions.
The best small woodshop layout begins with one dependable workbench, mobile machines, shallow wall storage, and an open center. Your exact arrangement will depend on the door swing, windows, outlets, ceiling height, and the tools you actually own. Use this guide as a planning system, then test every footprint in your real room before building cabinets or buying another machine.
Can an 8×8 Woodworking Shop Really Work?
Yes—if your projects and expectations match the room. An 8×8 shop is well suited to boxes, shelves, stools, small tables, repairs, carving, hand-tool work, and many weekend projects. It is less comfortable for processing full sheets of plywood or twelve-foot boards entirely indoors. Those materials can often be broken down at the store, on a driveway with appropriate supports, or in another safe open area before the smaller pieces enter the shop.
Start with projects, not machines
Write down the next five projects you genuinely expect to build. Then list the operations they require: measuring, rough cutting, flattening, drilling, joinery, sanding, assembly, and finishing. A tool deserves floor space only when it solves a repeated need. This reverses a common beginner mistake—buying machines first and trying to fit a workflow around them later.
If you are still building your first toolkit, use the Beginner Woodworking Tool List: 12 Essentials to separate daily-use basics from future upgrades. A circular saw or track saw, drill/driver, router, sander, and good hand tools can complete a surprising range of projects without permanently occupying the center of the room.
Protect flexible floor space
Think of empty floor area as a tool. It gives you room to turn a workpiece, open a cabinet door, pull out a mobile machine, sweep safely, and step away from a cut. Avoid placing a fixed island in the middle unless it is small enough to serve several jobs and leaves a clear route to the exit. In most tiny workshops, a bench against a wall and rolling equipment parked opposite creates more useful options than two permanent work surfaces.
Start Your 8×8 Woodworking Shop Layout on Paper
Before moving a single tool, measure the room carefully. Record all four wall lengths, ceiling height, door width and swing, windows, outlets, switches, vents, lights, pipes, and protruding trim. Measure twice. A few inches can decide whether a planer cart clears the door or whether a clamp rack blocks a window.
Draw the room and tool envelopes
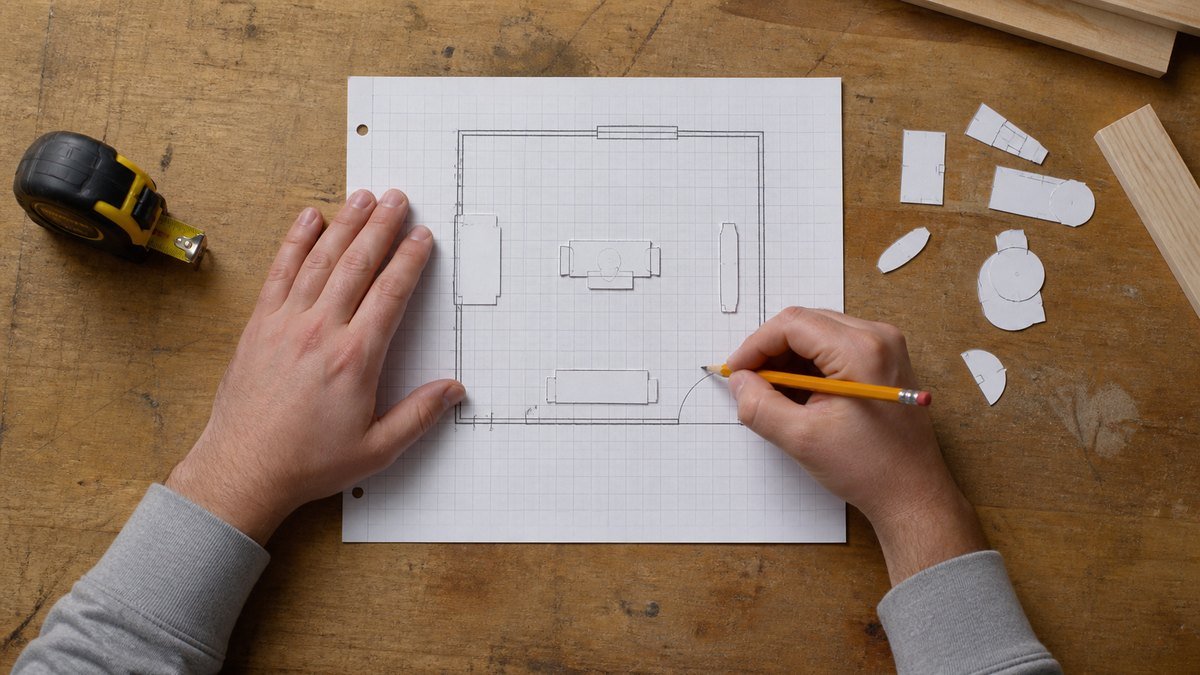
Make a scaled drawing on graph paper or in a simple planning app. Add a footprint for each tool, but do not stop at the machine body. Draw the working envelope required by the stock: infeed, outfeed, operator position, adjustments, dust hose, and a safe place for the completed piece. Consult each tool’s manual for setup and operating requirements. The longest material you normally use matters more than the tool’s compact catalog dimensions.
Cut out paper templates so you can rearrange the bench and machines without redrawing the room. The approach echoes the tool-template method in WOOD Magazine’s shop layout grid and templates. It is also useful to compare your plan with the workflow principles in Setup Woodworking Shop: Layouts and Essential Tools.
Trace one board through the whole shop
Imagine carrying a rough board through every operation. Where does it enter? Where is it inspected and marked? Where does the offcut go? Where can parts rest before assembly? A good tiny workshop layout limits backtracking and repeated lifting. It also keeps dusty operations from covering assembly hardware and finishing supplies.
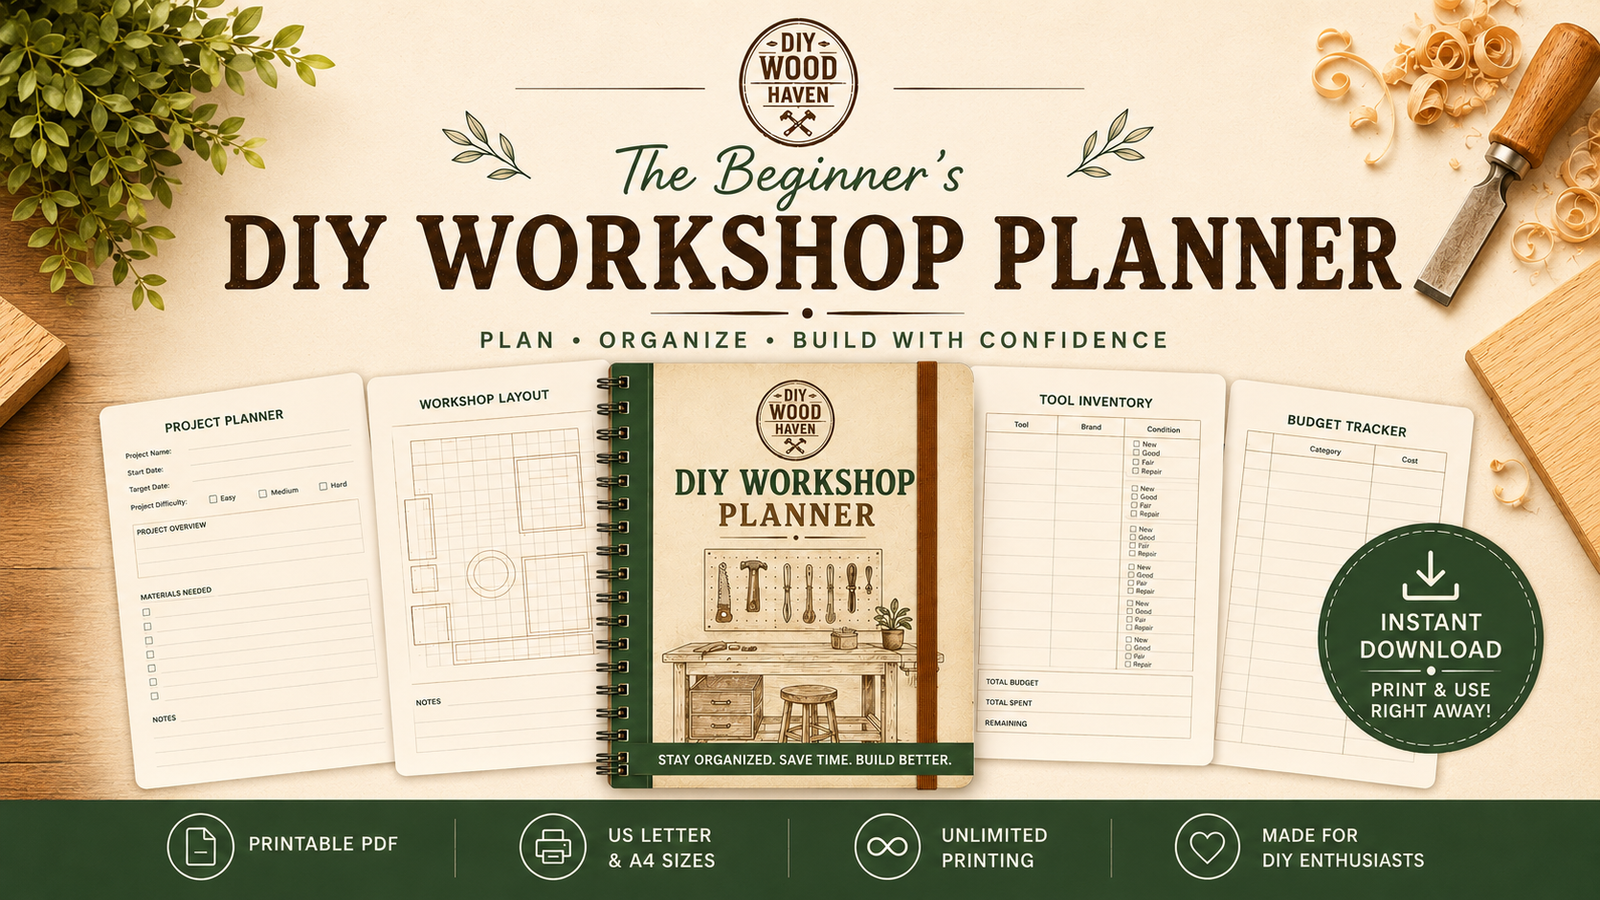
For a printable way to record measurements, tool footprints, priorities, and workflow notes, use The Beginner’s DIY Workshop Planner. Planning on paper is much cheaper than rebuilding storage after discovering that a machine cannot feed a typical board.
The Best 8×8 Woodworking Shop Layout: Zone by Zone
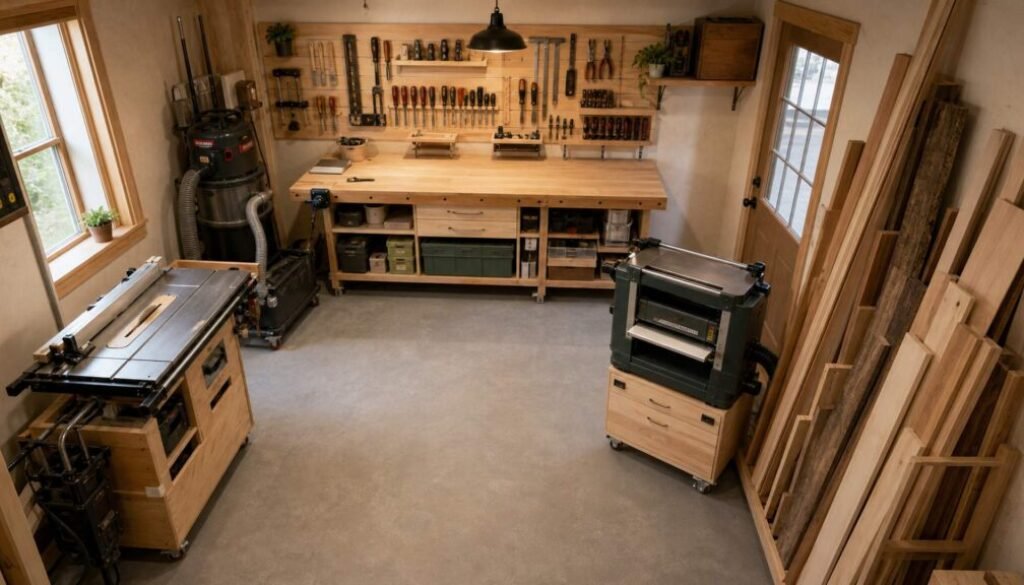
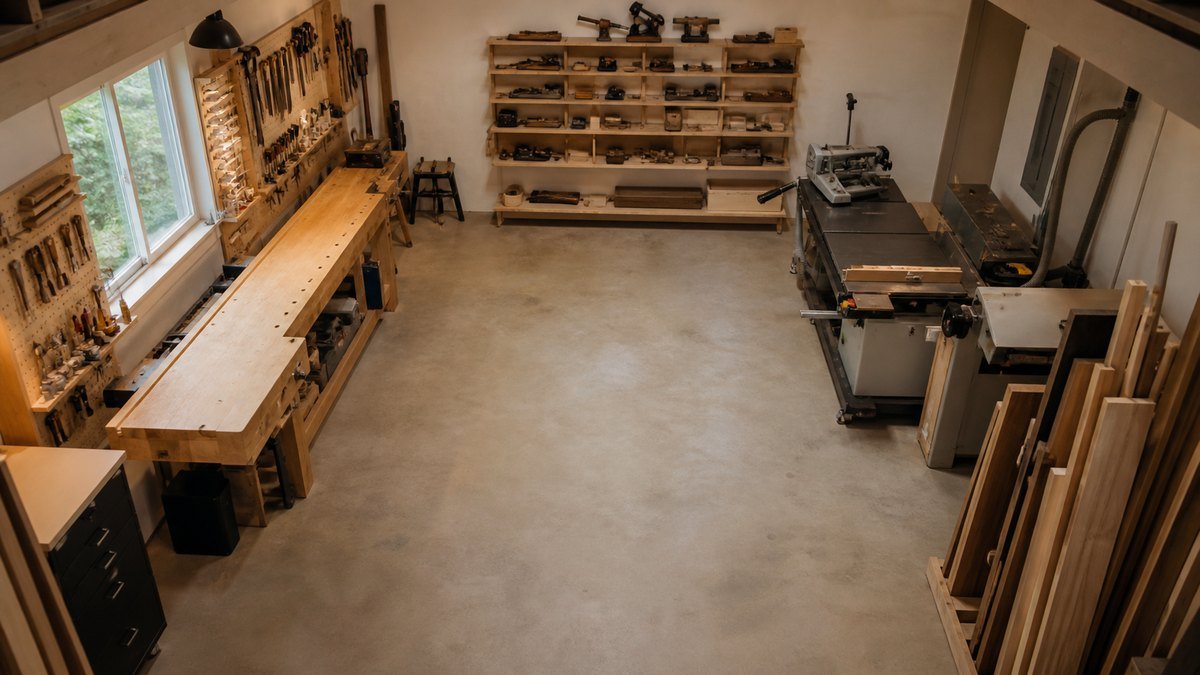
A practical beginner layout uses the perimeter for fixed functions and keeps the center convertible. Picture four walls with a clear route from the door into the working area.
Wall A: the primary workbench
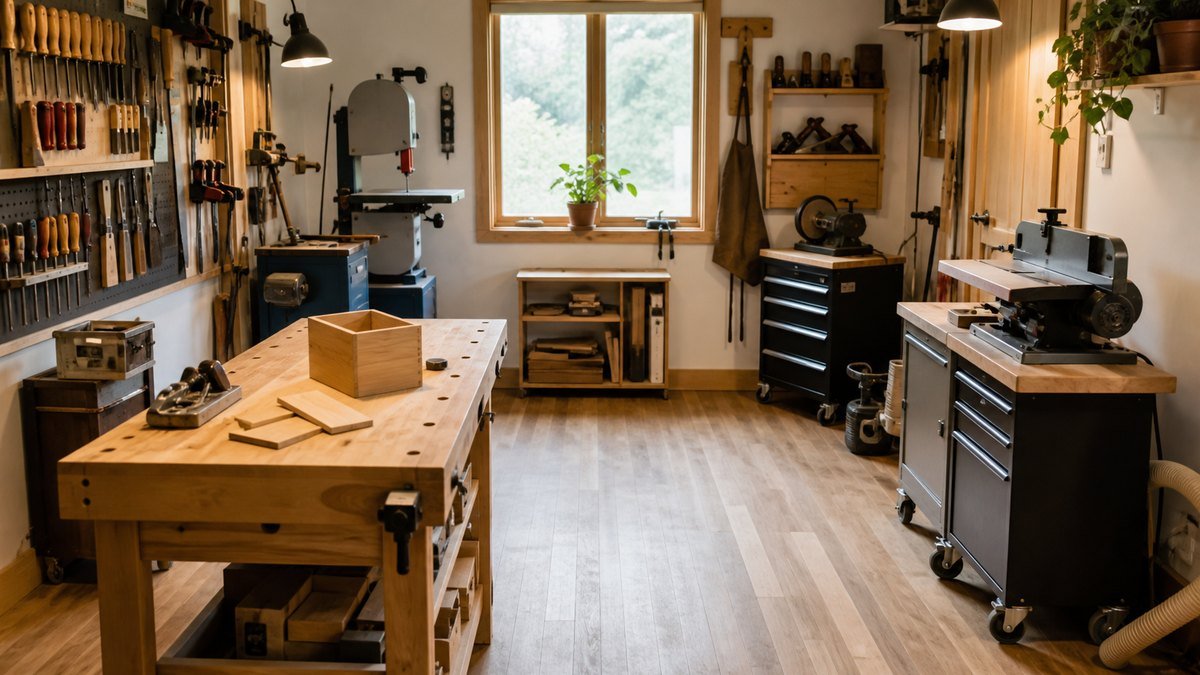
Place the main bench along the best-lit wall, often near a window, while preserving access to the door and enough room to clamp work. The bench is the heart of a small shop because it supports measuring, hand-tool work, routing, light assembly, sanding, and repairs. Popular Woodworking’s small-shop guidance likewise emphasizes establishing the bench first and arranging other functions around it.
A bench about the length of the wall is not automatically better. Leave space where a vise, long clamp, or board end needs to project. Put frequently used hand tools above or beside the bench, not across the room. Under-bench drawers or a lower shelf can hold measuring tools and planes, but should not block your knees or make sweeping impossible.
Wall B: shallow tool and hardware storage
Use a French-cleat system, pegboard, magnetic strips suited to the tool, or shallow cabinets. Deep upper cabinets can make the room feel narrower and invite forgotten clutter. Store daily tools between waist and eye level, occasional items higher, and heavy objects low. Give drill bits, screws, abrasives, and router accessories labeled homes so setup does not become a search exercise.
Wall C: lumber and offcuts
Put lumber near the entrance when possible so material does not cross the shop twice. Short boards can stand in stable, divided bins; longer stock must be restrained against tipping. Sheet goods are often better stored outside the 8×8 room or purchased in project-size panels. Keep only offcuts that are large enough for a named future use, and set a container limit so scraps do not consume the aisle.
Wall D and the center: a mobile machine bay
Park compact machines along the remaining wall on stable, locking bases. A bandsaw, benchtop planer cart, drill press, or compact table saw can roll into the center only when needed. Align a machine with the doorway or an open path when that creates extra stock clearance, but never operate where people can unexpectedly enter the work zone.
One rolling cart can serve as outfeed support, assembly table, and temporary landing surface if its height and stability match the operation. Lock every caster before starting a tool, verify the surface is level, and keep the exit clear. Mobility is valuable only when the machine is equally stable in its working position.
Choose Tools That Earn Their Floor Space
In a 64-square-foot shop, capability per square foot is more useful than tool count. Begin with a sturdy bench and portable tools that store vertically or in drawers. Add a stationary machine when it performs a repeated operation more accurately, safely, or efficiently than your current method.
Favor shared surfaces and compact stands
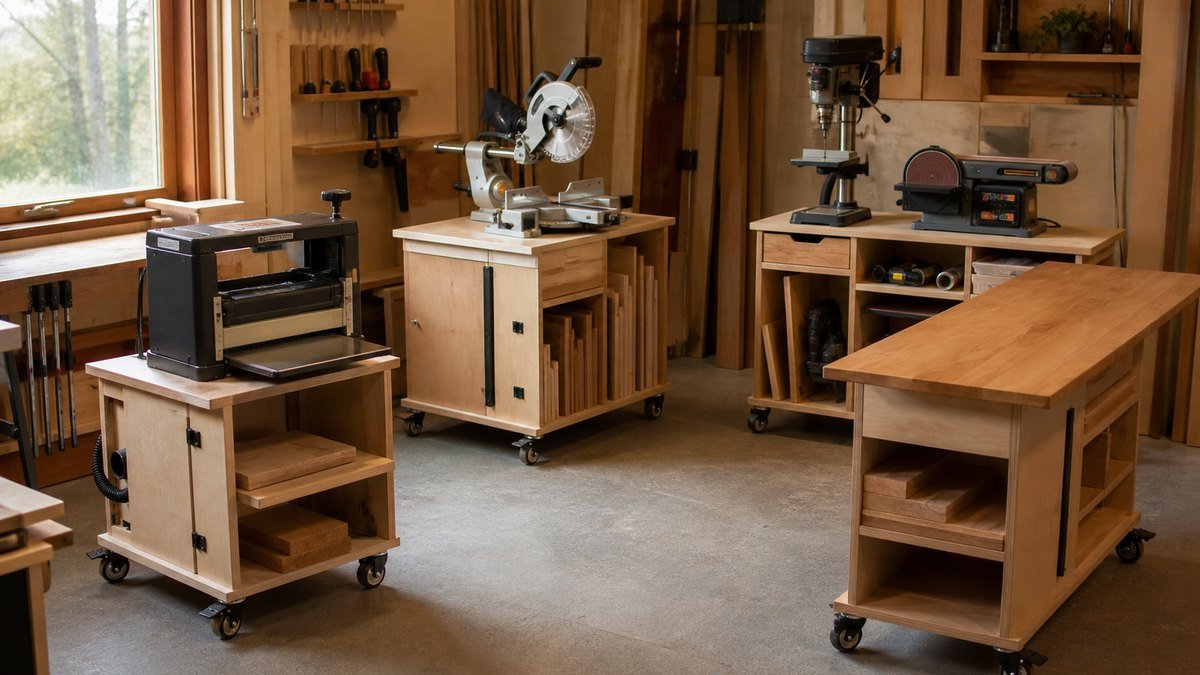
A benchtop planer can live on a cart that also stores its accessories. A miter saw does not always need a permanent twelve-foot station; it can be mounted on a portable stand and used outdoors for long stock. A router can be handheld for many tasks before you dedicate space to a table. When two tools need the same outfeed height, design one movable support rather than two separate tables.
Be realistic about a table saw
A compact table saw can work in some 8×8 rooms, but the answer depends on stock length, guard and fence operation, manufacturer clearances, and your ability to maintain safe infeed and outfeed paths. Never plan only around the saw cabinet. If the room cannot support the material envelope without blocking the exit or placing you in the line of fire, use a track saw, circular saw with a guide, bandsaw, or an outdoor setup appropriate to the task.
Budget is another useful filter. The article How to Set Up a Small Woodworking Shop for Under $1,000 can help you prioritize the bench, dust control, lighting, and core tools before optional machines.
Compact Workshop Storage Tools Worth Considering
Once the basic layout is working, a few compact organizers can help protect the open floor area. The options below are best treated as space-saving accessories, not reasons to add more clutter. Check current dimensions, materials, shipping terms, and compatibility on the product page before ordering.
- 6.35mm Hex Shank Bit Organizer Screwdriver Head Storage Rack Drill Socket Adapter Plastic Stand Tool Accessory Holder
- Bit Storage Pouch Fold-over Pouch with Clear Window Storage Bag Slim Small Tool Bag Compact for Handymen, Workshop
- 1pc Hardwood Plier Organizer Rack with 6/812 Holes Compact Storage for Jewelry Tools Holder Space Saving Workshop Block
- 12-Slot Hardwood Plier Organizer Compact Tool Rack for Pliers and Wire Cutters Portable Workshop Storage Block
- Compact Chainsaw Rack Iron Wall Mount Holder Bracket for Garage Shed Workshop Power Tools
Affiliate disclosure: These are AliExpress affiliate links. If you buy through them, DIY Wood Haven may earn a commission at no additional cost to you.
Use Walls and Under-Bench Storage
A tiny workshop succeeds when tools are easy to retrieve and equally easy to return. Wall storage frees the floor, but it should not become a dense display that collects dust and creates visual noise.
Arrange by frequency, sequence, and weight
Keep measuring and marking tools near the bench. Store drilling accessories near the drill, sanding discs near the sander, and machine-specific wrenches on the machine or its cart. Heavy tools and boxes belong below shoulder height. Sharp edges need holders that prevent accidental contact, and cabinets must be secured appropriately to the wall structure.
Make the bench work twice
Shallow drawers are excellent for layout tools because everything remains visible. A lower shelf can hold planes, clamps, or a compact vacuum, provided airflow and access are not restricted. Rolling carts under the bench add flexibility, but leave enough clearance so they do not jam on cords or sawdust.
Set limits for consumables and scraps
Use one labeled container for each category: screws, sandpaper, finishes, adhesives, and usable offcuts. When the container is full, sort it before buying or saving more. Store finishes according to label instructions and local fire-safety requirements; do not crowd incompatible chemicals into an unventilated cabinet simply to save space.
Plan Dust Control, Lighting, Power and Safety
Layout is not only furniture placement. Dust, visibility, electrical capacity, and emergency access determine whether the room is pleasant and safe to use.
Capture dust at the source
Connect a suitable shop vacuum or dust collector to compatible tool ports and use the filter recommended for the material and machine. Short, direct hose runs usually reduce clutter and improve practicality. Clean settled dust with a vacuum rather than compressed air, which can put fine particles back into the breathing zone. Wear appropriate respiratory, eye, and hearing protection and follow each tool’s manual.
Use layered, shadow-reducing light
Bright ambient ceiling light helps the room feel larger, while adjustable task lights reveal layout lines and surface defects at the bench. Position lights so your head and hands do not cast a dark shadow across the cut line. Choose enclosed or appropriately rated fixtures for the environment and keep lamps away from impact and dust buildup.
Keep power predictable
Map outlets before choosing machine parking spots. Avoid creating a permanent maze of extension cords across the floor. Confirm circuit capacity for tools and dust collection, especially if they may run together; consult a qualified electrician when adding outlets or circuits. Do not modify plugs, defeat grounding, or use a cord that is damaged or undersized for the load.
Protect the exit
The door must remain reachable even when a machine is rolled out. Store nothing behind it that can fall into the swing. Keep a clean walking strip, and plan where a board will go if you need to stop midway. Finishing products that release hazardous vapors may require a separate, properly ventilated area with ignition sources controlled according to product guidance and local rules.
Test and Improve the Layout
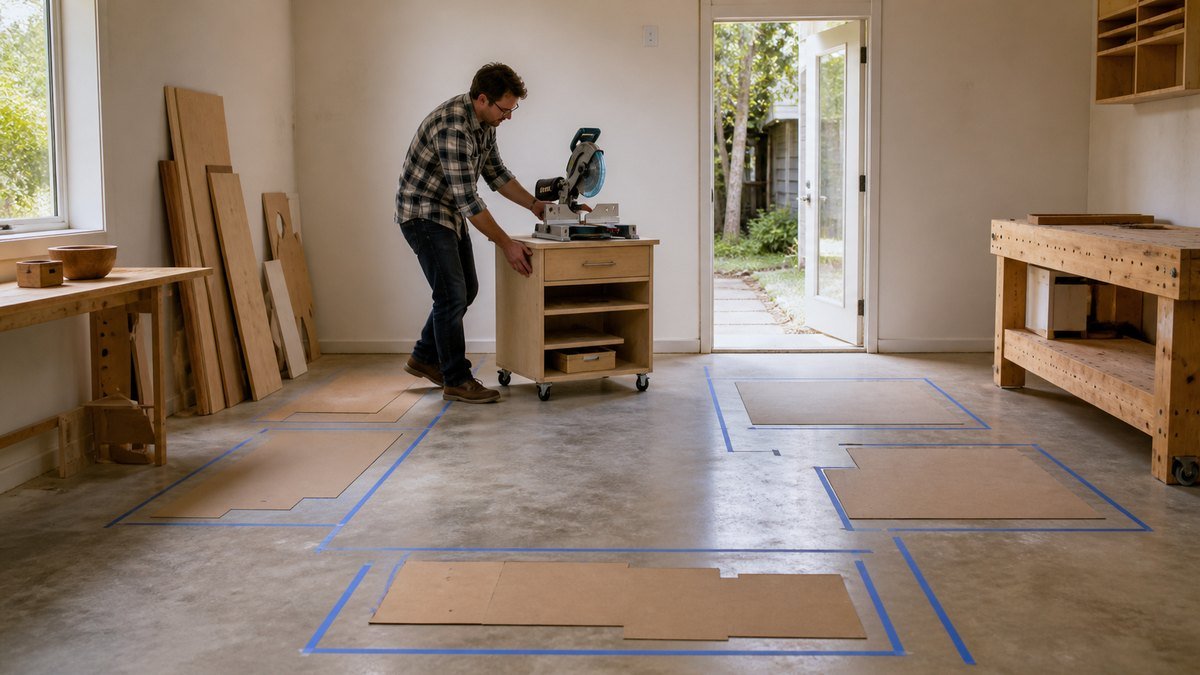
Before building permanent storage, mark every footprint on the floor with painter’s tape or cardboard. Roll a cart through the aisle, open the door, extend a clamp, and carry a board from storage to the bench. This low-cost rehearsal exposes conflicts that a neat drawing can hide.
Run one complete project
Build a small project and record every awkward moment: repeated lifting, nowhere to place a cut part, a hose that crosses the aisle, or hardware stored too far from the bench. Use the Woodworking Project Checklist: 9 Steps Before You Cut to connect shop preparation with the order of work.
Reset after every session
Return mobile tools to their parking spaces, coil hoses and cords, empty dust collection as directed, and clear the bench. A five-minute reset preserves the open center and prevents the next project from beginning with an unsafe cleanup. Reassess the layout after several projects, not after one inconvenient cut. Repeated problems deserve a design change; rare exceptions may simply need a temporary setup.

Frequently Asked Questions
What tools fit in an 8×8 woodworking shop?
A solid bench, portable power tools, hand tools, a shop vacuum, and one or two compact machines can fit comfortably when storage is vertical and machines are mobile. Choose tools according to planned projects. Avoid filling the room with duplicate capabilities, and include each tool’s working envelope—not only its body—when deciding whether it fits.
Where should the workbench go in a tiny workshop?
Usually against the best-lit wall, near hand-tool storage, with room for clamps and a clear path to the door. A window can provide useful daylight, but the bench must not block the window, ventilation, or emergency access. Test the location with tape before anchoring anything.
Can I use a table saw in an 8×8 shop?
Possibly, if a compact saw can be positioned with safe operator, infeed, and outfeed space for your normal stock. Follow the manufacturer’s instructions and never block the exit. If the material envelope does not fit, break down sheet goods elsewhere or choose a track saw or circular-saw guide system.
How do I store lumber in a small woodshop?
Keep a modest project-based inventory. Store short boards in stable divided bins and secure vertical stock against tipping. Put heavy material low and near the entrance. Have large panels cut into manageable sizes before bringing them inside, and set a strict limit for offcuts.
What dust collection works in a tiny workshop?
A quality shop vacuum with appropriate filtration and source-capture connections is a practical starting point for many portable and benchtop tools. Some machines require a higher-volume collector. Match the system to tool requirements, minimize trip hazards from hoses, and wear suitable personal protection.
How can I make a small shop feel less cramped?
Keep the center open, use shallow wall storage, choose light-colored surfaces, add bright layered lighting, and return tools after every task. Limit visible clutter and use mobile bases so only the active machine occupies working space. A clear floor and bench make a bigger difference than squeezing in another cabinet.
Conclusion
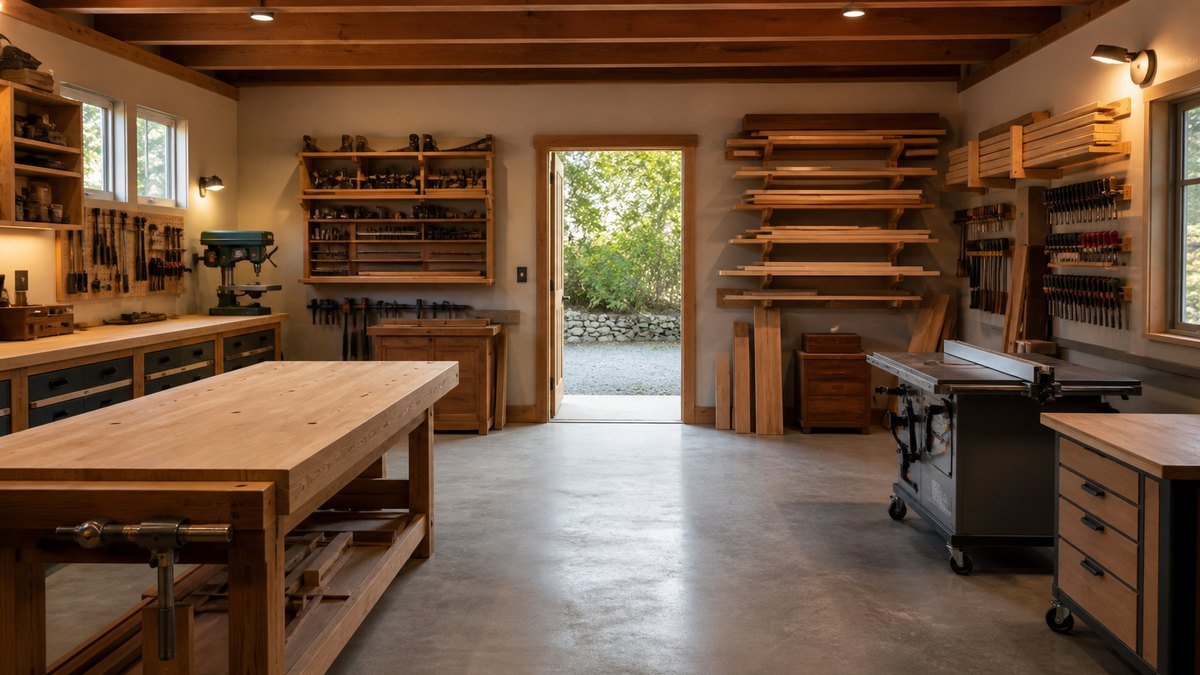
The best 8×8 woodworking shop layout is not the one with the most machines. It is the one that lets a beginner repeat a safe workflow: bring in manageable stock, work at a dependable bench, roll out only the tool required, control dust, and reset the room when the job is done.
Start today by measuring every fixed feature, drawing scaled tool footprints, and testing the arrangement with painter’s tape. Then use The Beginner’s DIY Workshop Planner to turn those measurements into a practical plan you can refine project by project.
Affiliate Disclosure: This post contains affiliate links. If you purchase through these links, DIY Wood Haven may earn a commission at no additional cost to you.