Best Wood Finish for Beginners: Complete Guide
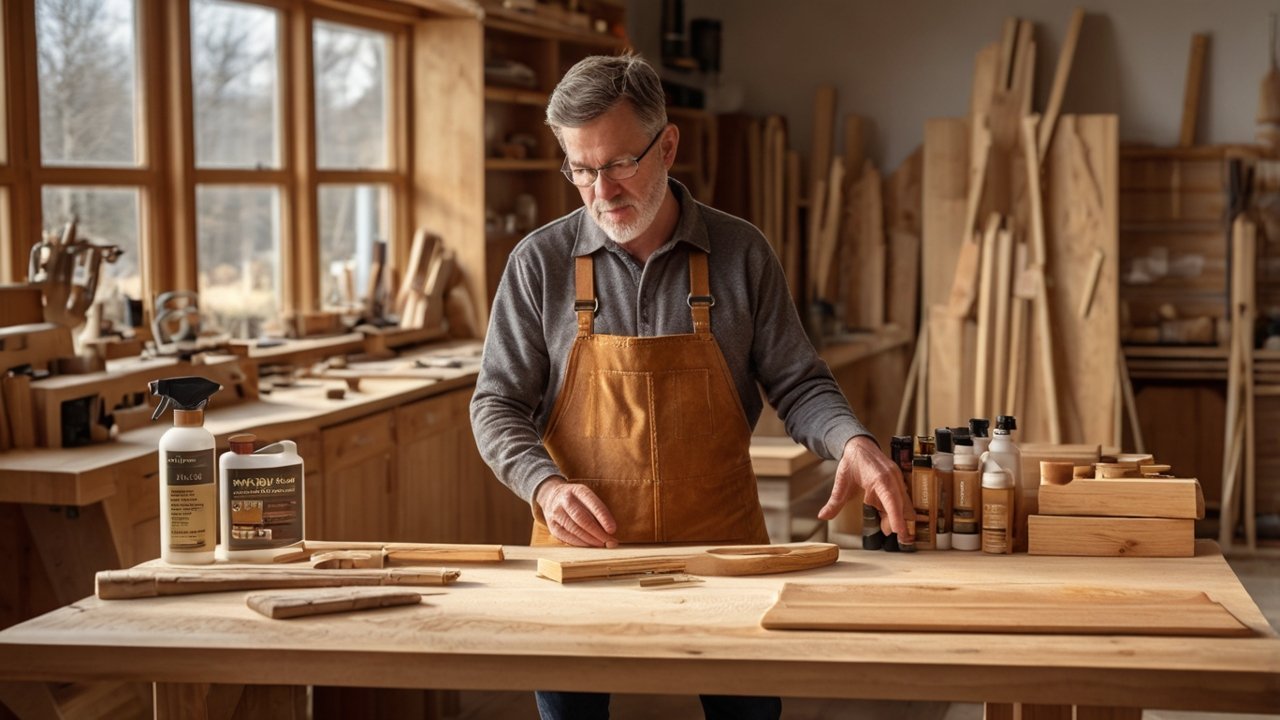
Have you ever finished a woodworking project only to wonder which coating will protect it without making the process more complicated? Choosing the best wood finish for beginners can feel overwhelming when you’re faced with options like oil, wax, polyurethane, and lacquer, each promising different results.
The good news is that you don’t need years of woodworking experience to make the right choice. The best finish depends on your project, how durable you need it to be, and how comfortable you are with the application process. Understanding the basics now can save you time, prevent costly mistakes, and help your finished piece look its best for years to come.
If you’re building furniture, crafting home décor, or tackling your first DIY woodworking project, it’s completely normal to feel unsure about where to start. Many beginners worry about streaks, uneven coverage, or choosing a finish that’s difficult to apply. With a little guidance, those concerns become much easier to manage.
In this guide, you’ll compare the most common wood finishes, learn when to use each one, and discover practical tips to help you choose the right finish with confidence.
Why the Best Wood Finish for Beginners Matters
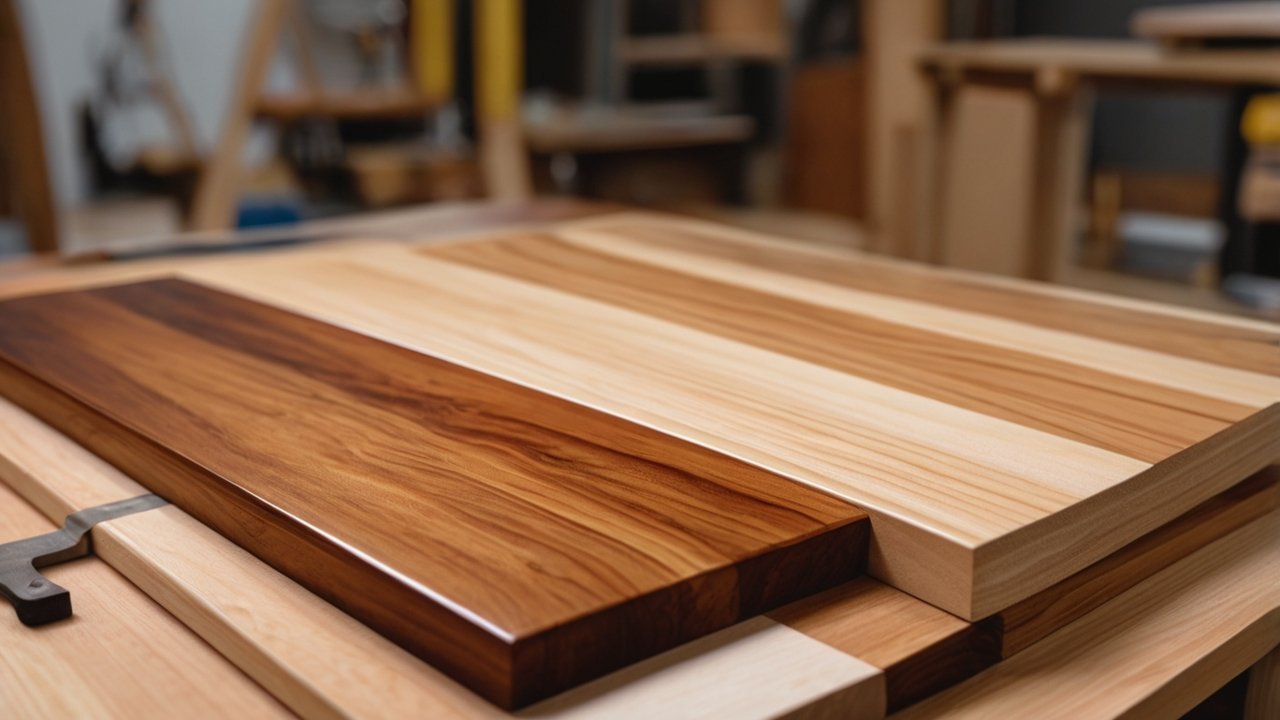
Choosing the best wood finish for beginners isn’t just about making a project look good. A quality finish protects the wood from moisture, scratches, stains, and everyday wear while bringing out the natural beauty of the grain. Even a simple pine shelf or beginner coffee table can look far more polished with the right finish.
If you’re new to woodworking, it’s easy to focus on cutting, assembling, and sanding while treating the finishing stage as an afterthought. In reality, the finish is what people notice first. A carefully applied finish can make an inexpensive piece of lumber look surprisingly professional, while a rushed finish can distract from otherwise excellent craftsmanship.
The good news is that you don’t need expensive equipment or years of experience to get great results. Many beginners achieve excellent finishes by learning a few basic techniques and choosing products that are forgiving to apply.
If you’re still deciding what to build first, these Beginner Woodworking Projects are excellent practice pieces before moving on to more advanced furniture.
Understanding the Best Wood Finish for Beginners
Not every finish works the same way, and that’s exactly why many first-time woodworkers feel overwhelmed. Some finishes soak into the wood, while others create a protective layer on top. Each option has its own balance of durability, appearance, maintenance, and ease of application.
When looking for the best wood finish for beginners, think about three simple questions:
-
Will the project stay indoors or outdoors?
-
Will it receive heavy daily use?
-
How much maintenance are you willing to do later?
For example, a decorative picture frame doesn’t require the same level of protection as a dining table or workbench.
Instead of trying to find one finish that’s “best” for everything, focus on choosing the finish that matches your project.
What Makes the Best Wood Finish for Beginners?
A beginner-friendly finish should be easy to apply, forgiving of small mistakes, and simple to repair if needed.
Some qualities worth looking for include:
-
Smooth application without specialized equipment
-
Reasonable drying time
-
Low odor, especially for indoor projects
-
Easy cleanup
-
Good protection for everyday use
Water-based polyurethane is often recommended for first furniture projects because it’s durable and relatively forgiving. Oil finishes are another popular choice because they’re easy to wipe on and blend naturally into the wood.
If you’d like to learn more about one of the most popular beginner options, our guide to Polyurethane Wood Finish: Best Types and How to Apply Them explains when it’s the right choice and how to apply it successfully.
Common Mistakes When Choosing the Best Wood Finish for Beginners
Almost every woodworker makes a few finishing mistakes early on. Fortunately, most are easy to avoid.
Some of the most common include:
-
Choosing a finish based only on appearance.
-
Applying finish before removing all sanding dust.
-
Using thick coats instead of several thin coats.
-
Ignoring the manufacturer’s drying times.
-
Skipping a test application on scrap wood.
Testing your finish on an offcut from the same project is one of the simplest habits you can develop. Different wood species absorb finishes differently, so the final color and sheen may not match what you expected.
Factors That Influence the Best Wood Finish for Beginners
Every woodworking project has different requirements, which is why experienced builders rarely use the same finish for everything.
Match the Finish to the Project
Think about how the piece will be used.
-
Decorative signs and wall art often need only a light protective finish.
-
Bookshelves and cabinets benefit from a durable finish that resists everyday handling.
-
Dining tables and desktops need stronger protection against spills and scratches.
-
Outdoor furniture requires finishes specifically designed to withstand moisture and sunlight.
Choosing the right lumber also plays a role in how a finish looks. If you’re unsure which species to use, this guide to Types of Wood: Complete Guide for Every Project explains how different woods respond to stains and finishes.
Preparation Is More Important Than the Finish
One lesson nearly every experienced woodworker learns is that preparation matters more than the brand of finish.
Before opening the finish can:
-
Sand progressively to a smooth surface.
-
Remove all dust with a vacuum or tack cloth.
-
Work in a clean, well-ventilated area.
-
Stir finishes gently instead of shaking them to reduce bubbles.
Organizations such as Fine Woodworking and Popular Woodworking consistently emphasize surface preparation because even premium finishes can’t hide scratches or sanding marks left in the wood.
When working indoors, it’s also wise to follow OSHA safety guidelines by ensuring adequate ventilation and wearing appropriate personal protective equipment when recommended by the finish manufacturer.
A little extra preparation almost always produces a smoother, more professional-looking result than trying to fix mistakes after the finish has dried.
As you continue through this guide, you’ll see how oil, wax, polyurethane, and lacquer compare, making it much easier to choose the best wood finish for beginners based on your own DIY projects rather than guessing at the hardware store.
Comparing the Best Wood Finish for Beginners
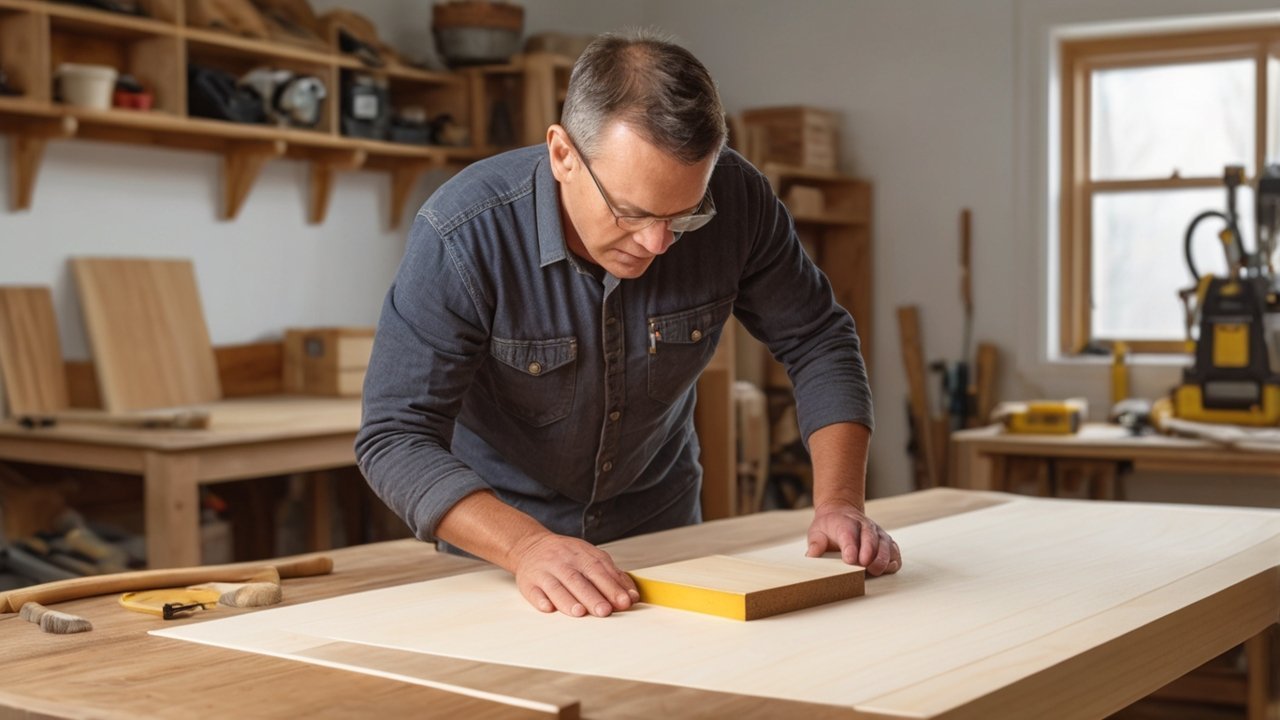
Choosing the best wood finish for beginners isn’t about finding one finish that works for every project. Instead, it’s about understanding what each finish does best and matching it to your woodworking goals.
Some finishes enhance the natural beauty of the wood, while others focus on long-lasting protection. The type of wood also plays an important role. Softwoods like pine absorb finishes differently than hardwoods like oak or maple, so the same product may produce different results on different species. If you’re unsure which wood you’re working with, our guide to Types of Wood: Complete Guide for Every Project explains how common wood species respond to different finishes.
For most beginners, oil and water-based polyurethane are the easiest starting points. They’re forgiving, widely available, and suitable for many DIY furniture and home improvement projects.
Choosing the Best Wood Finish for Beginners: Oil Finish
Oil finishes are often recommended for first-time woodworkers because they’re simple to apply and difficult to overcomplicate. Rather than forming a thick coating, the oil penetrates the wood fibers, bringing out the natural grain while leaving a warm, low-sheen appearance.
Popular choices include Danish oil, tung oil, and boiled linseed oil. Although each product behaves slightly differently, the basic process is the same: apply a thin coat, allow it to soak in, and wipe away any excess before it dries.
Why Oil Finishes Are Beginner-Friendly
Oil finishes offer several practical advantages:
-
Easy wipe-on application
-
Minimal risk of brush marks
-
Natural-looking appearance
-
Simple spot repairs
-
Excellent grain enhancement
They’re a great choice for projects such as:
-
Decorative shelves
-
Picture frames
-
Wooden boxes
-
Side tables
-
Indoor furniture with light to moderate use
One mistake many beginners make is expecting immediate results. Oil finishes often require more curing time than surface finishes, so patience is important before putting the piece into everyday use.
When Oil Isn’t the Best Choice
While oil finishes are attractive, they don’t provide the same level of protection as polyurethane.
If your project will see frequent use, exposure to water, or regular cleaning, you’ll likely need to refresh the finish from time to time. For those situations, a more durable protective coating may be worth considering.
Choosing the Best Wood Finish for Beginners: Wax Finish
Wax is valued for the smooth feel and soft satin sheen it creates. It’s incredibly easy to apply and gives woodworking projects a traditional handcrafted appearance.
Application is simple:
-
Apply a thin layer with a soft cloth.
-
Allow the wax to haze.
-
Buff the surface until smooth.
Wax is commonly used on decorative pieces where appearance is more important than heavy-duty protection.
It works particularly well for:
-
Decorative home décor
-
Wooden keepsake boxes
-
Rustic shelves
-
Display pieces
If you’re looking for projects where a wax finish looks especially attractive, you’ll find plenty of inspiration in DIY Wood Decor: 15 Ideas to Instantly Upgrade Any Room.
Limitations of Wax
Wax offers only light protection against moisture and scratches.
For furniture that receives daily use, most woodworkers use wax as a final polish over another finish rather than relying on it as the primary protective coating.
Choosing the Best Wood Finish for Beginners: Polyurethane Finish
When durability is the priority, polyurethane is often considered the best wood finish for beginners.
Instead of soaking into the wood, polyurethane forms a clear protective film over the surface. This barrier helps resist scratches, moisture, stains, and everyday wear, making it one of the most versatile finishes for furniture.
Water-based polyurethane is especially beginner-friendly because it dries relatively quickly, has a lower odor than oil-based versions, and stays clear over time.
It’s an excellent option for:
-
Dining tables
-
Bookshelves
-
Cabinets
-
Coffee tables
-
Desks
-
Children’s furniture
If you’d like a deeper look at application techniques and finish options, see Polyurethane Wood Finish: Best Types and How to Apply Them.
Common Beginner Mistakes
Polyurethane is forgiving, but several mistakes appear repeatedly among first-time users:
-
Applying coats too thick
-
Brushing back over partially dried areas
-
Skipping light sanding between coats
-
Working in dusty conditions
Thin coats almost always produce a smoother finish than one heavy application.
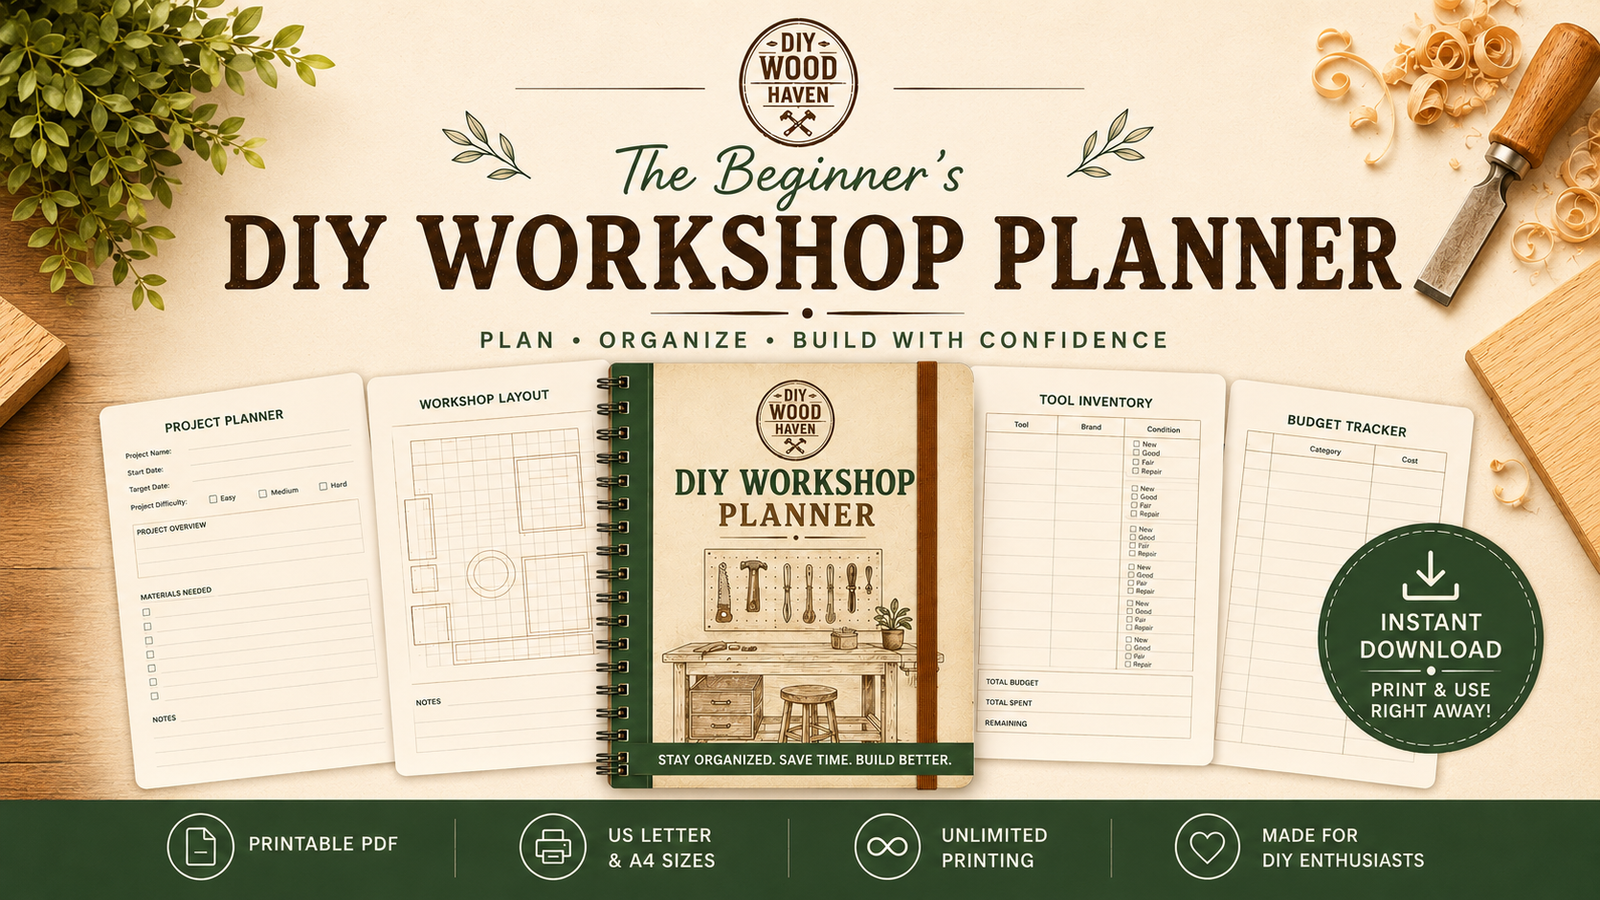
If you’re working on several projects, The Beginner’s DIY Workshop Planner can help you keep track of sanding grits, finish schedules, and product combinations that worked well, making future projects easier to repeat consistently.
Choosing the Best Wood Finish for Beginners: Lacquer Finish
Lacquer has long been used on professionally made furniture because it produces a smooth, elegant finish with excellent clarity.
Its biggest advantage is speed. Under the right conditions, multiple coats can often be applied in a single day.
However, that fast drying time also makes lacquer less forgiving for beginners.
Advantages of Lacquer
Lacquer provides:
-
A smooth professional appearance
-
Fast drying
-
Excellent clarity
-
Easy polishing after curing
Why Beginners Often Wait
Because lacquer dries so quickly, it’s easier to create:
-
Runs
-
Overlap marks
-
Dry spray
-
Uneven sheen
-
Dust contamination
Many lacquer products are also solvent-based, making good ventilation especially important. Organizations such as Fine Woodworking, Popular Woodworking, and OSHA all emphasize working in a clean, well-ventilated space and following the manufacturer’s safety recommendations whenever using solvent-based finishes.
If you’d like to improve your finishing technique regardless of which product you choose, Top Wood Finishing Techniques: Get a Pro Look Every Time is a helpful next read before starting your project.
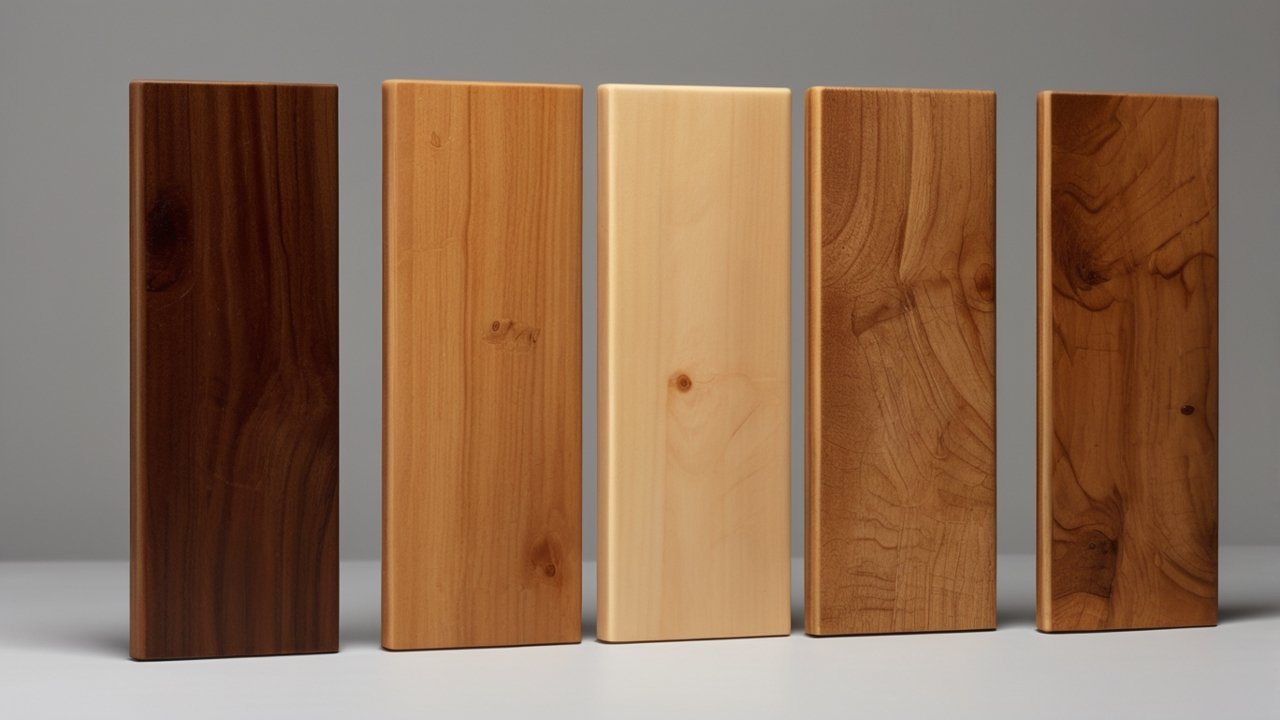
Choosing the Best Wood Finish for Beginners by Project Type
By now, you’ve seen that every finish has its own strengths and weaknesses. The next step is figuring out which one makes the most sense for the project you’re building.
The best wood finish for beginners isn’t always the most durable or the most expensive. It’s the one that matches how the project will be used while remaining easy enough to apply with confidence.
Below are some common DIY projects and the finishes that typically work best.
Choosing the Best Wood Finish for Beginners for Furniture
Furniture usually experiences daily wear, making durability one of the biggest considerations.
For dining tables, bookshelves, desks, and coffee tables, water-based polyurethane is often the easiest choice for beginners. It provides excellent protection against scratches and spills while maintaining the natural appearance of the wood.
If you’re building furniture from hardwoods like oak or maple, you’ll also notice that the finish enhances the grain without requiring complicated application techniques.
Good choices include:
-
Water-based polyurethane for everyday furniture
-
Oil finish for decorative furniture with lighter use
-
Wax as a final polish over a cured finish
If you’re planning your first furniture build, these DIY Wooden Furniture: 15 Easy Projects for Beginners offer excellent practice before tackling larger pieces.
Choosing the Best Wood Finish for Beginners for Shelves and Home Décor
Floating shelves, display shelves, and decorative projects don’t usually experience heavy wear, giving you more flexibility when choosing a finish.
An oil finish works well if you want to highlight the wood’s natural grain, while wax provides a soft satin appearance that’s perfect for decorative items.
Projects that benefit from these finishes include:
-
Floating shelves
-
Picture ledges
-
Decorative trays
-
Wooden signs
-
Indoor wall décor
For inspiration, browse these DIY Wood Decor: 15 Ideas to Instantly Upgrade Any Room to see how different finishes complement various styles.
Choosing the Best Wood Finish for Beginners for Cutting Boards
Cutting boards require a different approach because food safety is just as important as appearance.
Avoid polyurethane, lacquer, or standard furniture wax on surfaces that will come into direct contact with food.
Instead, choose food-safe mineral oil or other finishes specifically labeled as safe for cutting boards and butcher blocks.
To keep a cutting board looking its best:
-
Clean it after each use.
-
Allow it to dry completely.
-
Reapply food-safe oil whenever the surface begins to look dry.
A simple maintenance routine helps prevent the wood from drying out and reduces the chance of cracking over time.
Choosing the Best Wood Finish for Beginners for Outdoor Projects
Outdoor woodworking presents a completely different challenge.
Rain, sunlight, changing temperatures, and humidity all shorten the life of ordinary indoor finishes.
For outdoor furniture, planter boxes, or garden projects, choose a finish specifically designed for exterior use. These products contain ingredients that improve moisture resistance and UV protection.
Projects that typically require outdoor-rated finishes include:
-
Garden benches
-
Outdoor tables
-
Planter boxes
-
Wooden gates
-
Porch furniture
If you’re looking for ideas, Outdoor Woodworking Projects: 10 Easy DIY Builds includes beginner-friendly projects that pair well with exterior finishes.
A Quick Decision Guide for the Best Wood Finish for Beginners
If you’re still unsure which finish to choose, use this simple guide as a starting point.
| Project | Recommended Finish | Why It Works |
|---|---|---|
| Dining table | Water-based polyurethane | Excellent durability and moisture resistance |
| Bookshelf | Water-based polyurethane | Protects against daily handling |
| Decorative shelf | Oil or wax | Enhances the natural wood grain |
| Picture frame | Oil finish | Easy application with a warm, natural look |
| Wooden keepsake box | Wax | Soft satin finish and pleasant feel |
| Cutting board | Food-safe mineral oil | Safe for food contact and easy to maintain |
| Outdoor bench | Exterior wood finish | Designed to resist moisture and sunlight |
Remember, no finish is completely maintenance-free. Even the most durable coating will last longer if the project is cleaned regularly and protected from unnecessary wear.
As you complete more projects, you’ll naturally discover which finishes suit your woodworking style. Keeping notes on the products you use, drying times, and the final results can make future projects much easier to repeat. The Beginner’s DIY Workshop Planner is a practical way to organize that information, especially if you’re building several projects throughout the year.
In the next section, you’ll learn how to apply your chosen finish correctly, avoid common beginner mistakes, and achieve smoother, more professional-looking results.
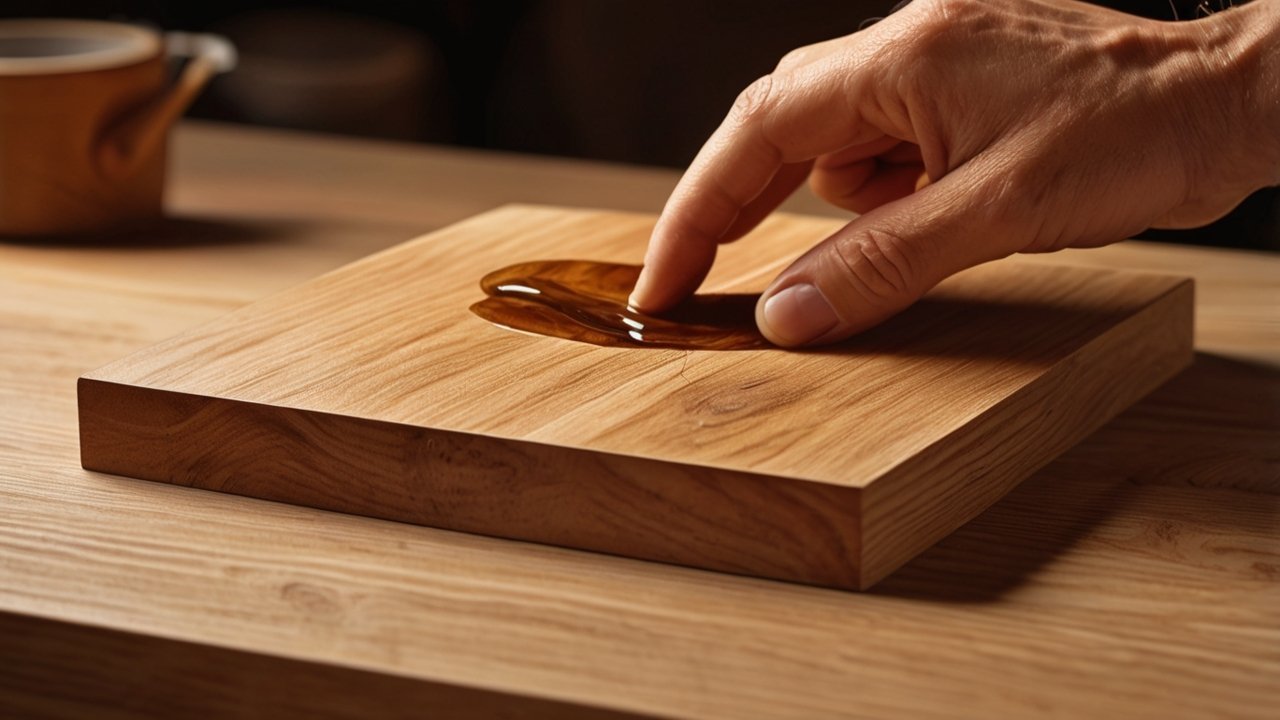
Tips for Applying the Best Wood Finish for Beginners
Even the best wood finish for beginners won’t produce great results if it’s applied to a poorly prepared surface. The good news is that achieving a smooth, professional-looking finish is more about patience and preparation than advanced woodworking skills.
Many experienced woodworkers will tell you that finishing begins long before you open the can. Proper sanding, dust removal, and careful application often make a bigger difference than the brand of finish you choose.
If you’re working on your first project, take your time. Rushing the finishing process is one of the most common reasons beginners end up with streaks, rough surfaces, or uneven sheen.
Preparing the Surface for the Best Wood Finish for Beginners
Preparation is the foundation of every successful finish.
Before applying oil, wax, polyurethane, or lacquer, make sure the wood is clean, smooth, and free of dust.
A simple preparation routine includes:
-
Sand progressively through finer grits.
-
Remove all sanding dust with a vacuum or tack cloth.
-
Check the surface under good lighting.
-
Repair any dents or scratches before finishing.
-
Stir the finish gently instead of shaking the container.
Skipping any of these steps can leave imperfections that become much more noticeable after the finish dries.
If you’re still setting up your workspace, DIY Woodworking Workshop: Beginner Setup Guide explains how good lighting, ventilation, and an organized work area can improve both safety and finishing results.
Applying Thin Coats Produces Better Results
One of the biggest mistakes beginners make is trying to complete the job with one thick coat.
In reality, several thin coats almost always produce a smoother, more durable finish.
Depending on the product you’re using:
-
Oil finishes are usually wiped on with a clean cloth.
-
Wax is applied sparingly and buffed after hazing.
-
Polyurethane is best applied with long, even brush strokes.
-
Lacquer is typically sprayed using specialized equipment.
Always follow the drying and recoating times recommended by the manufacturer. Applying another coat too soon can trap moisture or solvents beneath the surface, leading to a cloudy or uneven finish.
When you’re working on multiple projects, The Beginner’s DIY Workshop Planner can help you record drying times, sanding schedules, and finishing notes, making it easier to repeat successful results on future builds.
Common Mistakes When Using the Best Wood Finish for Beginners
Even experienced woodworkers occasionally make finishing mistakes. Fortunately, most problems are easy to avoid once you know what to look for.
Applying Too Much Finish
More finish doesn’t mean better protection.
Heavy coats often lead to:
-
Runs
-
Drips
-
Brush marks
-
Longer drying times
-
Uneven sheen
Instead, apply thin, even coats and build protection gradually.
Skipping Surface Preparation
No finish can hide poor sanding.
If scratches, glue residue, or dust remain on the wood, they’ll often become even more noticeable after the finish dries.
Before opening the finish, always:
-
Inspect the surface from different angles.
-
Remove all sanding dust.
-
Ensure the wood is completely dry.
These extra few minutes can dramatically improve the final appearance.
Ignoring the Environment
The room where you apply the finish matters more than many beginners realize.
Dust, humidity, and temperature all affect the final result.
Whenever possible:
-
Work in a clean area.
-
Avoid windy or dusty conditions.
-
Maintain good ventilation.
-
Keep the workspace at the temperature recommended by the finish manufacturer.
Organizations such as Fine Woodworking, Popular Woodworking, and OSHA all emphasize proper ventilation and appropriate personal protective equipment when working with solvent-based finishes.
If your workshop still needs improvement, Setup Woodworking Shop: Layouts and Essential Tools provides helpful ideas for creating a cleaner and more efficient workspace.
Rushing Between Coats
It’s tempting to keep working once the surface feels dry.
However, “dry to the touch” doesn’t always mean the finish is ready for another coat.
Applying additional coats too early may cause:
-
Cloudiness
-
Poor adhesion
-
Soft finishes
-
Longer curing times
Patience usually produces better results than trying to finish the project in a single afternoon.
Planning each step before you begin also helps reduce mistakes. Our guide to Woodworking Project Planning: Plan Smarter, Build Better offers practical tips for organizing materials, scheduling finishing stages, and avoiding common DIY setbacks.
By taking your time, preparing the wood properly, and following the manufacturer’s instructions, you’ll get far better results from whichever finish you choose. In the next section, we’ll look at beginner-friendly finishing products and tools that can make the application process even easier.
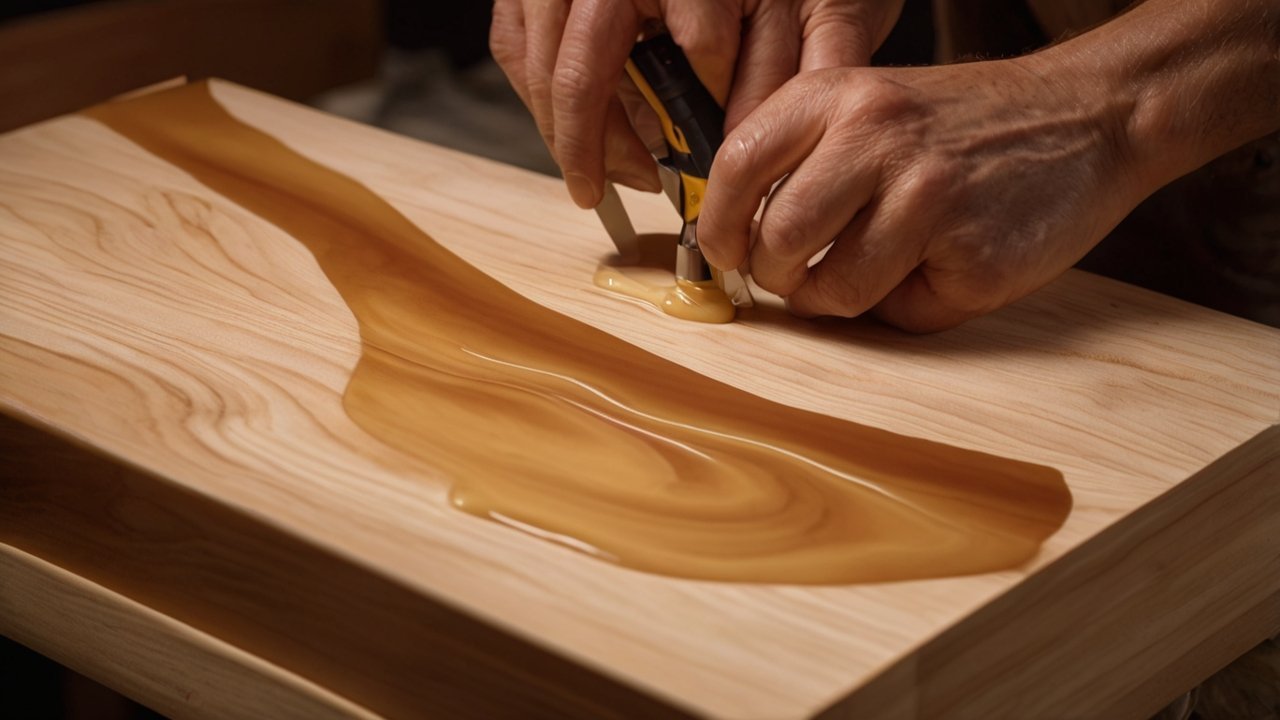
Recommended Beginner-Friendly Products for the Best Wood Finish for Beginners
Choosing the best wood finish for beginners isn’t just about selecting the right finish. Using the right tools can make the application process easier, help you avoid common mistakes, and produce more consistent results.
Fortunately, you don’t need a workshop full of expensive equipment. A few basic supplies are enough for most DIY woodworking projects.
If you’re just getting started, focus on learning good technique rather than buying every finishing accessory available. As your skills improve, you can gradually expand your collection.
Beginner-Friendly Wood Finishes
Different projects call for different finishes, but these are among the easiest options for first-time woodworkers.
Water-Based Polyurethane
For furniture, bookshelves, and indoor projects, water-based polyurethane is often the easiest finish to learn.
It’s a good choice because it:
-
Dries relatively quickly
-
Has a lower odor than many oil-based finishes
-
Cleans up with water
-
Resists scratches and household spills
-
Maintains the natural color of lighter woods
If you’d like a more detailed comparison of finish types and application methods, our guide to Polyurethane Wood Finish: Best Types and How to Apply Them covers everything in greater detail.
Oil Finishes
Oil finishes remain popular among beginners because they’re simple to apply and easy to repair.
They’re especially suitable for:
-
Decorative furniture
-
Shelves
-
Wooden boxes
-
Accent pieces
Oil finishes enhance the wood grain beautifully, although they generally require more maintenance than polyurethane.
Wax Finishes
Wax works best as a finishing touch on decorative projects.
It creates:
-
A smooth hand-rubbed feel
-
A soft satin sheen
-
Easy maintenance for lightly used items
Because wax offers limited protection, it’s often used over another cured finish rather than as the only protective layer.
If you’re looking for projects where wax performs particularly well, you’ll find plenty of ideas in DIY Wood Decor: 15 Ideas to Instantly Upgrade Any Room.
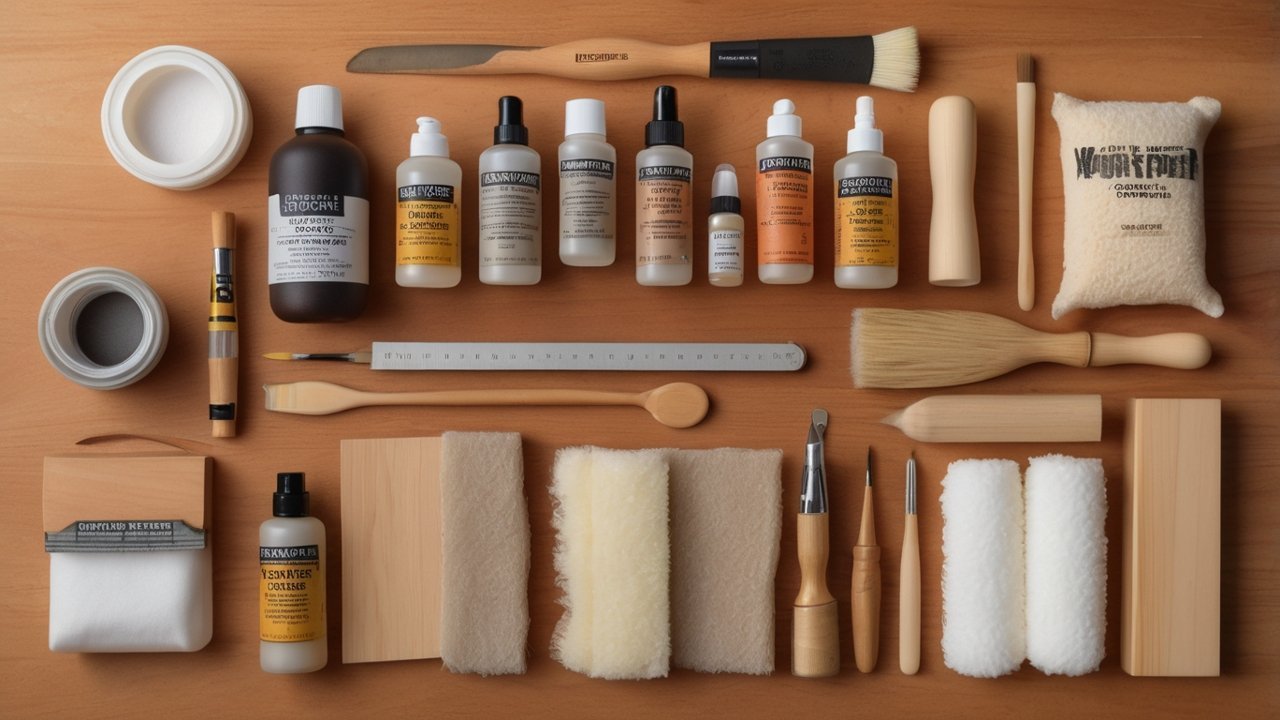
Essential Tools for Applying the Best Wood Finish for Beginners
The finish itself is only part of the equation. Good preparation tools often have a bigger impact on the final result than many beginners realize.
Useful finishing supplies include:
-
Foam brushes for smooth polyurethane application
-
High-quality synthetic brushes
-
Lint-free cotton cloths
-
Tack cloths for dust removal
-
Sandpaper in multiple grits
-
Sanding sponges
-
Stir sticks
-
Disposable gloves
These basic tools are inexpensive, reusable in many cases, and suitable for almost every finishing project.
A clean, organized workspace also makes finishing easier. If you’re still setting up your shop, Setup Woodworking Shop: Layouts and Essential Tools explains how proper lighting, ventilation, and storage can improve both safety and finishing quality.
Keeping Track of What Works
One of the habits that separates experienced woodworkers from beginners is keeping notes.
Recording simple details such as:
-
Sanding grits
-
Number of finish coats
-
Drying times
-
Brush types
-
Wood species
-
Final appearance
makes it much easier to reproduce successful results on future projects.
If you’d like an easy way to organize that information, The Beginner’s DIY Workshop Planner provides dedicated space for project planning, finishing notes, and workshop records. Many DIY builders find it helpful for comparing finishes across different projects without relying on memory.
Optional Resources for Expanding Your Workshop
As your woodworking skills grow, you may decide to improve your finishing area or workshop layout.
For builders working in a compact garage or small workspace, UltimateSmallShop may be worth considering as an educational resource for organizing tools, improving workflow, and creating a more efficient workspace before taking on larger woodworking projects.
Remember, better results come from careful preparation and practice, not simply from owning more tools.
With the right finish, a few reliable supplies, and a little patience, even your first woodworking project can have a smooth, durable, and professional-looking finish.

Final Thoughts on Choosing the Best Wood Finish for Beginners
Finding the best wood finish for beginners doesn’t have to be complicated. While oil, wax, polyurethane, and lacquer each have their place, the right choice depends on your project, the level of protection you need, and how comfortable you are with the application process.
If you’re finishing your very first woodworking project, remember that success comes from following the basics rather than chasing perfection. Take the time to prepare the wood properly, apply thin and even coats, and allow each layer to dry fully before moving on. These simple habits will have a much bigger impact on the final result than using the most expensive finish on the shelf.
For most beginners, water-based polyurethane is an excellent all-around option for furniture and indoor projects because it’s durable, easy to maintain, and relatively forgiving. If your goal is to highlight the natural beauty of the wood, an oil finish offers a warm, timeless appearance that’s easy to apply and repair. Wax is ideal for decorative pieces, while lacquer is usually best left until you’ve gained a little more finishing experience.
Keep in mind that every project is an opportunity to improve your skills. Even experienced woodworkers continue to test new products, refine their techniques, and learn from each build.
If you’re ready for your next project, these beginner-friendly guides can help you put your finishing skills into practice:
As you complete more projects, keeping a record of the wood species, finish used, sanding sequence, and drying times can make future builds much more consistent. The Beginner’s DIY Workshop Planner is a practical resource for organizing those details, helping you build confidence with every project.
The best finish isn’t the one with the highest gloss or the longest list of features. It’s the one that fits your project, matches your skill level, and encourages you to keep building. Start with a simple project, enjoy the learning process, and you’ll soon discover that finishing wood is one of the most rewarding parts of woodworking.
Frequently Asked Questions About the Best Wood Finish for Beginners
What is the best wood finish for beginners?
For most first-time woodworkers, water-based polyurethane is one of the easiest finishes to use. It provides durable protection, dries relatively quickly, has a lower odor than many oil-based finishes, and cleans up with water. If your goal is to highlight the natural beauty of the wood rather than maximize durability, an oil finish is another beginner-friendly option.
Is oil or polyurethane better for beginners?
Both are good choices, but they serve different purposes.
-
Oil finishes are easier to apply and simple to repair, making them ideal for decorative furniture and projects where you want a natural look.
-
Polyurethane offers much better protection against scratches, moisture, and everyday wear, making it the preferred choice for tables, bookshelves, and frequently used furniture.
If you’d like to learn more about polyurethane, read Polyurethane Wood Finish: Best Types and How to Apply Them.
Can I apply wax over polyurethane?
Yes. Once polyurethane has fully cured, you can apply a thin coat of wax to give the surface a smoother feel and a softer sheen.
Keep in mind that wax is mainly cosmetic. It won’t significantly increase the durability of the polyurethane beneath it, and it may need occasional reapplication to maintain its appearance.
Which wood finish lasts the longest?
For most indoor woodworking projects, polyurethane is one of the longest-lasting finishes. It forms a durable protective layer that resists moisture, stains, and everyday wear better than oil or wax alone.
However, no finish lasts forever. Proper surface preparation, careful application, and routine maintenance all help extend the life of any finish.
Should beginners use lacquer?
Generally, no. While lacquer creates a beautiful professional-looking finish, it dries very quickly and leaves little time to correct mistakes.
Many beginners find oil finishes or water-based polyurethane much easier to work with. Once you’ve gained more finishing experience, lacquer becomes a great option for projects that require a smooth, furniture-grade appearance.
Do I need to sand between coats?
In most cases, yes.
Light sanding between coats helps:
-
Remove dust particles
-
Improve adhesion between coats
-
Create a smoother final finish
-
Reduce small imperfections
Always follow the manufacturer’s recommendations, as some finishes have specific sanding and recoating instructions.
Does the type of wood affect the final finish?
Absolutely. Different wood species absorb finishes differently, which can affect both color and sheen.
For example:
-
Softwoods like pine often absorb more finish and may appear less uniform.
-
Hardwoods such as oak, walnut, and maple usually produce a more consistent appearance.
If you’re unsure which wood is best for your project, Types of Wood: Complete Guide for Every Project explains the characteristics and common uses of popular woodworking species.
What’s the biggest mistake beginners make when finishing wood?
The most common mistake is rushing the process.
Applying thick coats, skipping surface preparation, or not allowing enough drying time can all lead to disappointing results.
A better approach is to:
-
Sand the surface thoroughly.
-
Remove all dust before finishing.
-
Apply several thin coats.
-
Follow the recommended drying times.
-
Practice on a scrap piece of wood before finishing your final project.
These simple habits will help you achieve smoother, more professional-looking results and build confidence with every woodworking project.

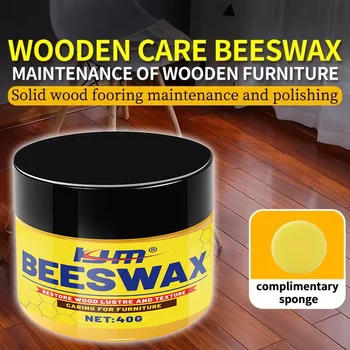
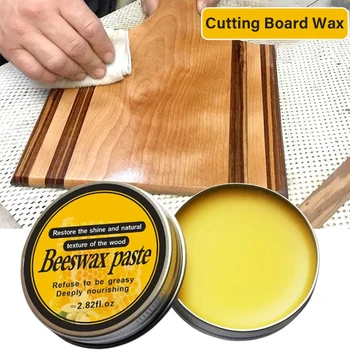
Recommended Wood Finishing Products
These products may help simplify the finishing process, especially if you’re just getting started. We’ve selected beginner-friendly options that are commonly used for DIY woodworking projects.

Affiliate Disclosure
Disclosure: This article contains affiliate links. If you purchase a product through one of these links, we may earn a small commission at no additional cost to you. We only recommend products that we believe are relevant and helpful for DIY woodworking projects.