Woodworking Project Planning: Plan Smarter, Build Better
Have you ever started a woodworking project only to realize halfway through that you’re missing materials, made the wrong measurements, or underestimated the time it would take? Woodworking project planning is the simple step that helps prevent those common frustrations and sets you up for a smoother, more enjoyable build.
Whether you’re creating a bookshelf, outdoor bench, or your very first DIY project, taking a little time to plan can save money, reduce wasted materials, and improve the quality of your finished work. A clear plan also helps you choose the right tools, organize your workspace, and build with greater confidence, even if you’re just getting started. With a basic project plan and a well-prepared woodworking materials list, you’ll spend less time solving unexpected problems and more time enjoying the building process.
In this guide, you’ll learn how to plan a woodworking project from start to finish using practical, beginner-friendly steps. By the end, you’ll have a simple framework you can use to approach every DIY build with confidence and achieve better results.
Why Woodworking Project Planning Matters
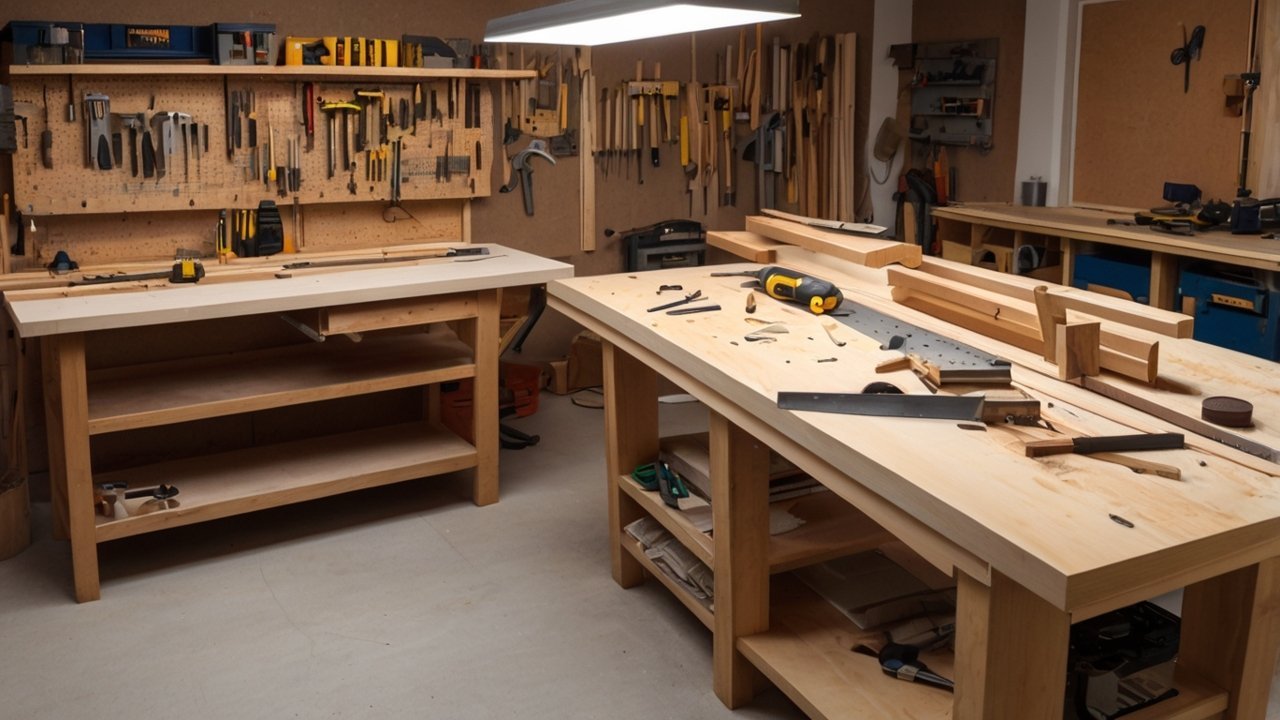
Many beginners are eager to start cutting wood as soon as they bring materials home. It’s an exciting part of any DIY project, but skipping the planning stage often leads to avoidable mistakes. That’s why woodworking project planning is one of the most valuable skills you can develop, no matter what you’re building.
Whether your goal is a simple wall shelf, a coffee table, or outdoor furniture, taking time to plan helps every step go more smoothly. A few minutes with a notebook can save hours of rework later.
I’ve learned this lesson more than once. Early in my woodworking journey, I measured carefully but forgot to account for the thickness of the boards. The project still came together, but the finished dimensions were completely off. Since then, planning has become the first tool I reach for before picking up a saw.
Common Mistakes Woodworking Project Planning Prevents
Most beginner mistakes happen before the first cut, not during assembly.
Without a simple project plan, it’s easy to:
-
Purchase too little or too much lumber.
-
Forget essential hardware or fasteners.
-
Cut boards in the wrong order.
-
Miss important measurements.
-
Run out of workshop space during assembly.
-
Underestimate the project’s time or cost.
Even experienced woodworkers occasionally make these mistakes. The difference is that they usually catch them on paper instead of after cutting expensive lumber.
Creating a rough sketch, writing a materials list, and preparing a cut list gives you an opportunity to spot problems before they become costly.
If you’re still developing your skills, our guide to Beginner Woodworking Projects: 10 Easy Builds to Try offers projects that are ideal for practicing good planning habits without becoming overwhelming.
Benefits of Woodworking Project Planning
Good woodworking project planning isn’t about making complicated blueprints. It’s about making thoughtful decisions before the build begins.
Save Time with Woodworking Project Planning
One of the biggest advantages is efficiency.
When you already know:
-
your finished dimensions,
-
the order of each cut,
-
which tools you’ll need,
-
and where each board belongs,
you spend far less time stopping to rethink your next move.
Many DIY builders find that organizing materials before starting keeps the project enjoyable instead of stressful. Instead of constantly searching for clamps or wondering which piece gets cut next, you can focus on building.
If you’re setting up a new workspace, you may also find our guide on Setup Woodworking Shop: Layouts and Essential Tools helpful for creating a workshop that supports efficient project planning.
Better Results Through Woodworking Project Planning
Planning also improves accuracy.
A simple drawing doesn’t have to look professional. Even a hand sketch with basic measurements can reveal design issues before you cut your first board.
During the planning stage, consider questions like:
-
Will the project fit its intended space?
-
Are the wood dimensions readily available?
-
Which wood joints are appropriate?
-
Does the design require special tools?
-
Will the finished piece remain stable over time?
Answering these questions early helps reduce surprises during assembly.
For example, if your project includes multiple joinery methods, reviewing different options beforehand can prevent unnecessary frustration. Our article on Wood Joinery Techniques: 10 Must-Know Types for DIY Projects explains common joints and when each one makes sense.
Choose Materials More Confidently
Another overlooked benefit of planning is selecting the right wood.
Not every species performs the same way. Pine may be perfect for a beginner bookshelf, while oak or maple may be better suited for furniture that sees daily use.
Thinking about material selection before shopping helps avoid buying lumber that is either unnecessarily expensive or unsuitable for the project.
If you’re unsure which species fits your build, our Types of Wood: Complete Guide for Every Project can help you compare common options.
Some DIY builders also find that keeping all of their sketches, measurements, cut lists, and material notes together in a dedicated woodworking planner can simplify future projects by making it easier to reuse successful plans and avoid repeating earlier mistakes.
Safety Starts Before the First Cut
Planning isn’t only about better-looking projects. It also contributes to a safer workshop.
Before starting, take a few minutes to think through each step of the build:
-
Where will you make long cuts?
-
Do you have enough support for sheet goods?
-
Will extension cords create trip hazards?
-
Are safety glasses and hearing protection within reach?
Organizations like OSHA emphasize keeping work areas organized and using appropriate personal protective equipment. Likewise, experienced educators at Fine Woodworking and Popular Woodworking consistently encourage careful layout and preparation before operating power tools.
A clean workspace and a well-planned sequence of cuts help reduce distractions, making it easier to focus on safe tool handling throughout the project.
By treating planning as part of the build rather than an extra task, you’ll develop habits that improve not only your woodworking skills but also your confidence with every new project. Near the end of your planning process, many woodworkers also keep a dedicated woodworking planner nearby to organize future ideas, project notes, and lessons learned from each completed build.
Define Your Project Goals with Woodworking Project Planning
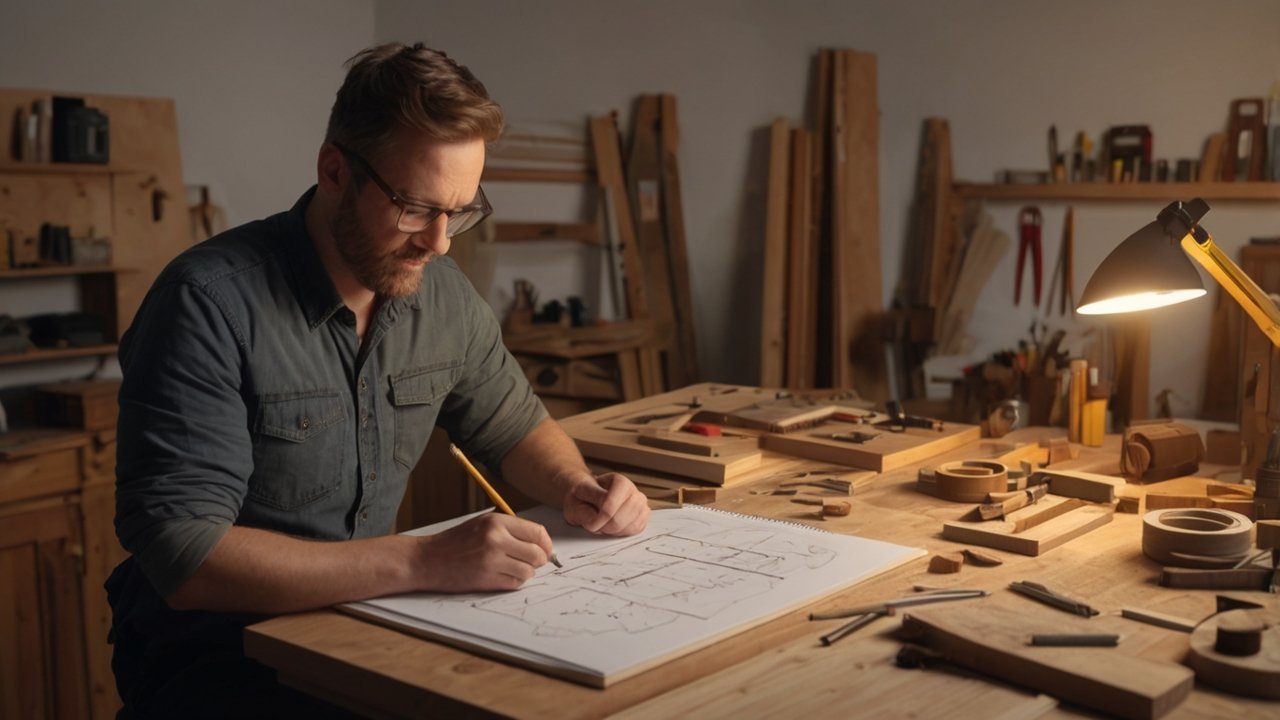
A successful project starts with a clear goal, not a stack of lumber. Before you buy materials or switch on a power tool, take a few minutes to decide exactly what you want to build and why. This stage of woodworking project planning helps you choose the right design, materials, and tools while avoiding costly changes later.
Many beginners pick a project simply because it looks great online. While inspiration is important, your project should also match your available space, budget, tools, and experience level. A little planning now can save hours of frustration during the build.
Choose a Project That Matches Your Skill Level with Woodworking Project Planning
One of the fastest ways to lose confidence is by tackling a project that’s too ambitious.
Complex furniture with drawers, angled cuts, or advanced joinery often requires precision, patience, and specialized tools. Instead, focus on projects that teach fundamental woodworking skills while giving you a finished piece you can actually use.
Great beginner projects include:
-
Floating shelves
-
Simple benches
-
Wooden storage boxes
-
Step stools
-
Small side tables
-
Wall organizers
These builds allow you to practice measuring, cutting, drilling, sanding, and assembly without becoming overwhelmed.
If you’re looking for ideas, Beginner Woodworking Projects: 10 Easy Builds to Try and Simple Woodworking Projects: 15 Easy Beginner Builds offer plenty of beginner-friendly inspiration that fits a wide range of skill levels.
Remember, every experienced woodworker started with simple projects before moving on to cabinets, dining tables, or workshop furniture.
Set Realistic Expectations with Woodworking Project Planning
A common mistake is underestimating both the time and the cost of a project.
What appears to be a one-day build often includes several stages:
-
Buying materials
-
Preparing lumber
-
Measuring and marking
-
Cutting and dry fitting
-
Assembly
-
Sanding
-
Applying a finish
-
Waiting for finishes to cure
Planning each stage helps you avoid rushing through important steps.
Budgeting deserves the same attention. Besides lumber, remember to account for screws, wood glue, sandpaper, finish, replacement blades, and safety equipment. Creating a complete shopping list before heading to the store reduces unnecessary trips and impulse purchases.
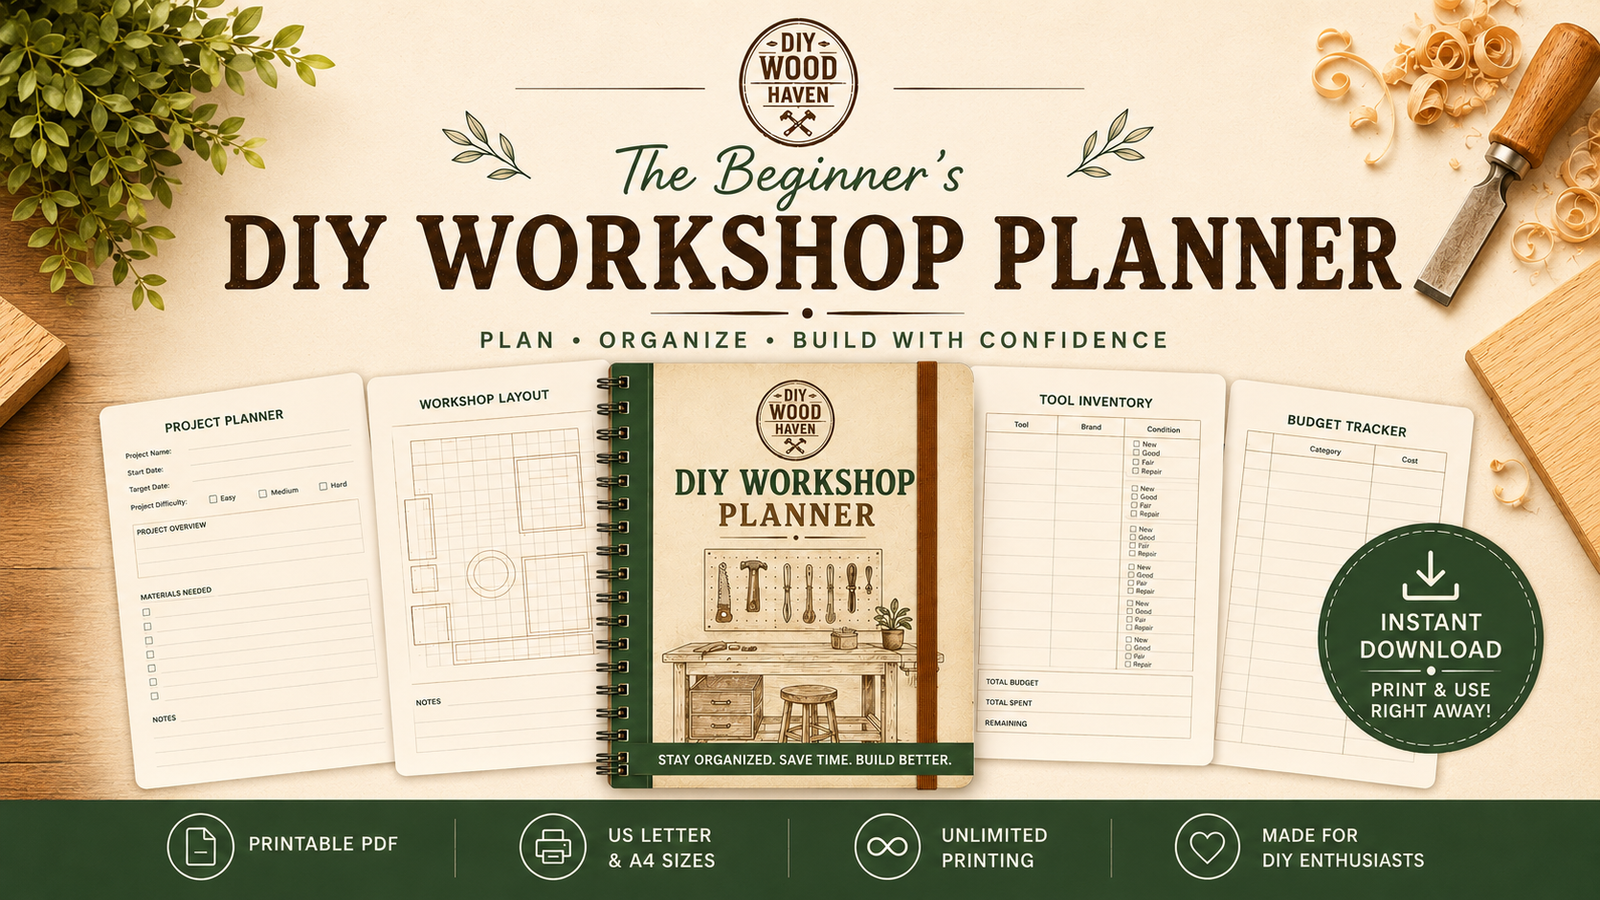
Many DIY builders find it helpful to keep their sketches, measurements, shopping lists, and cut lists in one place. A resource like The Beginner’s DIY Workshop Planner can simplify project planning and make it easier to reuse successful plans instead of starting from scratch each time.
Determine Size, Function, and Style with Woodworking Project Planning
Once you’ve chosen a project, it’s time to turn your idea into a practical plan.
Good woodworking project planning isn’t about creating professional blueprints. It’s about making thoughtful decisions before cutting your first board.
Measure Carefully Before Woodworking Project Planning
One of the most disappointing beginner mistakes is building something that doesn’t fit where it was intended.
Always measure the installation space before finalizing your design.
Ask yourself:
-
Will doors and drawers open fully?
-
Is there enough walking space around the project?
-
Can the finished piece fit through a doorway?
-
Will it be comfortable to use every day?
For larger furniture, I often mark the footprint on the floor using painter’s tape. Seeing the actual size in the room quickly reveals whether the design feels too large or too small.
This simple habit has saved me from rebuilding more than one project.
Select the Right Materials for the Job
The type of wood you choose affects durability, appearance, cost, and how easy the project is to build.
Softwoods such as pine are affordable and forgiving, making them ideal for many beginner woodworking projects. Hardwoods like oak, maple, and walnut offer greater durability and beautiful grain patterns but generally require sharper tools and a larger budget.
If you’re unsure which lumber is right for your project, Types of Wood: Complete Guide for Every Project explains the characteristics of common wood species. If you’re building furniture, Types of Wood for Furniture: 10 Best Options & Uses provides additional guidance for selecting materials based on strength, appearance, and intended use.
Choosing materials early also helps determine your joinery, hardware, and finishing approach.
Plan the Finished Look Before You Build
Many beginners focus entirely on construction and only think about finishing after the project is assembled.
Instead, include the final appearance as part of your woodworking project planning.
Decide whether you want to:
-
Paint the project
-
Apply stain
-
Highlight the natural wood grain
-
Use a clear protective finish
-
Create a modern or rustic style
Planning ahead allows you to prepare surfaces correctly and choose lumber that complements your design goals.
For example, if you plan to showcase the wood’s natural beauty with a clear finish, you’ll likely spend more time selecting boards with attractive grain patterns. If the project will be painted, structural quality may be more important than grain appearance.
When you’re ready for the finishing stage, Top Wood Finishing Techniques: Get a Pro Look Every Time and Polyurethane Wood Finish: Best Types and How to Apply Them can help you choose an appropriate finish for your project.
As you complete more projects, you’ll naturally refine your own planning process. Keeping your sketches, measurements, material lists, and project notes together in The Beginner’s DIY Workshop Planner can make future builds easier to organize while helping you avoid repeating the same mistakes.
Create a Simple Project Plan with Woodworking Project Planning
A good idea becomes a successful build when you turn it into a clear plan. This stage of woodworking project planning is where everything starts to come together. You don’t need professional drafting software or years of experience. Even a simple sketch, accurate measurements, and a basic materials list can make your project easier to build and far less stressful.
I’ve found that spending 20 to 30 minutes planning often saves several hours in the workshop. It’s much easier to erase a mistake on paper than to replace an expensive piece of lumber after it’s been cut.
Sketch Your Design with Woodworking Project Planning
Your project sketch doesn’t need to be perfect. The goal is simply to visualize the finished piece and record important dimensions before making any cuts.
Start by drawing the project from the front, side, and top if needed. Then label the key measurements, including:
-
Overall height, width, and depth
-
Thickness of each board
-
Shelf spacing or drawer openings
-
Joinery locations
-
Hardware placement
A rough drawing also helps you identify potential design problems before you begin building.
For example, you may notice that a shelf needs additional support or that a table apron interferes with chair clearance. These are much easier to adjust during woodworking project planning than after assembly has begun.
If your project includes more advanced joints, Wood Joinery Techniques: 10 Must-Know Types for DIY Projects explains common joinery options and when to use each one.
Create an Accurate Materials and Cut List with Woodworking Project Planning
One habit that separates organized woodworkers from frustrated ones is creating a complete materials list before visiting the lumber yard.
Include every item you’ll need, such as:
-
Lumber dimensions
-
Plywood sheets
-
Screws and fasteners
-
Wood glue
-
Sandpaper
-
Hinges or handles
-
Wood finish
Next, prepare a cut list.
A cut list records every individual piece you’ll need, along with its finished dimensions. It also helps you determine how to cut boards efficiently, reducing waste and avoiding unnecessary lumber purchases.
Many beginners skip this step and start measuring directly from the project during the build. Unfortunately, that often leads to inconsistent parts and wasted material.
Keeping your sketches, shopping lists, and cut lists together in The Beginner’s DIY Workshop Planner can make future projects much easier to organize. Having all of your planning notes in one place also allows you to reuse successful layouts and improve them over time.
Some DIY builders who prefer comparing different layouts before finalizing their own design also use My Shed Plans as an educational reference when reviewing project drawings and material lists for larger woodworking or outdoor builds. Depending on your project, it may help you explore alternative construction ideas.
Estimate Your Budget and Timeline with Woodworking Project Planning
A realistic budget keeps your project enjoyable instead of frustrating. Many first-time builders focus only on lumber costs, but the total expense usually includes much more.
Budget for More Than Just Lumber with Woodworking Project Planning
When estimating costs, remember to include:
-
Hardware and fasteners
-
Wood glue
-
Finishing products
-
Replacement blades or sanding discs
-
Safety equipment
-
Shop supplies
It’s also wise to allow a small buffer for mistakes or design changes. Even experienced woodworkers occasionally purchase an extra board after discovering a knot, warp, or cutting error.
Planning your purchases ahead of time also makes comparing lumber prices much easier.
If you’re still deciding which species fits your project, Types of Wood: Complete Guide for Every Project can help you balance cost, durability, and appearance before buying materials.
Build a Realistic Project Timeline
One of the biggest misconceptions in DIY woodworking is that every project can be completed in a single weekend.
In reality, even simple furniture often takes longer than expected once you include measuring, dry fitting, sanding, finishing, and drying time.
Instead of setting one large deadline, divide your build into manageable stages:
-
Planning and material shopping
-
Cutting and milling
-
Dry fitting
-
Assembly
-
Sanding
-
Finishing
-
Final inspection
Breaking the project into smaller milestones helps you stay motivated while reducing the temptation to rush important steps.
Experienced woodworkers at Fine Woodworking and Popular Woodworking frequently emphasize that careful preparation leads to cleaner, more accurate builds. Likewise, OSHA recommends maintaining an organized workspace and following safe operating procedures before using power tools. Planning your work sequence in advance supports both accuracy and safety throughout the project.
Before moving into the build phase, review your sketch one final time, confirm every measurement, and make sure all materials are ready. Keeping those plans and notes together in The Beginner’s DIY Workshop Planner makes it easier to track progress, record improvements, and refine your approach for future woodworking projects.
Gather Tools and Prepare Your Workspace for Woodworking Project Planning
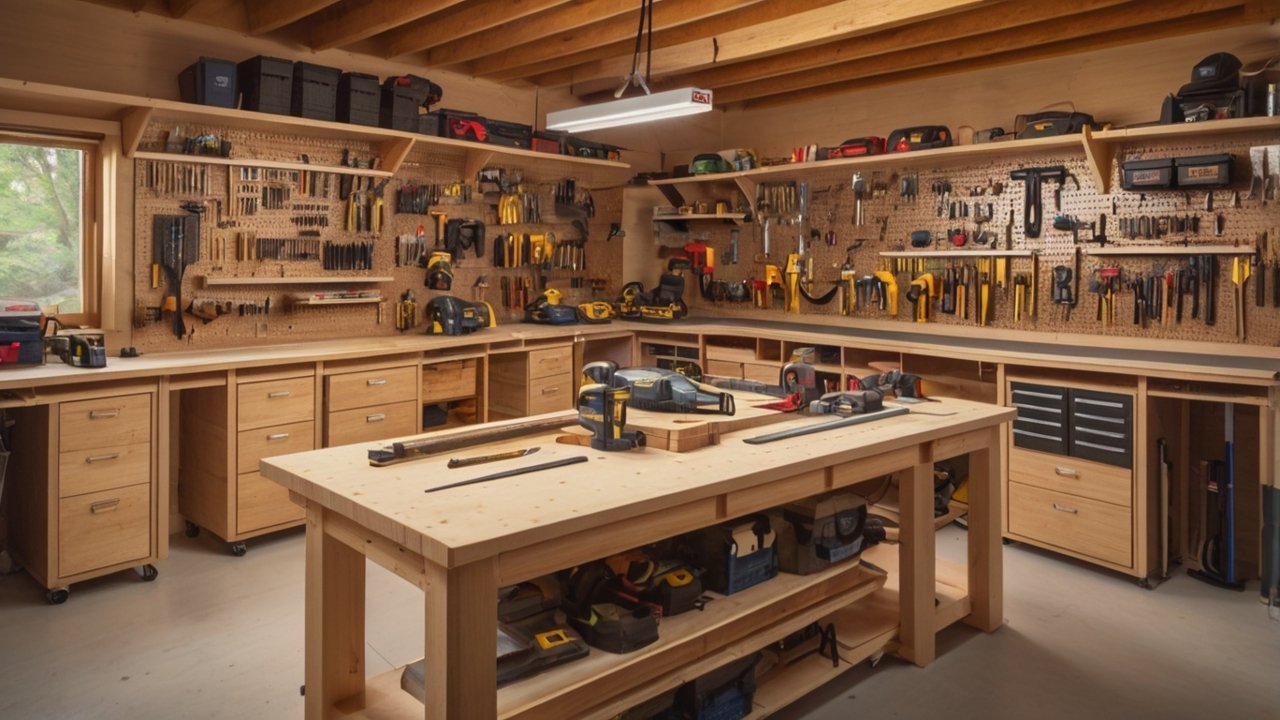
Even the best design can become frustrating if your tools are missing or your workspace is disorganized. That’s why this stage of woodworking project planning focuses on preparing everything before the first cut. A few minutes spent organizing your tools and work area can save time, improve accuracy, and help you work more safely.
One lesson I’ve learned over the years is that woodworking rarely goes well when you’re constantly searching for a tape measure or moving clutter out of the way. An organized shop keeps your attention on the project instead of unnecessary distractions.
Essential Tools for Woodworking Project Planning
You don’t need a professional cabinet shop filled with expensive equipment to build quality projects. Many beginner woodworking projects can be completed with a small collection of reliable tools.
Start with the essentials:
-
Tape measure
-
Combination square
-
Carpenter’s pencil
-
Circular saw or miter saw
-
Cordless drill and driver
-
Clamps
-
Random orbital sander
-
Safety glasses
-
Hearing protection
-
Dust mask or respirator
As your skills grow, you can gradually add specialized tools like a router, planer, or table saw. There’s no need to purchase everything at once.
If you’re building your first workshop, Setup Woodworking Shop: Layouts and Essential Tools explains how to choose practical tools and arrange them efficiently for everyday projects. You may also find DIY Woodworking Workshop: Beginner Setup Guide helpful when planning a workspace that fits your available space and budget.
Organize Your Tools Before You Start
One simple habit that improves almost every build is laying out your tools before beginning.
Gather everything you’ll need for the current stage of the project rather than searching for items as you go.
For example:
-
Measuring and marking tools
-
Cutting tools
-
Drill bits and drivers
-
Clamps
-
Fasteners
-
Safety equipment
Keeping frequently used tools within easy reach reduces interruptions and helps maintain your workflow.
Many DIY builders also keep project sketches, material lists, and cut lists alongside their tools. A resource like The Beginner’s DIY Workshop Planner can help keep those planning documents organized, making it easier to track measurements and progress throughout the build.
Some woodworkers who are setting up a new workshop also refer to Ultimate Small Shop as an educational resource for layout ideas and space-saving workshop solutions, especially when working in a garage or compact workspace.
Create a Safe and Efficient Workspace with Woodworking Project Planning
Preparing your workspace is about more than convenience. It also plays a major role in safety and build quality.
Improve Accuracy Through Better Woodworking Project Planning
A clean, well-lit workspace makes measuring and cutting much easier.
Before starting your project, check that:
-
Your workbench is stable.
-
Lumber is properly supported during cuts.
-
Extension cords won’t create trip hazards.
-
There is enough room to handle long boards safely.
-
Frequently used tools are easy to access.
Good lighting is especially important when marking cut lines or checking for gaps during assembly. Even a small measurement error can affect the final fit of your project.
Experienced editors at Fine Woodworking often emphasize that careful setup contributes just as much to accuracy as quality tools. Taking time to prepare your workspace allows you to focus on craftsmanship rather than solving avoidable problems.
Keep Safety Part of Woodworking Project Planning
Safety should never be treated as an afterthought.
Before powering up any tool, take a moment to review your work area and make sure everything is ready.
Follow a few basic habits:
-
Wear eye and hearing protection.
-
Use dust collection whenever possible.
-
Keep blades and bits sharp.
-
Remove loose clothing or jewelry.
-
Secure your workpiece with clamps instead of holding it by hand.
-
Unplug power tools before changing blades or making adjustments.
These practices are consistent with recommendations found in OSHA safety guidelines and are reinforced by many experienced woodworking educators.
It’s also worth checking your lumber before cutting. Boards with severe warping, deep cracks, or hidden nails can damage tools and create unsafe conditions.
Prepare for a Smoother Build
One final walkthrough before you begin can prevent many common beginner mistakes.
Ask yourself:
-
Do I have all the materials?
-
Are my measurements verified?
-
Is my cut list complete?
-
Are my tools ready?
-
Is my workspace clean and safe?
Answering these questions now is much easier than stopping halfway through a project to solve an avoidable problem.
As you complete more builds, you’ll naturally develop your own workshop routine. Keeping your project sketches, cut lists, measurements, and notes together in The Beginner’s DIY Workshop Planner makes it easier to prepare for future projects and continue improving your woodworking project planning process.
Build Step by Step with Woodworking Project Planning
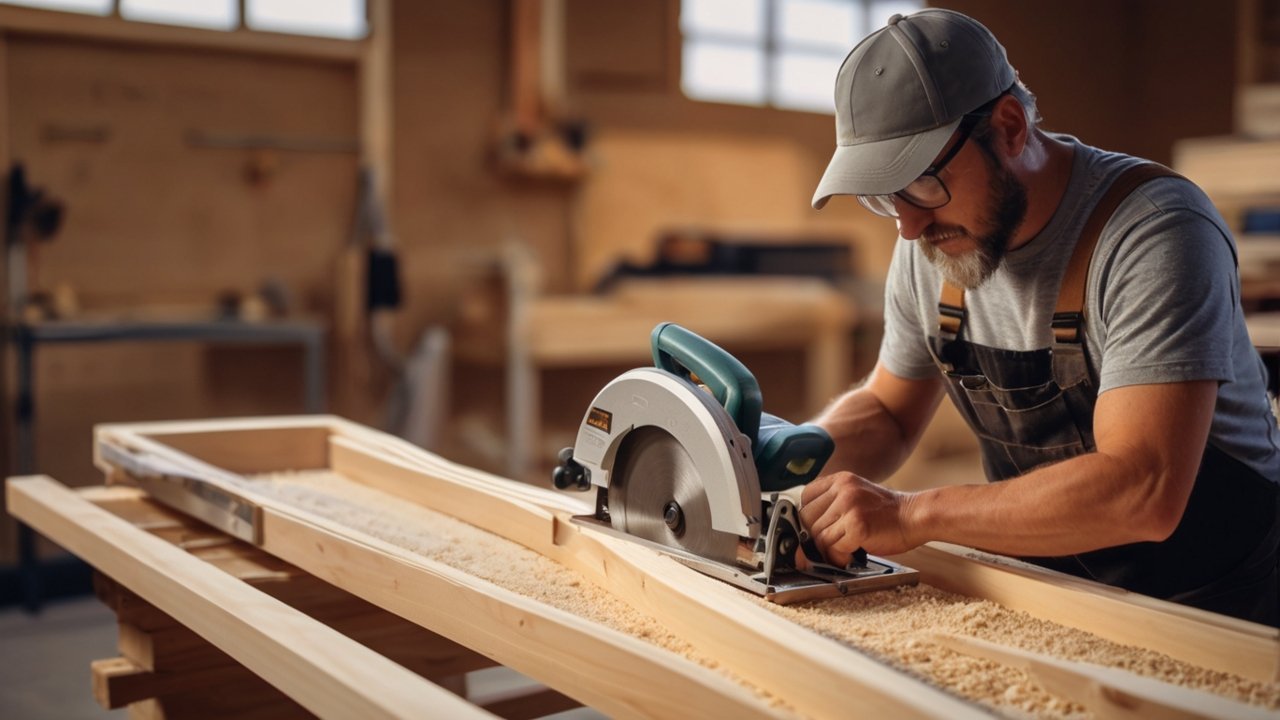
With your plans complete, materials prepared, and workspace organized, it’s finally time to start building. This is the stage where all your woodworking project planning pays off. Instead of guessing your next move, you’ll have a clear sequence to follow, making the entire project smoother and more enjoyable.
One of the biggest differences between a frustrating project and a successful one isn’t woodworking skill. It’s patience. Working methodically and checking each step before moving to the next often produces better results than trying to finish quickly.
Measure Carefully Before Every Cut with Woodworking Project Planning
The old saying “measure twice, cut once” has survived for a reason. Most woodworking mistakes can’t be undone once the board has been cut.
Before making each cut:
-
Compare the measurement against your cut list.
-
Double-check the orientation of the board.
-
Mark waste areas clearly.
-
Confirm which edge is the reference face.
-
Check for knots, cracks, or defects that could affect the cut.
Even experienced woodworkers occasionally pause for a final measurement before switching on the saw. It only takes a few seconds and can save both time and materials.
If you’re still building confidence with layout and measuring techniques, Carpentry Tips and Tricks: Essential Skills for DIY Woodworkers shares practical habits that improve accuracy on almost every project.
Follow Your Cut List Instead of Guessing
A well-prepared cut list keeps the project organized from start to finish.
Rather than cutting pieces as you need them, work through your cut list systematically. This helps you:
-
Reduce wasted lumber
-
Keep matching parts consistent
-
Prevent duplicate cuts
-
Stay focused throughout the build
I also like to label every finished piece with painter’s tape before assembly. A simple label such as “Left Side,” “Top Rail,” or “Shelf B” makes the assembly process much less confusing later.
Keeping your cut list, sketches, and measurements together in The Beginner’s DIY Workshop Planner can make it easier to track each stage of the build and quickly reference your original plan whenever questions arise.
Assemble and Finish with Woodworking Project Planning
Once every part has been cut, resist the temptation to assemble everything immediately.
A little preparation during assembly often leads to tighter joints and a better-looking finished project.
Dry Fit Before Applying Glue
One habit I’ve adopted over the years is performing a complete dry fit before opening the glue bottle.
Dry fitting allows you to:
-
Check that every part fits correctly.
-
Verify squareness.
-
Confirm hardware locations.
-
Identify pieces that need slight trimming.
-
Practice the assembly sequence.
It’s much easier to fix a small alignment issue before glue is involved.
If your project includes more advanced joinery, Wood Joints Explained: 15 Essential Joints for Woodworkers provides a helpful overview of common joint types and how they contribute to strong, accurate assemblies.
Sand and Finish with Patience
Finishing is often where a project transforms from homemade to professional-looking.
Start by sanding through progressively finer grits, removing dust between each stage. Rushing this process usually leaves visible scratches that become even more noticeable after stain or finish is applied.
Think about where your project will be used.
For indoor furniture, you might choose a clear protective finish that highlights the natural grain. Outdoor projects require finishes designed to handle moisture and changing weather conditions.
If you’re unsure which finish suits your build, Top Wood Finishing Techniques: Get a Pro Look Every Time and Polyurethane Wood Finish: Best Types and How to Apply Them explain several beginner-friendly finishing options.
Build Safely and Learn from Every Project
Good craftsmanship always includes safe woodworking practices.
Before using any power tool:
-
Wear safety glasses and hearing protection.
-
Clamp your work securely.
-
Keep blades clean and sharp.
-
Avoid reaching over moving blades.
-
Disconnect power before changing blades or making adjustments.
These recommendations are consistent with OSHA safety guidance and are regularly reinforced by woodworking educators at Fine Woodworking and Popular Woodworking, who emphasize careful preparation over rushing to complete a project.
Finally, don’t judge your success by perfection alone. Every project teaches something new, whether it’s improving your measuring technique, choosing better lumber, or refining your assembly sequence. Recording those lessons in The Beginner’s DIY Workshop Planner gives you a valuable reference for future builds and helps strengthen your woodworking project planning skills with every project you complete.
Improve Future Projects with Woodworking Project Planning
Every woodworking project, whether it’s a complete success or a learning experience, offers valuable lessons for the next build. One of the best ways to improve your skills isn’t by buying more tools. It’s by reviewing what worked, identifying what didn’t, and refining your woodworking project planning process over time.
Experienced woodworkers rarely build every project perfectly on the first attempt. Instead, they make small improvements with each new project, gradually developing better habits, greater accuracy, and more confidence.
Review Your Results with Woodworking Project Planning
Before putting your tools away, take a few minutes to evaluate the finished project.
Ask yourself questions like:
-
Did the project meet its intended purpose?
-
Were the measurements accurate?
-
Did all the parts fit together as expected?
-
Were there unnecessary material costs?
-
Which steps took longer than expected?
-
What would I do differently next time?
These simple reflections often reveal improvements that aren’t obvious while you’re focused on building.
For example, you may discover that cutting all identical parts together improved consistency, or that assembling one section before another made clamping much easier. Small observations like these become valuable experience for future woodworking projects.
Keep Project Notes with Woodworking Project Planning
Many beginner woodworkers rely on memory after completing a project. Unfortunately, small details are easy to forget after a few weeks.
Instead, record useful information while it’s still fresh.
Your notes might include:
-
Final project dimensions
-
Lumber species used
-
Hardware sizes
-
Finish products
-
Sanding sequence
-
Problems encountered
-
Solutions that worked well
-
Ideas for future improvements
Over time, these notes become your own woodworking reference library.
Many DIY builders keep these records in The Beginner’s DIY Workshop Planner so sketches, measurements, material lists, and completed project notes stay together in one place. When starting a similar project later, it’s much easier to build on previous experience instead of beginning from scratch.
Continue Building Skills Through Woodworking Project Planning
Improvement comes from practice, but it also comes from choosing projects that gradually expand your skills.
Build on Previous Projects
After completing a beginner project, challenge yourself with something slightly more advanced.
For example:
-
Turn a simple shelf into a bookcase.
-
Upgrade a small bench into a storage bench.
-
Build a basic side table before attempting a dining table.
-
Practice stronger joinery methods on future furniture.
This gradual progression allows you to develop confidence without becoming overwhelmed.
If you’re looking for your next challenge, Easy Small Woodworking Projects: 12 Weekend Ideas and DIY Wooden Furniture: 15 Easy Projects for Beginners offer practical projects that build on the skills you’ve already learned.
Some DIY builders also browse Furniture Craft Plans as an optional educational resource when looking for new furniture designs or comparing different construction methods before creating their own plans.
Learn from Trusted Woodworking Resources
No matter how much experience you gain, there’s always something new to learn.
Publications like Fine Woodworking and Popular Woodworking regularly share practical techniques, tool advice, and project ideas from experienced craftsmen. Reading different approaches can help you refine your own methods without changing the fundamentals of good craftsmanship.
It’s also worth revisiting safety practices from time to time. Organizations like OSHA provide guidance on safe workshop habits, proper personal protective equipment, and responsible tool operation. Good safety habits become part of good woodworking, especially as projects become larger and more complex.
Build Confidence One Project at a Time
One of the biggest misconceptions among beginners is that experienced woodworkers rarely make mistakes.
The reality is quite different.
Every project teaches something new, whether it’s choosing better lumber, improving a glue-up, organizing clamps more efficiently, or allowing extra time for sanding and finishing. The goal isn’t perfection. It’s continuous improvement.
As your collection of completed projects grows, you’ll also develop your own planning system. Keeping sketches, measurements, shopping lists, cut lists, and project notes together in The Beginner’s DIY Workshop Planner provides a simple way to track your progress and refine your woodworking project planning process with every new build. Over time, those records become just as valuable as the projects themselves.
Conclusion
Successful woodworking rarely comes down to luck. More often, it’s the result of thoughtful woodworking project planning, careful preparation, and a willingness to learn from each build. Whether you’re making a simple shelf, a piece of furniture, or your next weekend DIY project, taking time to plan before cutting wood can save materials, reduce mistakes, and make the entire process more enjoyable.
As you continue building, remember that every project helps develop new skills. Accurate measurements, organized cut lists, a clean workspace, and steady attention to safety all contribute to better results over time. Even experienced woodworkers refine their planning process with every new build.
If you’re looking for inspiration for your next project, Woodworking Projects: 10 Easy Builds for Beginners and Outdoor Woodworking Projects: 10 Easy DIY Builds offer practical ideas to help you put these planning techniques into practice.
Before you begin your next build, take a few extra minutes to sketch your design, create a materials list, and think through each step of the process. Many DIY woodworkers also keep their project sketches, cut lists, measurements, and completed build notes in The Beginner’s DIY Workshop Planner, making it easier to stay organized and build on past experience with every new project.
The more consistently you apply good woodworking project planning, the more confident you’ll become—not just in finishing projects, but in creating quality pieces you’ll be proud to use and share for years to come.
Frequently Asked Questions About Woodworking Project Planning
1. What is the first step in woodworking project planning?
The first step in woodworking project planning is defining your project goal. Decide what you want to build, where it will be used, and what purpose it will serve. Once you have a clear objective, you can determine the right dimensions, materials, tools, and budget before purchasing lumber or making your first cut.
2. Do I need detailed woodworking plans for a beginner project?
Not necessarily. Many beginner projects only require a simple sketch with accurate measurements, a materials list, and a cut list. As projects become more complex, more detailed plans can help reduce mistakes and improve accuracy.
If you’re looking for beginner-friendly project ideas, Beginner Woodworking Projects: 10 Easy Builds to Try offers several simple builds that are ideal for practicing planning skills.
3. How can I avoid wasting wood during a project?
One of the best ways to reduce waste is to prepare a complete cut list before cutting any boards. Measure carefully, check each dimension twice, and inspect lumber for knots or defects before making cuts. Planning the cutting sequence also helps maximize each board and minimizes offcuts.
Keeping your sketches, measurements, and cut lists together in The Beginner’s DIY Workshop Planner can make it easier to stay organized and avoid repeating common planning mistakes.
4. What tools should every beginner woodworker have?
You don’t need a fully equipped workshop to get started. A few quality tools will handle most beginner projects, including:
-
Tape measure
-
Combination square
-
Circular saw or miter saw
-
Cordless drill
-
Clamps
-
Random orbital sander
-
Safety glasses and hearing protection
As your skills improve, you can gradually expand your collection with tools like a router, planer, or table saw.
For a more complete setup guide, see Setup Woodworking Shop: Layouts and Essential Tools.
5. How does woodworking project planning improve safety?
Good woodworking project planning reduces rushed decisions and helps create a safer workshop. By organizing your tools, preparing materials, verifying measurements, and planning each step before turning on a power tool, you’re less likely to make avoidable mistakes.
Experienced organizations like OSHA, along with woodworking publications such as Fine Woodworking and Popular Woodworking, consistently emphasize that careful preparation, proper protective equipment, and an organized workspace are essential parts of safe woodworking practices.