Furniture Projects Without a Table Saw: 10 Ideas
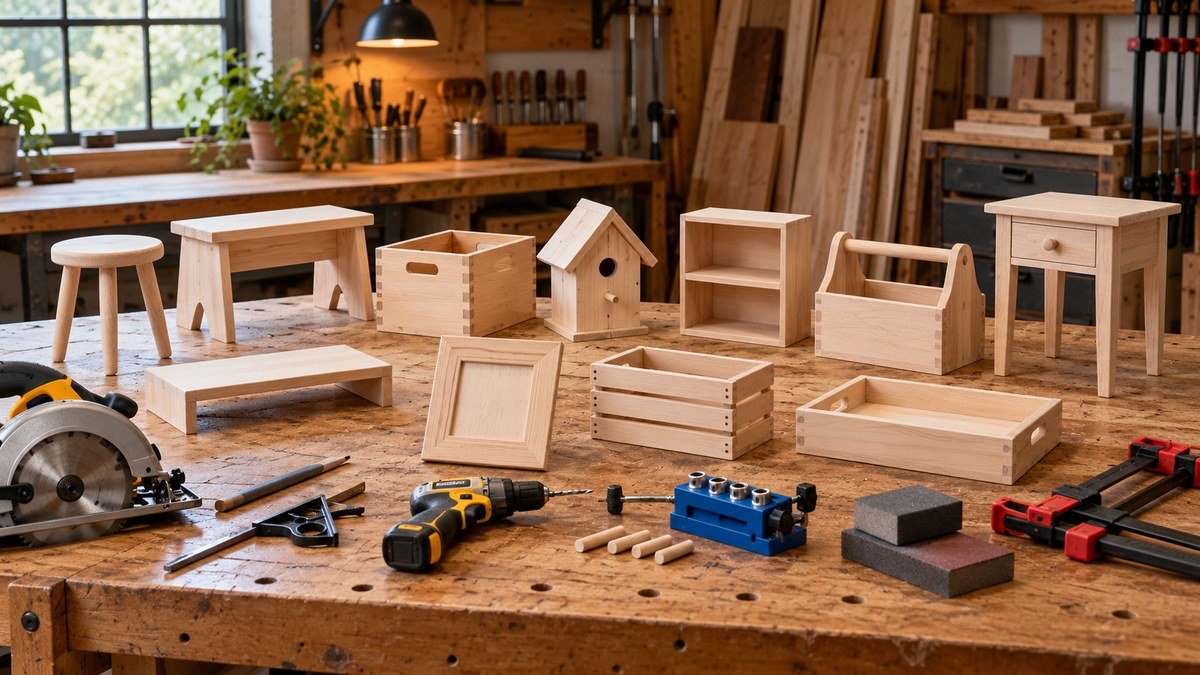
You do not need a shop full of stationary machines to make useful furniture. These furniture projects without a table saw rely on careful layout, supported cuts, simple joints, and realistic dimensions. A circular saw and straightedge can handle long cuts, while a jigsaw or handsaw works well for shorter pieces. Add a drill/driver, square, clamps, and sandpaper, and you can build far more than many beginners expect.
The ten projects below are intentionally compact. This collection of furniture projects without a table saw teaches transferable skills—cutting repeatable parts, holding an assembly square, strengthening a base, installing a shelf, and applying a durable finish. If this is your first build, review these beginner woodworking projects and choose the design that matches both your confidence and your available workspace. Build one accurate piece before trying to batch-cut several parts; that small pause often prevents a whole stack of identical mistakes.
Dimensions are flexible, but structure and safety are not. Use dry lumber, follow the instructions for every tool, support the workpiece on a stable surface, and wear appropriate eye, hearing, and respiratory protection. Never hold a board in one hand while cutting it with the other. When a project will carry a person or hang above someone, test it conservatively before regular use.
Choose a Table Saw-Free Building Method
Start With the Tools You Already Have
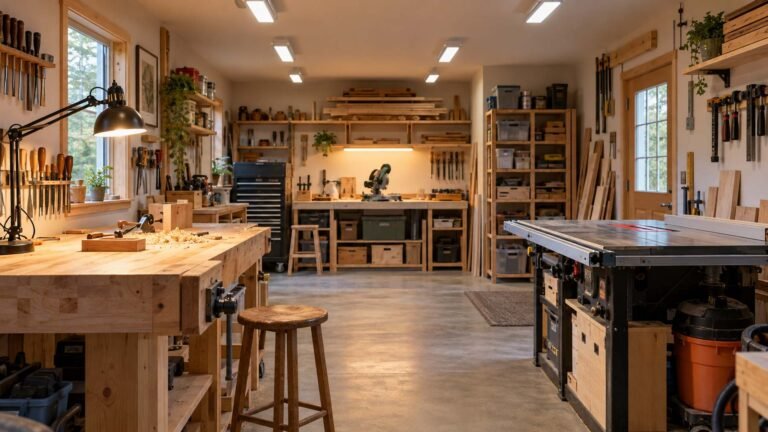
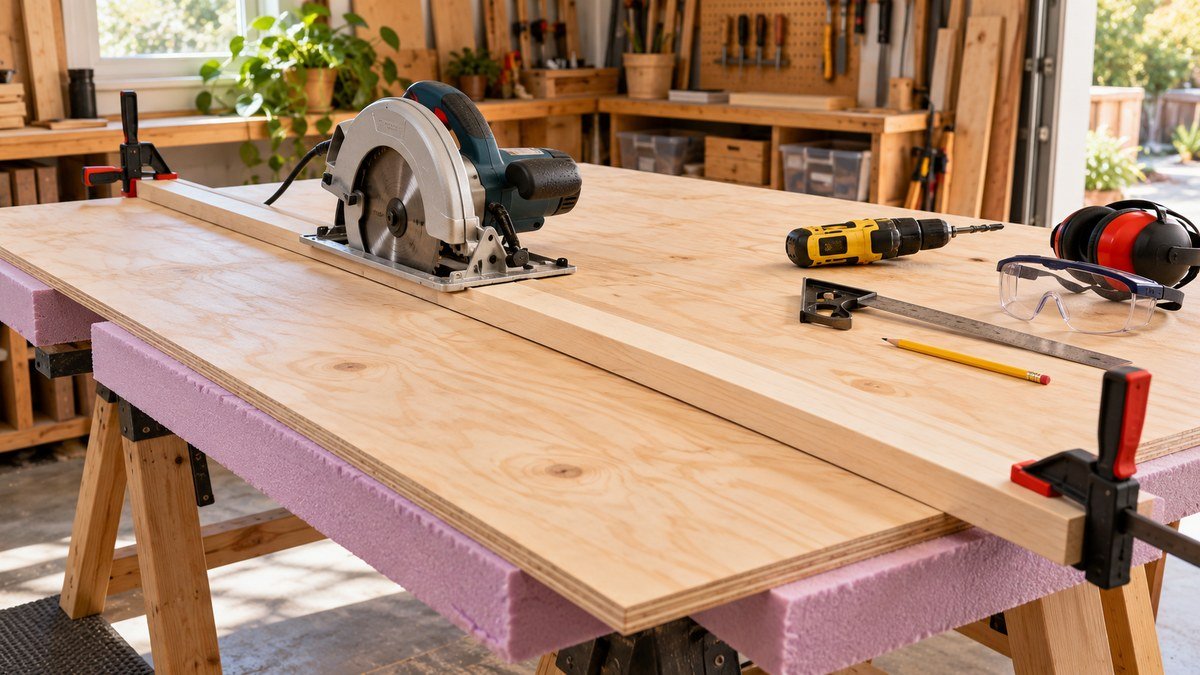
For most of these furniture projects without a table saw, the essential task is making straight, controlled cuts. Clamp a rigid straightedge to sheet goods and guide a circular saw along it. Place rigid foam or sacrificial strips beneath the panel so both sides remain supported. For narrow boards, clamp the workpiece to a bench and use a guided circular saw, a miter saw, or a sharp handsaw. A jigsaw is useful for notches and curves, but it is usually not the best first choice for long furniture edges.
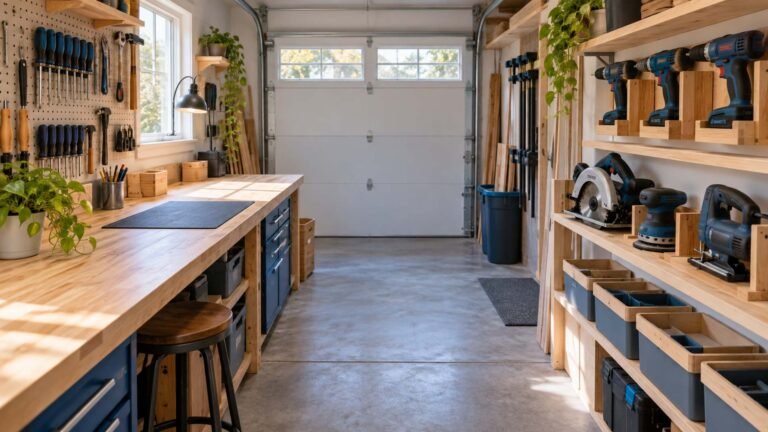
Your basic kit should also include a tape measure, combination square, pencil or marking knife, drill/driver, countersink bit, clamps, and sanding supplies. This beginner woodworking tool list can help you decide what is truly necessary. Prioritize a stable cutting setup and reliable measuring tools before buying specialized accessories.
Plan Cuts and Joinery Before Buying Lumber
Draw the project from the front, side, and top, then create a cut list. Group pieces that share a length so you can mark them together or use a stop block. Whenever possible, buy boards close to the final width. Home-improvement stores may make rough panel cuts, but verify their tolerance before treating those cuts as finished edges.
Choose joints that fit the load. Reinforced butt joints are adequate for many shelves and light tables. Dowels can create clean alignment, while pocket screws make fast, hidden connections when the stock is thick enough. This overview of wood joinery techniques explains the tradeoffs. A compact pocket-hole jig may be useful when you want repeatable angled holes for aprons or stretchers; test the jig on scrap and select the correct screw length before working on the project.
Affiliate note: This section contains affiliate links.
Projects 1 and 2: Compact Tables
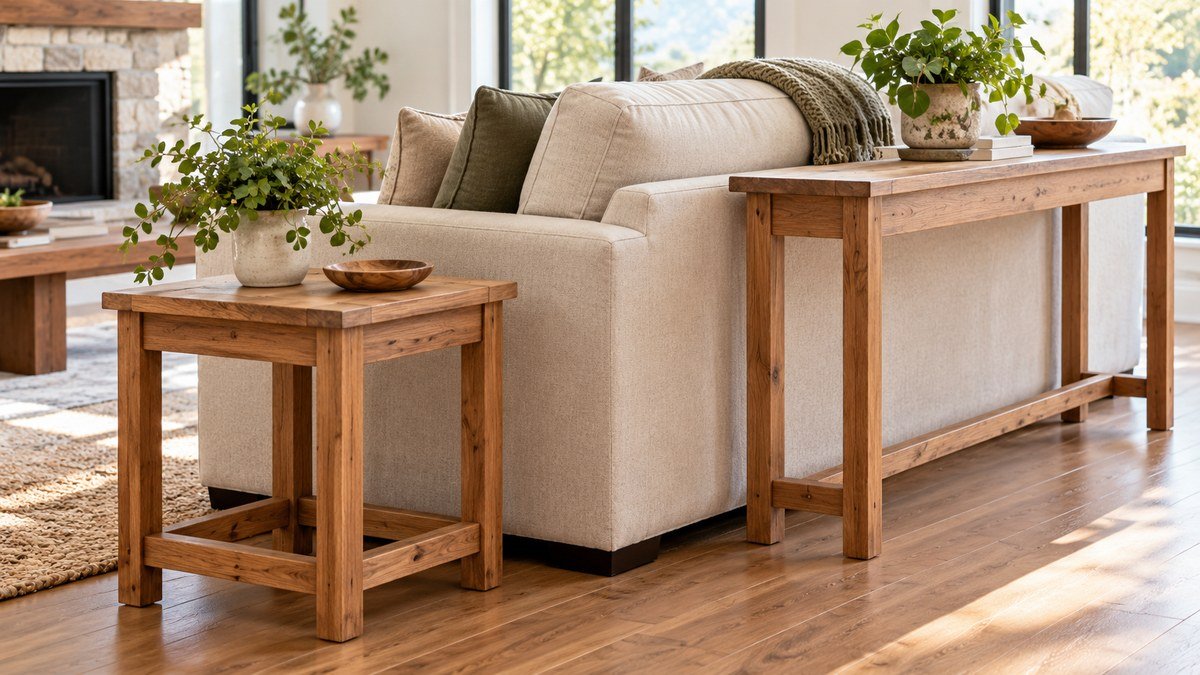
Compact tables are especially practical furniture projects without a table saw because their parts are manageable on a portable work surface. Both designs below use a flat top, a rigid base, and simple joinery. The main challenge is not the cut length; it is keeping four legs or two side panels aligned while the frame is assembled.
Project 1: Simple Side Table
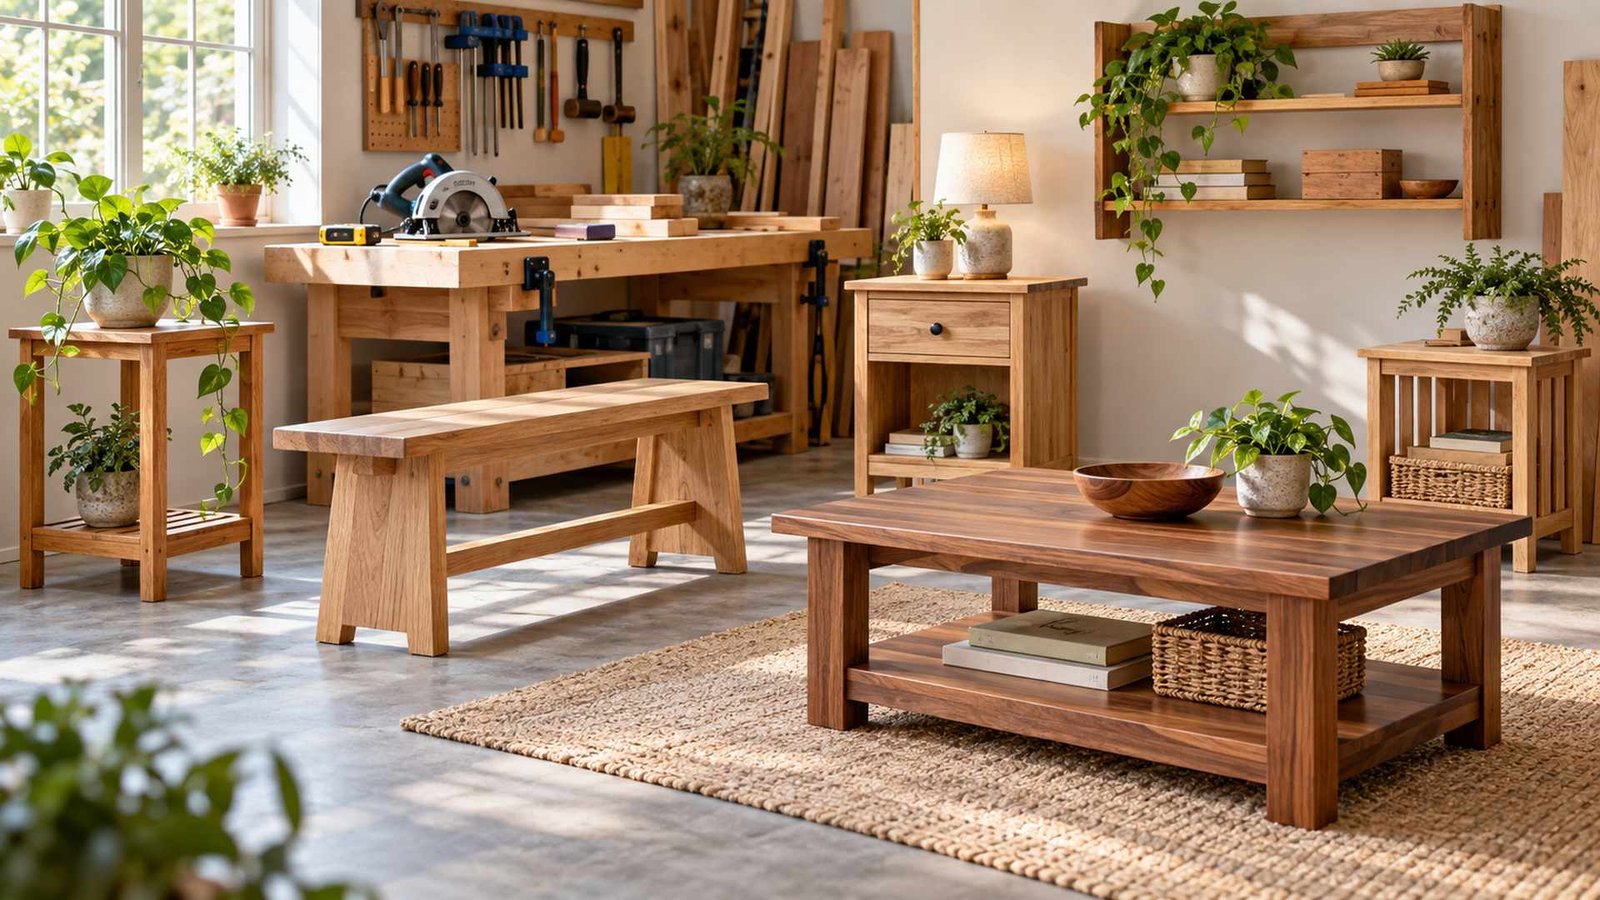
A small side table is one of the best beginner furniture projects because every part is easy to see and correct. Aim for a top about 16 to 20 inches square and a height that suits the arm of your chair. Use four straight legs connected by aprons, or simplify the build with two solid side panels and a lower shelf. A glued edge panel, furniture-grade plywood, or a ready-made project panel can form the top.
Cut matching legs together and label every face. Assemble the two side frames first, confirm that their diagonals match, and let the glue set before joining them with the front and back aprons. Keep the top removable until the base sits flat. Slotted fasteners or figure-eight connectors allow a solid-wood top to move seasonally; plywood can usually be attached more directly.
Project 2: Narrow Sofa Table
A sofa table uses the same basic construction but stretches it into a long, shallow form. A depth of 10 to 14 inches is often enough for a lamp, books, or a charging tray without crowding a walkway. Add a low stretcher between the legs to reduce side-to-side movement. If the table stands against a wall, leave clearance for baseboards and consider an anti-tip strap, especially in a home with children or pets.
Long pieces magnify small errors, so check the frame on a flat surface before adding the top. Clamp one joint at a time, measure both diagonals, and adjust until the frame is square. A pair of 90-degree corner clamps can hold parts in alignment while you drill pilot holes, but they do not replace a final diagonal measurement. Avoid overtightening light clamps, which can bow narrow stock.
Projects 3 and 4: Seating and Entryway Furniture
Project 3: Small Entryway Bench
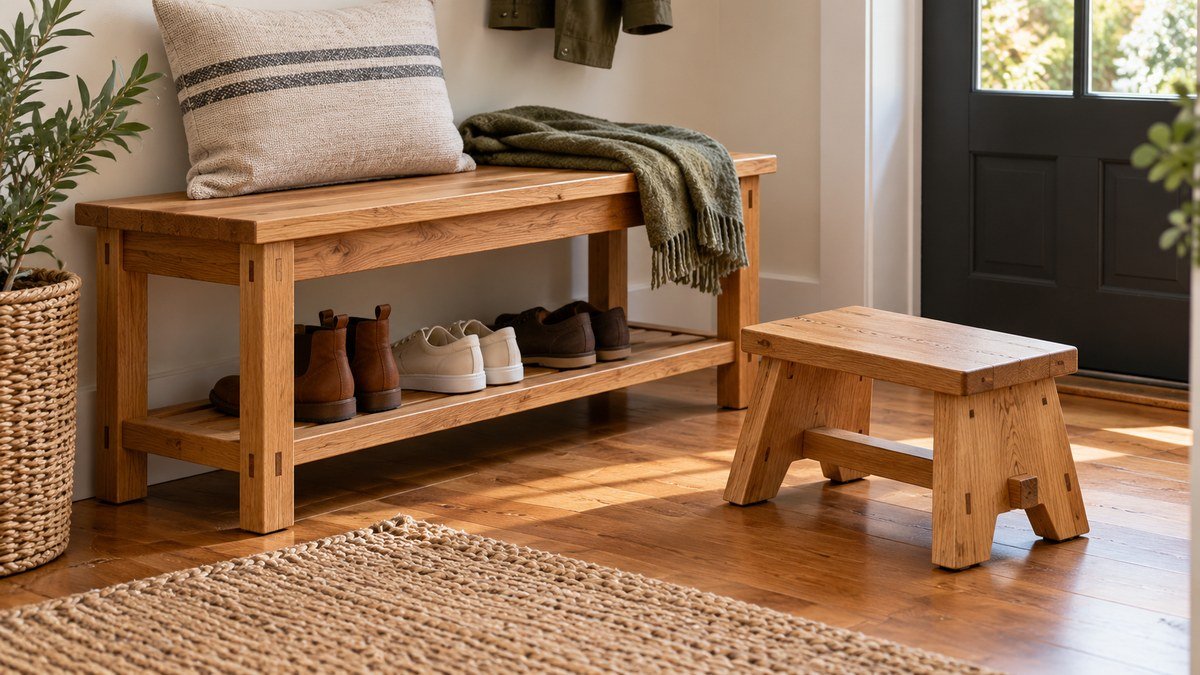
Among small furniture projects, a short entryway bench is practical because it combines seating with storage. A wide seat supported by two side panels creates the simplest shape. Add a lower shelf for shoes and a back stretcher to resist racking. Round the front seat edges and keep the finished depth generous enough for stable sitting without blocking the hallway.
A bench carries dynamic loads, so do not rely on a few screws driven into end grain. Use broad glue surfaces, structural screws placed in pilot holes, dowels, or pocket-hole connections in suitable stock. Install a stretcher beneath the seat if the span is long. After assembly, place the bench on a level floor and gradually test it with controlled weight before anyone sits on it.
Project 4: Wooden Step Stool
A low step stool is compact, but it demands more care than a decorative table. Keep the platform wide, the feet well spread, and the overall height modest. Two thick side panels connected by a broad top and lower brace form a stable arrangement. All edges should be eased, and the feet should contact the floor evenly without rocking.
Use a non-slip surface or tread on the top and avoid a glossy finish underfoot. Reinforce every load-bearing joint and inspect for splits around fasteners. This is not a project for uncertain lumber or improvised hardware. If you cannot verify that the stool is rigid and stable, use it as a display stand instead of a climbing aid.
Projects 5 and 6: Storage and Display
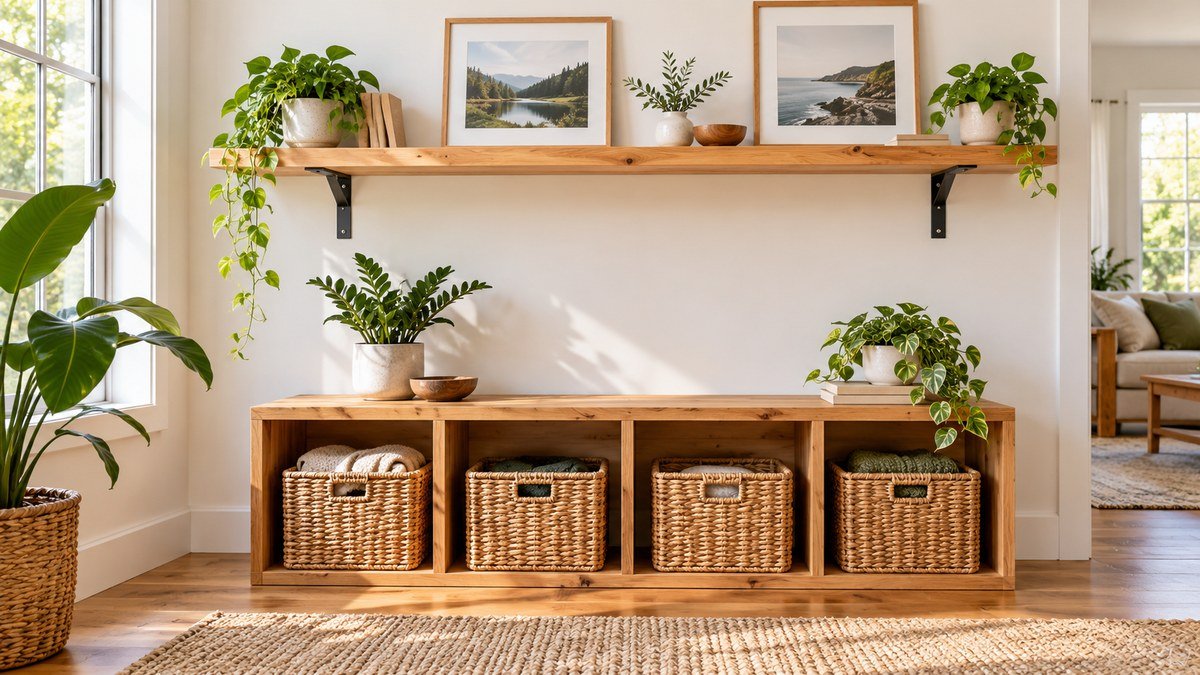
Storage pieces are useful furniture projects without a table saw because they can be built from straight strips or accurately cut panels. Begin by deciding what the shelf or cubby will hold. That decision determines material thickness, span, wall hardware, and whether a back panel is structural or merely decorative.
Project 5: Wall-Mounted Display Shelf
A wall-mounted ledge turns short offcuts into useful storage. Build a narrow base with a front lip and a taller back board, then fasten through the back into wall studs. If studs do not align with the shelf, use anchors rated for the wall type and the expected load. Do not place heavy glass, valuable objects, or climbing hazards on a lightly anchored shelf.
The shelf body can be assembled with glue and screws, dowels, or pocket holes. Mark hole positions from a consistent reference edge so the parts line up. A self-centering doweling jig can help guide straight holes for invisible alignment when the stock dimensions suit the jig. Always make a test joint first; even a well-designed jig cannot correct a wandering bit or mismatched layout marks.
Project 6: Crate-Style Storage Cubby
A crate-style cubby is forgiving because its open form works with boards of several widths. Build a rectangular frame, add a full or slatted back, and sand the hand-contact edges carefully. A single cubby can hold books or baskets; several units can create a larger arrangement only when they are fastened together and secured to the wall.
To keep the box square, assemble it on a flat surface and compare diagonal measurements before the glue sets. If the back is cut accurately, it can act as a squaring panel. Choose material based on the intended use: plywood is stable and efficient, while solid boards offer visible grain. This guide to types of wood for furniture can help you balance appearance, strength, and cost.
Projects 7 and 8: Bedroom and Living Room Pieces
Project 7: Compact Nightstand
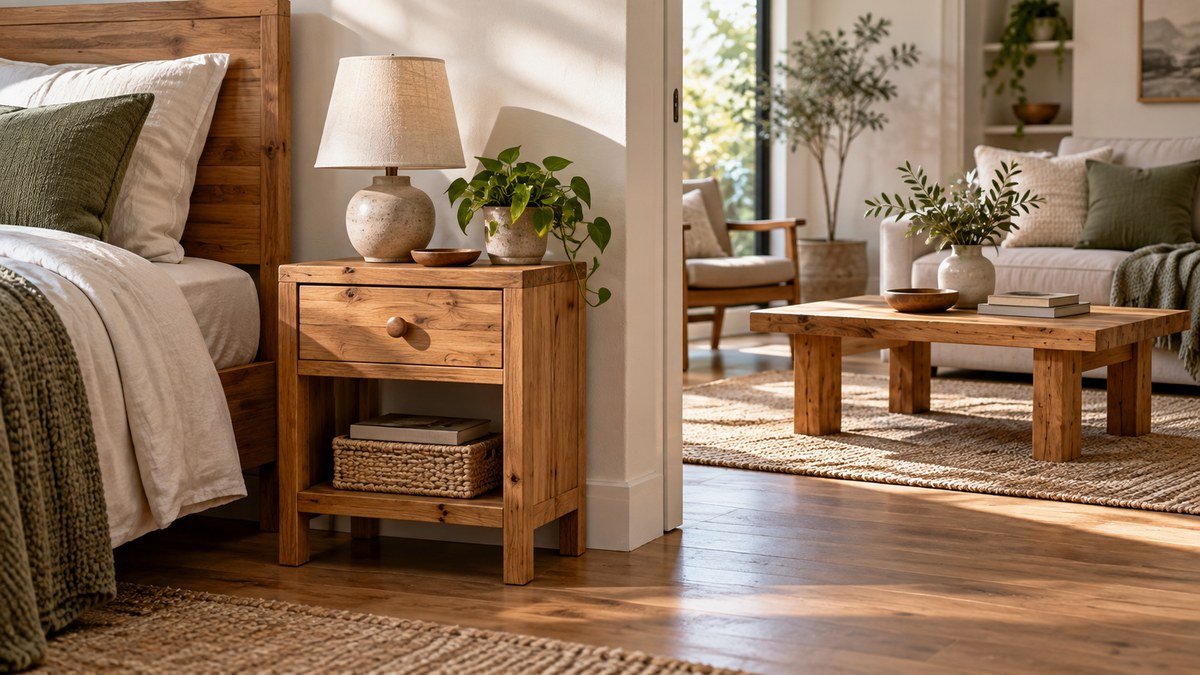
A nightstand can be as simple as a small top, two side panels, and an open shelf. Match the height to the top of the mattress so a glass or phone is easy to reach. Leave a small gap at the back for charging cables and keep the base wide enough that an open drawer, if added later, will not make the unit unstable.
This design is ideal for sheet goods because a straightedge-guided circular saw can produce the few large pieces. Apply iron-on edge banding or thin solid-wood edging if you want to hide plywood layers. Dry-fit the case, clamp it square, and attach the back or stretcher only after confirming that the top and shelf are parallel.
Project 8: Small Coffee Table
A compact coffee table is another strong choice for furniture projects without a table saw. Keep the form uncomplicated: a rectangular top over an apron-and-leg base, or a top supported by two wide panel ends. An apron or central stretcher prevents the base from twisting. Make the table proportionate to the seating area, leaving comfortable walking space around every side.
The top receives frequent contact, so sand it evenly and use a finish designed for tabletops. Water-based polyurethane cures quickly and stays relatively clear; oil-based finishes often add warmth but require more ventilation and drying time. Test color and sheen on an offcut. Several thin coats normally level better than one heavy coat.
Projects 9 and 10: Flexible Utility Furniture
Project 9: Plant Stand
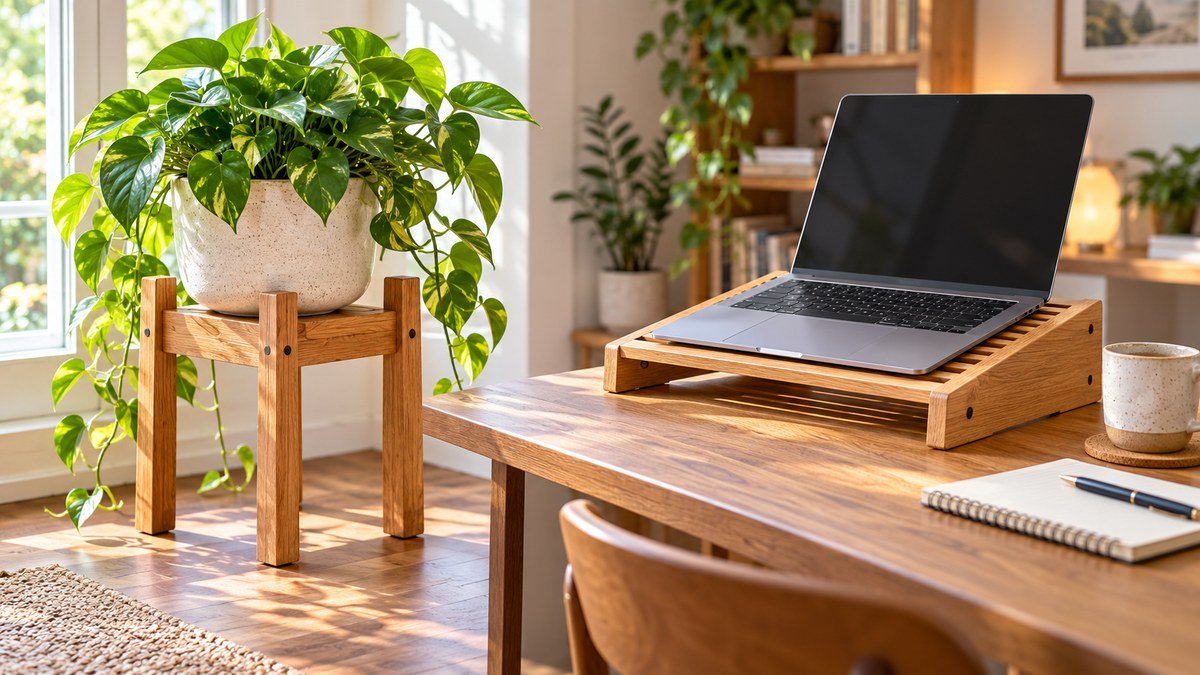
A plant stand is an easy furniture build that teaches proportion. The platform should be slightly wider than the pot base, and the legs should spread enough to resist tipping. For a very simple version, attach a thick round or square top to crossed base rails. For a taller stand, add stretchers between the legs and keep the center of gravity low.
Moisture is the main design concern. Seal every face, including the underside and end grain, and place a waterproof saucer beneath the pot. Felt pads can trap water, so use feet appropriate for the floor and environment. If the stand will be outdoors, choose weather-resistant lumber and exterior-rated glue and finish.
Project 10: Laptop or Reading Stand
A laptop or reading stand uses little material and fits easily on a desk or sofa table. A flat platform supported by two rails creates a low riser. For an angled version, use triangular side supports and add a front lip to stop the device or book from sliding. Ease the lip so it does not press sharply against your wrists.
Provide ventilation beneath electronics and keep the stand stable when keys are pressed. Test the angle with a cardboard mock-up before cutting wood. A removable support strip can offer two positions without hinges. Avoid enclosing vents, and never use a finish that remains tacky or soft near a warm device.
Finish and Adapt Every Project Successfully
The final steps determine whether furniture projects without a table saw look deliberate. Break sharp edges, fill only the gaps that need filling, and sand with the grain through an appropriate sequence. A set of sanding blocks in several grits can make it easier to keep flat faces even and reach small areas. Do not skip dust removal between grits, and wear respiratory protection when sanding.
Before applying finish, place the project on a flat floor and check for rocking, loose joints, exposed fasteners, and glue residue. Use a complete woodworking project checklist to review measurements, hardware, surface preparation, and safety. When changing dimensions, preserve the structural relationships: longer spans need more support, taller pieces need a wider base or wall restraint, and heavier loads require stronger joints.
Frequently Asked Questions
The following answers address the most common planning questions about furniture projects without a table saw. Tool capacity, lumber quality, and safe work support still set the practical limits, so adapt each answer to the equipment and materials you actually have.
Can I build furniture with only a circular saw and drill?
Yes. A circular saw, straightedge, drill/driver, square, clamps, and sanding supplies can complete many simple builds. The project should use straight cuts and accessible joinery. Add a jigsaw or handsaw only when the design includes notches or curves. Stable work support and accurate layout matter more than the number of tools.
How can I make straight cuts without a table saw?
Clamp a straight guide parallel to the cut line and run the circular-saw base against it. Support the full workpiece, account for the blade offset, and make a shallow scoring pass when tear-out is a concern. Store-cut panels can save time, but check their measurements before assembly.
Which project is easiest for a complete beginner?
A wall ledge, small side table, or crate-style cubby is usually a good start. Each uses few parts and makes alignment easy to inspect. Choose the project that fits your tools and space, then build from a written cut list rather than improvising during assembly.
What joinery works best without a table saw?
Pocket screws, dowels, screws in pilot holes, and reinforced butt joints all work when matched to the material and load. Glue adds strength across suitable long-grain surfaces but should not be treated as a universal substitute for mechanical reinforcement. Test unfamiliar joints on scrap before using them in furniture.
Can a home improvement store cut the boards?
Many stores make rough crosscuts or panel cuts, which can help with transport and initial sizing. Policies and accuracy vary, so confirm the service locally. Bring a clear cut diagram, allow material for final trimming, and measure every piece before beginning the assembly.
How do I keep furniture square during assembly?
Work on a flat surface, clamp without distorting the parts, and compare the two diagonal measurements. Equal diagonals indicate a square rectangle. Add the back panel or structural stretcher while the case is square, then recheck after tightening fasteners. Correct small errors before the adhesive cures.

Conclusion
These ten furniture projects without a table saw show that good results come from planning, accuracy, and sound assembly rather than one specific machine. Start with the side table, shelf, or cubby if you want a forgiving first build. Move to the bench, coffee table, or taller plant stand after you are comfortable making repeatable cuts and checking a frame for square.
Keep your first version simple. A clean edge, rigid joint, and smooth finish are more valuable than extra decorative details. If you want more weekend-size ideas, download the free ebook 10 DIY Wood Projects You Can Build This Weekend and use it to choose a project that suits your space, tools, and experience.
Affiliate Disclosure
Affiliate Disclosure: This post contains affiliate links. If you purchase through these links, DIY Wood Haven may earn a commission at no additional cost to you.


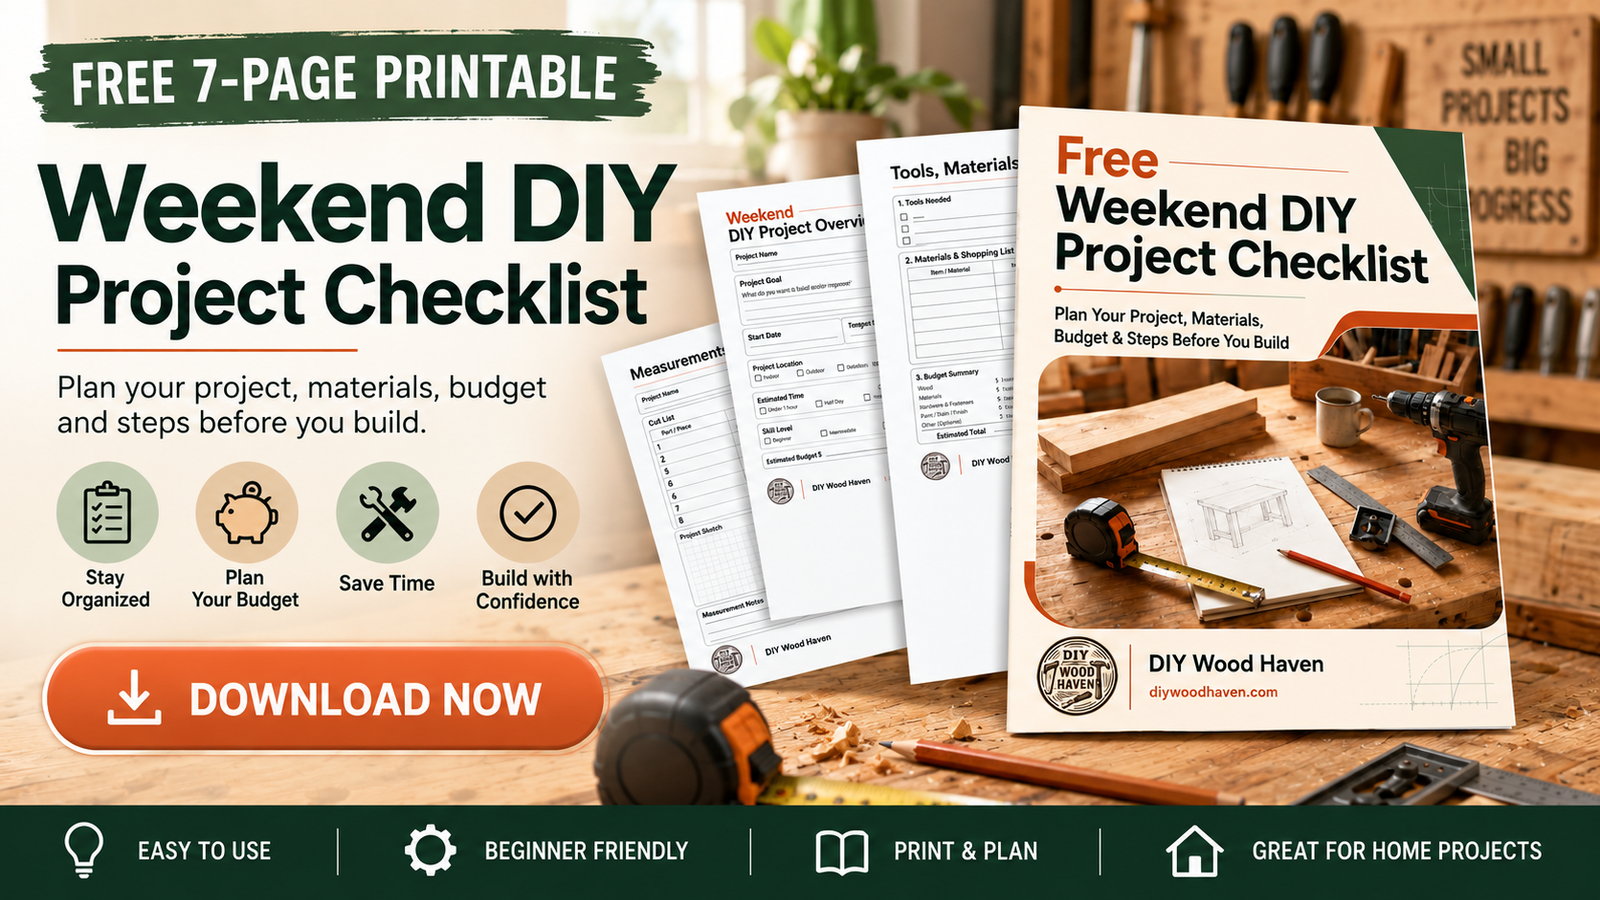
Ready to Build Smarter?