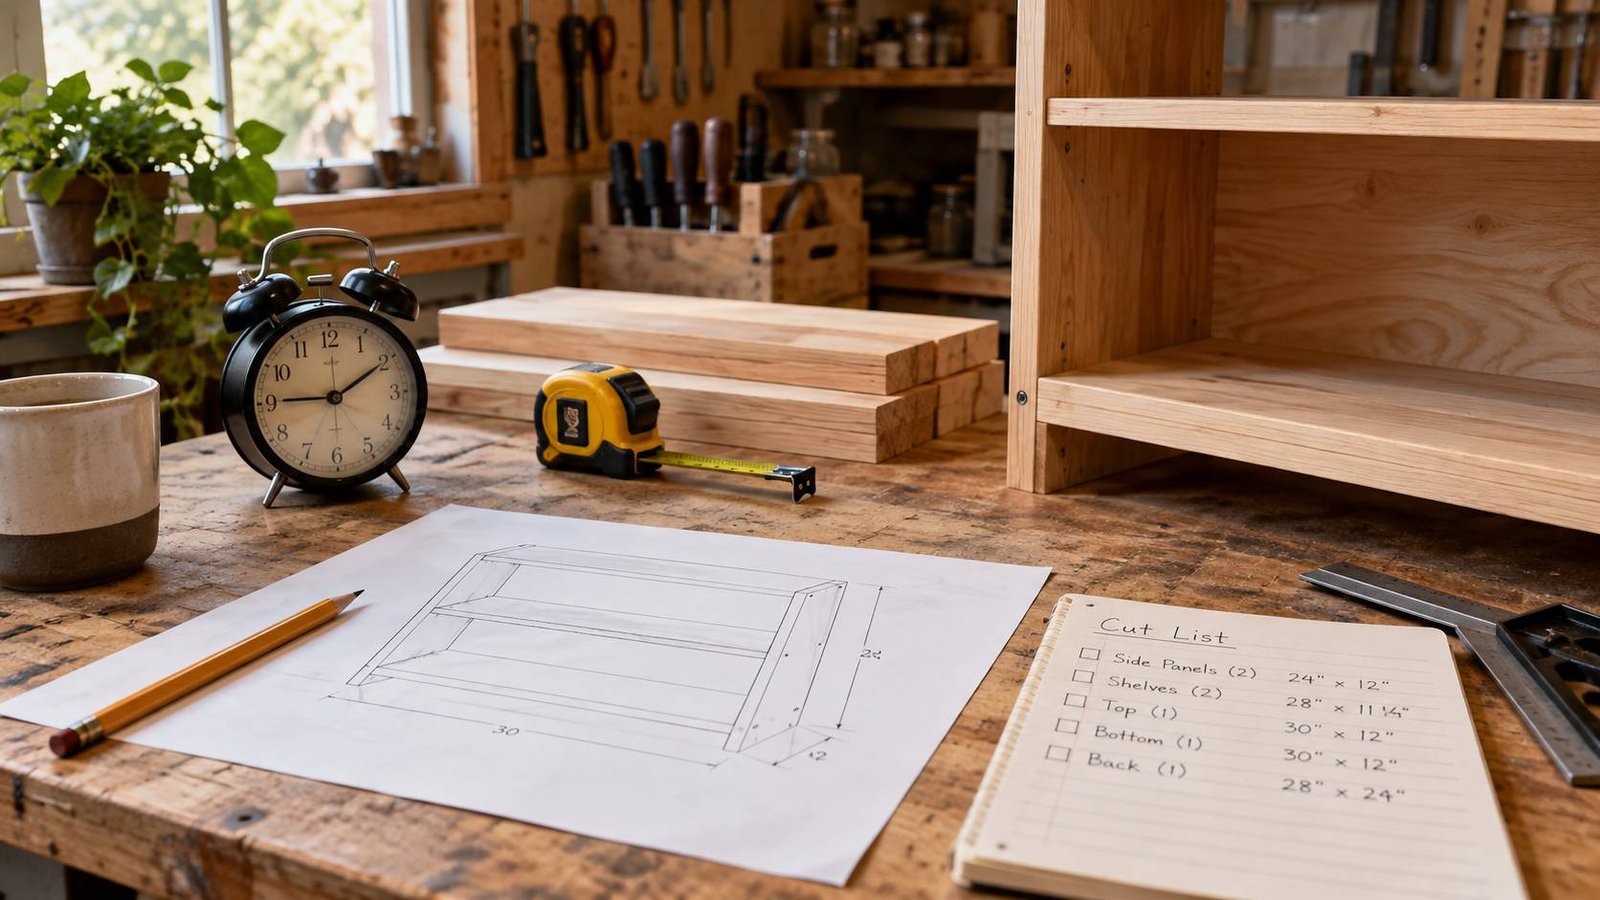
Woodworking Project Time Estimate Guide
Estimating a woodworking project is difficult because the visible building work is only part of the total schedule. Planning, buying and preparing lumber, setting up tools, making test cuts, waiting for glue or finish to dry, cleaning the workshop, and correcting mistakes can add hours—or even days—to a project. A realistic woodworking project time estimate accounts for both hands-on work and unavoidable waiting periods. This guide shows you how to divide a build into practical phases, adjust the estimate for your experience and tools, add a sensible contingency, and create a schedule you can actually follow.
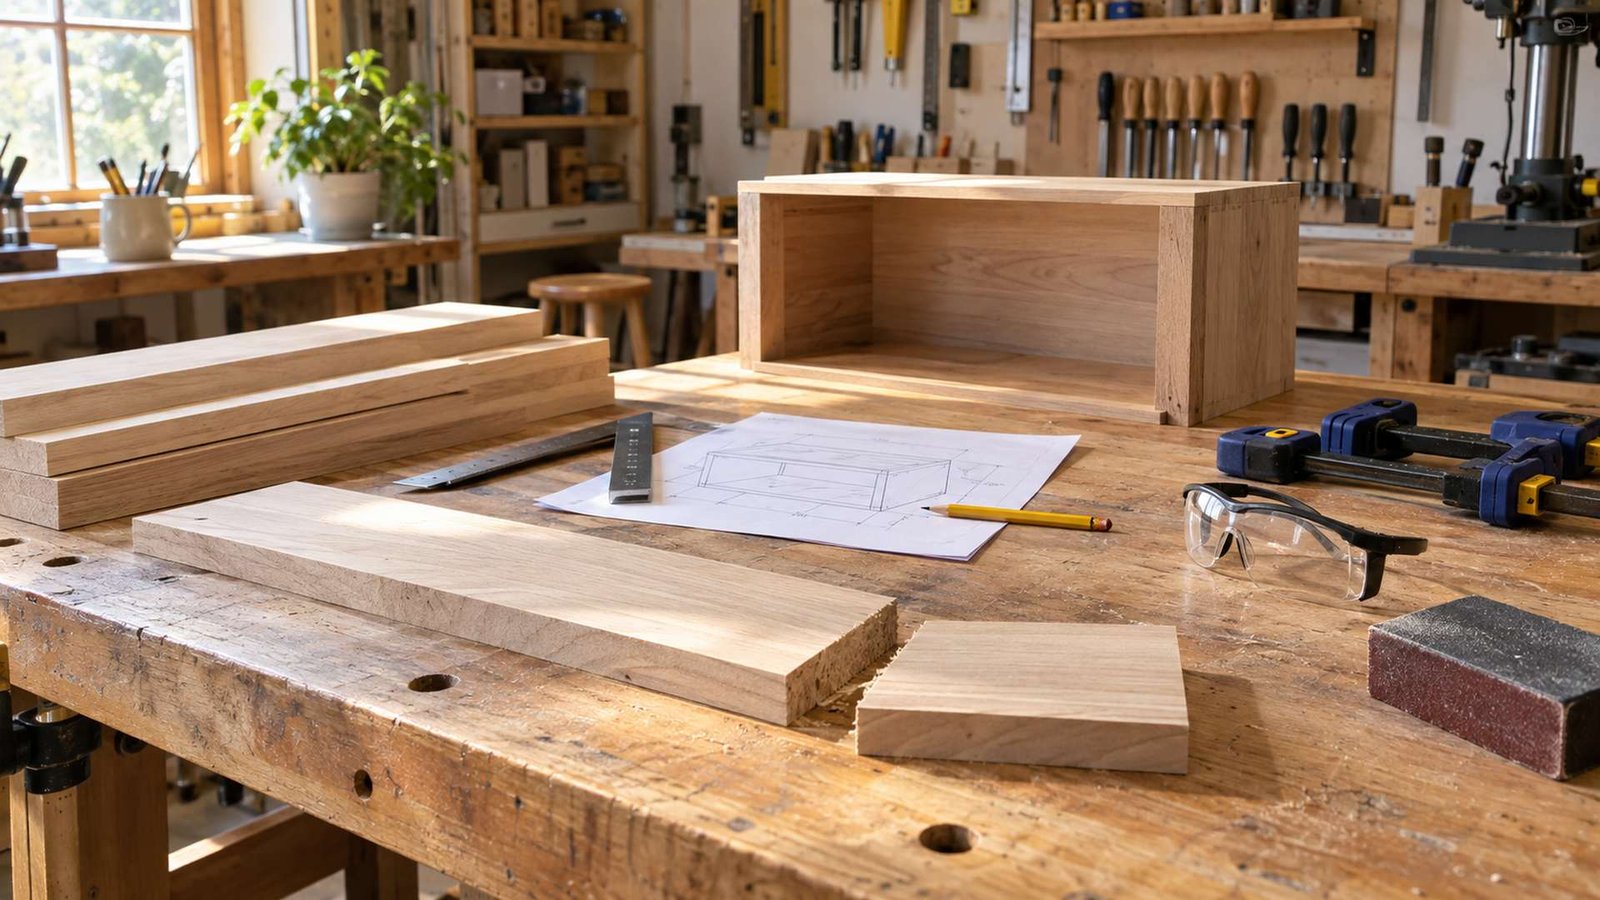
1. Define the Project Before Estimating Time
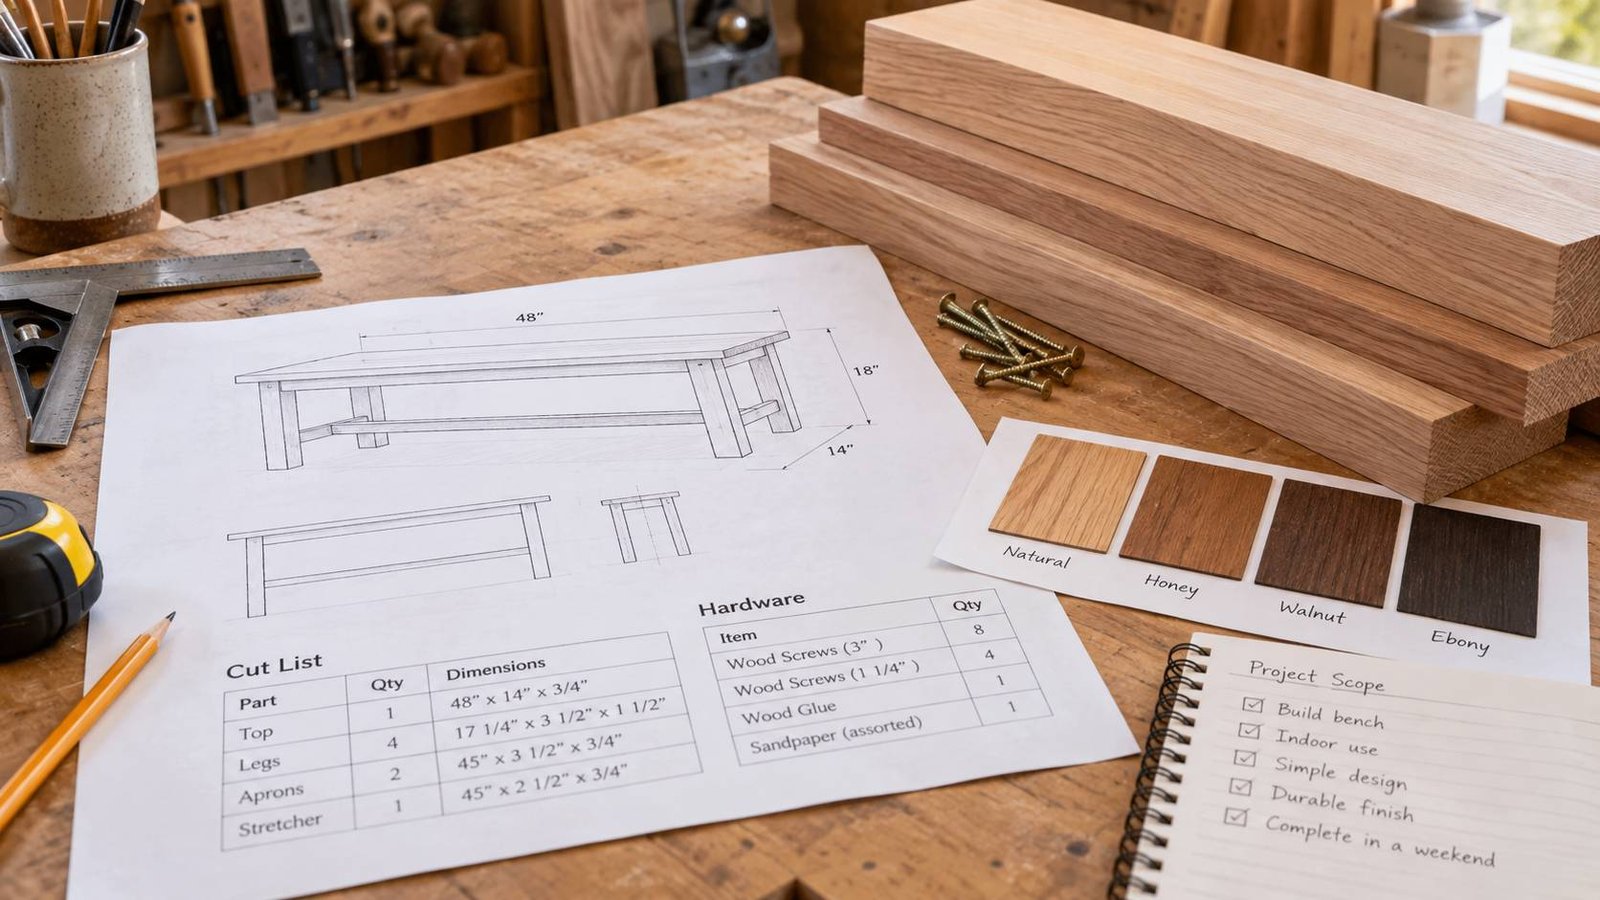
Start by freezing the scope. Write down the final dimensions, material, joinery, finish, hardware, and quality level. A utility shelf made from construction lumber has a different schedule from a hardwood shelf with hidden joinery and a furniture-grade finish.
Answer these questions before assigning hours:
• Do you already have a complete plan and cut list?
• Is the lumber purchased, acclimated, and ready to machine?
• Will parts be painted, stained, oiled, or left unfinished?
• Are drawers, doors, hardware, or templates involved?
• Does the project require a practice joint or prototype?
If any answer is unknown, add a planning task instead of hiding the uncertainty inside a larger time guess. Use the woodworking project planning guide as a companion when defining scope and sequencing.
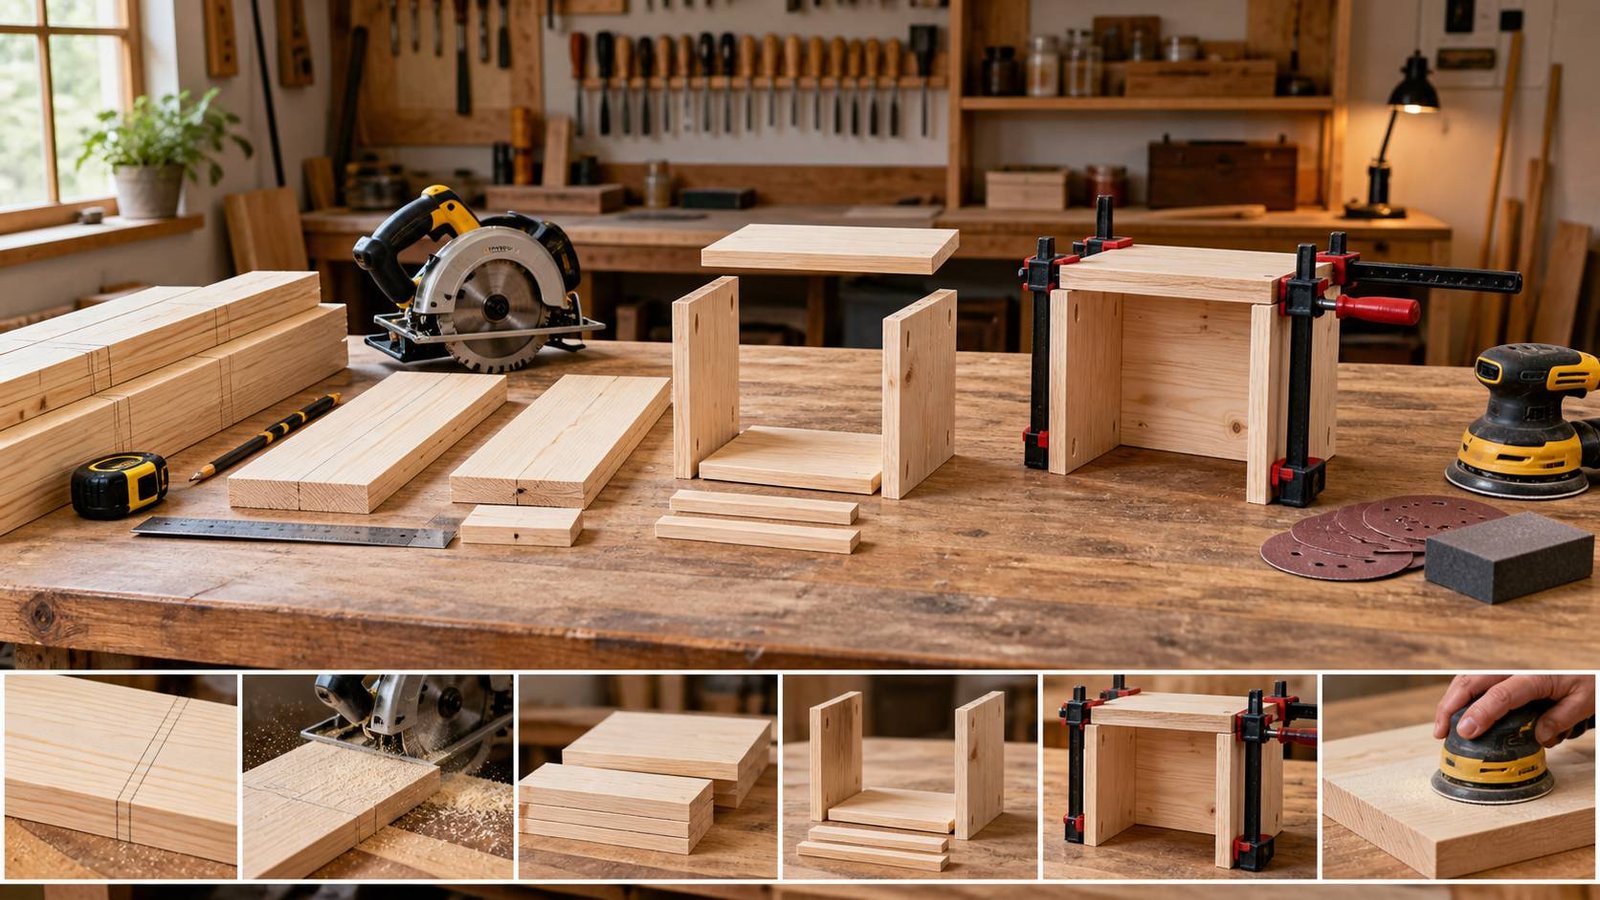
2. Break the Build Into Work Phases
Estimate small phases instead of the whole project. A practical breakdown is planning, material preparation, measuring and marking, cutting, dry assembly, joinery, glue-up, sanding, finishing, final assembly, and cleanup.
For every phase, write a best-case time and a likely time. Use the likely time for the schedule. Keep the best case only as a reference. For example, cutting six simple shelf parts might take 30 minutes when everything is ready, but 60–75 minutes is more realistic when setup, checking measurements, and correcting an edge are included.
Affiliate note: This section contains affiliate links.
Glue-up is easier to estimate when the clamping plan is decided before adhesive is applied. A quick-release bar clamp set may help beginners stage parts and reduce rushed repositioning during assembly.
3. Separate Hands-On Work From Waiting Time
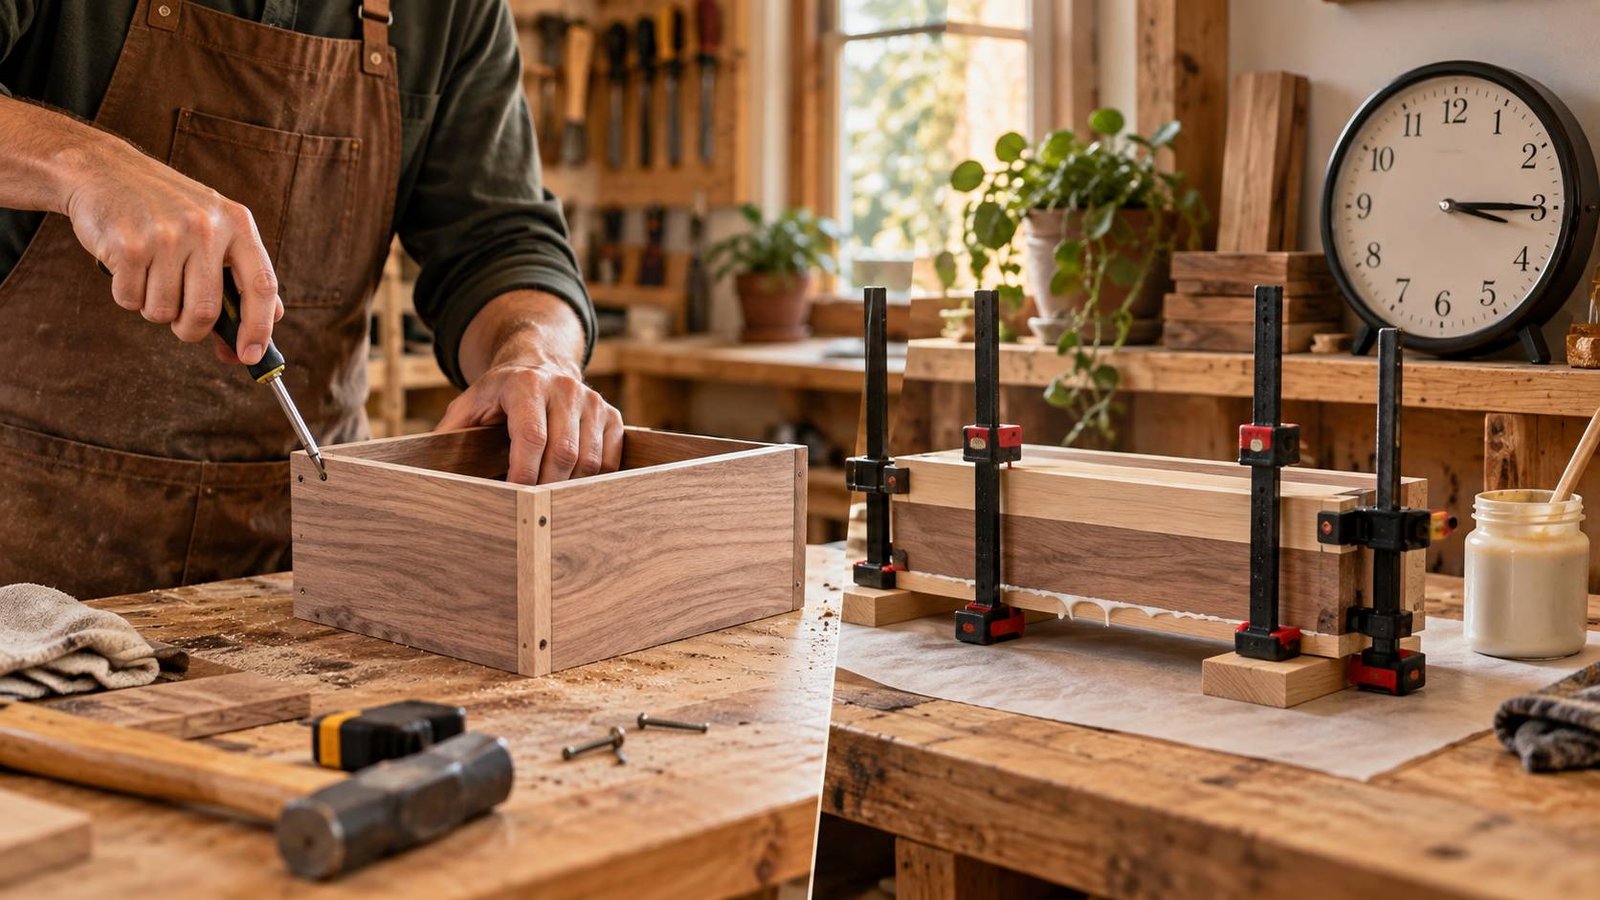
Create two columns: active time and elapsed time. Active time is when you are measuring, cutting, assembling, sanding, or cleaning. Elapsed time includes glue curing, finish drying, lumber acclimation, and waiting for materials.
A small table can be built in three hours of active work and still need several days from first cut to final use. Do not schedule the next operation merely because you are free; schedule it when the adhesive or finish is actually ready.
A simple digital timer can help track repeated sessions such as sanding intervals, glue open time, and cleanup blocks. Use it as a reminder, not as a substitute for the adhesive or finish manufacturer’s instructions.
Wood movement can also change the schedule. If lumber condition is uncertain, a digital wood moisture meter may help you decide whether boards need more acclimation time before milling or assembly.
4. Adjust for Skill, Tools, and Workshop Conditions
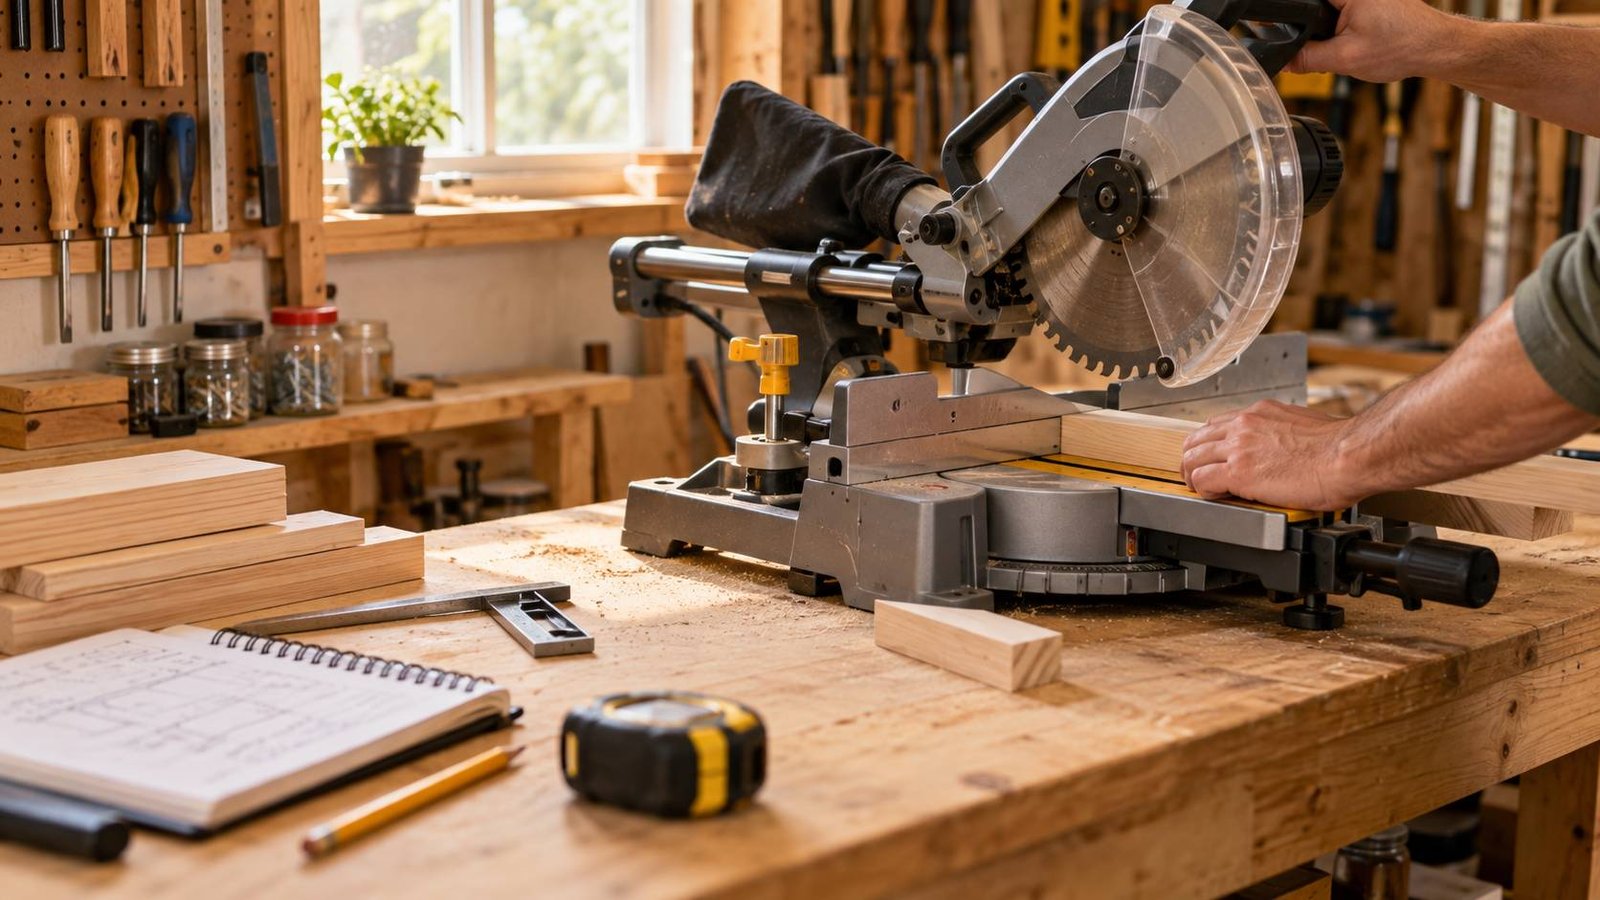
Published build times usually assume familiar tools, a clear bench, and materials already prepared. Adjust every unfamiliar operation. For a first-time joint, allow time to read the setup instructions, make test cuts, inspect the fit, and repeat the setup if necessary.
Add time when tools must be shared, moved, calibrated, or connected to temporary dust collection. A small workshop can also create sequencing delays because one surface may serve as the cutting station, assembly table, and finishing area.
A sensible beginner adjustment is 25–50% for a new technique and 10–20% for a familiar project with a different size or material. These are planning allowances, not performance targets.
5. Add Contingency Without Padding Every Task
After estimating the phases, add one project-level contingency. Use about 15% for a familiar, simple build; 20–25% for a first attempt; and more only when the design, materials, or workspace remain uncertain.
Do not double-count risk by heavily padding every task and then adding another large buffer. Instead, list the two or three most likely problems—such as a miscut, hardware adjustment, or extra sanding—and make sure the contingency could absorb them.
Surface preparation often expands unexpectedly. Keeping a multi-grit sanding block set ready can reduce tool changes and make it easier to budget a defined sanding session for edges, corners, and small corrections.

6. Build a Practical Woodworking Project Schedule
Convert the phase estimates into sessions that match your available time. Group noisy or dusty work together, protect uninterrupted glue-up time, and place finishing near the end of a session so drying happens while you are away.
Example weekend schedule:
• Friday evening: confirm plan, prepare cut list, inspect lumber, and stage tools.
• Saturday morning: mill, mark, cut, and dry-fit parts.
• Saturday afternoon: complete joinery and glue-up.
• Sunday morning: inspect, correct, and sand.
• Sunday afternoon: apply the first finish coat and schedule later coats separately.
Use the free Weekend DIY Project Checklist to capture materials and preparation tasks. For recurring projects, the Beginner’s DIY Workshop Planner can keep estimates, actual hours, and lessons learned in one place.
After the project, compare estimated time with actual time. Record only the major difference: setup took longer, sanding was faster, glue-up needed a helper, or the finish required another day. Three or four completed-project notes will improve future estimates more than a complicated formula.
Frequently Asked Questions
How long do beginner woodworking projects usually take?
A simple project may need a few hours of active work, but drying and curing can extend it across several days. Estimate active and elapsed time separately.
Should I include tool setup and cleanup?
Yes. Setup, test cuts, dust collection, blade or bit changes, and cleanup are real project tasks and should appear in the schedule.
How much extra time should a beginner add?
Start with 20–25% after estimating individual phases. Add more only for a clearly identified uncertainty such as unfamiliar joinery or unprepared lumber.
Does glue drying count as project time?
It counts as elapsed time, even when it is not hands-on work. It determines when the next step can safely begin.
What if I can only work in short evening sessions?
Divide the build at natural stopping points and avoid starting glue-up or finishing when the remaining session is too short.
How can I make future estimates more accurate?
Track estimated versus actual time by phase. Keep notes short and reuse them when planning the next project.
Conclusion
A reliable woodworking project time estimate comes from scope, phases, waiting periods, realistic skill adjustments, and one controlled contingency. Plan the calendar as carefully as the cuts, and the build will feel calmer even when something changes.
Affiliate Disclosure
This article contains affiliate links. If you purchase through these links, DIY Wood Haven may earn a commission at no additional cost to you. Recommendations are selected for relevance to the task, and readers should confirm product specifications, compatibility, safety requirements, shipping terms, and current pricing before purchasing.




Ready to Build Smarter?