How to Choose Wood for Woodworking: Beginner Guide
Learning how to choose wood for woodworking can feel harder than choosing your first project. At a lumberyard or home center, you may see construction boards, appearance boards, hardwood sold by unfamiliar measurements, plywood in several grades, and pieces that look almost identical until you inspect them closely. The good news is that a beginner does not need to memorize every species.
The best first-project lumber is the material that matches the job, works with the tools you own, and gives you enough usable wood without exhausting your budget. A simple painted shelf has different needs from a cutting board, outdoor planter, or small table. Once you define those needs, the lumber rack becomes much easier to navigate.
This guide gives you a repeatable selection process. You will learn how to compare solid wood and sheet goods, recognize qualities that matter, inspect individual boards, estimate a sensible quantity, and prepare lumber before cutting. Before shopping, it can also help to write down your project’s size, operations, and materials using the Free Weekend DIY Project Checklist. A short plan prevents attractive boards from pulling your budget away from what the project actually requires.
Start With What the Project Needs
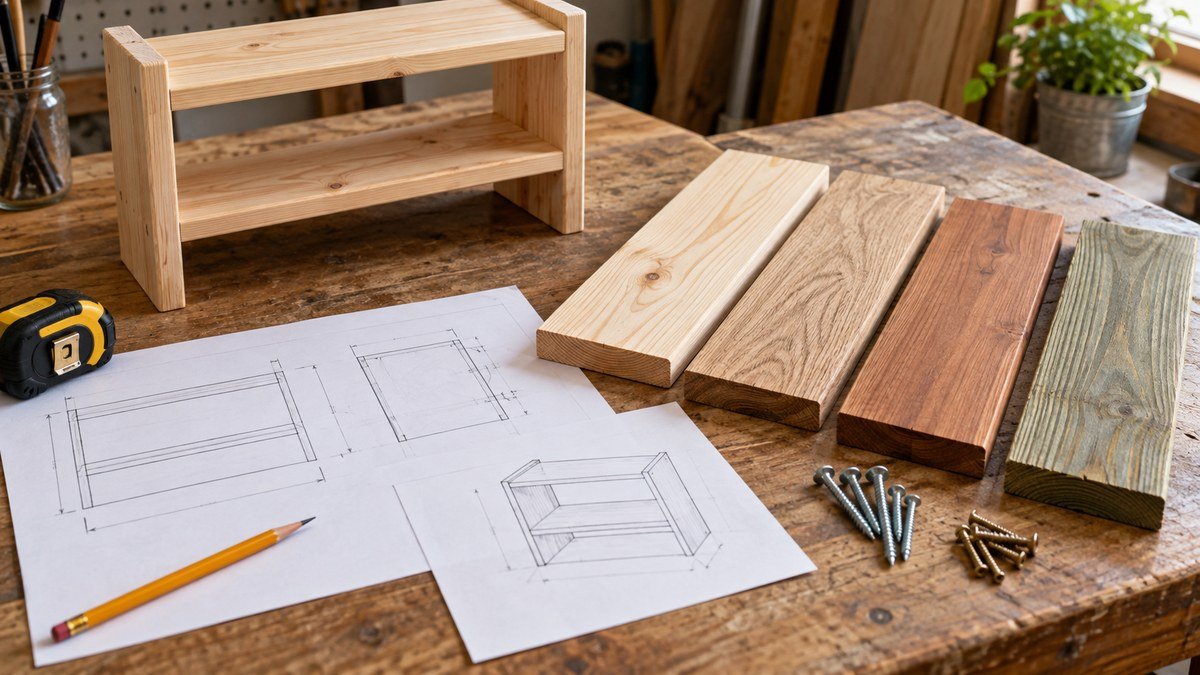
Beginners often begin with a species name: “Should I use oak?” A better starting point is a list of the demands the finished object must handle. Learning how to choose wood for woodworking becomes simpler when every choice answers a project requirement.
Where will the project live?
Indoor furniture usually needs reasonable stability, an appearance you like, and compatibility with the intended finish. Outdoor projects also face rain, sunlight, temperature changes, insects, and repeated wetting and drying. Use a species or appropriately rated material suitable for outdoor exposure, protect cut ends as needed, and choose exterior-rated fasteners and finishes. Do not assume a thick indoor board becomes outdoor-safe simply because it feels sturdy.
Bathrooms, basements, and garages deserve similar thought. The room may be indoors but still experience changing humidity. A wide solid-wood panel can move across its grain as conditions change, so the design must allow that movement instead of locking it rigidly on every edge.
What must the wood do?
Ask whether the part carries weight, resists wear, spans a distance, holds a screw near an edge, or exists mainly for appearance. A decorative wall sign does not need the same strength as a stool. A drawer bottom benefits from a stable panel, while a workbench top needs durability and enough mass for the work you plan to do.
Also note how the pieces connect. Some soft material crushes under excessive clamping pressure. Very dense wood can be harder to cut and may need pilot holes for screws. Thin plywood edges usually need a thoughtful joining or edge-treatment method. These are not reasons to avoid a material; they are reasons to match it to the design.
What can your tools handle?
Your tool set should influence the purchase. Rough hardwood may look economical, but it is not beginner-friendly if you cannot flatten, straighten, and thickness it. Pre-surfaced boards cost more per unit of wood yet may save time, material, and frustration. Sheet goods can create flat, wide parts quickly, but full sheets are heavy and require safe support during transport and cutting.
Review your planned operations before buying. If you are still assembling a basic kit, this beginner woodworking tool list can help you decide whether the material and your tools are a practical match.
Hardwood, Softwood, or Sheet Goods?
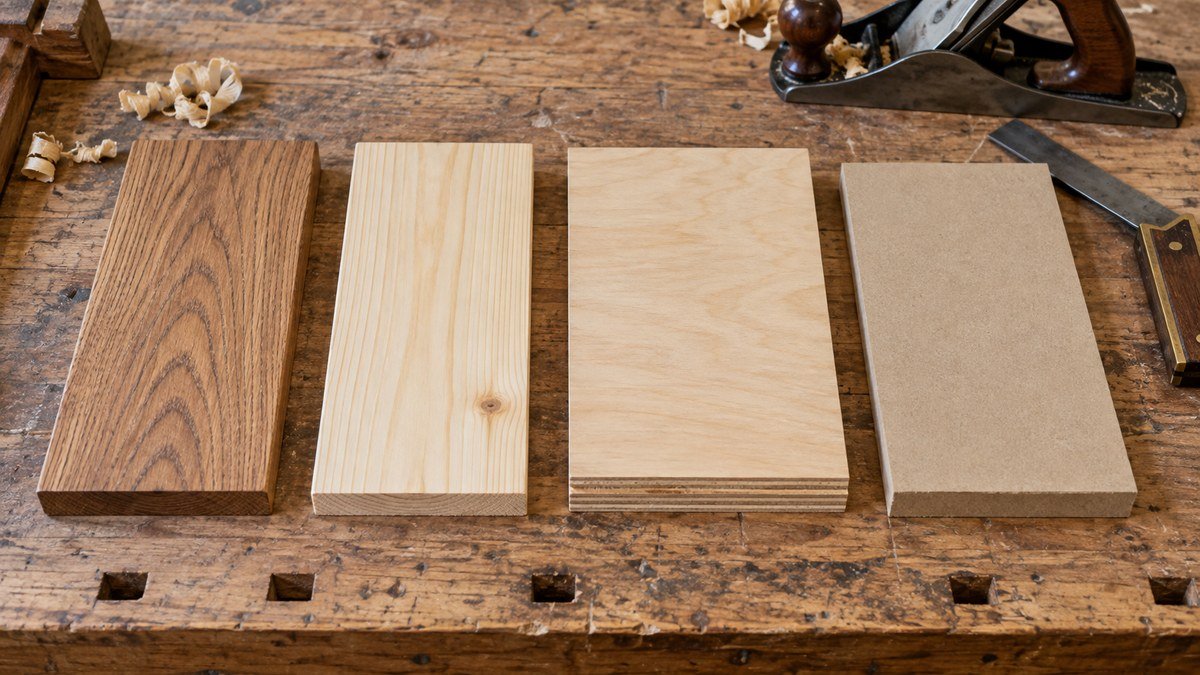
These categories describe where wood comes from or how a panel is manufactured; they are not simple rankings of quality. Hardwood is not always physically hard, and softwood is not always weak. When learning how to choose wood for woodworking, focus on the properties of the specific material in front of you.
Softwood
Common softwoods are widely available, relatively easy to cut, and often affordable enough for practice. Home-center pine, spruce, or fir can be useful for shop fixtures, boxes, shelves, simple furniture, and painted projects. Species and grades vary by region.
The tradeoff is that softer surfaces dent easily, knots can complicate cutting and finishing, and construction boards may be wetter or less stable than furniture-grade stock. Select pieces carefully and let them adjust to the project environment before final milling. For a first build, straight appearance-grade softwood may be worth the modest premium over badly twisted bargain boards.
Hardwood
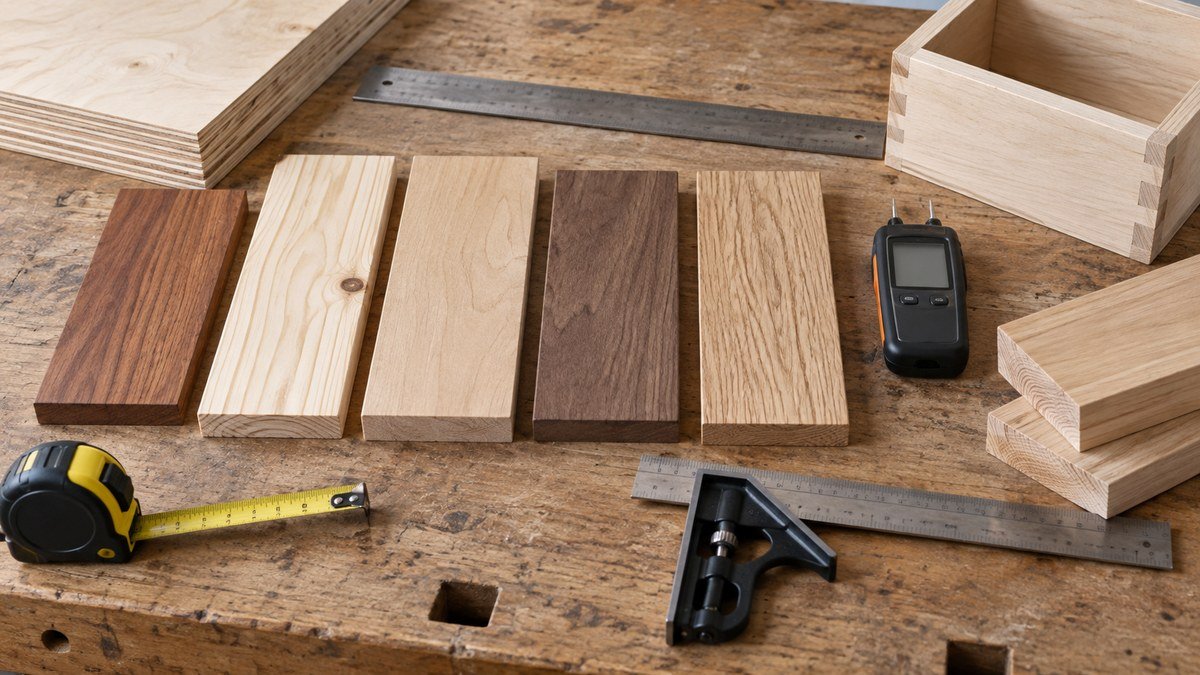
Hardwoods offer a wide range of colors, grain patterns, densities, and working characteristics. Poplar is often used for painted indoor projects because it machines and paints well. Oak, maple, cherry, walnut, and other furniture woods can provide attractive visible surfaces, but cost and workability vary.
Do not choose hardwood only because it sounds more professional. Dense material can slow cutting, dull edges, and make hand-tool work more demanding. Expensive grain also raises the cost of every early measuring mistake. If the project is your first attempt at a new joint, make practice pieces from inexpensive stock before cutting the final boards.
For a deeper comparison of species and uses, see this complete guide to types of wood.
Plywood and other sheet goods
Plywood is built from layers with alternating grain direction. Good plywood is stable, available in large flat panels, and useful for cabinets, shelves, boxes, jigs, and painted furniture. Face quality, core construction, thickness accuracy, voids, and exterior rating vary, so read the panel label and inspect the edges.
Medium-density fiberboard produces a flat, smooth surface for painted indoor components and templates. It is heavy, creates very fine dust, does not like moisture, and requires appropriate cutting support and dust protection. Particleboard can be economical in certain manufactured-furniture applications but has limited moisture resistance and edge strength.
Sheet goods are not automatically easier. Plan how you will transport and break down a panel without supporting it dangerously. Many suppliers will make initial cuts, which can be safer and more practical for a small workspace.
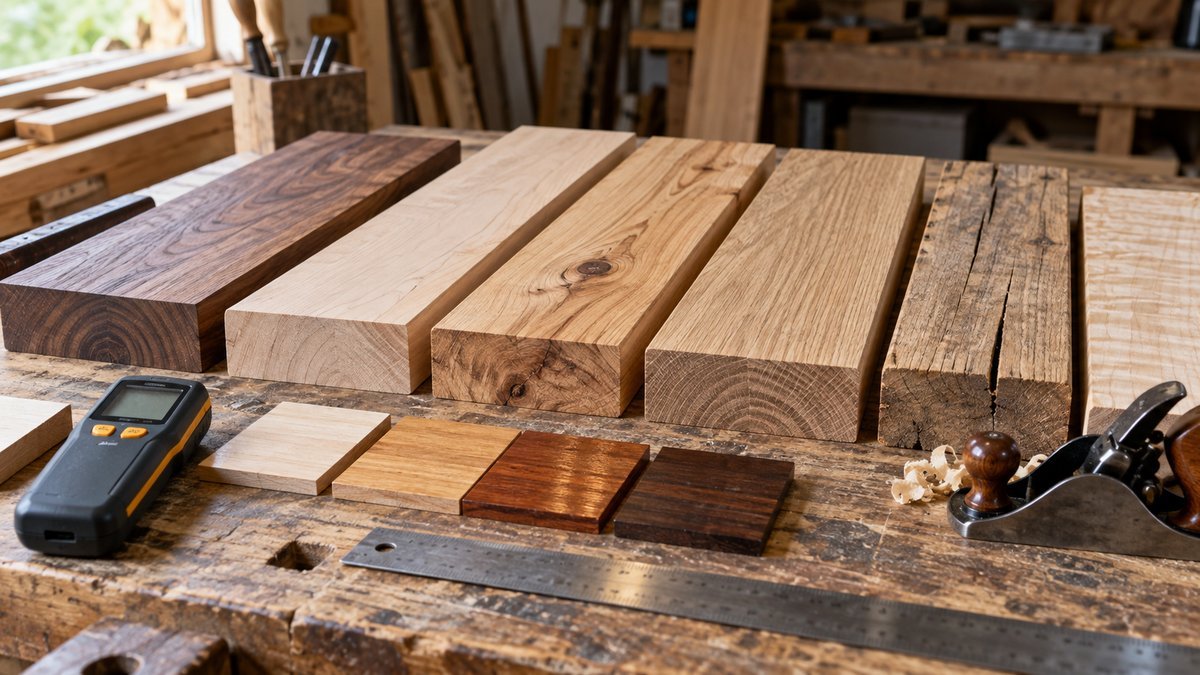
How to Choose Wood for Woodworking: Compare the Qualities That Matter
No species wins every category. The purpose of this comparison is to decide which qualities are essential and which are optional for your project.
Workability
Workability describes how the material responds to cutting, drilling, planing, sanding, and joining. Straight-grained, moderately soft wood is often forgiving. Interlocked or highly figured grain may tear out. Dense wood may burn during a slow cut or resist screws unless you drill suitable pilot holes.
Match the board to your method. A hand-tool project benefits from wood that planes cleanly. A painted project does not need premium figure. A design with many screws near board ends needs material and pilot holes that reduce splitting risk.
Strength and hardness
Strength matters when a part supports a load or spans between supports. Surface hardness matters when an item will be bumped, scratched, or worn. They are related but not identical. Instead of selecting the hardest material available, make sure the design, dimensions, grain direction, joinery, and wood quality work together.
A shelf can sag even when made from a respected furniture species if it is too thin or too wide for the load. A small box can perform beautifully in a softer wood because its spans are short. Sound design usually matters more than a prestigious species name.
Stability and grain direction
Solid wood exchanges moisture with the surrounding air and changes dimension, mostly across the grain. Wide tabletops, doors, and panels need joinery that allows this movement. Plywood is generally more dimensionally stable because of its layered construction, which is one reason it works well for cabinet cases and broad panels.
Look at grain direction before cutting. Straight, consistent grain is easier to predict. Grain that runs out through an edge can create a weak area or tear during planing. Attractive figure may be perfect for a visible panel but unnecessarily expensive for a hidden rail.
Color, grain, and finish
Think about the finished surface, not the raw board alone. Clear finishes usually deepen color and emphasize grain. Stain can behave unevenly on some woods. Paint hides much of the natural figure, making a smooth, affordable paint-grade material a sensible choice.
Test the complete finish schedule on an offcut from the same boards. A store sample or online photograph cannot show exactly how your material will react to sanding, dye, stain, sealer, or topcoat.
Moisture condition
Wood that is not in balance with its intended environment can shrink, swell, cup, or open joints after assembly. You do not need to chase one universal moisture number because a suitable reading depends on climate, season, species, meter settings, and where the project will live. What matters is that the stock is reasonably consistent, appropriate for the intended environment, and given time to adjust before final sizing.
Affiliate note: This section contains an affiliate link. A handheld digital wood moisture meter can help you compare boards and monitor acclimation. Check the listing, pin type, species settings, measurement range, instructions, final price, and seller terms before ordering. A meter is a comparison tool, not a substitute for understanding your environment or following its calibration guidance.
Availability and total cost
The cheapest price tag does not always produce the cheapest project. Count defects, required milling, delivery, minimum purchase quantities, and the value of your time. A straighter board with more usable yield may cost less than two bargain boards that require heavy cutting around knots and warp.
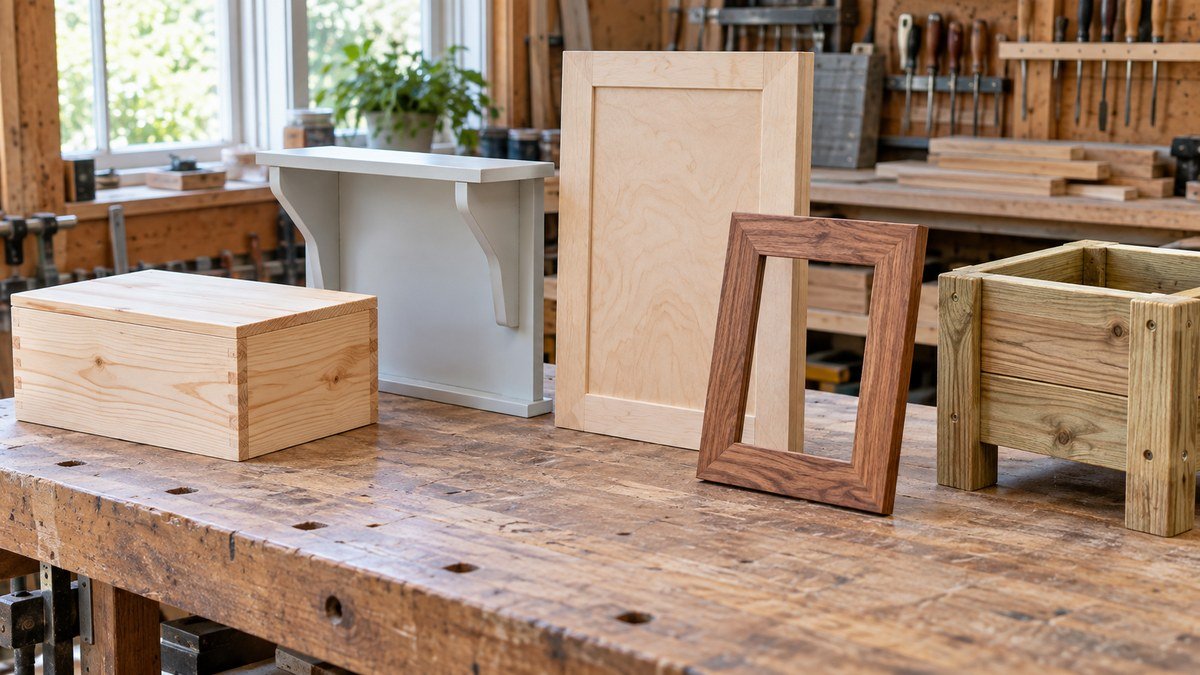
Beginner-Friendly Wood Choices by Project
The following are starting points, not rules. A practical approach to how to choose wood for woodworking must account for local availability and naming, so confirm the actual species, grade, and rating on the material you buy.
Practice pieces and simple shop projects
Straight, dry, inexpensive softwood is useful for practicing cuts, drilling, sanding, and basic joinery. It is also suitable for many jigs, organizers, and temporary shop fixtures. Avoid severely warped pieces and unstable knot locations, especially where a fastener or joint must go.
Painted indoor furniture
Smooth paint-grade softwood, poplar, or suitable plywood can work well. Select solid wood for visible edges and structural rails; use stable panels where broad flat surfaces are needed. Fill, sand, prime, and test before coating the full project.
Clear-finished furniture
Choose a species whose natural color and grain support the design. Buy boards together so color and figure are reasonably compatible. Place the most attractive faces where they will be seen and reserve plainer areas for hidden parts. This guide to wood for furniture can help narrow the choices.
Cabinets, boxes, and shelves
Plywood creates stable cases and panels, while solid-wood strips can protect or decorate exposed edges. Check actual panel thickness before cutting grooves or ordering hardware. For shelves, consider span, expected load, thickness, and edge reinforcement rather than relying on material name alone.
Outdoor projects
Use a naturally durable species or material specifically rated for the exposure and application. Confirm that adhesives, screws, finishes, and cut-end treatments are also appropriate outdoors. Provide drainage, avoid water traps, and keep end grain from sitting in standing water. No finish turns unsuitable indoor material into a permanent outdoor solution.
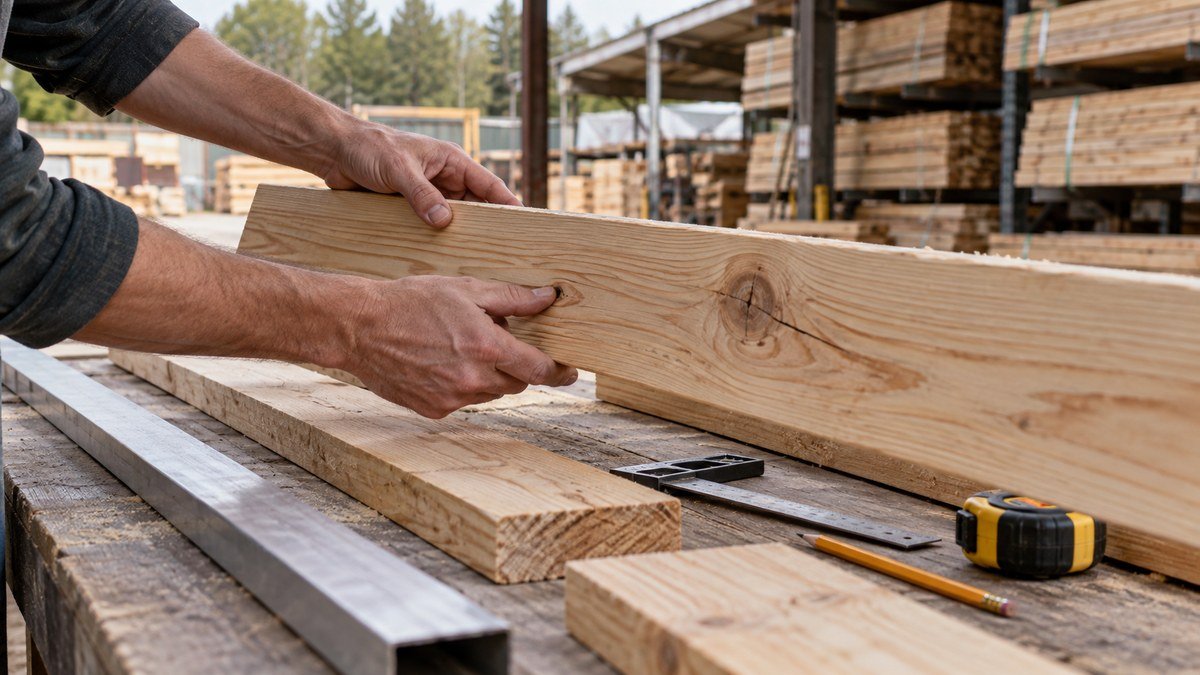
How to Inspect Lumber Before You Buy
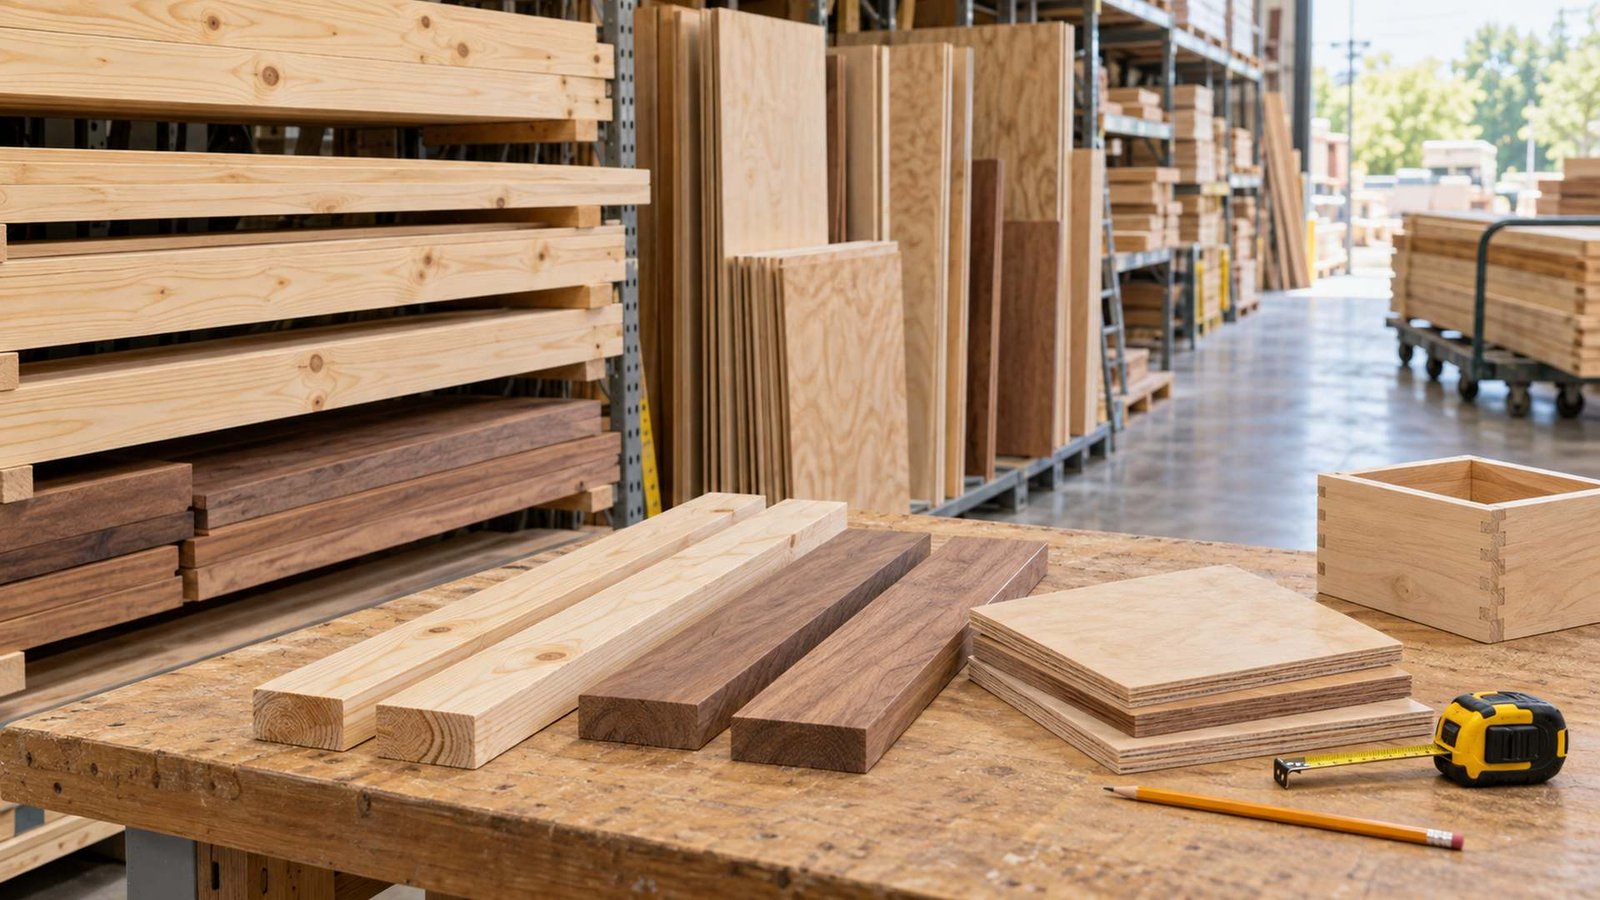
Choosing a species is only half the job. Individual boards vary, which is why how to choose wood for woodworking always includes inspecting the actual stock. Take your time, handle boards carefully, and return the rack neatly.
1. Read the label and dimensions
Confirm species, grade, treatment, panel rating, nominal versus actual dimensions, and price unit. Hardwood may be priced by board foot, linear foot, or piece. Plywood may be slightly different from its nominal thickness. Ask the supplier when the labeling is unclear.
2. Sight down every board
Hold one end near eye level with the far end safely supported. Look along the face and edge. A board can bow along its length, cup across its width, crook sideways, or twist so its corners do not share a plane. Minor defects may be removable if your cut list uses short parts, but beginners should favor straighter stock.
3. Inspect both faces and both edges
Look for splits, checks, loose knots, bark inclusions, torn grain, stains, insect holes, and damage. Decide whether each defect adds character, can be cut away, or threatens a joint. Marking chalk or a removable note can help you map usable areas after purchase.
4. Study the end grain
End grain can reveal cracks, growth-ring orientation, and whether the board is likely to move in a predictable way. It also helps you match boards when appearance matters. Avoid pieces with serious end splits unless the board is long enough to remove them and still supply every required part.
5. Compare similar boards
Lift comparable pieces and notice obvious weight differences that might suggest moisture variation, but do not treat weight alone as a measurement. If moisture condition matters, take several meter readings in appropriate locations and compare them using the meter manufacturer’s instructions.
6. Calculate usable yield
Overlay your cut list mentally or with a tape measure. A long board is not useful if a large knot lands in the center of the longest rail. Sometimes two shorter, cleaner boards produce more usable parts than one discounted long board.
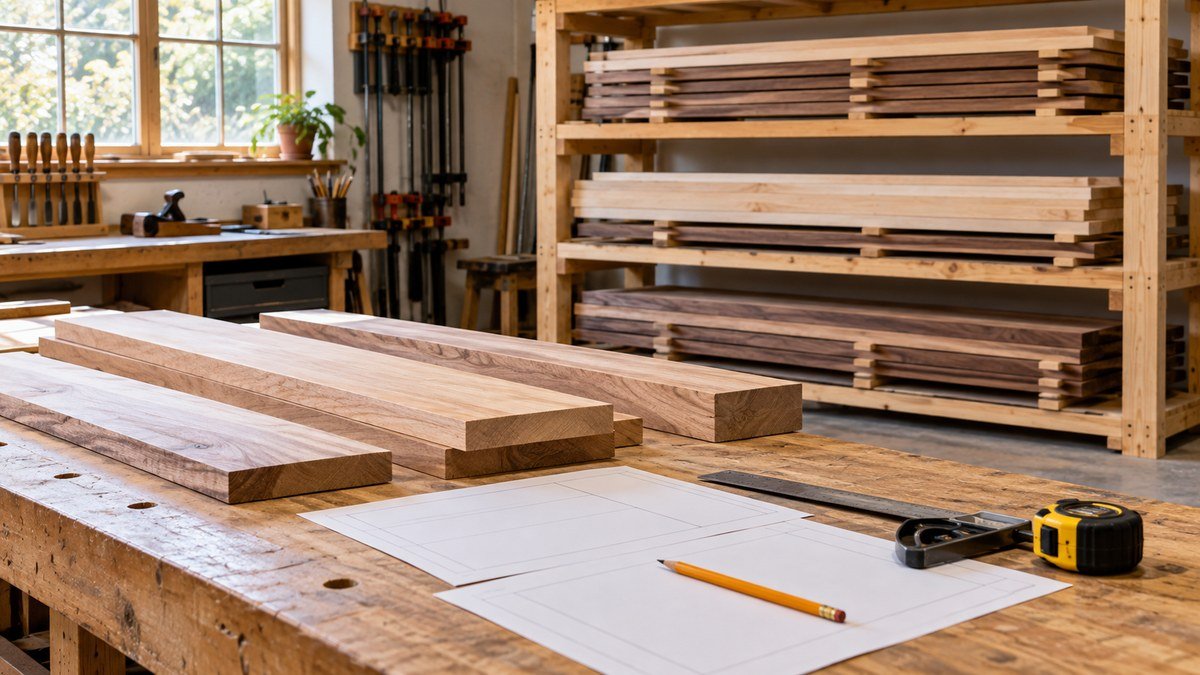
Buy the Right Amount and Prepare It Properly
A good purchasing plan includes a reasonable allowance for defects, cutting, grain matching, and beginner mistakes. It does not mean buying a random extra pile.
Start with a cut list that shows finished length, width, thickness, quantity, and grain or appearance requirements. Then work backward to rough sizes. Allow material for trimming and any milling process you will actually perform. Nest parts around known defects, and keep the most visible pieces together when color matching matters.
Buy a modest reserve based on the project’s complexity and the consistency of available stock. A small box made from clear boards needs less contingency than a design requiring long, matching rails from knotty material. If a species is difficult to replace, a little extra from the same batch can prevent a visible mismatch later.
Transport boards with full support and secure them according to vehicle and local safety requirements. Do not let long stock project dangerously from a vehicle. Ask for delivery or safe preliminary cuts when necessary.
At the shop, store boards flat with even support or vertically in a rack designed to prevent tipping and bowing. Keep them off damp concrete. Let the material acclimate to the workspace before final milling, especially for indoor furniture. Mill in stages when substantial material must be removed, then allow the pieces to rest before the final pass.
Preparation also includes labeling parts, protecting matched sets, and saving useful offcuts for finish tests. Those small habits make how to choose wood for woodworking a process you can improve rather than a one-time guess.
Frequently Asked Questions
What is the easiest wood for a beginner to work with?
Straight, reasonably dry, moderately soft boards with few defects are usually easiest, regardless of prestige. An affordable local softwood can be excellent for practice and simple indoor projects. Poplar is another common paint-grade option in some regions. Choose surfaced stock if you lack milling tools, and buy only after checking each board for twist, cup, splits, and problematic knots.
Is pine or plywood better for a first project?
It depends on the design. Pine is useful for solid-wood parts, simple joinery, and projects where exposed edges matter. Plywood is helpful for wide, flat panels such as cabinet sides, box bottoms, and shelves. Plywood requires safe sheet handling and edge treatment; pine can dent and move across the grain. Many beginner projects use both materials effectively.
How dry should wood be before woodworking?
There is no single ideal reading for every climate and project. Wood should be appropriate for the environment where the finished piece will live and reasonably consistent across the stock. Use a properly configured meter as one source of information, follow its instructions, and give lumber time to acclimate before final sizing. Large differences between boards deserve investigation.
Can construction lumber be used for furniture?
Yes, but select it carefully. Construction lumber may contain more moisture, knots, rounded edges, or distortion than furniture stock. It can work for rustic pieces, shop fixtures, benches, and some furniture when the design accounts for its properties. Let it acclimate, remove unstable sections, and expect additional preparation. Avoid treated lumber for indoor furniture unless the specific use and manufacturer guidance support it.
How do I avoid warped boards at the store?
Sight along both the face and edge, then check whether all four corners rest in one plane. Inspect each board rather than accepting the top pieces in a bundle. Favor straight grain and uniform stock. Remember that a board can move after purchase if its moisture condition changes or it is stored poorly, so transport, acclimation, and support still matter.
How much extra wood should I buy?
Base the allowance on defects, grain matching, part length, milling, and your experience rather than one fixed percentage. Map the cut list onto the actual boards and identify where knots or cracks reduce yield. Buy enough to recover from a realistic mistake, especially when matching color matters, but avoid overbuying material that may sit unused or move in storage.

Conclusion
The simplest answer to how to choose wood for woodworking is to choose for the project, not for the label. Define where the object will live, what each part must do, which tools will prepare it, and what finish you want. Then compare only the material qualities that support those needs.
For a first project, straight and workable stock usually matters more than rare species or dramatic grain. Inspect every board, calculate usable yield, plan safe transport, and allow the material to adjust before final cutting. Save offcuts for setup cuts and finish tests.
If you still need a first build, browse these beginner woodworking projects and pick one with simple shapes and readily available material. Record what cut cleanly, what moved, and how the finish behaved. That experience will make your next lumber decision faster and more confident.
Affiliate Disclosure
This post contains affiliate links. If you purchase through these links, DIY Wood Haven may earn a commission at no additional cost to you.




Ready to Build Smarter?