How Much Wood Do I Need for a Woodworking Project?
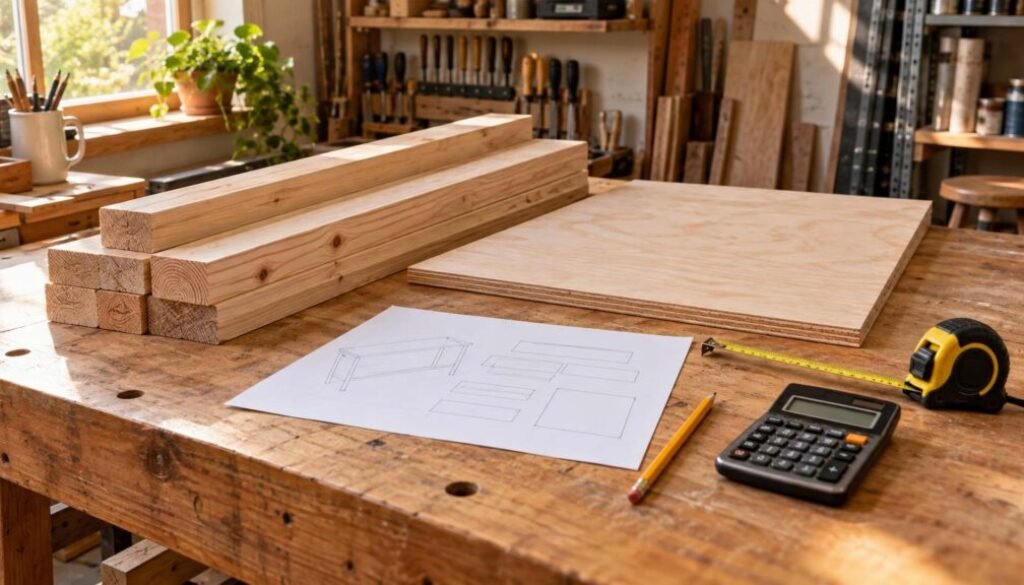
If you have ever stood in a lumber aisle wondering, “How much wood do I need?”, you are not alone. Material estimates can feel harder than the build itself because project plans describe finished parts, while stores sell boards and sheets in standard sizes. Lumber may also contain knots, checks, or warped areas that you cannot use.
A reliable estimate does not require advanced math. You need a complete list of parts, the correct unit for each material, and enough extra stock to cover cutting, milling, defects, and reasonable mistakes. The goal is not to predict every offcut perfectly. It is to buy enough useful material without filling your shop with expensive leftovers.
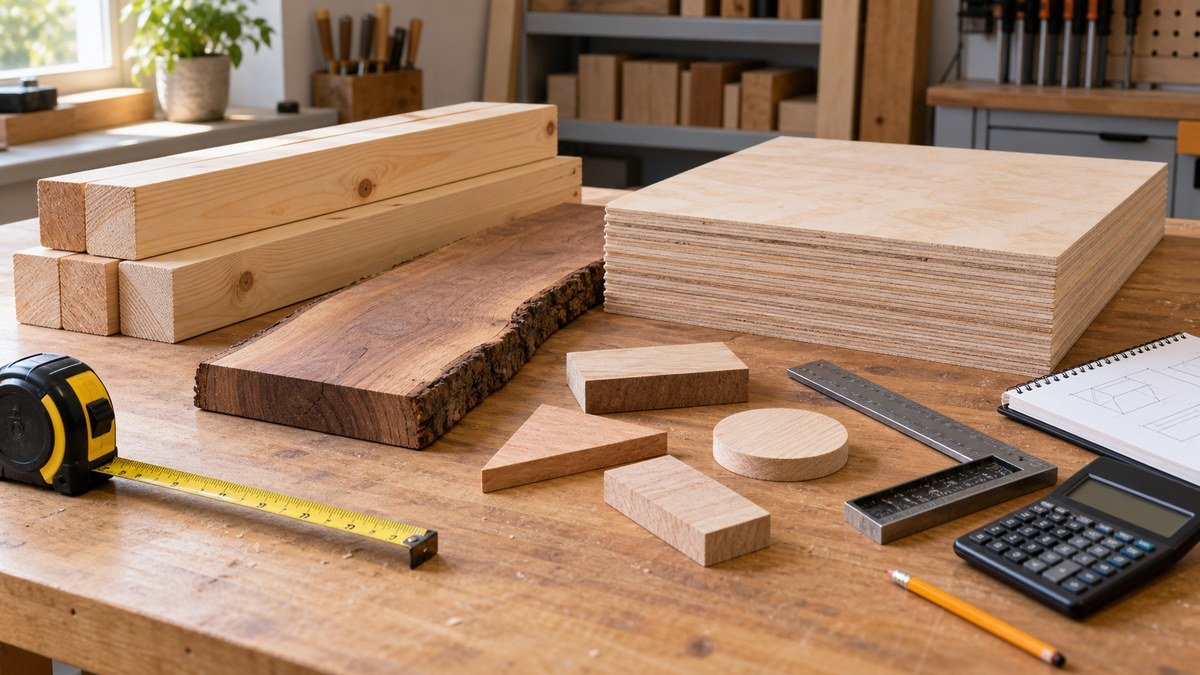
This guide explains how to estimate dimensional lumber, rough hardwood, and sheet goods. You will also learn how to turn project dimensions into a practical cut list, choose an appropriate waste allowance, and check your numbers before you buy. Keep a pencil, calculator, and your project drawing nearby; the process becomes much easier when every number has a clear source.
Start With the Finished Project Dimensions
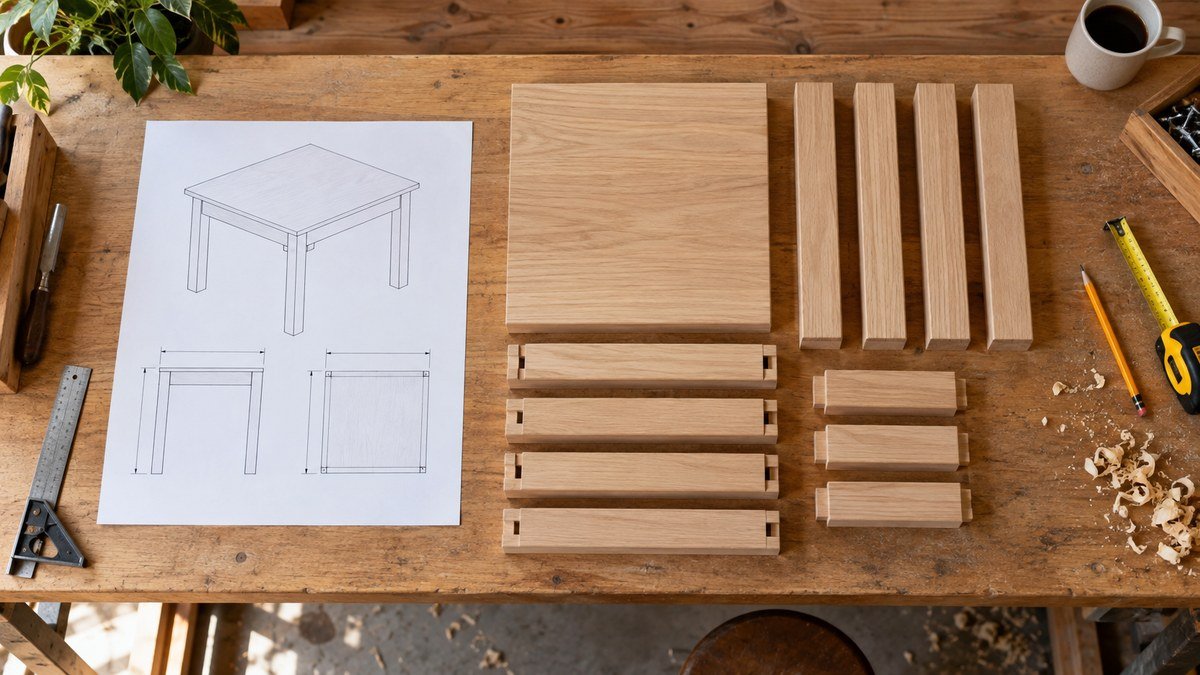
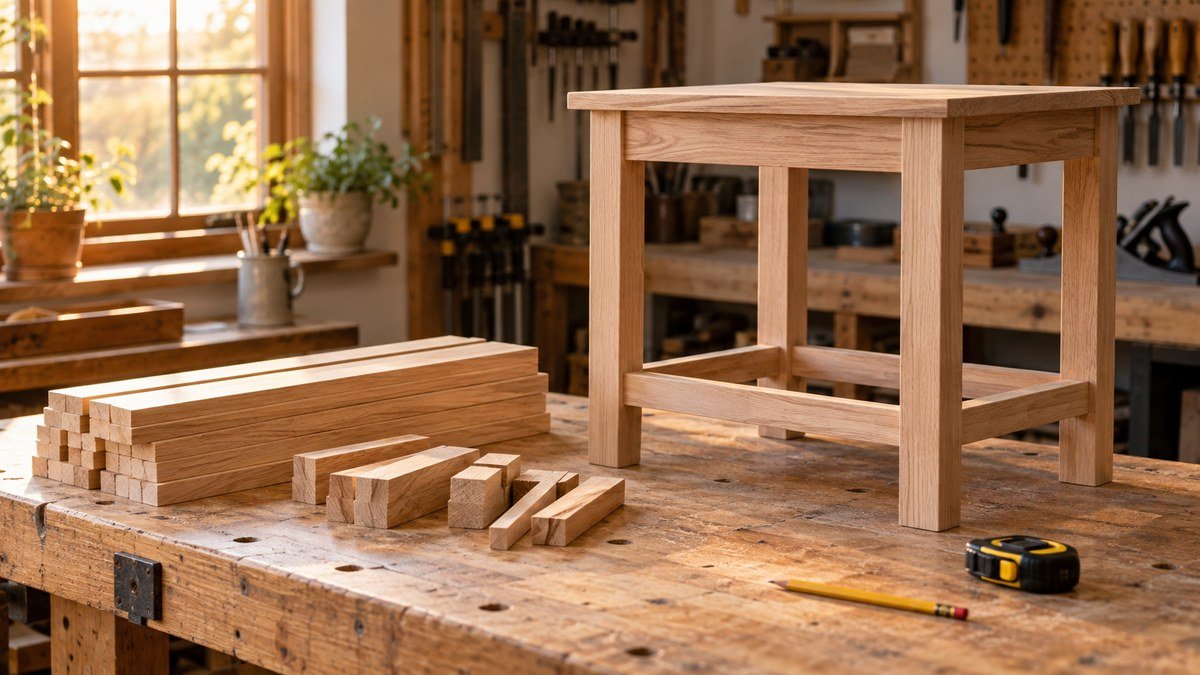
Every useful lumber estimate begins with the finished project, not with the boards at the store. Before calculating quantities, identify every wooden component in the build. A simple side table, for example, may include four legs, four apron pieces, several top boards, and one lower shelf. If even one group of parts is missing, the final estimate will be low.
Start from a dimensioned drawing or plan. If your design is still changing, settle the main height, width, and depth before estimating. Small design changes can affect several parts at once. Making a cabinet wider may change the top, bottom, shelves, back, face frame, and doors.
For a broader planning process, use this woodworking project planning guide before you begin calculating materials. It helps connect the design, sequence, tools, and budget instead of treating lumber as an isolated purchase.
List Every Project Part
Create one line for every distinct part and record:
- Part name
- Quantity
- Finished length
- Finished width
- Finished thickness
- Material or species
- Grain-direction or appearance requirements
Group identical parts together. Four legs with the same dimensions belong on one line with a quantity of four. A shelf and a top may use the same thickness but should stay on separate lines if their lengths, widths, grain requirements, or edge treatments differ.
Use finished dimensions at this stage. They describe what must exist in the completed project. At this point, your answer to “how much wood do I need?” is the exact quantity represented by those finished parts. Later, you will add room for cutting and milling. Mixing finished and rough dimensions in the same column is a common source of mistakes.
Choose the Correct Measurement Method
The question “how much wood do I need” has different answers depending on how the material is sold:
- Dimensional lumber is often planned by board count and total linear length.
- Rough hardwood is commonly calculated in board feet, a volume measurement.
- Plywood, MDF, and other panels are estimated by the number of full sheets required by the cutting layout.
- Molding, dowels, and narrow trim are usually counted in linear feet or standard purchased lengths.
Do not combine unlike materials into one total. Keep separate estimates for each thickness, species, grade, and sheet type. Ten board feet of 4/4 maple cannot automatically replace ten board feet of thicker stock, and a half sheet of plywood in your calculation may still require buying a full sheet.
How to Calculate How Much Wood You Need
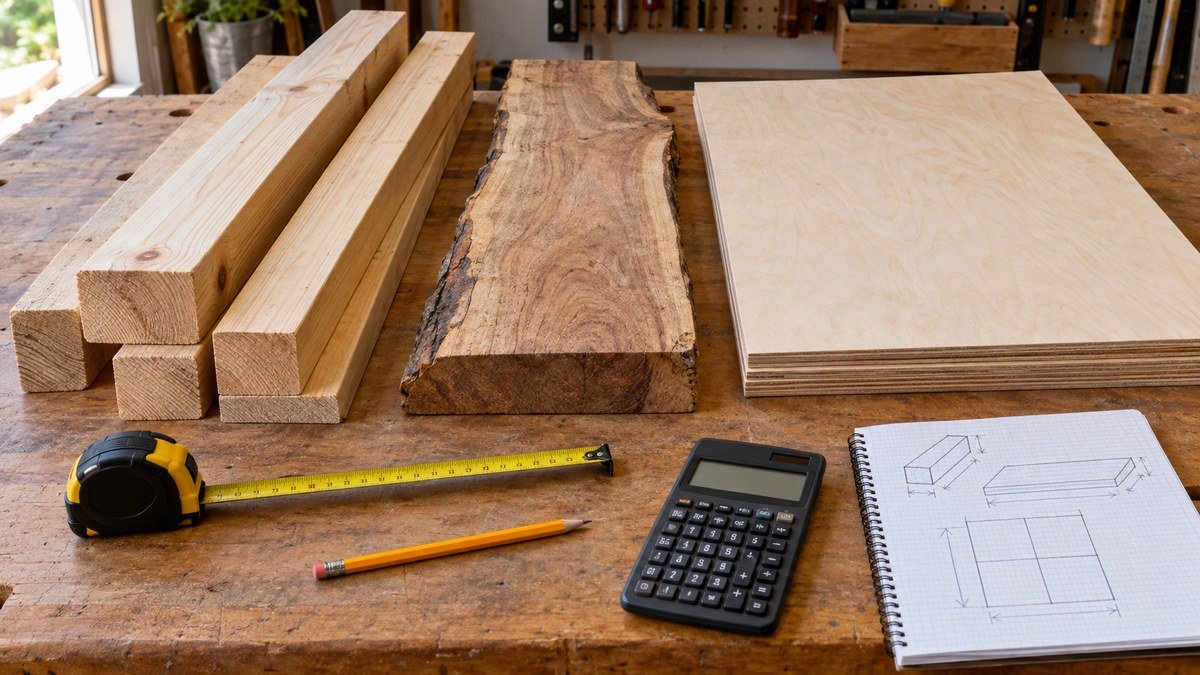
Once the parts list is complete, convert each group into the unit used for purchasing. Work one material and one thickness at a time. This makes the arithmetic easier to check and prevents a total quantity from hiding an important mismatch.
Calculate Dimensional Lumber and Linear Feet
For boards sold in standard widths and lengths, begin by adding the required lengths of all parts that come from the same board size. Multiply each part length by its quantity, then total those results.
Suppose a project needs four rails that are 18 inches long and two rails that are 30 inches long. The finished total is:
- Four × 18 inches = 72 inches
- Two × 30 inches = 60 inches
- Total = 132 inches, or 11 linear feet
That number is only the starting point. You cannot necessarily cut 11 linear feet of parts from any combination of boards totaling 11 feet. Each required part must fit within an actual board after accounting for saw cuts, defects, and end trimming. Two 8-foot boards may provide a more workable cutting arrangement than one long board, depending on available stock and transportation.
Sketch the parts onto candidate board lengths. Put the longest parts first, then use remaining spaces for shorter pieces. This simple nesting exercise is more dependable than dividing a total length by a store length and rounding up.
Calculate Board Feet for Rough Lumber
A board foot represents a piece of wood 1 inch thick, 12 inches wide, and 12 inches long. When dimensions are measured in inches, use:
Board feet = thickness × width × length ÷ 144
Then multiply by the number of matching pieces. For example, one rough piece measuring 1 inch thick, 6 inches wide, and 48 inches long contains 2 board feet before any allowance:
1 × 6 × 48 ÷ 144 = 2 board feet
Calculate each group of parts, add the results for the same thickness and species, and then consider milling and waste. Remember that the calculation describes volume. It does not guarantee that the available boards have enough uninterrupted width or length for your parts. A project requiring a clear 8-inch-wide panel cannot be solved by narrow boards unless the design allows edge-gluing.
When choosing a species, consult this guide to types of wood. Material selection affects more than appearance: board quality, grain, stability, available sizes, and the way parts will be joined can all affect usable yield.
Estimate Plywood and Other Sheet Goods
For sheet goods, area alone is not enough. A group of parts may cover less than one full sheet by area but still require two sheets because of their shapes, dimensions, or grain direction.
Make a scaled cutting diagram using the actual sheet dimensions available from your supplier. Place the largest parts first, keep required grain directions consistent, and allow space for the saw kerf between cuts. Then fit smaller parts into the remaining areas.
Keep these constraints in view:
- A part cannot cross a sheet edge.
- Visible grain should run in the intended direction.
- Damaged corners or edges may reduce usable space.
- Repeated narrow strips need enough separation for safe, accurate cutting.
- Oversized panels may need rough cutting before final trimming.
Round the final result up to whole sheets. Save a copy of the sheet layout because it becomes a useful cutting map in the shop.
Account for Real Lumber Sizes and Milling
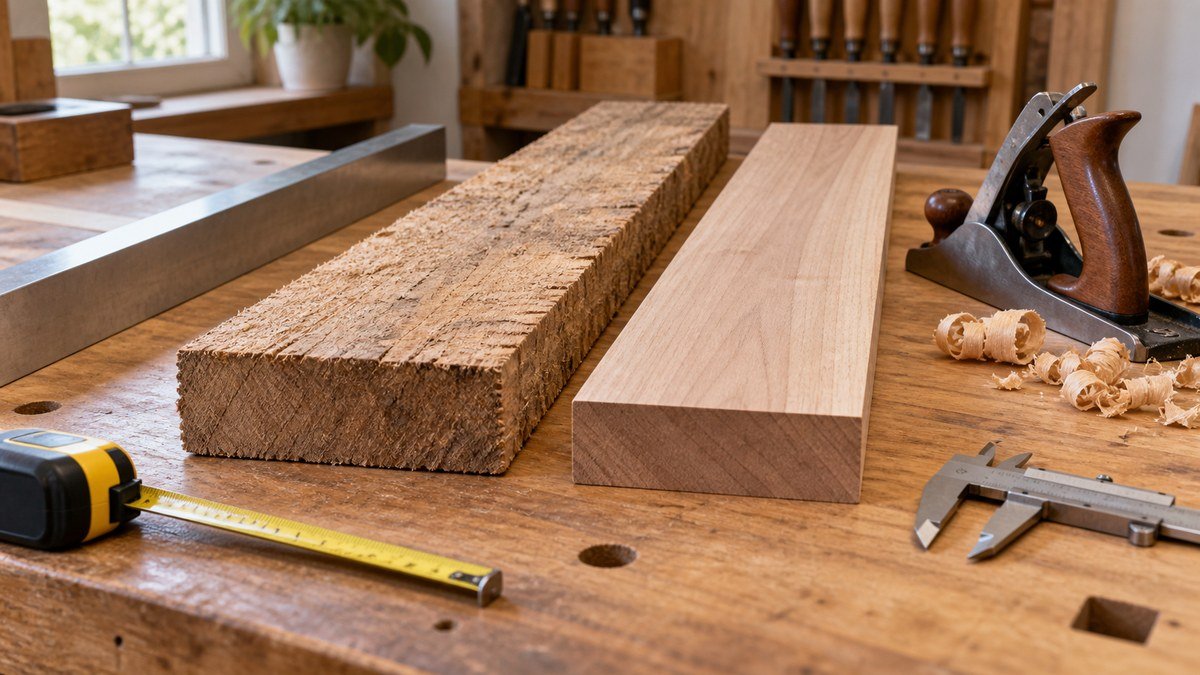
A finished part rarely comes directly from a board with exactly the same dimensions. Your estimate must bridge the gap between the finished component and the stock you can actually buy.
Nominal dimensional-lumber names do not always match actual measured dimensions. Confirm the real thickness and width at the supplier rather than calculating from the label alone. If a plan specifies a finished dimension, verify that the purchased stock can produce it after straightening and cleanup.
Rough lumber needs additional material for jointing one face and edge, planing to thickness, ripping to width, and trimming the ends. A twisted, cupped, or bowed board may lose more width or thickness during milling than a straight board. Long parts can also be difficult to obtain from boards with end checks or defects in the middle.
Saw kerf matters too. Every cut removes a narrow strip of material. The exact loss depends on the blade and cutting method, so use the actual setup you plan to use rather than assuming parts can touch in a layout. Leave room for cleanup cuts when an edge must be square or a finished length must be precise.
Other features can affect yield:
- Grain matching may require adjacent parts from the same board.
- Wide panels may need several boards with compatible color and grain.
- Knots, cracks, bark, pitch pockets, or stains may be unacceptable in visible parts.
- Joinery can require extra length for tenons, trimming, or test cuts.
- Curved parts may need wider blanks than their final outline suggests.
Measure the boards you are actually considering whenever possible. A tape measure, straightedge, and square are basic tools for this check; a beginner woodworking tool list can help you assemble the essentials without overbuying.
Add a Practical Waste Allowance
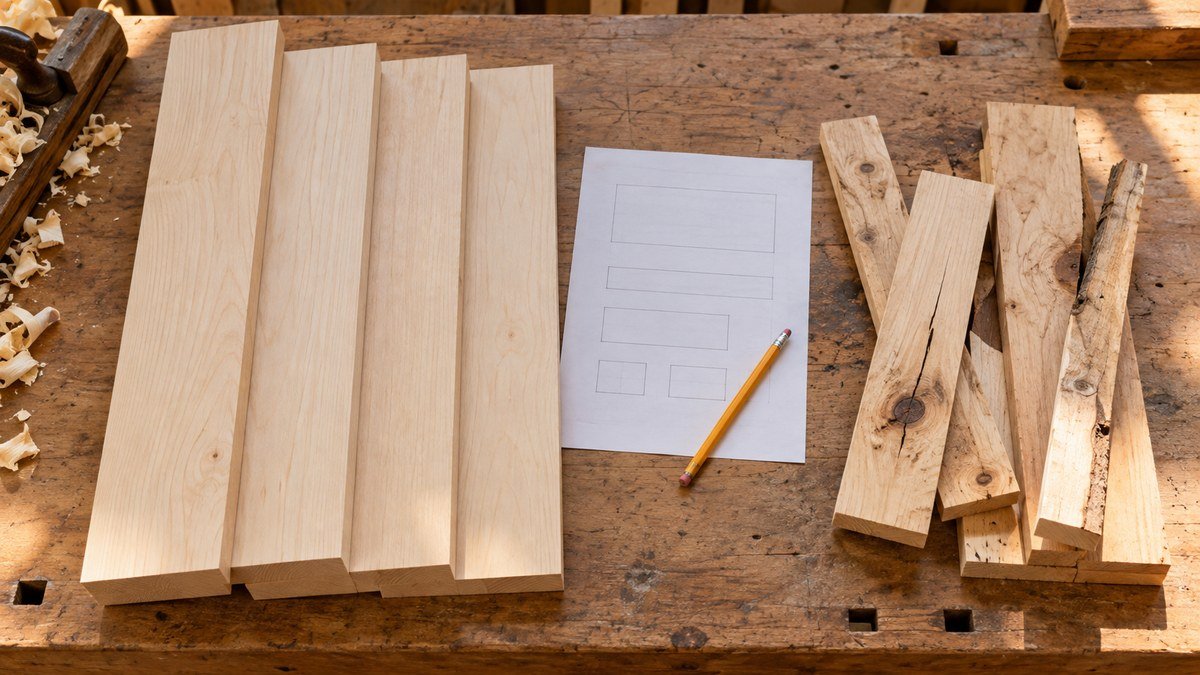
After calculating the net material required, add an allowance for losses that the ideal parts list cannot capture. A practical answer to “how much wood do I need?” includes both the net quantity and this separate allowance. There is no single percentage that fits every project. The right allowance depends on material quality, part complexity, grain matching, milling requirements, and your confidence in the cut plan.
Use a smaller allowance when the stock is straight and consistent, the parts are simple rectangles, and you have verified an efficient layout. Use a larger allowance when the boards are rough, defect-heavy, highly figured, or needed for wide color-matched surfaces. Curves, angled parts, complex joinery, and first-time techniques also increase uncertainty.
You can apply a chosen allowance with this calculation:
Purchase quantity = net quantity × (1 + allowance rate)
For example, if a parts calculation totals 20 board feet and you deliberately choose a 15% working allowance, the adjusted target is 23 board feet. The 15% in this example is not a universal rule; it simply demonstrates the calculation. Choose your own allowance after inspecting the stock and reviewing the project.
For boards sold by count, it is often more practical to add one suitable spare board than to chase an exact percentage. For plywood, a partial-sheet requirement normally rounds up to the next full sheet unless your supplier sells project panels or cut pieces that suit the layout.
Do not treat every offcut as waste. A sound piece may become a test board, glue block, spacer, jig, or small project component. At the same time, do not count an offcut as usable merely because it exists. Confirm that it has the right species, thickness, width, length, grain direction, and quality.
Turn the Estimate Into a Cut List and Shopping List
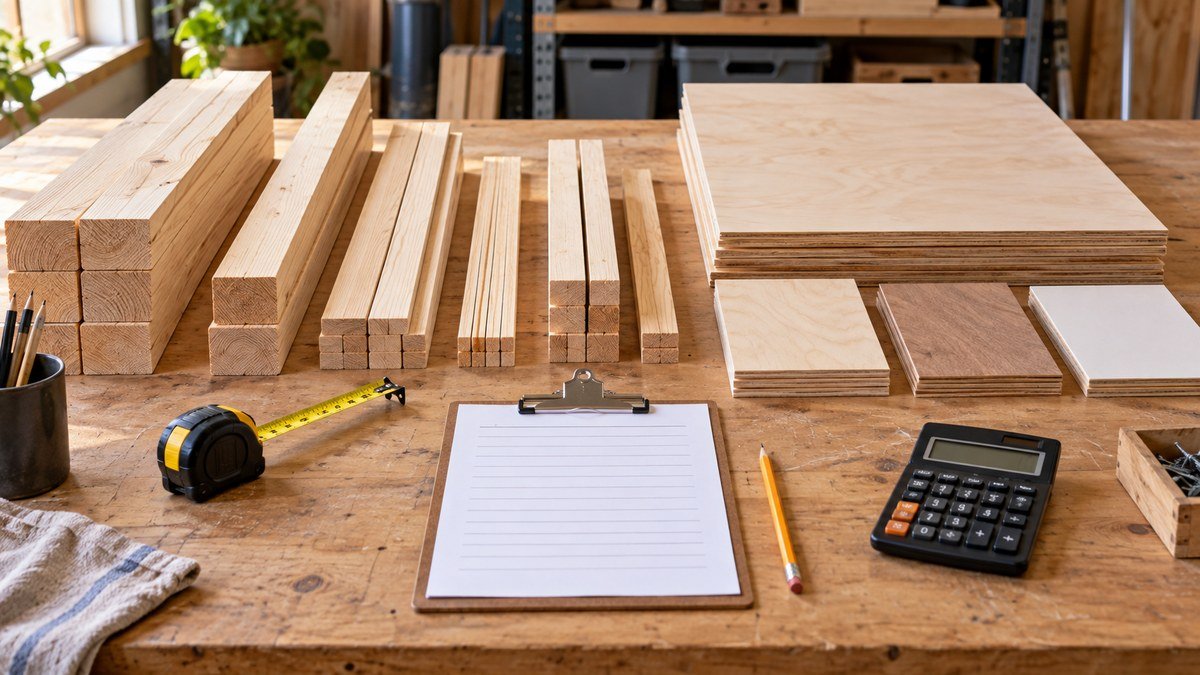
Your parts calculation becomes useful when it turns into two working documents: a cut list for the shop and a shopping list for the supplier.
The cut list should retain the part name, quantity, finished dimensions, material, and notes about grain or appearance. Add a rough blank size where milling is required. The shopping list should combine those needs into actual boards, sheets, and standard lengths you intend to purchase.
A clear process looks like this:
- Sort parts by material and thickness.
- Place the longest, widest, or most appearance-critical parts first.
- Group identical parts so they can be cut consistently.
- Add kerf and trimming space to the layout.
- Mark defects and avoid them in visible or structural parts.
- Convert the layout into whole boards or sheets.
- Add the selected waste allowance and one final notes column.
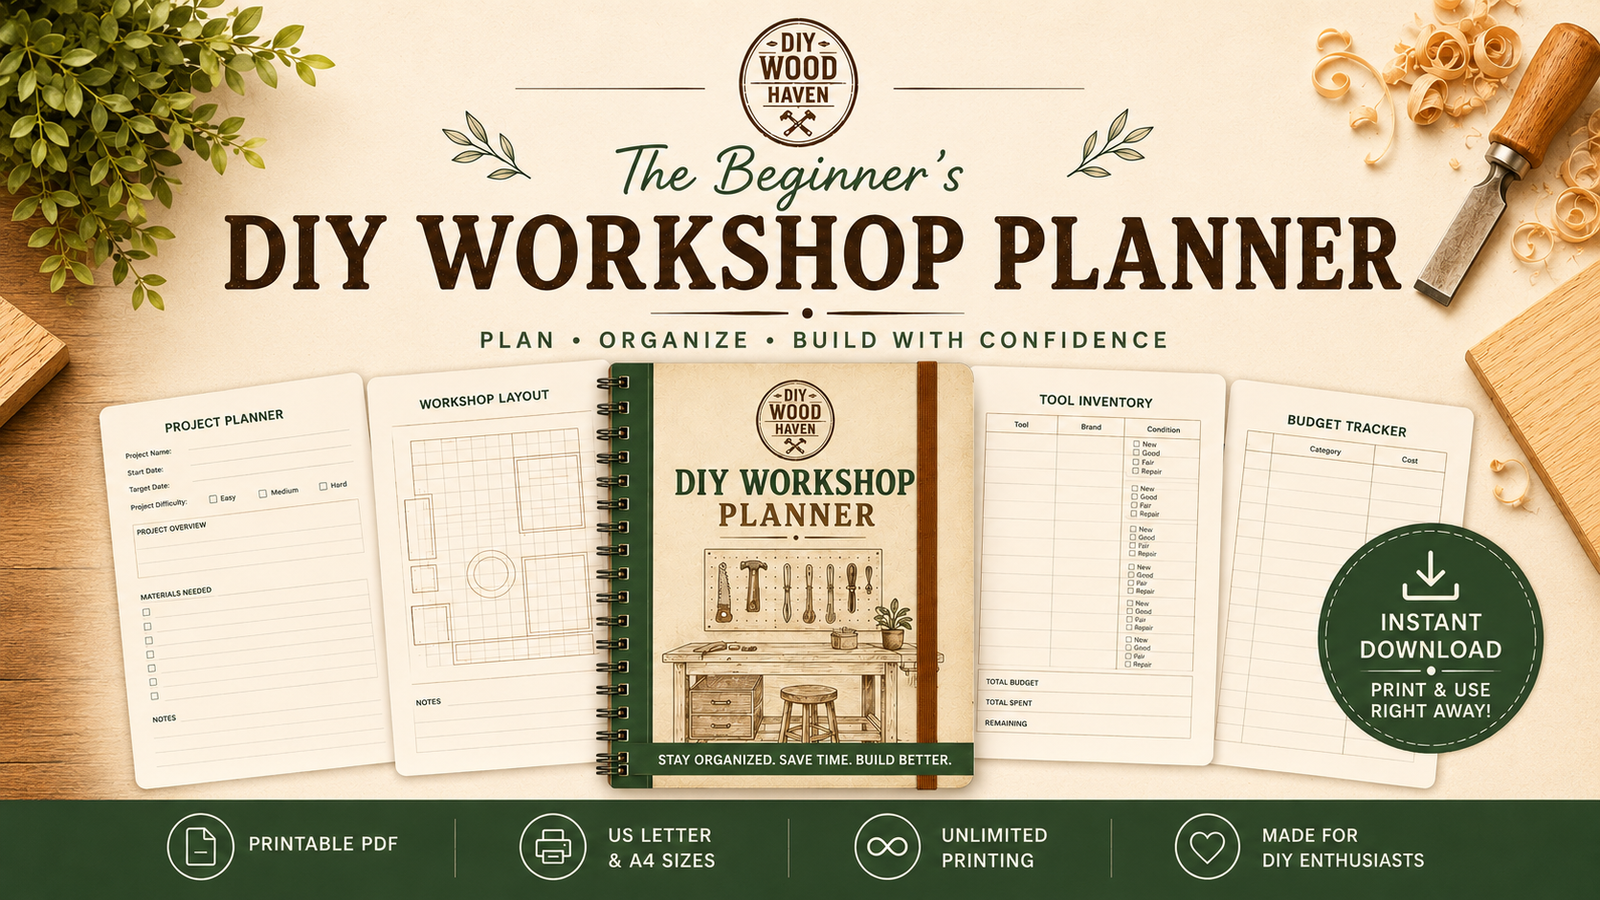
The Woodworking Project Checklist is useful for confirming that materials, tools, measurements, and safety preparations are ready before the first cut. For a reusable place to organize quantities, cost estimates, project steps, and workshop preparation, the Beginner’s DIY Workshop Planner can keep the estimate connected to the rest of the build.
Affiliate note: This section contains affiliate links.
If you prefer a measuring tool that combines a conventional retractable tape with a digital display, this Deli Tools digital tape measure may help when you are checking board lengths and transferring measurements to a list. Treat the digital reading as a convenience, verify critical measurements before cutting, and follow the product instructions. Manual affiliate-link verification should still be completed before publication.
Check the Estimate Before You Buy
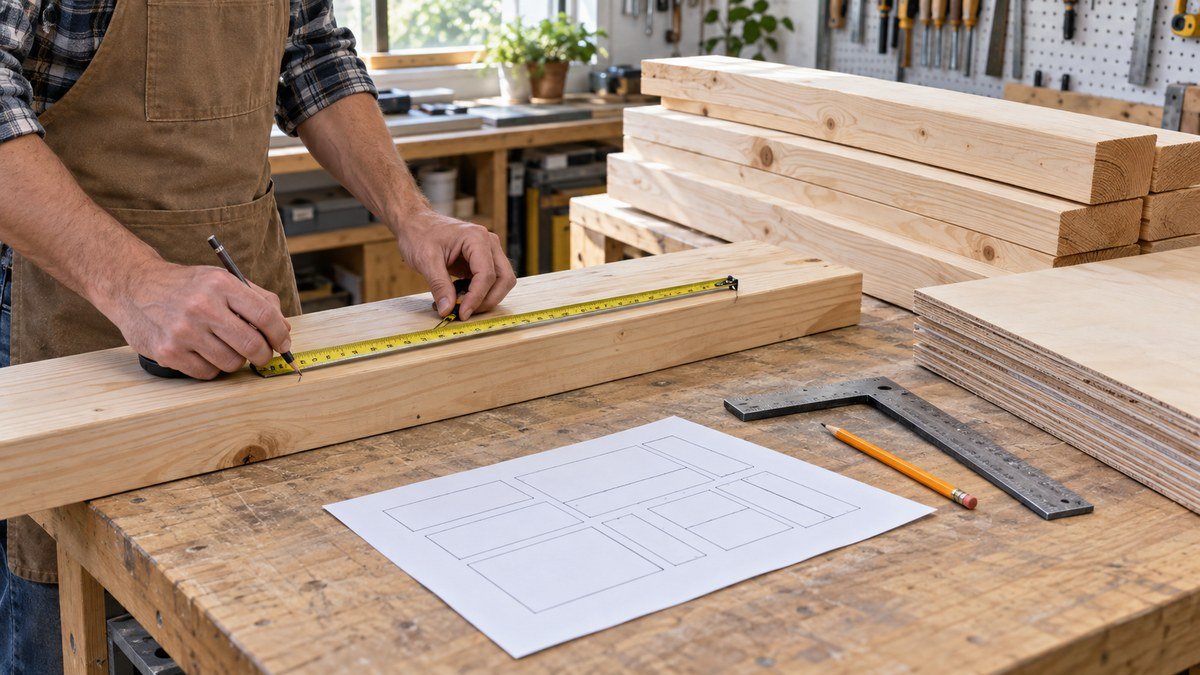
Before heading to the supplier, perform one deliberate review. This short check is much cheaper than stopping a build for one missing board.
- Match the cut list to the drawing. Confirm that every component shown in the plan appears on the list and that quantities include mirrored or repeated parts.
- Confirm finished versus rough dimensions. Make sure the stock is thick and wide enough after jointing, planing, and trimming.
- Review material changes. Check that a design revision did not leave old dimensions in the estimate.
- Test the board and sheet layouts. Verify that long parts fit actual board lengths and large panels fit within real sheet boundaries.
- Check grain direction and appearance. Reserve suitable stock for tabletops, doors, drawer fronts, and other visible areas.
- Verify the purchase units. Separate board feet, linear feet, board counts, sheet counts, and hardware so one number cannot be mistaken for another.
- Inspect before purchasing. Look for warp, checks, splits, severe defects, or damaged sheet edges that reduce usable yield.
Ask the supplier how material is measured and sold if the labeling is unclear. Bring your shopping list, a pencil, and a measuring tool. Do not rely solely on shelf labels when a critical dimension determines whether a part can be made.
If the number still seems surprising, recalculate one material group from the beginning instead of repeatedly adjusting the final total. A clean second calculation often reveals a missed quantity, mixed unit, or incorrect dimension. Once every purchase line can be traced back to specific project parts, you have a defensible answer to how much wood do I need.
Frequently Asked Questions
Should I Calculate Lumber in Board Feet or Linear Feet?
Use the unit that matches both the material and the way the supplier sells it. Rough hardwood is commonly estimated by board feet because thickness, width, and length all matter. Dimensional boards, trim, and molding are often planned by standard board count or linear length. Keep each thickness and species separate, and confirm the supplier’s method before buying.
How Much Extra Wood Should a Beginner Buy?
There is no universal allowance. If your starting question is “how much wood do I need?”, first calculate the net requirement, then assess board quality, milling needs, defects, grain matching, complicated shapes, and the chance of a learning mistake. Choose and document a reasonable allowance for that specific project. Sketching the cut layout before buying usually improves the decision more than applying the same percentage to every build.
How Do I Calculate Plywood Sheets for a Project?
List every panel, then arrange scaled rectangles on a drawing of the sheet size you can purchase. Respect grain direction, saw kerf, damaged edges, and safe cutting order. Place large panels first and fit smaller parts into the remaining spaces. Count the full sheets used by the layout and round up; a simple total-area calculation may underestimate the number of sheets.
Does a Board-Foot Calculation Include Waste?
No. The standard board-foot formula calculates volume from thickness, width, and length. It does not automatically account for knots, checks, milling loss, kerf, grain matching, or mistakes. Calculate the parts first, then add a separate allowance based on the stock and project. Keeping the two figures separate makes the estimate easier to understand and revise.
How Should I Estimate Wood When a Plan Uses Nominal Lumber Sizes?
Check the actual dimensions of the stock sold by your supplier and compare them with the finished dimensions required by the plan. Do not assume a nominal label is the measured size. If the plan was designed around common dimensional lumber, its cut list may already use actual dimensions, but verify the notes and measure before changing any part.
Can I Use Offcuts From Another Project in My Estimate?
Yes, but inventory them like purchased stock. Measure each offcut and record its species, thickness, usable width, usable length, grain direction, and defects. Assign it to a specific part in the layout. Do not subtract a scrap from the shopping list until you know it can produce that part safely and accurately. Small leftovers are especially useful for test cuts and setup pieces.
Conclusion
The best answer to “how much wood do I need” comes from a traceable plan, not a guess. Begin with every finished component, choose the correct measurement unit, and lay those parts onto real board or sheet sizes. Then allow for kerf, milling, defects, grain matching, and the difficulty of the build.
Keep the net calculation, waste allowance, cut layout, and final shopping quantities visible as separate steps. That structure makes errors easier to find and lets you adjust the estimate when a dimension or material changes. Before purchasing, compare the shopping list with the drawing one last time and confirm the actual stock sizes at the supplier.
With a complete parts list and a realistic layout, you can buy with confidence, reduce unnecessary leftovers, and keep the project moving. If you need a suitable build to practice the method, browse these beginner woodworking projects and create the material estimate before making the first cut.
Affiliate Disclosure
Affiliate Disclosure: This post contains affiliate links. If you purchase through these links, DIY Wood Haven may earn a commission at no additional cost to you.



Ready to Build Smarter?