How to Build a Small Woodworking Shop for Under $1,000
Can you create a useful small woodworking shop setup without spending several thousand dollars? Yes—if you start with the work you actually plan to do instead of copying a professional cabinet shop. A beginner space needs a safe work surface, accurate layout tools, a few versatile power tools, dependable workholding, and a sensible way to control dust. It does not need every stationary machine on day one.
The $1,000 figure in this guide is a planning ceiling, not a promise that every reader will find identical prices. Local taxes, used-tool availability, electrical work, and the tools you already own can change the total quickly. The goal is to show you how to make deliberate tradeoffs, protect room for safety equipment and accessories, and build a shop that can grow with your projects.
Start with your space and workflow, then buy tools. That order prevents the two most common budget-shop problems: a room crowded with machines and a budget exhausted before you purchase clamps, blades, hearing protection, or dust-control fittings.
Plan Your Small Woodworking Shop Setup Before Buying Tools
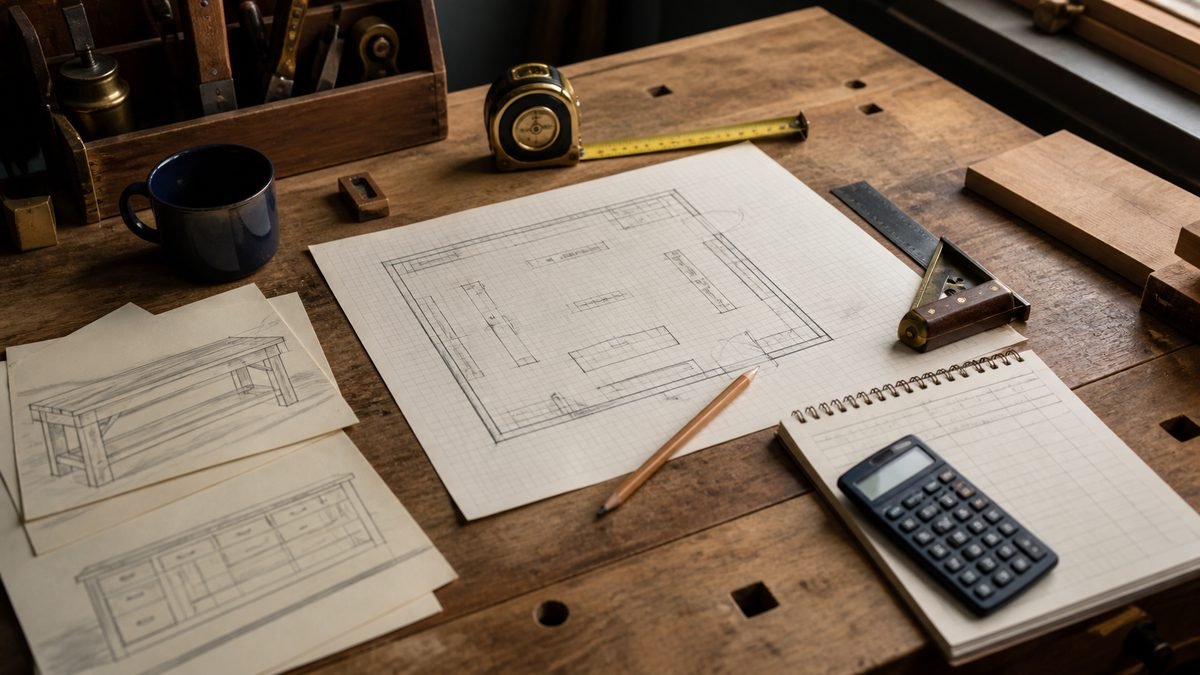
A good shop begins on paper. Pick the first two or three projects you realistically expect to build. Shelves, planter boxes, picture frames, and small tables share some basic needs, but they do not require the same equipment as cabinets, turned bowls, or large slabs. Your project list tells you which cuts, holes, joints, and finishes the shop must support.
Define the work before the tool list
Write down the largest material you expect to bring through the door and the biggest finished object you will assemble. A compact bench may be ideal for boxes and decor, while a folding assembly surface or pair of sawhorses may be more useful for sheet goods. If you are still choosing projects, these beginner woodworking projects can help you identify the operations you will use most often.
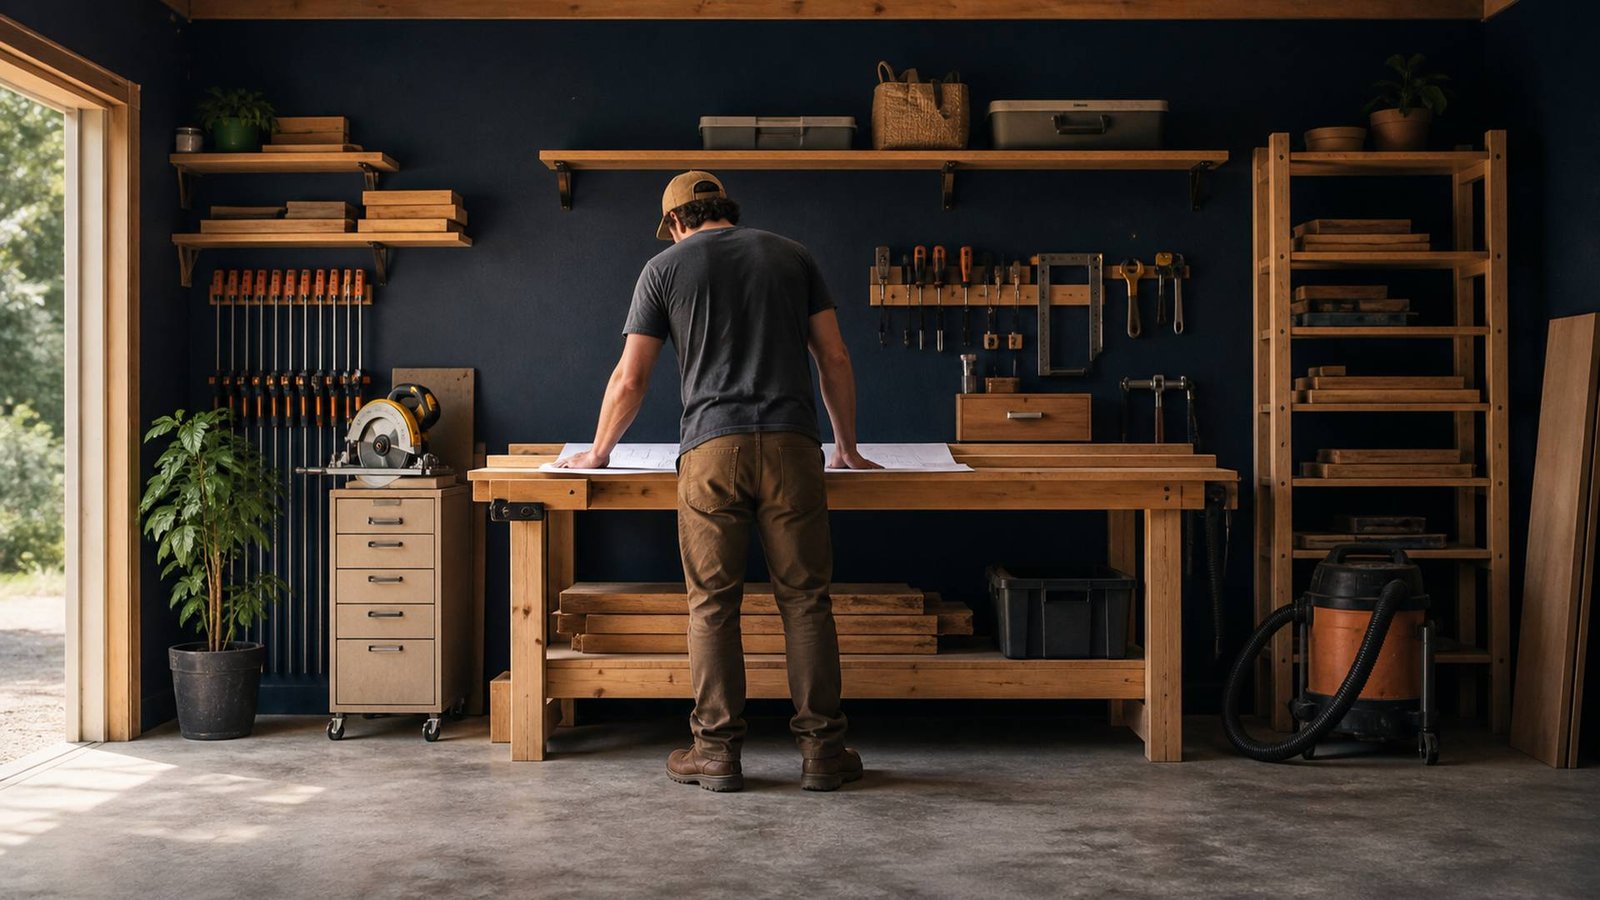
Measure the room, garage bay, shed, or shared corner. Record ceiling height, door swing, windows, outlets, lights, steps, columns, and anything that cannot move. Sketch the path for carrying long boards and sheet goods. An eight-foot board needs clearance before, during, and after a cut; the tool footprint alone does not describe the space a tool consumes.
Give every dollar a job
Rather than trusting fixed prices that may be outdated by the time you shop, divide the budget into flexible categories. A practical starting point is to reserve the largest share for core tools and workholding, then protect separate amounts for safety, dust control, storage, blades, bits, sandpaper, extension management, and unexpected replacements. If you already own a drill or circular saw, move that money into better workholding, lighting, or dust capture.
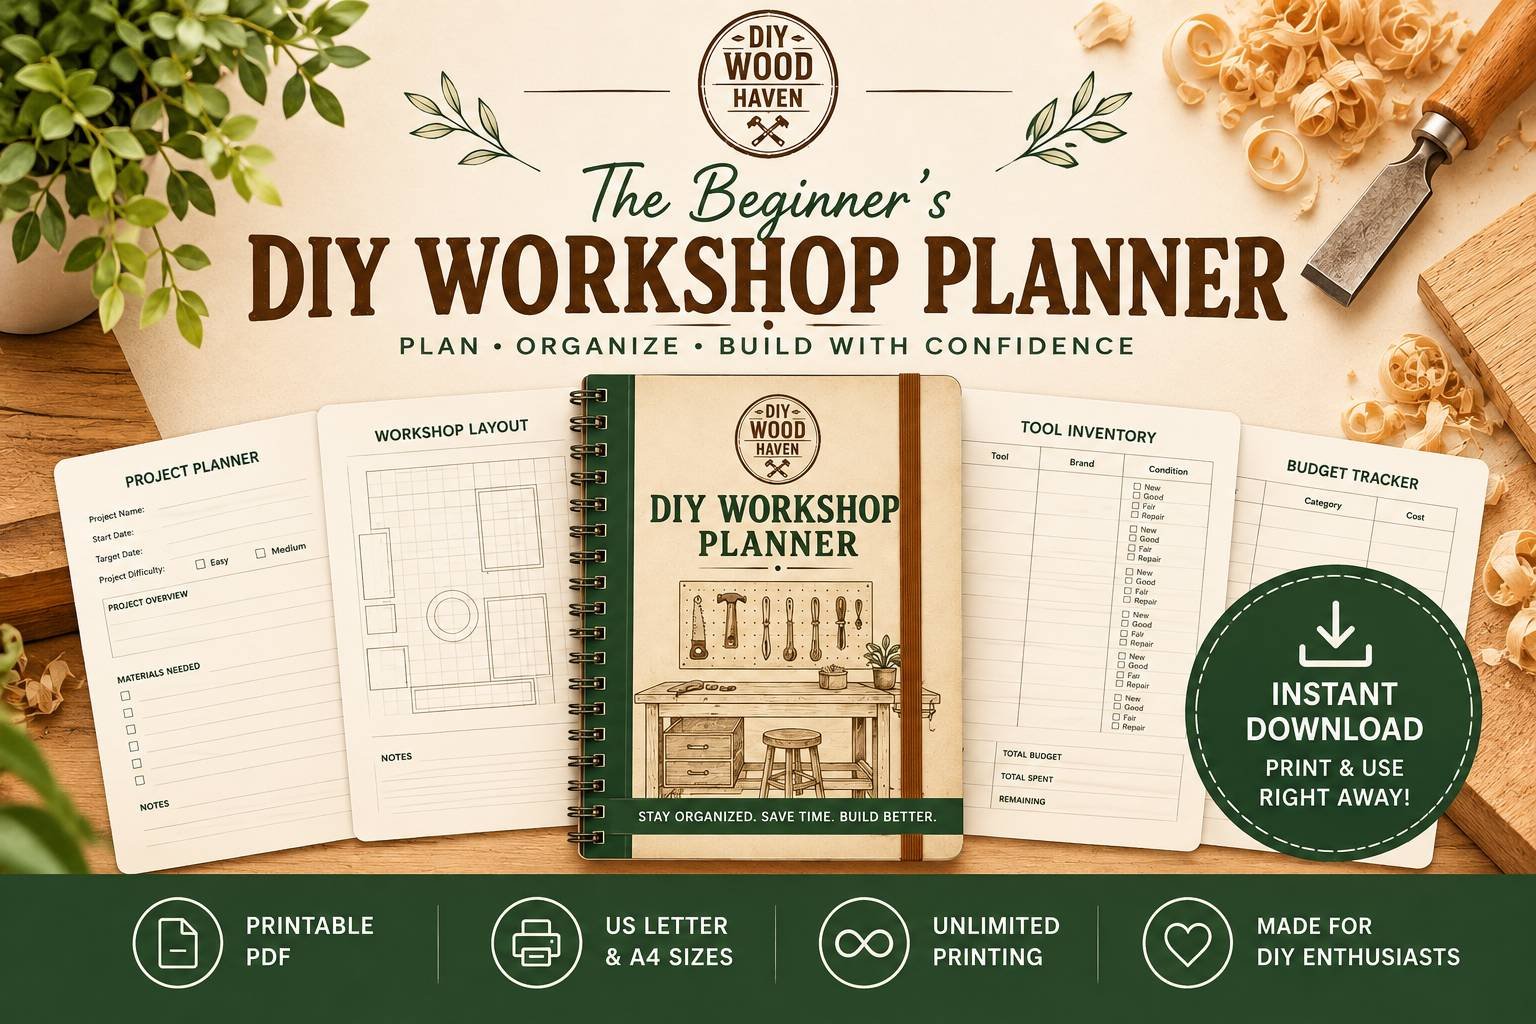
Keep a contingency instead of spending exactly $1,000 in the first shopping trip. A missing adapter, dull blade, or inadequate clamp can stop a project even when the main tool is sitting on the bench. The Beginner’s DIY Workshop Planner may be helpful if you want one place to map the room, list projects, and assign the budget before shopping.
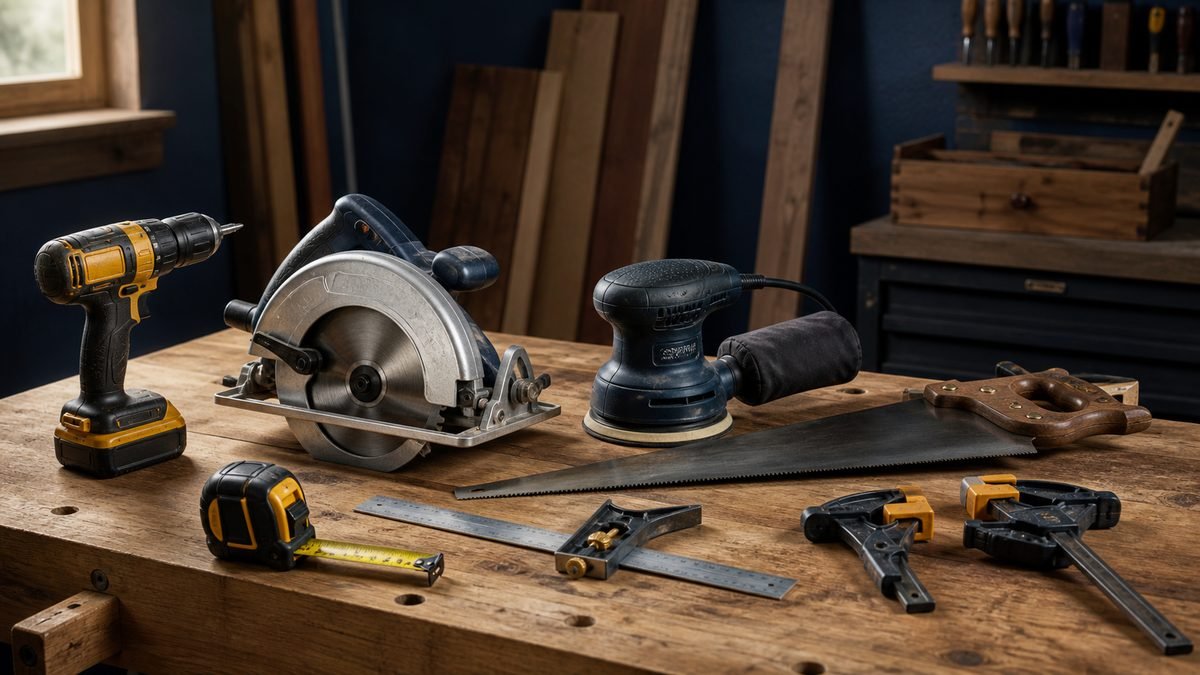
Small Woodworking Shop Setup: Essential Starter Tools
The best beginner tools perform several common jobs without demanding permanent floor space. Start with measuring and marking, then add cutting, drilling, sanding, and secure workholding. Buy for your next projects, not for an imagined future shop.
Build a versatile core kit
A typical starter kit can include a tape measure, pencils or a marking knife, a combination square, a drill/driver and bits, a circular saw with a straight guide, a random-orbit sander, a basic hand saw, and several clamps. Add a stable bench, folding worktable, or sturdy sawhorses. The exact mix depends on the project, but this group handles many straight cuts, pilot holes, fasteners, sanding tasks, and assemblies.
Accuracy often improves more from a square guide, sharp blade, and secure clamping than from a larger machine. Before expanding the list, review a focused beginner woodworking tool list and match each item to a real operation in your project plan.
Delay specialized machines until a project earns them
A table saw, miter saw, planer, jointer, drill press, or router table can be valuable, but each costs money and consumes operating clearance. You may be able to have lumber surfaced by a supplier, make guided cuts with a circular saw, or use a router only when a project calls for it. Delaying a large machine gives you time to learn which bottleneck truly slows your work.
Used tools can stretch the budget, but inspect them in person when possible. Check cords, guards, switches, fences, tables, bearings, battery condition, and signs of unsafe modifications. Confirm that replacement blades or accessories are still available. Do not operate a tool with missing safety components simply because the price is attractive.
Do not forget the small items
Blades, drill bits, sandpaper, glue, fasteners, push sticks, hearing protection, eye protection, and respiratory protection are part of the shop—not miscellaneous extras. A cheap tool with an unsuitable or dull accessory can create poor results and encourage unsafe force. Follow the manufacturer’s instructions for accessory compatibility and tool setup.
Disclosure: This article contains affiliate links. I may earn a commission at no additional cost to you if you make a qualifying purchase.
When drilling overhead or into surfaces that release fine debris, a compatible electric-drill dust cover may help contain material close to the bit. Confirm that the cover fits your drill and task, and continue using appropriate eye and respiratory protection.
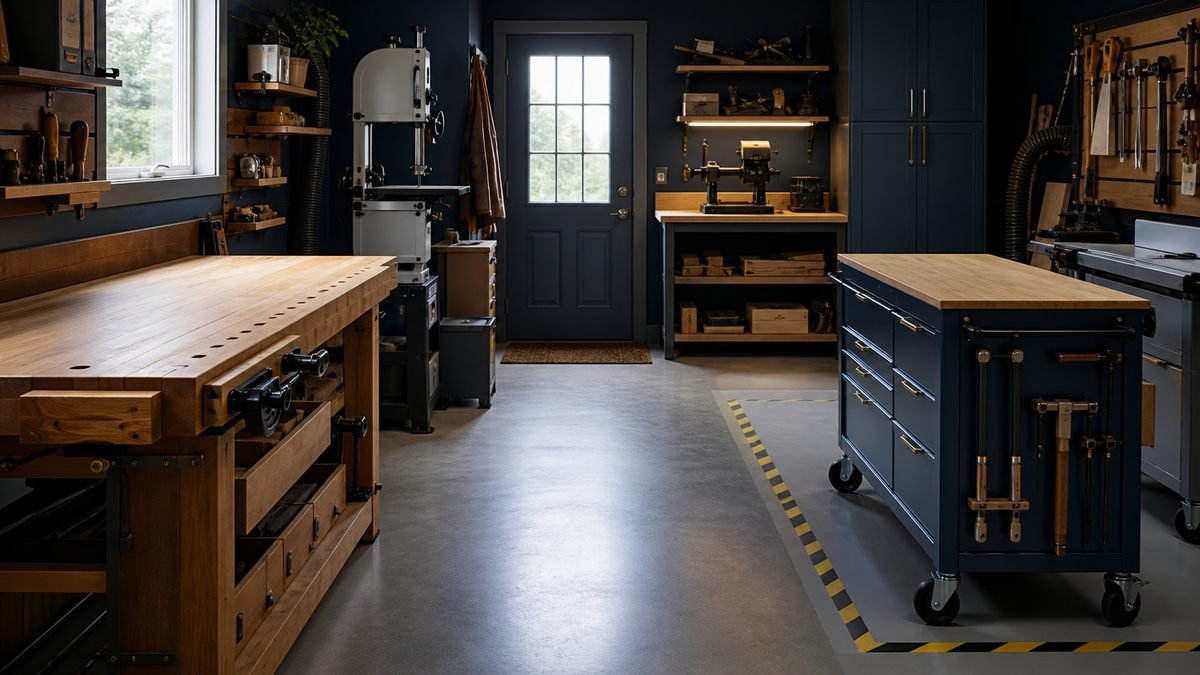
Design a Safe Small Woodshop Layout
In a small room, layout determines whether the shop feels capable or frustrating. The objective is not to keep every tool ready at once. It is to make the current operation safe, then move or fold equipment when the workflow changes.
Create simple work zones
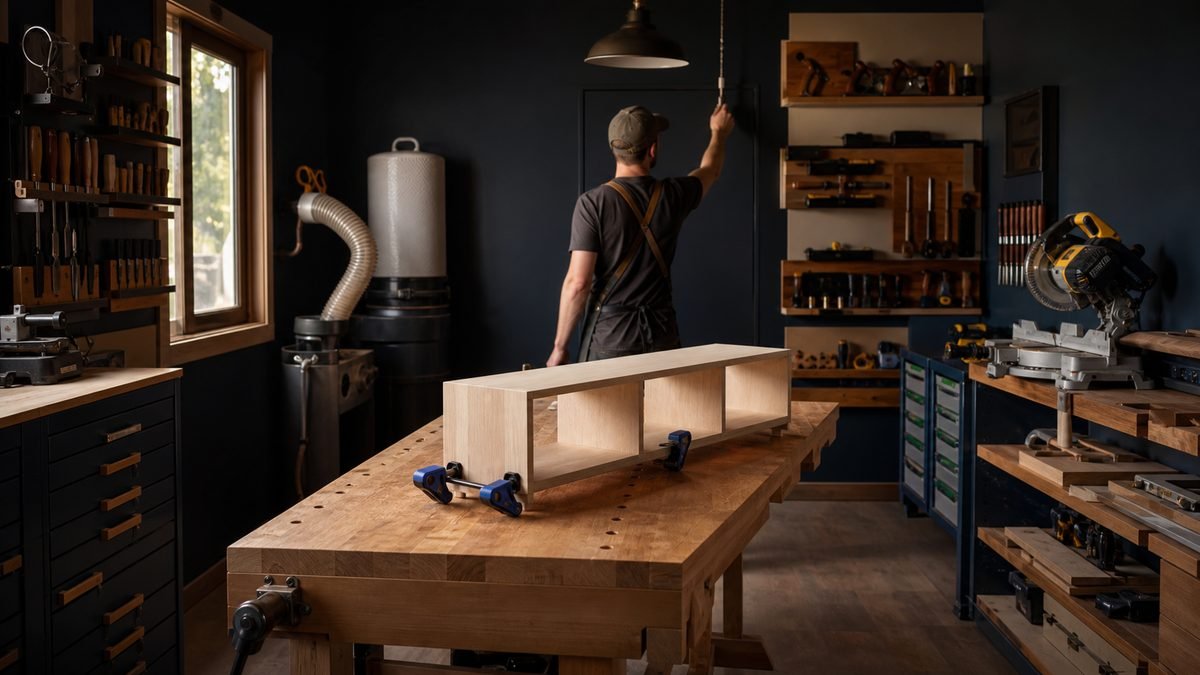
Divide the shop into three overlapping zones: cutting and milling, assembly and finishing, and storage. Keep dusty cutting work near the easiest collection and cleanup path. Give assembly the flattest, best-lit surface. Store measuring tools, bits, and fasteners near the tasks that use them.
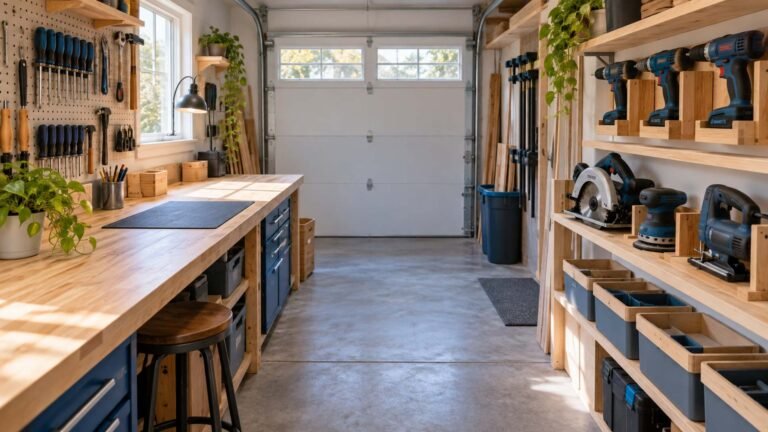
A one-wall layout keeps the center open. An L-shaped layout can add bench space without creating an island. A mobile layout puts selected tools on locking casters so one clear area can serve multiple operations. Compare these ideas with the existing guide to woodworking shop layouts and essential tools.
Plan for the material, not only the machine
Mark infeed and outfeed paths on your sketch. Keep doors, stairs, electrical panels, and exits clear. Do not place a bench where a long board will force you to stand in a doorway or back into stored material. When a tool moves, lock the casters and confirm the base is stable before use.
Use bright, even lighting that limits shadows around blades and layout lines. Avoid daisy-chained extension cords and cords running through walking paths. Tool manuals specify electrical requirements; if the shop needs new circuits, outlets, or permanent wiring, consult a qualified electrician rather than improvising.
Keep a clear safety envelope
The smallest possible footprint is not automatically the safest. Leave room to maintain balanced footing and control the workpiece. Never reduce manufacturer-required clearances or remove guards to make a machine fit. A shared garage also needs a repeatable way to separate vehicles, children, pets, stored fuel, and household traffic from active tool use.

Control Dust, Noise, and Electrical Risk
Dust control should be designed with the first tools, not added after every shelf is full. Fine dust can remain airborne even when the floor looks clean. Source capture, ventilation appropriate to the space, routine cleanup, and personal protection work together; no single device replaces the others.
Start with one-tool-at-a-time collection
For many portable tools, a suitable shop vacuum connected with tool-compatible hoses and fittings is a practical starting point. Use the collection port the manufacturer provides, keep the hose from interfering with the cut, and empty or service the unit as directed. Larger machines may require airflow and ducting beyond what a small vacuum can provide, so match the collector to the tool rather than assuming every hose will work.
If your belt sander accepts a removable bag, a compatible belt-sander dust collection bag may be useful for source capture during short tasks. Check the port dimensions and tool manual before ordering; a small bag does not replace respiratory protection or thorough cleanup.
Do not sweep fine dust into the air. Vacuum surfaces when appropriate and allow airborne material to settle before removing respiratory protection. If you use ventilation, make sure it does not spread dust into living areas or toward neighbors. Wood dust and finishing vapors require different controls; read product labels and never treat an ordinary dust collector as a fume extractor.
Protect eyes, hearing, and breathing
Wear eye protection and hearing protection suited to the task. Respiratory protection must fit properly and be appropriate for the hazard. OSHA’s woodworking guidance is a useful general reference, but your tool manual, material safety information, and local requirements should guide the specific setup. Stop if a guard, extraction port, switch, or cord is damaged.
Reduce avoidable electrical and fire hazards
Keep combustible finishing materials in appropriate containers and away from ignition sources. Dispose of oily rags according to the finish manufacturer’s directions because some oils can generate heat as they cure. Do not overload circuits, use damaged cords, or rely on a lightweight household extension cord for a high-draw tool.
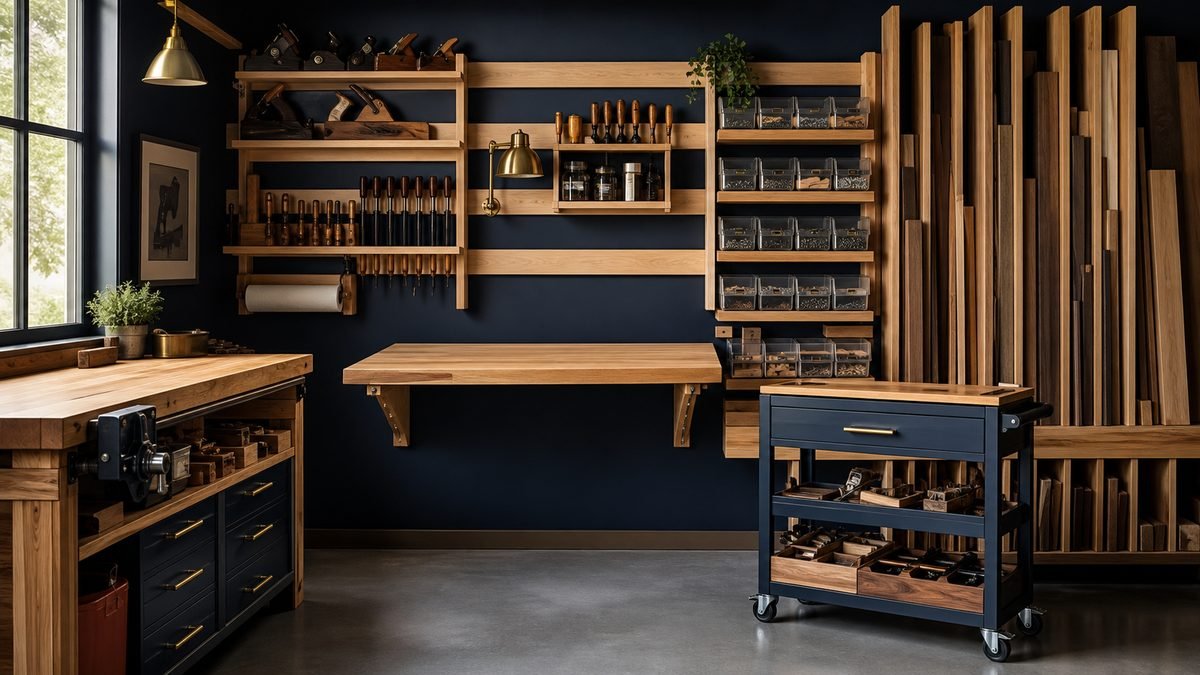
Add Space-Saving Storage and Workflow
Storage should reduce motion and hazards, not merely hide clutter. In a small shop, the best system uses vertical space, keeps the floor open, and makes the next tool easy to return.
Use walls before adding floor cabinets
Pegboard, French-cleat panels, shallow shelves, and wall racks can hold frequently used hand tools where you can see them. Keep heavy items low enough to lift safely, anchor storage to suitable framing, and avoid placing sharp tools where they can fall into a walkway. Do not cover electrical panels, vents, windows needed for egress, or required access points.
Small parts work well in labeled, closed bins. Store compatible accessories beside the tool: drill bits near the drill, sanding discs near the sander, and setup gauges near the machine they adjust. This reduces searching and makes it easier to notice when a consumable needs replacement.
Make work surfaces earn their footprint
A rolling cart can support a benchtop tool, hold accessories, and serve as extra assembly space when the tool is stored. A fold-down surface can be useful in a shared garage if the wall and hardware safely support the intended load. Keep the primary bench clear enough for clamping rather than treating it as permanent storage.
Lumber storage should prevent boards from tipping or bowing into a path. Separate short offcuts you will genuinely use from scraps you are keeping without a plan. A defined maximum bin for offcuts creates a natural limit.
End with a five-minute reset
At the end of a session, unplug or secure tools as appropriate, return accessories, vacuum the work area, remove tripping hazards, and check finishing materials. This short routine protects the next session from starting in yesterday’s clutter. It also reveals workflow problems: if one tool never returns easily, its storage location probably needs to change.
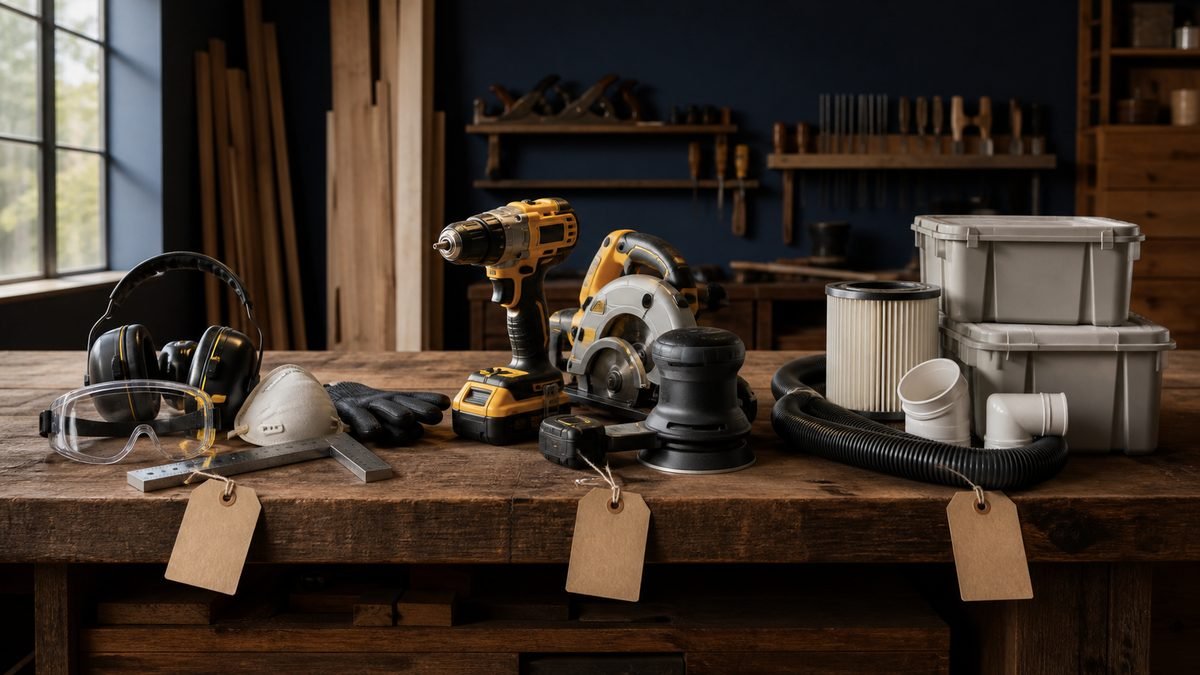
Follow a Phased $1,000 Buying Plan
A phased plan keeps the shop useful while preserving flexibility. Prices change, so treat the following sequence as a decision framework rather than a shopping list with guaranteed totals.
Phase one: safety, layout, and core operations
Measure the room, improve basic lighting if needed, identify safe power sources, and establish a stable work surface. Add eye and hearing protection, appropriate respiratory protection, measuring and marking tools, workholding, and the portable tools needed for the first project. Test the full material path before making a cut.
Phase two: dust control and organization
Add source-capture equipment suited to the tools you actually use, then organize the wall and mobile storage around the established workflow. Buy hoses, fittings, filters, and adapters only after confirming tool and collector compatibility. Improve the problem you have observed rather than the one a product page says you might have.
For a compatible miter or table saw, a saw dust collection bag may be worth considering as a compact accessory. Verify the connection size and follow the saw manufacturer’s dust-control guidance; do not assume a bag captures hazardous fine dust completely.
Phase three: project-specific upgrades
After several builds, review where you lost time or accuracy. More clamps may matter more than another saw. A router may unlock the edge profiles and joinery you want, while a planer may be unnecessary if you buy prepared lumber. Use a woodworking project checklist to distinguish recurring needs from one-time wants.
Common beginner mistakes include spending most of the budget on one machine, buying a bundle because the discount looks attractive, ignoring blades and accessories, and filling every open wall before testing the workflow. The purpose of a budget is not to reach zero; it is to direct money toward safe, repeatable work.

Frequently Asked Questions
Can you really set up a woodworking shop for under $1,000?
Yes, a basic shop can fit under $1,000 when you focus on portable core tools, a stable work surface, workholding, safety gear, and simple dust control. The result will not match a full cabinet shop, and local prices vary. Reuse tools you own, consider carefully inspected used equipment, and leave money for blades, bits, clamps, and consumables.
How much space does a beginner woodworking shop need?
There is no universal minimum because the required space depends on project size and tool clearance. A small garage bay, shed, or shared room can work when tools are mobile and material paths stay clear. Measure infeed and outfeed space, not just machine footprints, and preserve safe access to doors, stairs, electrical panels, and exits.
Which power tool should a beginner buy first?
The best first power tool depends on the first project, but a drill/driver is broadly useful and a guided circular saw handles many straight cuts without permanent floor space. Add a random-orbit sander when the project requires surface preparation. Choose the operation first, then select the tool and compatible safety equipment.
Is it safe to run woodworking tools in a garage?
A garage can support woodworking when you manage power, dust, ventilation, lighting, noise, fire risks, and household traffic. Follow every tool and material manufacturer’s instructions. Keep vehicles, children, pets, fuels, and ignition sources away from active work. Consult a qualified electrician for circuit changes and check local rules that apply to your property.
Should beginners buy used woodworking tools?
Used tools can be economical if they are complete, serviceable, and safe. Inspect cords, switches, guards, fences, tables, batteries, bearings, and signs of modification. Confirm that manuals and replacement accessories are available. Walk away from a tool with a missing guard, damaged electrical components, or a seller who will not allow a reasonable inspection.
What is the simplest dust-collection setup for a small shop?
A suitable shop vacuum connected to compatible portable-tool ports can be a practical first layer, combined with good cleanup and appropriate personal protection. It may not provide enough airflow for every stationary machine. Match collection equipment to each tool’s requirements, avoid blowing fine dust into living spaces, and treat finishing vapors separately.
How do you keep a tiny workshop organized?
Store frequently used tools vertically, keep accessories near their tools, label small-parts bins, and place selected equipment on stable locking casters. Limit offcuts to a defined container and finish each session with a five-minute reset. If an item repeatedly lands on the bench, give it a closer, easier home.
Conclusion
A capable small woodworking shop setup grows around real projects, not a catalog wish list. Start by measuring the room and choosing the first two builds. Protect space in the budget for safety, workholding, dust control, and sharp accessories before adding specialized machines.
Your first layout will change, and that is useful feedback rather than failure. Keep mobile elements flexible, review the workflow after each project, and upgrade the operation that is genuinely holding you back. If you want a structured way to track measurements, tools, and phased purchases, the Beginner’s DIY Workshop Planner may help you keep those decisions together.
Affiliate disclosure: This article contains affiliate links. If you make a qualifying purchase through one of these links, I may earn a commission at no additional cost to you. Product suitability and compatibility should be verified before purchase.