
Woodworking Project Checklist: 9 Steps Before You Cut
This article may contain affiliate links. If you buy through them, we may earn a commission at no extra cost to you.
Have you ever cut a board, carried it to the assembly table, and discovered that one overlooked measurement made the whole project harder? A woodworking project checklist gives you a quiet moment to solve those problems before the saw starts. It turns a rough idea into a sequence you can measure, price, and build with confidence.
Planning does not have to mean drawing a perfect set of professional blueprints. For a small shelf, planter, or side table, a clear sketch, material list, cut list, tool check, and safe order of work may be enough. The important part is making your decisions while you can still change them cheaply.
This guide walks through nine practical checks for dimensions, joinery, materials, cost, schedule, tools, workspace, safety, and the final pre-cut review. Use it alongside our broader guide to woodworking project planning, then adapt the checklist to the size and risk of your own build.
Woodworking Project Checklist: Define the Goal First
A project becomes easier to plan when you can describe what success looks like. “Build a side table” is a starting idea. “Build a stable side table that fits a 20-inch-wide space, supports a lamp, matches the sofa height, and can be carried through the doorway” is a workable brief.
Choose the finished size, location, and purpose
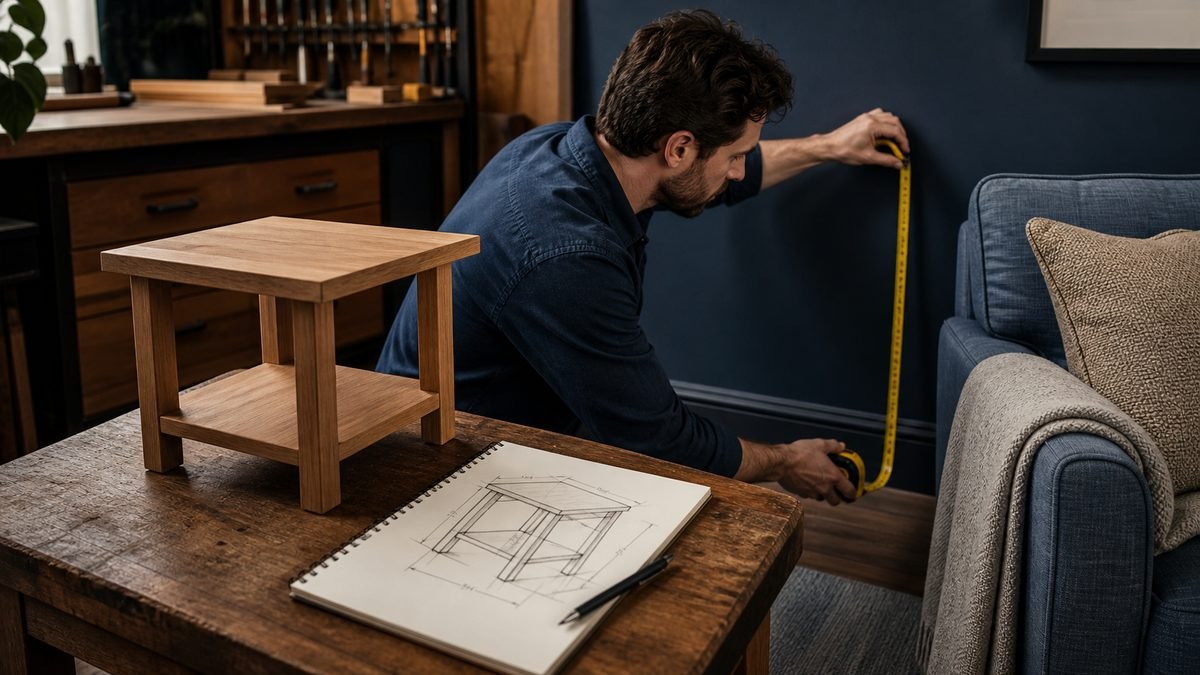
Measure the place where the finished piece will live. Check width, depth, height, doorways, stairs, baseboards, outlets, and the room needed for drawers or doors to open. Outdoor projects also need decisions about drainage, ground contact, sun, and moisture. Furniture needs a realistic idea of the load it will carry.
Write the essential requirements at the top of your plan. Keep them separate from optional details. A shelf must fit, stay level, and safely hold its intended load. A decorative edge profile is optional. This distinction gives you an easy way to simplify the project if time or cost begins to grow.
Match the build to your current skills
List the joints and operations the project requires. Straight cuts, butt joints, screws, and simple dadoes are different challenges from tapered legs, curved laminations, or complex mortise-and-tenon work. An unfamiliar technique is not a reason to abandon the design, but it is a reason to schedule a practice piece.
A good first version can be simpler than the inspiration photo. You might use pre-surfaced lumber, reduce the number of drawers, choose a painted finish, or replace a complicated joint with a sound beginner-friendly alternative. The finished project should test one or two new skills, not every skill at once.
Set a realistic quality standard
Decide where precision matters most. A cabinet door gap demands more consistency than the hidden underside of a garden bench. Identify the visible faces, show surfaces, matching parts, and reference edges. That helps you spend your time where it affects fit, strength, and appearance.
Sketch the Build and Confirm Every Dimension
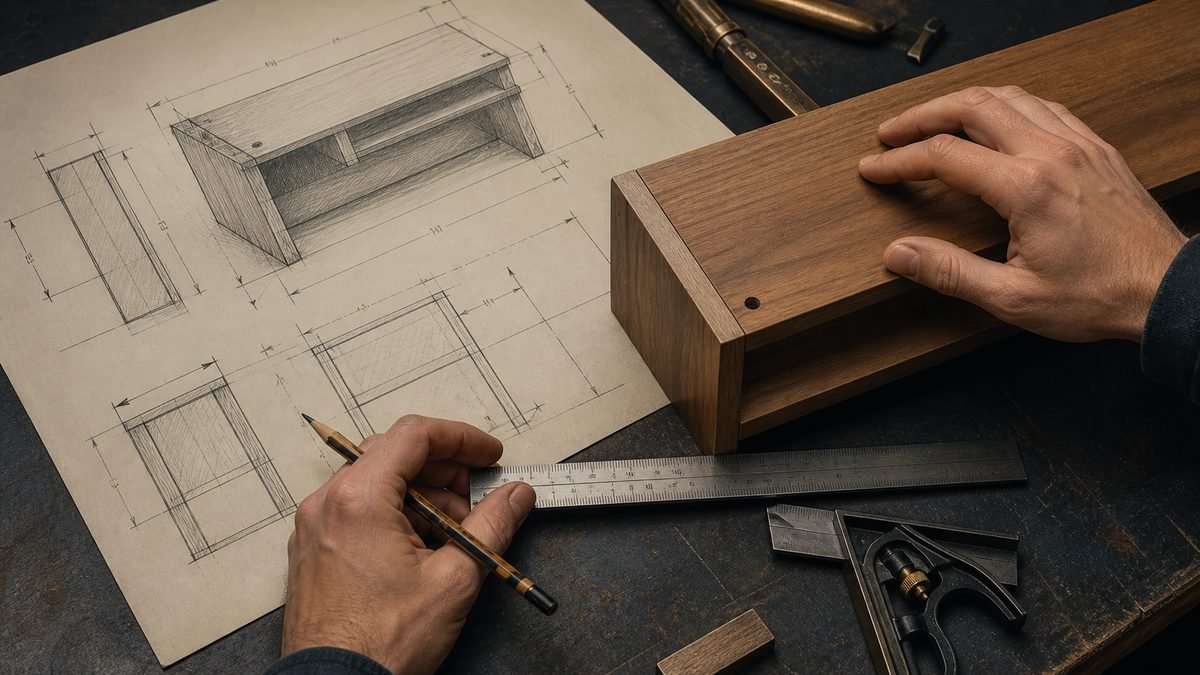
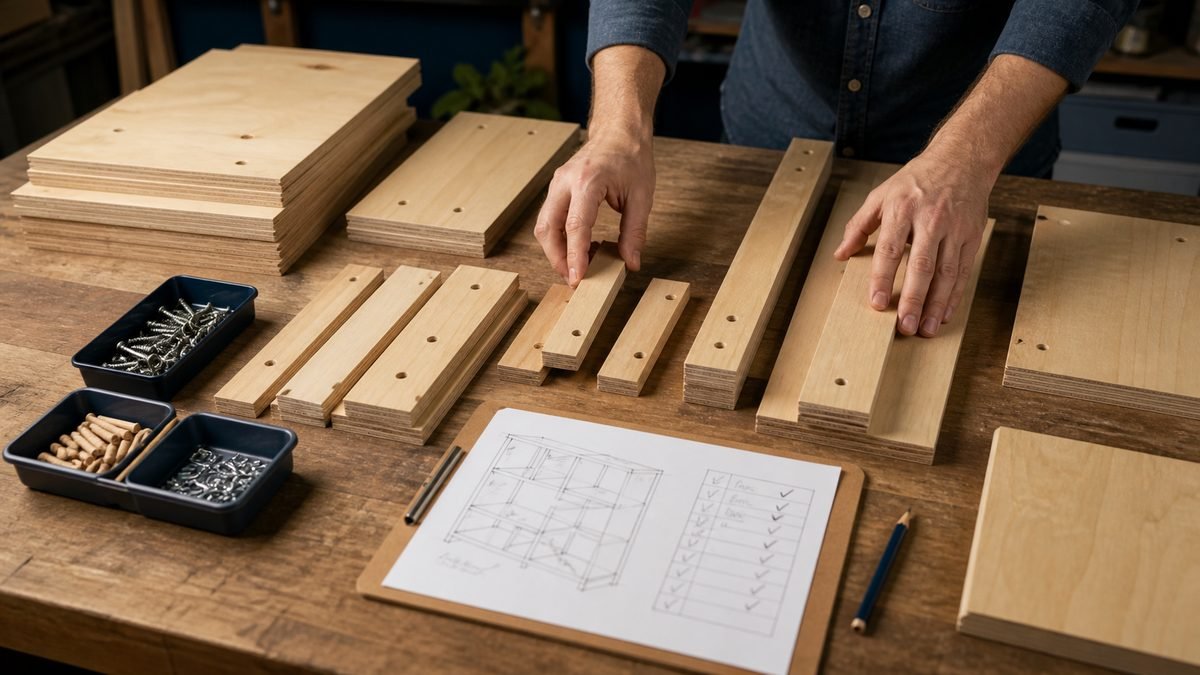
A sketch is not decoration; it is a problem-solving tool. Fine Woodworking and Popular Woodworking both emphasize pairing drawings with cut lists because the drawing shows how the parts relate. Start with front, side, and top views when one view cannot explain the build clearly.
Draw the overall dimensions before the parts
Mark the finished height, width, and depth. Then break the object into components. If you are planning a basic table, identify the top, legs, aprons, shelf, fasteners, and any joinery allowance. Keep one unit system throughout the plan. If a source plan uses a different system, convert every relevant dimension in one pass and label the result.
Nominal lumber sizes can cause confusion. A board sold by a familiar nominal name may not match that measurement after surfacing. Measure the material you will actually use, especially when existing parts, hardware, or purchased panels determine the fit.
Woodworking project checklist dimension review
Choose a reference face and reference edge for each important part. Dimension related features from the same reference whenever possible. This avoids a chain of small measuring errors. Check symmetry, overhangs, reveals, drawer clearances, and the thickness of parts that sit between other parts.
Joinery changes dimensions. A tenon adds hidden length. A dado changes where a shelf ends. A rabbet reduces the remaining thickness at an edge. Pocket-hole screws need adequate stock thickness and clearance. Draw a larger detail of any connection that is hard to picture.
Test the design before buying expensive material
For uncertain dimensions, make a cardboard template, scrap-wood mockup, or full-size drawing. Place it in the room, test reach and clearance, and compare it with nearby furniture. A ten-minute mockup can reveal a poor proportion or awkward height while changes are still easy.
Build the Material List and Cut List
The material list tells you what to buy. The cut list tells you what the purchased material must become. Keep them related, but do not treat them as the same document.
Create a complete parts table
Work backward from the drawing. Give every part a clear name and record quantity, finished length, width, thickness, material, and grain direction. When milling rough lumber or cutting joinery, add rough dimensions and notes separately.
| Part | Qty. | Finished size | Material | Notes |
|---|---|---|---|---|
| Leg | 4 | Project-specific | Hardwood | Keep grain and color consistent |
| Apron | 4 | Verify between-leg length | Hardwood | Allow for chosen joinery |
| Top | 1 | Verify final overhang | Board or panel | Plan grain direction and movement |
Do not copy a published cut list without checking it against the drawing and your actual material. Popular Woodworking notes that small deviations affect related parts. Purchased plans can also assume a thickness or hardware type that differs from what you have.
Add the items that are easy to forget
Your shopping list may need screws, washers, hinges, drawer slides, glue, sandpaper, finish, applicators, rags, masking materials, and replacement blades or bits. Include delivery, sheet-cutting service, and tool rental when relevant. Read finishing-product directions before planning coat and cure times.
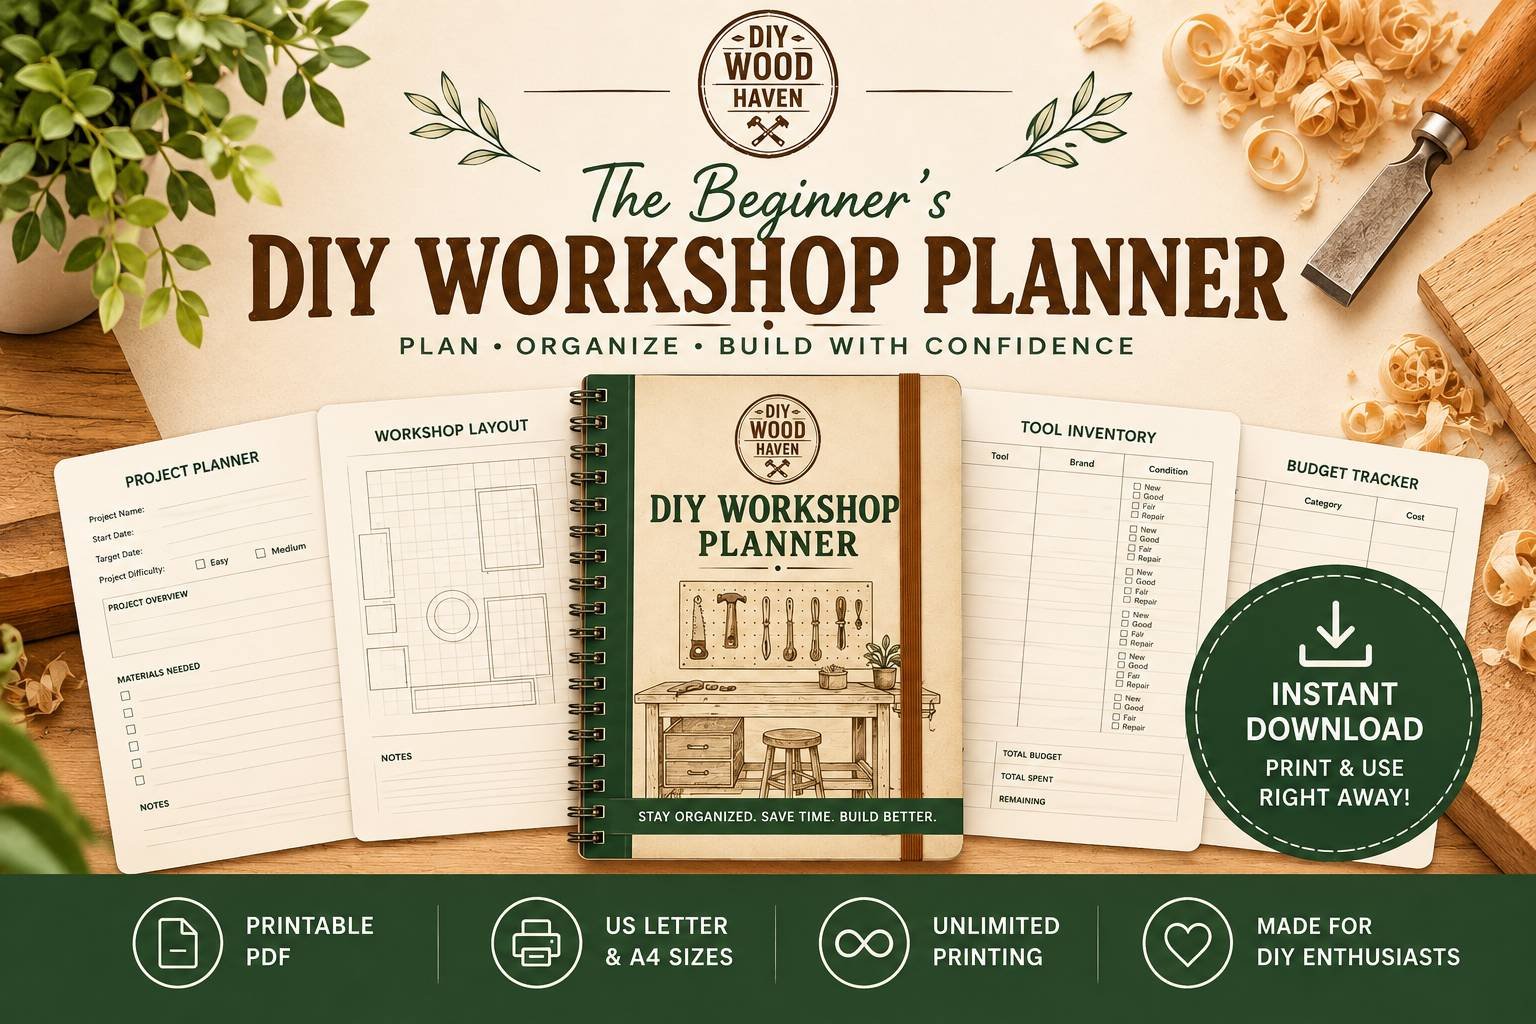
If keeping these details in one place is difficult, The Beginner’s DIY Workshop Planner may be useful for recording dimensions, materials, budget notes, and workshop tasks without relying on loose paper.
Plan board and sheet layouts
Lay out parts so that grain, defects, and show faces make sense. Remember the saw kerf between adjacent cuts. Group identical pieces and mark them together when practical. Buy enough material for defects and mistakes, but avoid a universal waste percentage: the right allowance depends on board quality, grain matching, part shape, and your cutting plan.

Estimate the Full Cost and Build Schedule
A realistic budget includes more than the most visible lumber. Price the exact dimensions and grade you need, then add sheet goods, hardware, consumables, delivery, taxes, tool rental, and finishing supplies. If prices vary, record the date and supplier so you know what the estimate represents.
Separate required spending from upgrades
Required spending makes the design safe and functional. Optional spending may improve appearance, speed, or convenience. Better hinges might be important; a specialty jig used once may not be. Borrowing, renting, buying pre-cut material, or changing the joint can be sensible alternatives.
Schedule the whole process, not only assembly
Break the project into planning, purchasing, milling, cutting, joinery, dry fitting, assembly, sanding, finishing, curing, and installation. Some stages need uninterrupted time; others need waiting time. Do not schedule final assembly before confirming that clamps, floor space, and help for large parts are available.
Finishing often expands the calendar. Thin coats, ventilation, drying, and cure time should follow the manufacturer’s directions. Our guide to the best wood finish for beginners can help you compare approachable options before committing to a schedule.
Identify the decision points
Mark places where one result controls the next step. After milling, verify final thickness before calculating an inset panel. After a dry fit, confirm the diagonal measurements before glue-up. A schedule with check points is more useful than a rigid list that assumes nothing will change.
Match Tools, Jigs, and Workspace to Each Step
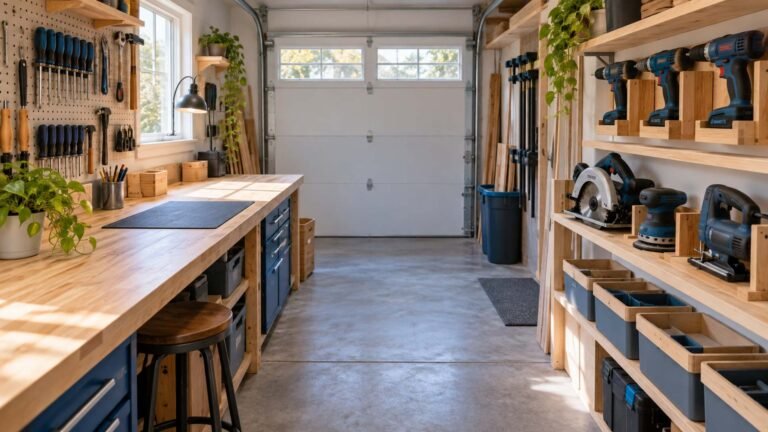
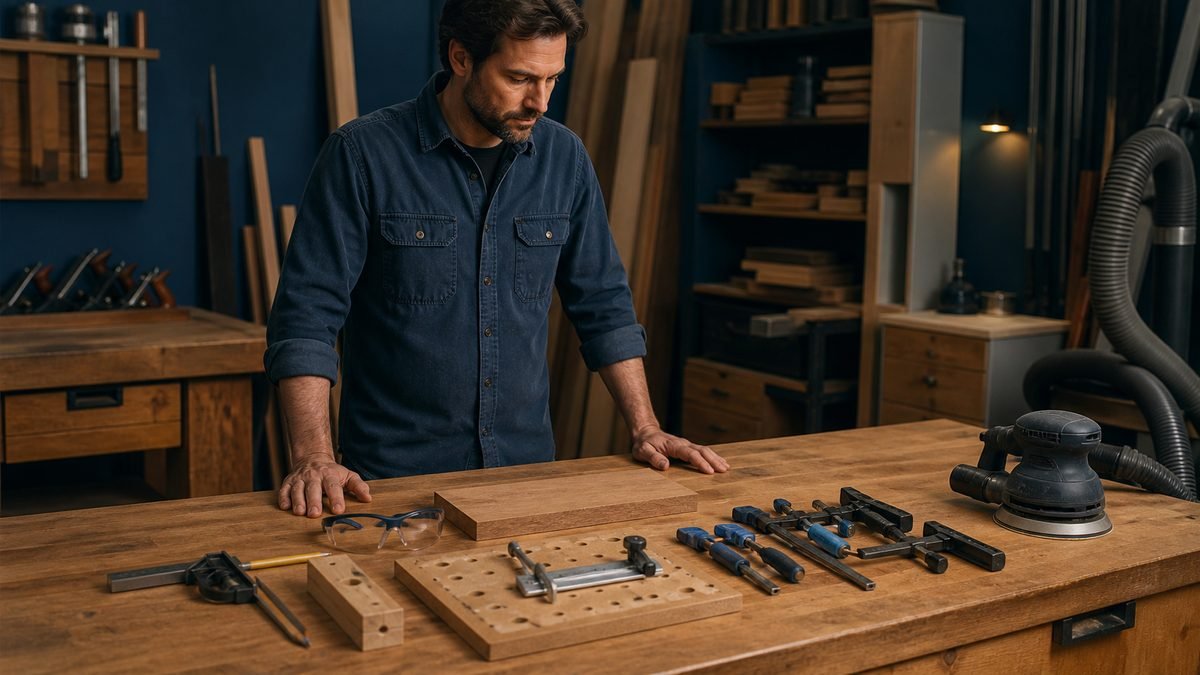
Build the tool list from tasks, not from a generic catalog. For each operation, identify the tool, accessory, workholding method, and protective equipment. A beginner woodworking tool list should grow with the projects you actually build.
Map every task to a tool and setup
- Measure and mark: tape measure, rule, square, marking knife or pencil.
- Cut: suitable saw and blade, guide or fence, stable support, clamps where appropriate.
- Drill and join: correct bit, depth control, backing board, jig if required.
- Assemble: clamps, cauls, square, glue supplies, fastener driver.
- Sand and finish: abrasives, dust control, lighting, ventilation, protective equipment.
Optional measuring aids can simplify repeatable setup. A combination square and angle-measuring set may help with layout, while a digital angle finder can be useful when checking a machine setup. Verify any inexpensive measuring tool against a known reference before trusting it on final material.
Plan workholding before the cut
A tool is only part of the setup. Decide how the workpiece will be supported and prevented from shifting. Long boards need support beyond a small bench. Sheet goods need a stable cutting surface. Small parts may need a jig or different sequence so your hands remain away from the cutting path.
For joinery, a pocket-hole drilling guide may be worth considering when the design specifically uses pocket screws. It should not replace checking stock thickness, screw length, joint orientation, and manufacturer instructions.
Arrange a safe workflow
Walk the material through the intended route. Make sure it will not hit a wall, light, vehicle, or stored tools. Keep cords and hoses out of walking paths. Provide light at the cut line and enough space to place completed parts without stacking them where they can fall.

Woodworking Project Checklist: Final Safety Review
Planning improves efficiency, but the final review must also reduce risk. OSHA’s woodworking guidance identifies machine guarding, wood dust, noise, electrical hazards, and maintenance among the major issues in woodworking operations. A home shop differs from an industrial workplace, yet the basic habit is valuable: identify the hazard before starting the operation.
Woodworking project checklist before the first cut
- Confirm the drawing and cut list describe the same dimensions.
- Measure the actual material thickness and label the reference face and edge.
- Mark the waste side and account for blade kerf.
- Inspect the blade or bit, guard, fence, guide, and power cord.
- Plan support and workholding for the full operation.
- Remove loose items and keep hands away from the cutting path.
- Use appropriate eye, hearing, and dust protection.
- Connect dust collection or ventilation where appropriate.
- Test an unfamiliar joint or setup on scrap first.
Stop when the setup does not make sense
Do not let a written schedule pressure you into an uncertain cut. If the board is unstable, the guard cannot be used as intended, the cut requires your hand near the blade, or the dimensions conflict, stop. Re-plan the support, use a safer tool or jig, ask an experienced person, or change the design.
Wood dust and finishing chemicals can create health hazards, and noise exposure also deserves attention. Use source controls such as suitable extraction and ventilation where possible, then follow product and equipment instructions for additional protective equipment. Safety gear does not make an unsafe setup acceptable.
Dry-run the sequence
With tools switched off, rehearse where the workpiece starts, how it will move, where your hands will be, and where the finished piece will go. For assembly, stage clamps and cauls before opening the glue. For finishing, plan how every surface will be supported without touching a wet face.

Frequently Asked Questions
What should a woodworking project checklist include?
Include the project goal, finished dimensions, joinery, parts list, material list, cut list, cost estimate, schedule, tools, workholding, workspace, protective equipment, and a final pre-cut review. A simple project may fit on one page. A larger build may need separate drawings, parts tables, hardware notes, and finish schedules.
How do I create an accurate woodworking cut list?
Start from a checked drawing and list every part by name, quantity, finished size, material, and grain direction. Add rough dimensions or joinery allowances separately. Compare the completed list with the drawing, measure your actual stock thickness, and recalculate related parts if the material differs from the plan.
How much extra wood should I buy?
There is no single allowance that suits every project. Consider defects, grain matching, knots, board width, curved parts, sheet layout, saw kerf, milling loss, and your experience. Make a cutting layout first, then add material for the risks that actually apply rather than using an unexplained universal percentage.
How can a beginner estimate the true project cost?
Price the planned quantity and grade of lumber, sheet goods, hardware, glue, abrasives, finish, applicators, delivery, taxes, and tool rental. Separate required items from optional upgrades. Record current supplier prices and leave room for a project-specific contingency without presenting the first estimate as a guarantee.
Which tools should I confirm before starting?
Work from the actual operations: measuring, marking, cutting, drilling, joining, clamping, sanding, and finishing. Confirm each tool’s accessories, blade or bit, power needs, support, workholding, dust control, and protective equipment. Our beginner woodworking tool list offers a practical starting point.
What should I double-check before the first cut?
Check the part name, quantity, dimension, unit, reference edge, waste side, kerf, grain direction, and joinery allowance. Confirm the stock is stable, the tool is set correctly, guards are in place, the workpiece is supported, and your hands can remain clear throughout the cut.
Can I plan a woodworking project without design software?
Yes. Graph paper, a ruler, a full-size detail drawing, cardboard templates, and a written parts list are enough for many builds. Software can help visualize complex assemblies and sheet layouts, but it does not replace checking actual material, hardware, clearances, and safe construction order.

Conclusion: Check the Plan, Then Make the First Cut
A useful woodworking project checklist is not paperwork for its own sake. It is a compact record of the decisions that make a build safer and more predictable: what the project must do, how large it will be, how the parts join, what material to buy, what each part measures, what the build costs, how long it takes, and how every operation will be supported.
Before the first cut, read the plan one last time and compare it with the actual board in your hands. If something is unclear, test it on scrap. If the setup feels unsafe, change it. The few minutes you spend checking are part of woodworking, not a delay before woodworking.
If you want one place to keep dimensions, tool needs, costs, and build notes, The Beginner’s DIY Workshop Planner may help you carry the checklist from the first sketch through the final review.