Beginner Woodworking Tool List: 12 Essentials
Buying your first tools can feel overwhelming, especially when every beginner woodworking tool list seems to include an expensive workshop full of equipment. The good news is that you do not need to buy everything at once to start making useful projects at home.
Most beginners only need a small group of reliable tools for measuring, cutting, drilling, assembling, sanding, and staying safe. A few well-chosen essentials can take you surprisingly far, whether you want to build a simple shelf, planter box, storage bench, or small piece of furniture. The key is to choose versatile tools that suit the projects you actually want to make instead of filling your workspace with specialty items too early.
This guide breaks down the essential woodworking tools in a practical order, explains what each one is for, and points out which purchases can wait until your skills and project needs grow. By the end, you will have a clear, realistic starting point for building a tool kit you will genuinely use.
Beginner Woodworking Tool List: Start With Your First Project
A good beginner woodworking tool list does not start with a shopping cart. It starts with a project.
That may sound simple, but it is one of the easiest ways to avoid buying tools that sit unused for months. A small wall shelf, planter box, wooden crate, or simple bench does not require the same setup as a dining table or built-in cabinet. Once you know what you want to build, it becomes much easier to see which tools are genuinely useful and which ones can wait.
For most new woodworkers, the best first projects are practical and forgiving. They teach you how to measure, cut, drill, fasten, sand, and finish without demanding a full workshop. If you are still deciding where to begin, browse these beginner woodworking projects and choose one that suits your available space, budget, and confidence level.
Choose a Project With Straightforward Cuts
A beginner-friendly project should let you practice basic skills without creating too many chances for frustration. Straight cuts, simple screw connections, and common lumber sizes are usually easier to manage than curved furniture parts or complicated joints.
Good first-project options often include:
-
A basic storage crate
-
A small floating shelf
-
A simple planter box
-
A wooden step stool
-
A compact side table with a simple design
These projects help you learn how tools work in real situations. You will quickly discover why measuring accurately matters, why clamps are helpful, and why sanding should not be rushed.
If you would like more easy project ideas before choosing one, the free resource 10 DIY Wood Projects You Can Build This Weekend may be useful. It gives you a practical starting point without requiring you to commit to a large build.
Think About Your Space and Working Conditions
Your first project should also fit the space you have. A person working on a balcony, driveway, small garage, or dining-table corner needs a different approach from someone with a dedicated workshop.
Before buying anything, consider a few practical questions:
-
Where will you cut and assemble the project?
-
Do you have a stable surface to work on?
-
Will you need to keep noise and dust low?
-
Can the project materials fit through your door or into your car?
-
Do you have safe storage for tools after each session?
These details affect your tool choices. For example, a small project made from pre-cut boards may only require a drill, a tape measure, a square, clamps, sandpaper, and basic safety gear. A larger project may need more cutting tools and more room for assembly.
How Your Beginner Woodworking Tool List Changes by Project
The right beginner woodworking tool list should grow with your projects, not ahead of them. It is tempting to buy a table saw, planer, router, and every accessory at once. However, beginners usually learn more by mastering a few versatile tools first.
A simple project may reveal that you need better clamps before you need a larger power tool. Another project may show you that a combination square is more useful than an expensive specialty jig. Paying attention to these small lessons helps you build a more useful tool kit over time.
Match Tools to the Tasks You Will Repeat
Look at your chosen project and identify the actions you will do most often. You may need to:
-
Measure and mark boards
-
Make crosscuts or rip cuts
-
Drill pilot holes
-
Drive screws
-
Hold pieces together while glue dries
-
Smooth rough edges
-
Apply a finish
Each repeated task points to an essential tool category. For example, if your project uses many screws, a cordless drill/driver is worth prioritizing. If you are making shelves, accurate measuring and square cuts matter more than advanced joinery equipment.
This is also a better way to protect your budget. Rather than asking, “What tools should every woodworker own?” ask, “What will help me complete this project safely and accurately?” The answer is usually much shorter.
Start With Affordable, Flexible Choices
Buying a first tool does not mean buying the cheapest option available, but it also does not mean choosing the most advanced version. Look for dependable tools with clear instructions, comfortable handling, and features you will actually use.
For example, a basic tape measure, combination square, drill/driver, handsaw, clamps, and sanding supplies can support many early projects. These tools remain useful even after you eventually add larger equipment.
It is also perfectly reasonable to borrow a tool, use a local workshop, or have a lumber store make a few cuts for you. That lets you test whether you enjoy a type of project before investing further.
Build Skills Before Buying Specialty Tools
Specialty woodworking tools can be helpful, but they make more sense after you understand what problem they solve. A router table, biscuit joiner, thickness planer, or large table saw may become useful later. At the beginning, though, they can add cost, take up space, and distract from the skills that matter most.
Focus first on making accurate marks, cutting carefully, keeping workpieces secure, drilling straight, and sanding with patience. These habits improve nearly every project, regardless of which tools you buy next.
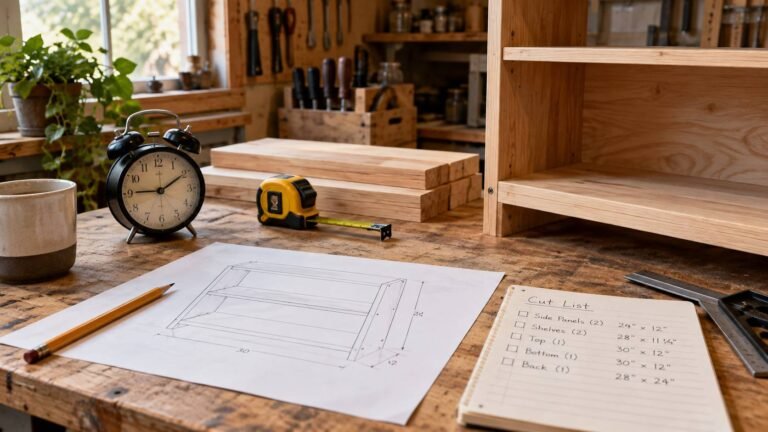
A simple written plan can also save you from unnecessary purchases. List your project dimensions, material needs, cuts, fasteners, and tools before you begin. Our guide to woodworking project planning can help you organize those details step by step.
Your first project does not need to look perfect. It only needs to be safe, useful, and finished. Each completed build will tell you far more about your next tool purchase than a long shopping list ever could.
Beginner Woodworking Tool List: Measuring and Marking Tools
Accurate measuring is one of the least glamorous parts of woodworking, but it has an enormous effect on the final result. A project can use simple materials and basic joinery, yet still look uneven if the boards are cut to different lengths or marked from inconsistent reference points.
For that reason, measuring and marking tools deserve a place near the top of every beginner woodworking tool list. They are affordable, useful on nearly every project, and far easier to learn than many power tools. More importantly, they help you slow down before a mistake becomes a wasted board.
You do not need a drawer full of layout tools when you are starting. A few dependable items will handle most shelves, boxes, planter projects, stools, and simple furniture builds.
Why the Beginner Woodworking Tool List Starts With Accuracy
Woodworking is full of small measurements that must work together. A shelf needs matching side pieces. A box needs square corners. Screw holes need to line up. Even a project that appears simple can become frustrating when one board is slightly longer or a cut line is not straight.
The goal is not perfection on day one. It is building a repeatable process:
-
Measure from the same edge each time.
-
Mark the exact cut location clearly.
-
Check the measurement once more before cutting.
-
Use a square to extend the line across the board.
This routine takes only a few extra moments, but it can prevent many beginner mistakes. It also helps you understand whether a problem came from the measurement, the cut, or the assembly step.
Beginner Woodworking Tool List: Tape Measure Essentials
A locking tape measure is usually the first measuring tool to buy. It is useful for checking overall board length, project dimensions, wall space, and material sizes at the store. Choose one that feels comfortable in your hand, has a clear blade, and locks securely without slipping.
A 5 m / 16 ft model is long enough for most beginner furniture and home DIY projects while still being easy to carry. If you are looking for a simple option, this 5 m / 16 ft locking tape measure may be worth considering for basic layout work.
How to Use a Tape Measure More Reliably
The small hook on the end of a tape measure is designed to move slightly. That movement helps it measure accurately whether you pull it against an outside edge or press it into an inside corner. It can look loose at first, but it is normally part of the design.
To improve consistency, avoid switching between different tape measures in the middle of one project. Measurements can vary slightly from one tool to another. When possible, mark matching parts from the same reference point instead of measuring each piece separately.
For repeated pieces, such as shelf supports or box sides, use the first correctly cut board as a reference. This is often more reliable than reading the tape measure again and again.
Common Tape Measure Mistakes
A tape measure works best when it lies flat and straight. Curving the blade around an edge or reading it at an angle can lead to small errors. Those errors become more noticeable when several pieces need to fit together.
Also, do not assume lumber is exactly the size written on the label. A board sold as a nominal size may measure differently after surfacing. Measure the actual board before finalizing your cut list.
Why a Combination Square Belongs in Your Beginner Woodworking Tool List
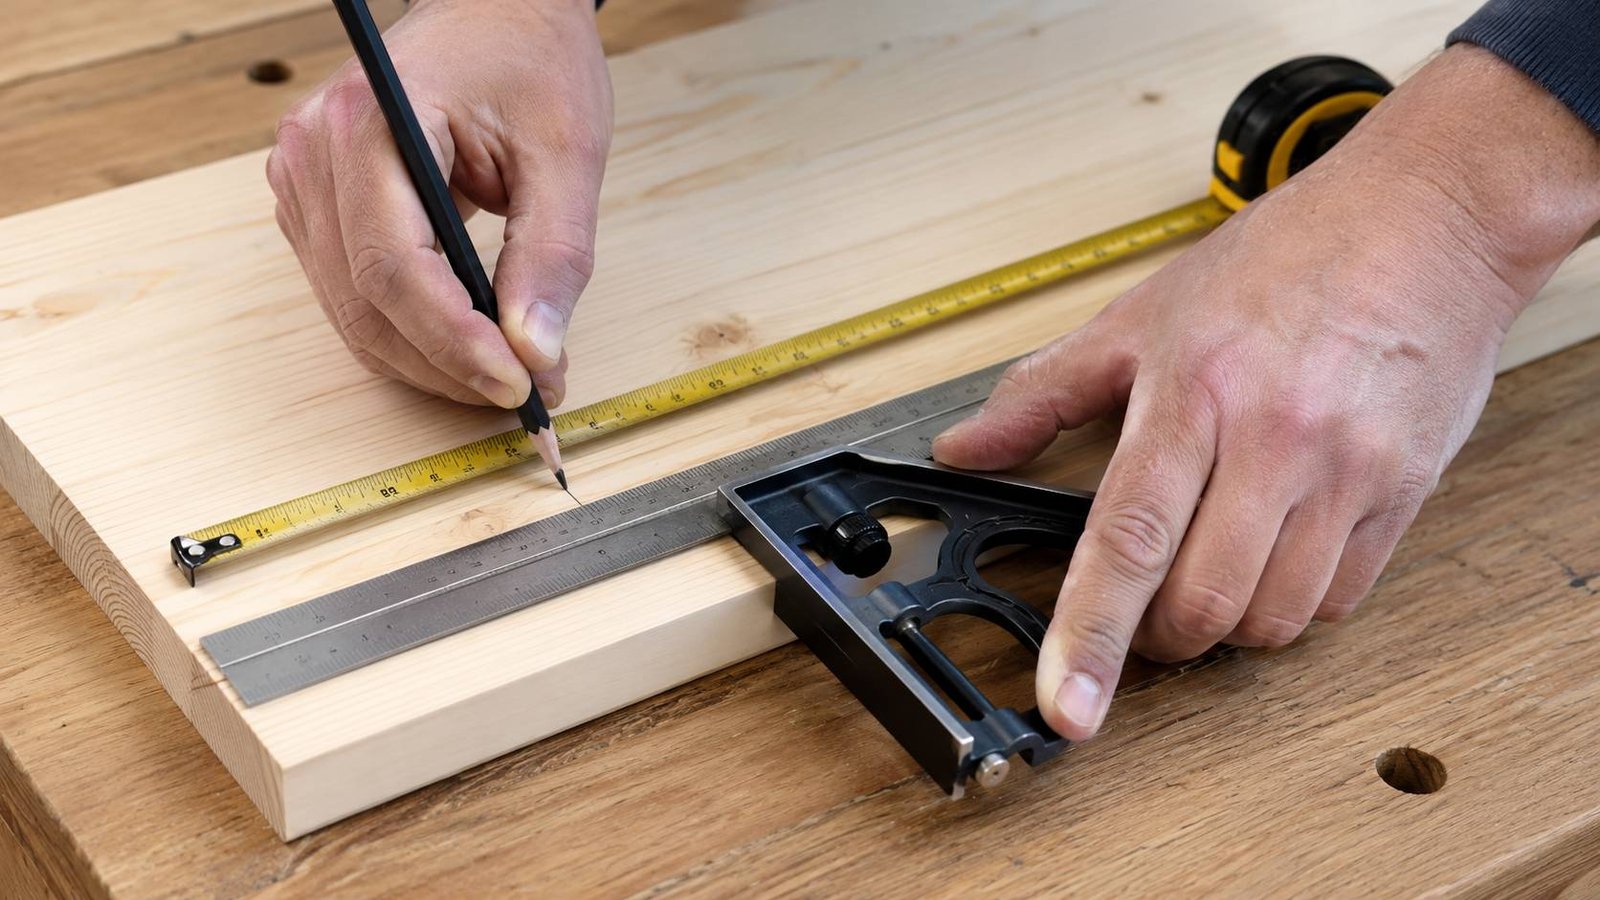
A combination square is one of the most useful layout tools a beginner can own. It helps you check whether edges are square, mark straight lines across boards, set simple depths, and confirm that a cut has not drifted out of alignment.
Unlike a tape measure, which tells you how long something is, a combination square helps you make sure the parts are lined up correctly. It is especially helpful for shelves, boxes, small frames, and projects that use screws or simple joints.
A basic 12-inch combination square can simplify many early layout tasks without adding unnecessary complexity to your tool kit.
Use the Combination Square Before Every Important Cut
After measuring the length of a board, place the square’s stock firmly against the edge. Then draw a clear line across the face of the board with a sharp pencil. This gives you a visible guide for a handsaw, circular saw, or jigsaw.
You can also use the square after cutting. Hold it against the board edge to see whether the cut is close to 90 degrees. Catching a slightly angled cut early is easier than trying to correct it during assembly.
For small projects, this quick check can make the difference between parts that fit smoothly and parts that need repeated trimming.
Marking Tools That Keep the Work Clear
A plain pencil is enough for many beginner projects, especially when the line will be cut away or sanded out. Keep it sharp so your marks stay narrow. A thick, blunt line can make it hard to know exactly where the saw blade should go.
As your confidence grows, you may also find a marking knife, straightedge, and awl helpful. These tools are optional at first, but they can make more precise layout work easier when you begin experimenting with joints or finer furniture details.
For now, focus on a simple habit: measure carefully, make one clear mark, and verify it before cutting. Accurate layout does not require expensive equipment. It requires patience, a few dependable tools, and a consistent process.
Beginner Woodworking Tool List: Cutting Tools You Will Use Most
Cutting tools often feel like the point where woodworking becomes serious. They also make many beginners nervous, which is understandable. A clean, accurate cut affects how well every part fits together, while a rushed or poorly supported cut can waste material quickly.
The encouraging part is that you do not need a large collection of saws to begin. A practical beginner woodworking tool list can start with one dependable hand saw and one versatile power-cutting option, then grow only when your projects require more. The best choice depends on the lumber you use, the type of cuts you need, and the space available for working safely.
Before choosing a cutting tool, take a moment to look at your project plan. Are you trimming narrow boards, cutting sheet goods, making curved shapes, or preparing several identical pieces? Your answer will help you choose a tool that is useful now rather than impressive but unnecessary.
The Beginner Woodworking Tool List Should Match Your Material
Not all wood behaves the same way under a saw. Pine and other softwoods are usually forgiving for early projects, while hardwoods may require slower cuts and sharper blades. Plywood can chip at the surface if the blade is dull or unsuitable for the job.
It helps to understand what you are cutting before selecting a tool. This guide to types of wood for DIY projects can help you compare common materials and choose a manageable option for your first build.
No matter what material you use, support the board properly before cutting. A piece that shifts, flexes, or hangs unsupported is harder to cut accurately and less safe to handle.
Beginner Woodworking Tool List: Start With a Reliable Handsaw
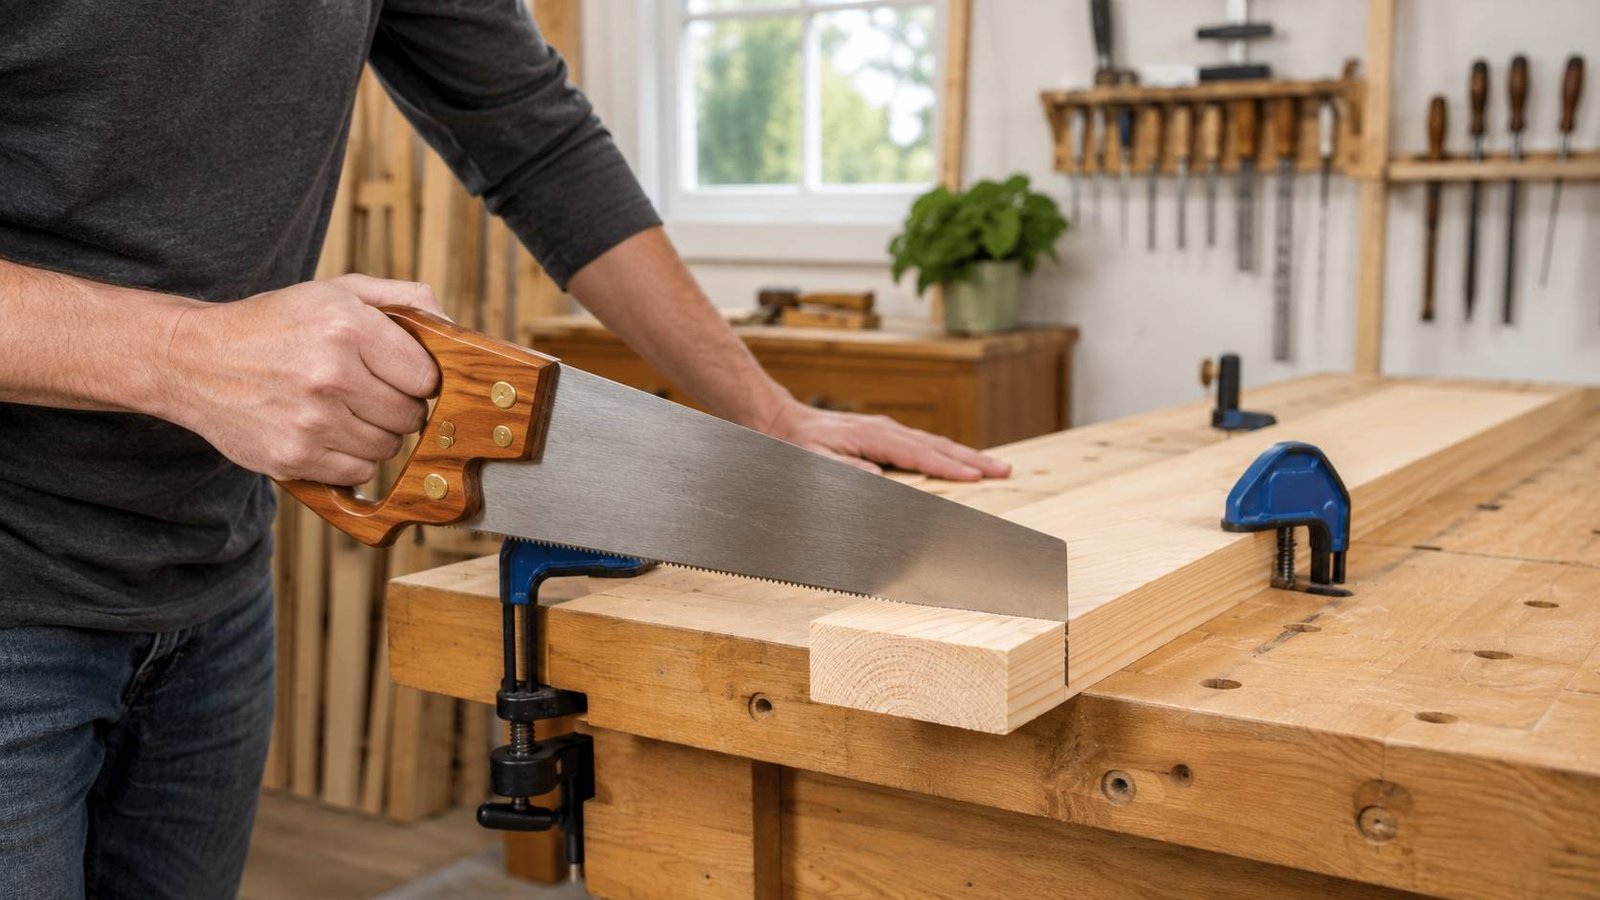
A good handsaw is one of the most approachable cutting tools for beginners. It does not require electricity, takes up very little space, and helps you develop a feel for following a cut line. A handsaw is especially useful for short crosscuts, trimming small boards, and making simple project adjustments.
Choose a saw that feels balanced in your hand and has teeth suitable for general woodworking. There is no need to begin with several specialized saws. One general-purpose hand saw can handle many early projects while you learn how blade angle, pressure, and stroke length affect the cut.
How to Make Straighter Handsaw Cuts
Start the cut with light, controlled strokes. Trying to force the saw through the board too quickly often causes it to wander away from the line. Once the saw has created a shallow groove, you can use longer, steady strokes.
Keep your eyes on the marked line, not only on the saw handle. It also helps to check both the top and side of the board as you cut. A line drawn across the board with a combination square gives you a visual guide from more than one angle.
If the cut begins to drift, do not twist the blade aggressively. Pause, adjust the saw position gently, and continue slowly. Small corrections are easier than trying to repair a large angled cut afterward.
Beginner Woodworking Tool List: Choose a Power Saw for Your Projects
A power saw can speed up repeated cuts and make sheet materials easier to manage, but the right type depends on your project. A circular saw is useful for straight cuts in boards and plywood. A jigsaw is more flexible for curves, cutouts, and smaller pieces.
You do not need both immediately. If your early projects mostly use straight boards, a circular saw may be the more useful next step. If you want to make decorative shapes, small storage pieces, or curved designs, a jigsaw may suit you better.
Set Up Every Power Cut Before Switching It On
The safest cut is planned before the saw starts. Mark the cut line clearly, support the workpiece on both sides, and make sure the blade path will not hit your workbench, sawhorse, clamp, or the floor.
Avoid holding a loose board with one hand while cutting with the other. Clamp the material whenever possible, especially when working with shorter pieces. Keep the power cord away from the blade, allow the blade to reach full speed, and let the saw do the cutting instead of forcing it forward.
Wear eye protection for every cut. Hearing protection and a dust mask are also useful when you work indoors or make several cuts in one session.
Basic Chisels for Cleanup and Joinery Practice
Wood chisels are not essential for every first project, but a small basic set can be useful for cleaning up rough corners, trimming small areas, and learning simple joinery skills. They are especially helpful when a saw cut stops slightly short of a line or when you want to remove small amounts of material carefully.
A basic 4-piece wood chisel set may be helpful for beginners who want a few common sizes without investing in specialty chisels right away.
Use Chisels With Control, Not Force
A sharp chisel is safer and easier to use than a dull one because it cuts cleanly with less pressure. Keep both hands behind the cutting edge, secure the workpiece with a clamp, and remove thin shavings rather than trying to take off too much wood at once.
For early projects, think of chisels as cleanup tools rather than tools for complicated joints. You can learn a great deal by practicing on scrap wood before using one on a finished piece.
Clean cuts come from clear layout lines, secure workholding, and patience. Start with the tools that support those habits, and your cutting skills will improve with every project.
Beginner Woodworking Tool List: Sanding and Finishing Tools
Sanding and finishing are often the steps that turn a basic project into something you are happy to keep in your home. A shelf can be straight and strong, but rough edges, visible scratches, and uneven finish can make it look unfinished. The good news is that beginners do not need complicated equipment to get a cleaner result.
A practical beginner woodworking tool list should include a simple way to smooth wood, a few useful sandpaper grits, and basic supplies for applying a finish. These tools help remove splinters, soften sharp edges, prepare the surface for paint or stain, and protect the wood once the project is complete.
The most important thing to remember is that sanding takes patience. Rushing through it or skipping grits usually shows up later, especially after a clear finish makes scratches more visible.
Why Sanding Matters Before Any Finish
Wood surfaces often have small mill marks, raised grain, rough edges, and tiny dents from handling. Sanding evens out these imperfections and gives paint, stain, oil, or polyurethane a better surface to work with.
Start by inspecting your project under good light. Run your hand lightly across the surface and check the edges, corners, and joints. You may notice areas that look smooth but still feel rough. Those are the places where a little careful sanding can make a noticeable difference.
Always sand with the grain when possible. Sanding across the grain can leave visible scratches that become more obvious after you add finish. If you are working with plywood, use gentle pressure around the edges because the thin face veneer can be sanded through quickly.
Beginner Woodworking Tool List: Choose Sandpaper Grits Wisely
Sandpaper is one of the most affordable and useful supplies for new woodworkers. You do not need every grit available, but keeping a small range lets you move from rough smoothing to final surface preparation.
For many beginner projects, these grits are enough:
-
80 grit: Removes rough spots, old finish, or noticeable tool marks.
-
120 grit: Smooths the surface after initial sanding.
-
180 grit: Prepares most projects for paint or many wood finishes.
-
220 grit: Creates a finer surface before applying a clear finish.
Start with the least aggressive grit that will solve the problem. Using very coarse sandpaper on a mostly smooth board can leave deep scratches and create extra work later.
Hand Sanding Versus a Random Orbital Sander
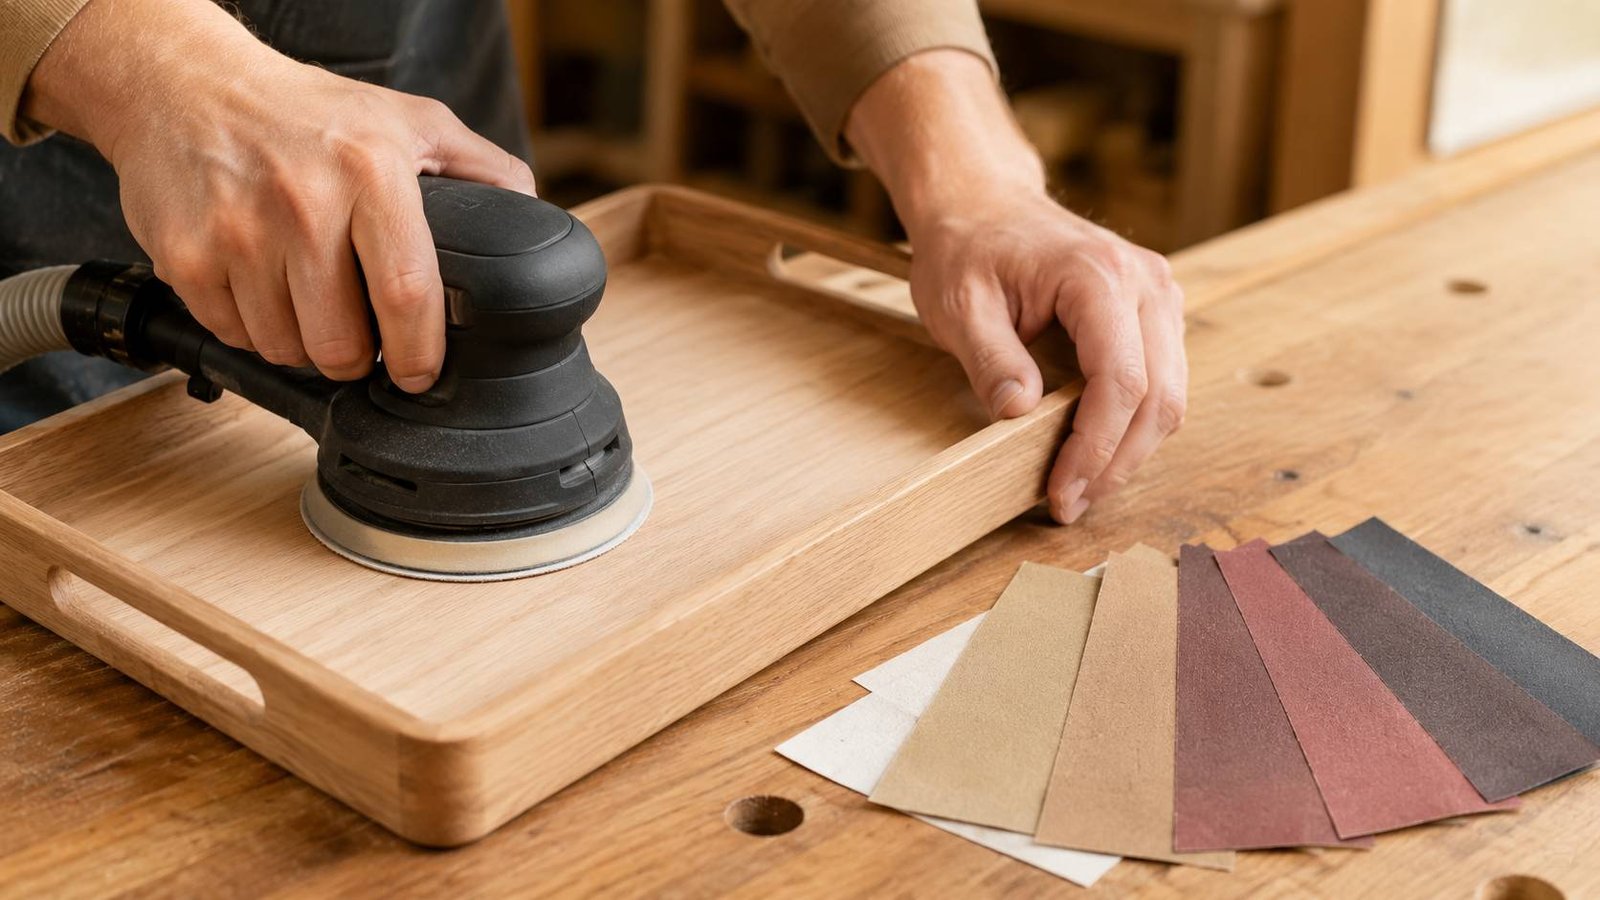
Hand sanding is completely suitable for small projects, narrow pieces, edges, and detailed areas. A sanding block helps keep the pressure even and prevents your fingers from creating low spots in the wood.
A random orbital sander can save time when you are working with larger surfaces, such as tabletops, benches, cabinet panels, or several pieces of lumber. It moves in a random pattern that helps reduce obvious sanding marks when used correctly.
Keep the sander moving gently across the surface. Pressing down hard does not make it work faster; it can create swirls or uneven patches. Let the sandpaper do the cutting, then check your progress often.
Avoid Common Sanding Mistakes
One common mistake is jumping from a very coarse grit directly to a very fine one. The finer paper may make the wood feel smoother, but it will not remove the deeper scratches left by the coarse grit. Move through the grits gradually when the surface needs significant work.
Another mistake is forgetting to remove dust between sanding stages. Use a vacuum, soft brush, or clean cloth to remove dust before changing grits or applying a finish. Dust left on the surface can interfere with the final look.
Pay attention to edges as well. It is easy to over-sand sharp corners, especially with a power sander. A few light passes are usually enough to soften an edge without changing the shape of the project.
Prepare Your Project for Paint, Stain, or Clear Finish
After the final sanding, remove all visible dust and inspect the wood again in good light. This is your last chance to correct scratches, glue marks, or rough areas before applying a finish.
The type of finish you choose depends on how the project will be used. Indoor furniture, shelves, and decorative pieces may need different protection from outdoor items or surfaces that receive frequent wear. If you are new to this stage, this guide to the best wood finish for beginners explains common options in a beginner-friendly way.
Apply Finish in Thin, Even Coats
Thin coats are easier to control and usually dry more evenly than one heavy coat. Follow the product instructions for drying time, ventilation, and recommended application tools. A good brush, clean cloth, or foam applicator may be enough, depending on the finish.
Avoid going back over an area once the finish has started to set. Reworking it too much can create streaks, bubbles, or uneven texture. Let each coat dry fully before deciding whether the project needs another one.
Beginner Woodworking Tool List: Learn Finishing One Project at a Time
Finishing can feel intimidating because there are many choices, from oils and waxes to stains, paints, and clear protective coats. You do not need to master every option immediately. Start with a simple finish that suits your project and practice on an offcut before applying it to the completed piece.
For projects that need a durable clear topcoat, it may help to understand how polyurethane works and what to expect during application. This guide to polyurethane wood finish types and application can help you compare options and avoid common problems.
Sanding and finishing reward careful work. Take your time, keep your surface clean, and build your confidence one project at a time.
Beginner Woodworking Tool List: Safety Gear Belongs in Every Workshop
Safety gear is not an optional extra to add later. It belongs in a beginner woodworking tool list from the very first project. Even a simple hand saw, drill, or sander can create flying wood chips, loud noise, sharp edges, and fine dust.
You do not need to feel nervous about woodworking, but you should take the risks seriously. Good habits make the work more enjoyable because you can focus on learning instead of rushing or improvising. Start by preparing your workspace, wearing the right protection, and using each tool only as intended.
The best safety setup is simple enough that you will actually use it every time. Keep your protective gear within reach of the workbench so it becomes part of your normal routine, not something you have to search for after you have already started.
The Beginner Woodworking Tool List Needs Eye Protection First
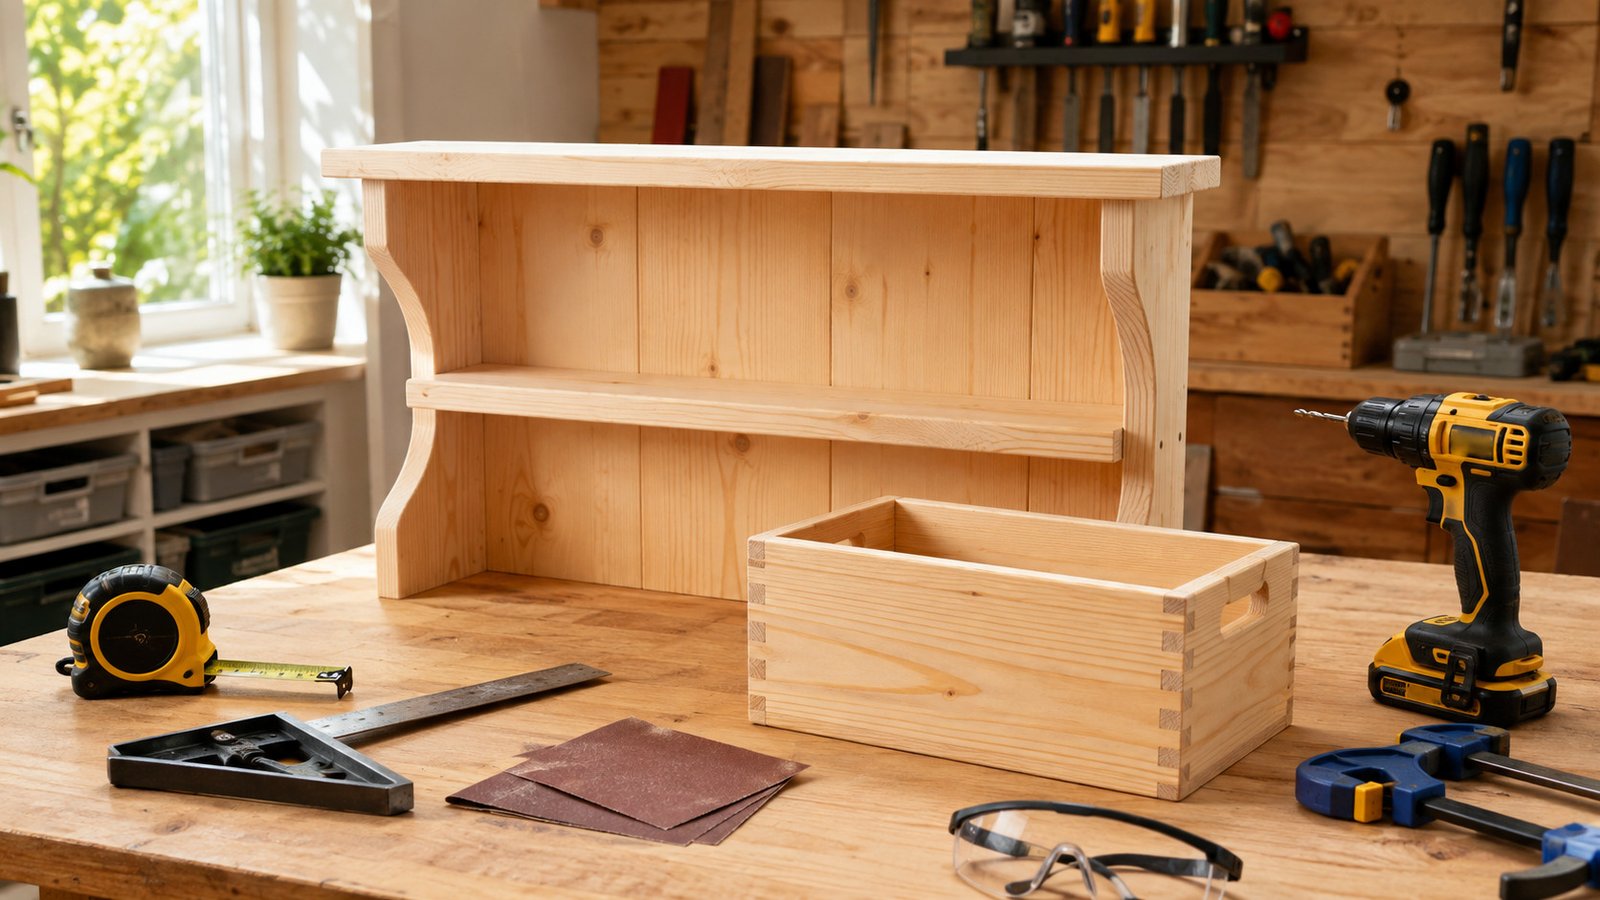
Safety glasses are one of the most important items in any workshop. Small chips can fly when you saw, drill, sand, or trim an edge with a chisel. Even a quick task can send dust or splinters toward your eyes without warning.
Choose clear safety glasses that fit securely and stay comfortable during movement. They should protect your eyes without slipping down your nose or making it difficult to see the cut line. If you wear prescription glasses, look for protective eyewear designed to fit over them or choose approved prescription safety glasses.
These clear anti-fog safety glasses may be helpful for basic workshop use. Keep them clean and check the lenses regularly. Deep scratches can make it harder to see clearly and may be a sign that it is time for a replacement.
Beginner Woodworking Tool List: Protect Your Hearing and Breathing
Power tools can become loud quickly, especially in a small garage or enclosed workspace. Repeated exposure to loud sound can be tiring and may affect hearing over time, so hearing protection is worth using whenever you operate a drill, circular saw, jigsaw, sander, or other noisy equipment.
Earmuffs are easy to put on and remove, while earplugs may feel more comfortable for some people. The important thing is choosing protection that you will wear consistently.
Use Dust Protection for Sanding and Cutting
Wood dust is easy to underestimate because it can settle slowly after the work is finished. Fine particles from sanding can remain in the air, collect on surfaces, and irritate your nose, throat, or lungs.
For short tasks, opening doors or windows may improve airflow. For longer sanding sessions or indoor cutting, wear a properly fitted dust mask or respirator suitable for fine particles. A shop vacuum connected to a sander can also help reduce dust at the source.
Do not sweep fine dust into the air with a dry brush. Vacuum it up or wipe the work area with a slightly damp cloth after the dust has settled. Keeping the workspace clean also makes it easier to spot screws, offcuts, and other small items that could cause a trip or interfere with a tool.
Keep Gloves Away From Moving Blades
Work gloves can be useful when carrying rough lumber, handling sharp edges, or moving heavy materials. However, gloves should not be worn around moving blades, drill bits, or rotating sanding equipment. Loose fabric can catch in a moving tool.
Use gloves for material handling, then remove them before operating power tools. This is a simple safety habit that helps keep your hands free to control the tool properly.
Prepare a Safe Work Area Before You Begin
A safe workshop does not need to be large or expensive. It needs to be organized enough that you can work without tripping over cords, balancing boards on unstable surfaces, or searching for basic tools in the middle of a cut.
Start by checking that your workbench, sawhorses, or table are stable. Secure your workpiece with clamps whenever possible instead of trying to hold it in place with one hand. Keep cords behind you and away from the cutting path.
Check Tools Before Turning Them On
Before using a power tool, inspect the cord, battery, blade, bit, and safety guards. Make sure the blade or bit is sharp, installed correctly, and suitable for the material you are cutting.
A dull blade can make a tool harder to control because it encourages you to push harder. If something feels unusual, such as excessive vibration, a damaged cord, or a loose part, stop and inspect the tool before continuing.
Never remove guards or modify a tool to make a task faster. The few minutes saved are not worth the added risk.
Beginner Woodworking Tool List: Build Safe Habits Before Bigger Projects
Safe woodworking is mostly about consistent habits. Wear eye protection, control dust, protect your hearing, secure the workpiece, and take your time when using a cutting or drilling tool.
Avoid working when you are overly tired, distracted, or in a hurry. If you are unsure how to use a tool, read the manufacturer’s instructions, practice on scrap wood, or ask an experienced woodworker for guidance before starting your project.
As your skills grow, your workshop may gain more tools and more capability. Your safety routine should grow with it. The best project is not only one that looks good when finished—it is one completed carefully from start to finish.
Beginner Woodworking Tool List: Tools You Can Wait to Buy
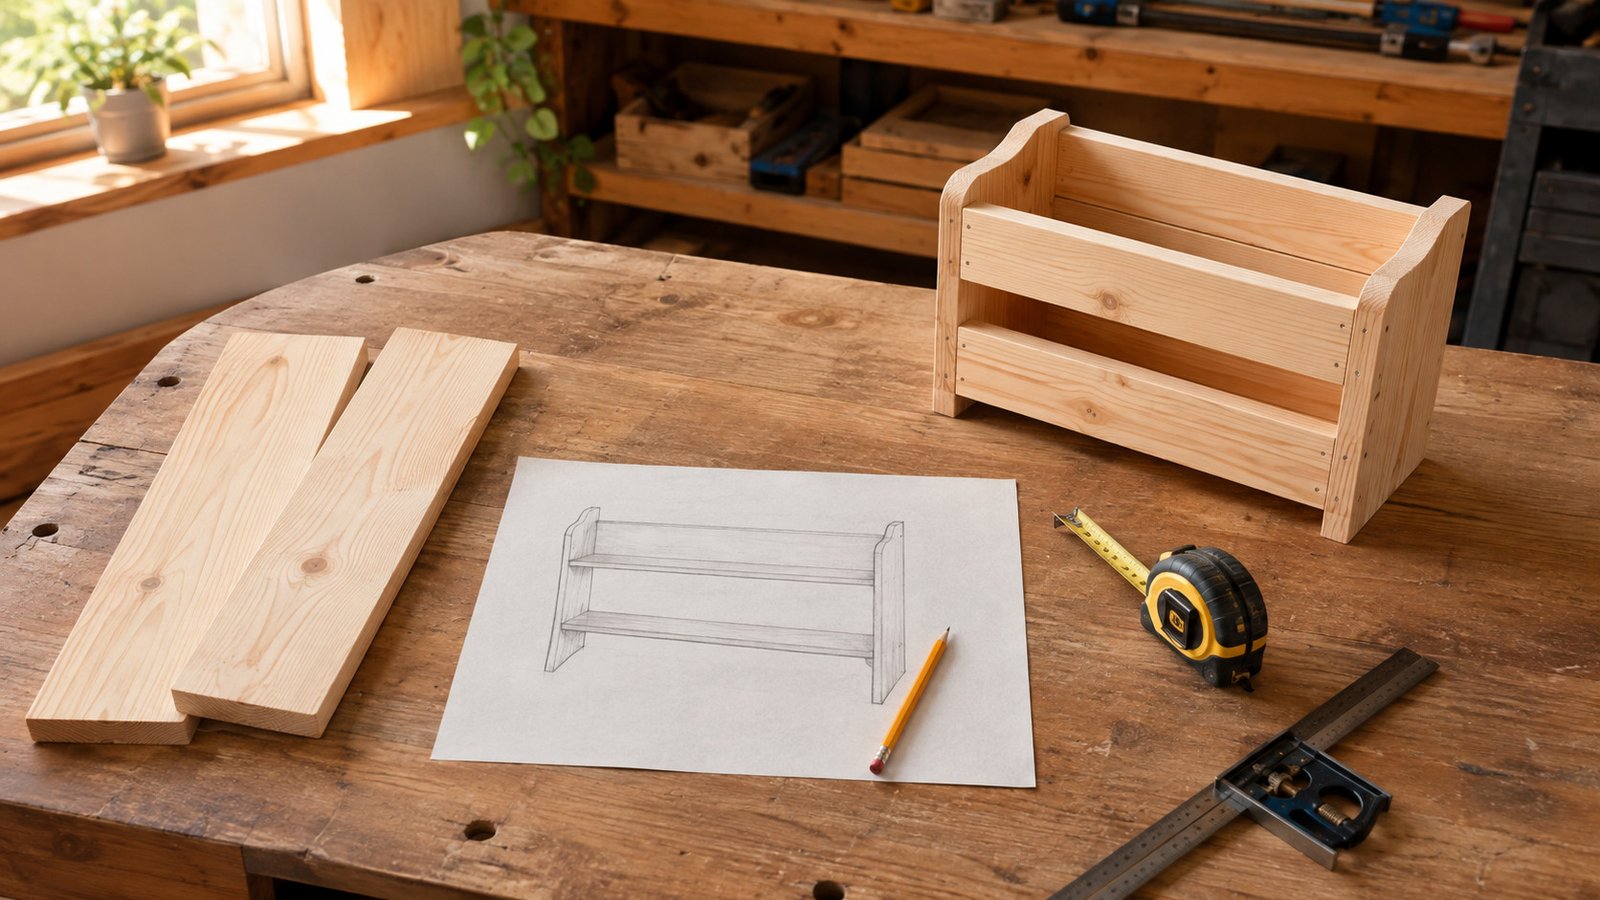
One of the easiest mistakes new woodworkers make is assuming they need a complete workshop before they can build anything useful. It is understandable: tool catalogs, videos, and workshop tours often show large machines and specialized accessories that make woodworking look expensive from the start.
In reality, a beginner woodworking tool list should be built gradually. The tools that matter most are the ones that help you finish the projects you are making now. Once you have completed a few builds, you will have a clearer idea of which tasks take the most time, where your current tools feel limiting, and what upgrade would genuinely help.
Waiting to buy a tool is not falling behind. It is a practical way to protect your budget, save space, and learn which equipment suits your style of woodworking.
Buy Tools to Solve a Repeated Problem
A new tool is most useful when it solves a problem that keeps appearing in your projects. For example, you may find that cutting long plywood sheets with a circular saw feels difficult. That does not automatically mean you need a table saw. You may first benefit from better support, a straightedge guide, or a more suitable blade.
Likewise, a project that requires smooth boards may eventually make a planer useful, but only after you have worked with enough rough lumber to understand why. If your early projects use store-bought boards that are already flat and smooth, a planer may not add much value yet.
Before purchasing an upgrade, ask yourself:
-
Will I use this tool for more than one project?
-
Does it solve a task that is currently difficult or slow?
-
Do I have enough room to use and store it safely?
-
Can I learn the basics with a simpler tool first?
-
Would a rental, borrowed tool, or pre-cut material solve the same problem?
These questions help separate a useful purchase from an impulse buy.
Beginner Woodworking Tool List: Large Tools That Can Wait
Some tools are extremely helpful in the right workshop, but they are not essential for a first project. Larger equipment often needs more floor space, stronger electrical capacity, dust collection, and a safe method for handling long boards.
A table saw, thickness planer, router table, and large miter saw are common examples. They can make certain work faster and more precise, but they also require practice and a suitable setup.
Table Saws and Miter Saws
A table saw is valuable for repeated straight cuts and ripping boards to width. However, it is not the only way to make straight cuts. A circular saw, guide rail, handsaw, or lumber-store cutting service may be enough while you are learning.
A miter saw can make quick crosscuts, but it also needs a stable stand and clear space around it for long boards. If you only make occasional short cuts, a handsaw or circular saw may be more practical.
Wait until you are regularly doing the type of work these tools are designed for. When a tool saves you time on nearly every project, it becomes easier to justify the cost and space.
Planers and Router Tables
A thickness planer helps make rough boards more uniform, while a router table supports repeated edge profiles and joinery tasks. Both can be useful later, especially if you begin building furniture from rough lumber or want more refined details.
For early projects, you can often choose pre-surfaced lumber, use sandpaper to soften edges, and keep designs simple. This gives you time to improve your measuring, cutting, drilling, assembly, and finishing skills before adding more complex machinery.
Beginner Woodworking Tool List: Avoid Specialty Jigs at the Start
Specialty jigs and accessories can be tempting because they promise cleaner joints or faster results. Some are genuinely useful, but they are usually most valuable after you understand the technique they support.
For instance, a pocket-hole jig can be helpful for certain furniture projects, but it is not necessary for every box, shelf, or planter. A doweling jig, router jig, or cutting sled may also make sense later, once you regularly repeat the same type of task.
Learn the Basic Process First
Before buying a jig, try to understand the underlying skill. Learn how to mark a cut line, keep a board square, drill a pilot hole, clamp parts together, and check an assembly before tightening fasteners.
This experience helps you recognize whether a jig will solve a real problem or simply add another item to store. It also makes you more likely to use the jig correctly when you eventually buy one.
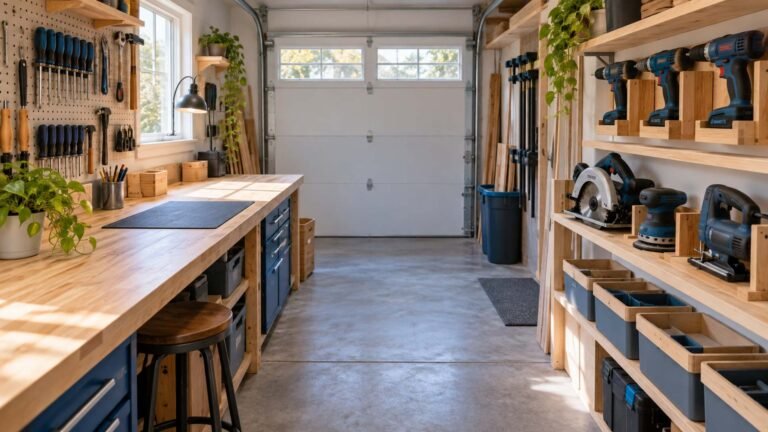
If you are planning a small workspace, this beginner woodworking workshop setup guide can help you think through layout, storage, and essential equipment without overfilling the room.
Plan Your Upgrades Before You Buy
A short tool wish list is more useful than a rushed purchase. Keep a note of the tasks that feel difficult during each project. After several builds, patterns will emerge. You may notice that you need more clamps, better dust control, a larger work surface, or a more accurate way to make repeated cuts.
This is where planning becomes valuable. The Beginner’s DIY Workshop Planner may help you organize project needs, available space, and future tool priorities before you spend money on an upgrade.
Build a Workshop That Fits Your Real Life
Your workshop does not need to look like someone else’s. A compact bench, a few carefully chosen tools, and a clear working area can be enough for many useful builds.
Choose upgrades based on the projects you enjoy, the room you have, and the skills you want to develop next. A smaller collection of well-used tools is usually more valuable than a crowded workshop full of equipment that has never been switched on.
The right time to buy a specialty tool is when your projects have already shown you why you need it. Until then, keep building, keep learning, and let each finished project guide your next decision.
Build Your First Tool Kit One Project at a Time
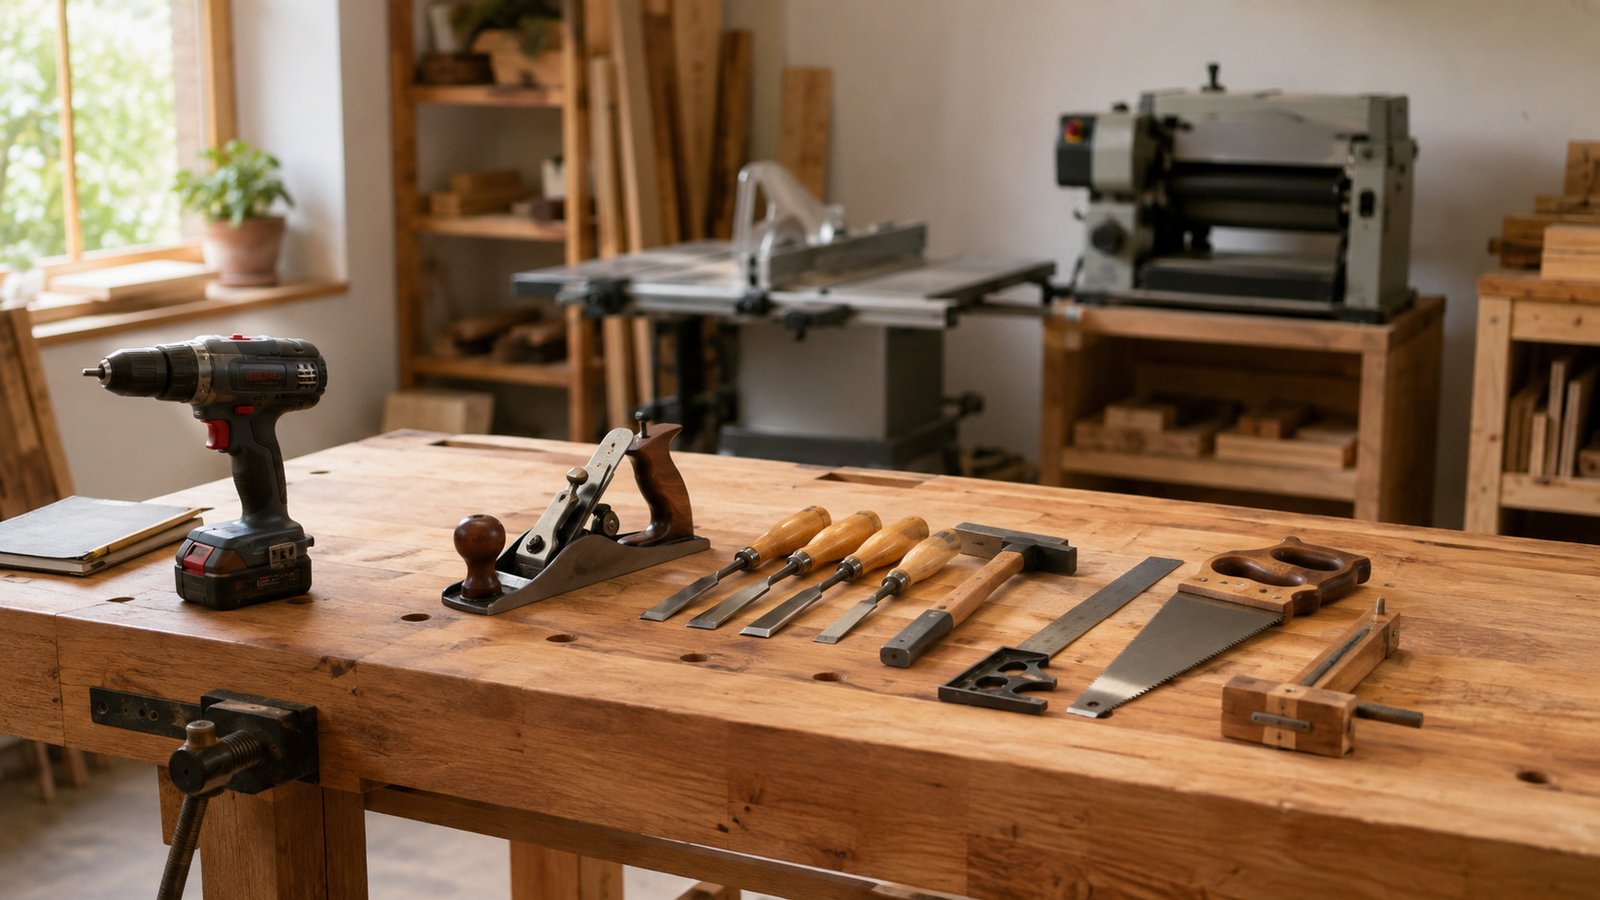
Building a beginner woodworking tool kit does not have to be expensive, complicated, or rushed. The most useful tools are not always the largest or most advanced ones. They are the tools that help you measure accurately, make safe cuts, assemble parts securely, smooth rough surfaces, and complete the project in front of you.
When you are starting out, it is easy to focus on everything you do not own yet. Try to focus instead on what you can make with a few practical basics. A tape measure, combination square, cutting tool, drill/driver, clamps, sandpaper, and safety gear can support a wide range of small projects. That is more than enough to begin learning useful woodworking skills.
Every completed project will teach you something about your next purchase. You may discover that you need more clamps because assembly takes longer than expected. You may find that a better cutting guide would improve your accuracy. Or you may realize that you enjoy finishing furniture and want to explore different wood finishes. These are valuable lessons because they come from your own working experience.
Start With the Tools You Will Use Repeatedly
If your budget is limited, buy tools in the order that matches your projects. Start with the items you will reach for again and again.
For many beginners, that priority looks like this:
-
Measuring and marking tools
-
Eye protection and basic safety gear
-
A reliable cutting option
-
A drill/driver with common bits
-
Clamps for holding work securely
-
Sandpaper and simple finishing supplies
You do not need to buy everything on the same day. It is often smarter to complete one small project, notice what felt difficult, and then make the next purchase with a clear purpose.
This approach also keeps your workspace more manageable. A small collection of useful tools is easier to store, clean, and maintain than a large pile of equipment bought before you know how you will use it.
Beginner Woodworking Tool List: Let Your Projects Guide Your Upgrades
Your first tool kit is not a final list. It is the starting point for a workshop that develops with your skills. The more you build, the easier it becomes to see which upgrades will save time, improve accuracy, or make the work more enjoyable.
For example, someone who makes several shelves may eventually benefit from a better saw guide or more clamps. Someone who starts building small furniture may decide that a random orbital sander or pocket-hole jig is useful. A person who works with plywood often may later want a circular saw setup that makes long cuts easier and safer.
Keep a Simple Record of What Each Project Teaches You
After finishing a project, take a few minutes to make notes. Write down what went well, which step took the longest, what tool felt awkward, and what you would do differently next time.
You might record questions such as:
-
Did I have enough workspace for the material?
-
Were my measurements easy to repeat?
-
Did I need more clamps during assembly?
-
Was the cutting tool suitable for the job?
-
Did sanding or finishing take longer than expected?
-
What would make the next project safer or simpler?
These notes can prevent unnecessary purchases. Instead of buying tools because they look useful online, you can invest in tools that solve a problem you have actually encountered.
Focus on Safe, Finished Projects
A beginner project does not need perfect joints, flawless finish, or advanced design details to be successful. A finished shelf that is level, smooth, and safe to use teaches you more than an ambitious project that stays half-built in the garage.
Give yourself permission to choose simple projects. Use pre-cut lumber when it makes sense. Ask a lumber store to make difficult cuts if you do not yet have the right equipment. Practice new techniques on scrap wood before using them on your final pieces.
Progress Comes From Repetition
Woodworking confidence grows through repetition. The first time you mark a board, drill a pilot hole, or sand an edge, it may feel slow. By the third or fourth project, those actions become more familiar and natural.
You do not need to become an expert before you start. Start with safe habits, basic tools, and projects that fit your current ability. Each build gives you a chance to improve one small part of the process.
Make a Practical Plan for Your Next Build
Before starting your next project, make a short list of the materials, cuts, fasteners, tools, and safety gear you will need. This keeps the work organized and reduces last-minute trips to find missing supplies.
If you would like a simple place to organize those details, The Beginner’s DIY Workshop Planner may help you plan your project needs, available workspace, and future tool upgrades.
Your woodworking journey does not begin when you own every tool. It begins when you choose one manageable project, prepare carefully, and give yourself permission to learn as you build.
Frequently Asked Questions About Beginner Woodworking Tools
What are the first woodworking tools a beginner should buy?
A practical beginner woodworking tool list should start with tools that support basic measuring, cutting, assembly, sanding, and safety. For most small home projects, that includes a tape measure, combination square, pencil, handsaw or basic power saw, cordless drill/driver, common drill and driver bits, clamps, sandpaper, and eye protection.
You do not need to buy all of these items at once. Begin with the tools required for your first project, then add equipment as your projects become more demanding. A small shelf or planter box may need only a few basics, while a larger furniture project may call for more clamps, better cutting support, or a power sander.
Do beginners need a table saw?
No. A table saw can be useful for repeated straight cuts and ripping boards to width, but it is not required for many beginner projects. A handsaw, circular saw, jigsaw, pre-cut lumber, or a lumber-store cutting service can be enough when you are starting.
A table saw also needs a suitable workspace, safe clearance around the machine, and time to learn proper use. It makes more sense to consider one after you have completed several projects and regularly need the kind of straight, repeated cuts it provides.
Is a cordless drill enough for beginner woodworking?
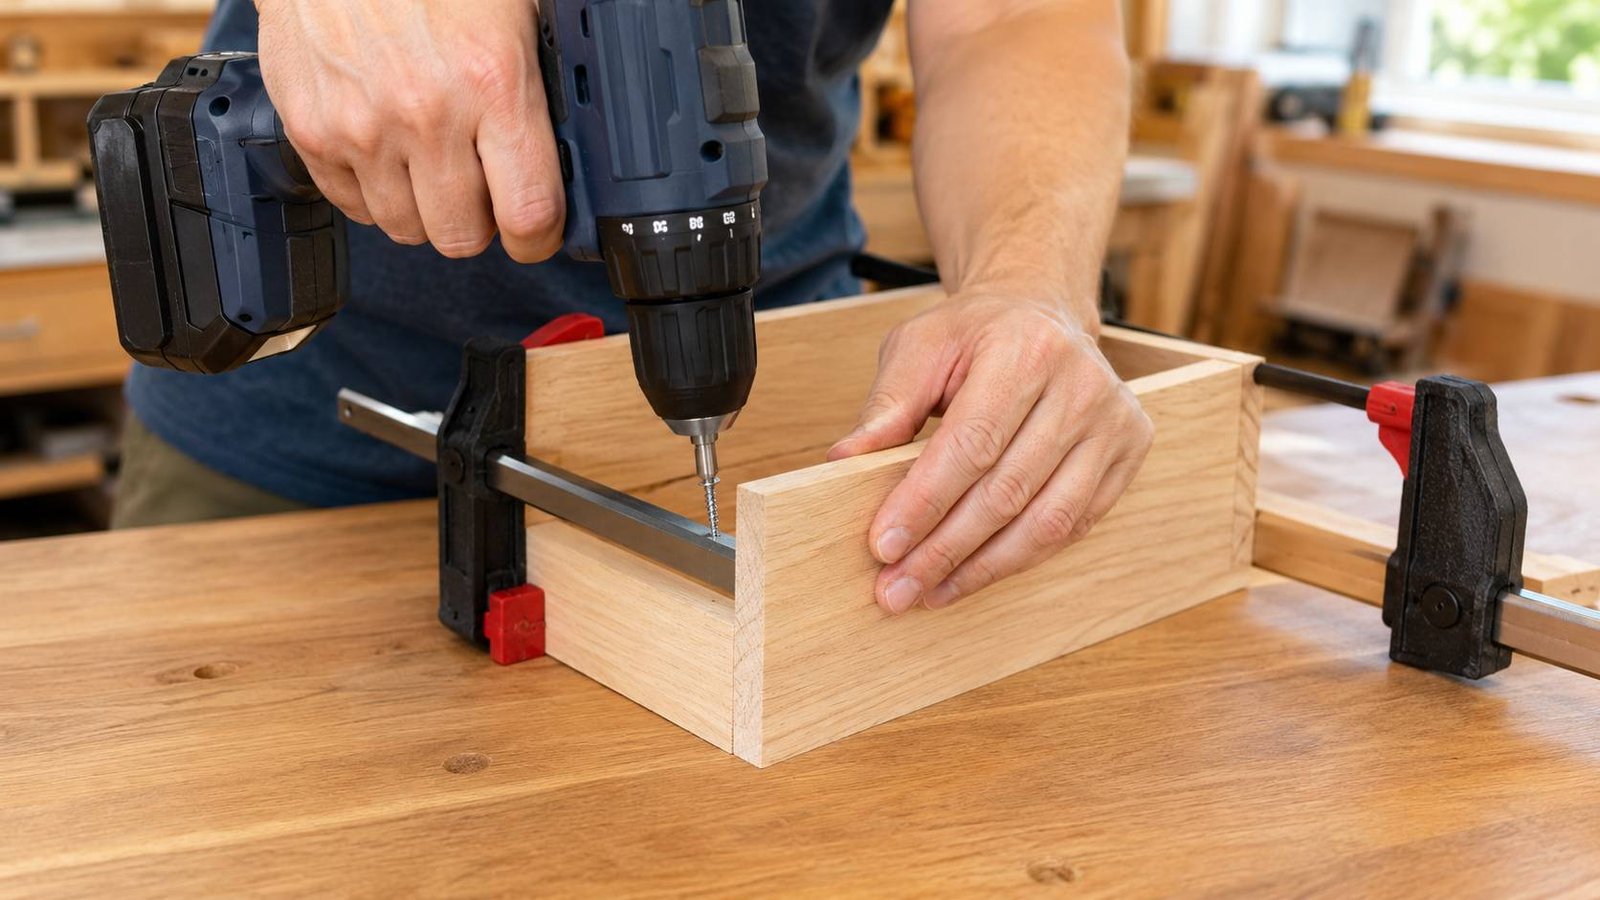
A cordless drill/driver is one of the most versatile tools for beginner woodworking. It can drill pilot holes, drive screws, assemble simple furniture, attach hardware, and handle many small repair tasks around the home.
For the best results, pair it with a small set of drill bits and driver bits. Use the adjustable clutch to avoid overdriving screws, and drill pilot holes near board ends or when working with hardwood. A drill/driver will not replace every tool, but it is a strong starting point for many beginner projects.
How many clamps should a beginner have?
There is no exact number, but beginners often discover they need more clamps than expected. A small starting collection might include two longer bar clamps and two or four smaller quick-release clamps.
Clamps act like extra hands. They hold boards in place while you drill, keep parts aligned during assembly, and apply pressure while glue dries. You can add more as your projects get larger, but even a few reliable clamps can make your work safer and more accurate.
Should I buy cheap woodworking tools when starting out?
Buying the lowest-priced tool is not always the best value, especially if it is uncomfortable, inaccurate, or difficult to control. At the same time, beginners do not need premium professional equipment for every task.
Look for simple, dependable tools with clear instructions and useful features. Spend a little more on items you will use often, such as safety glasses, a tape measure, combination square, drill/driver, and clamps. For specialty tools, wait until your projects show that you need them.
A thoughtful beginner woodworking tool list is built gradually. Choose tools that help you complete real projects safely, learn from each build, and upgrade only when there is a clear reason to do so.