
How to Modify Woodworking Plans to Fit Your Space
A promising project plan can become frustrating the moment its dimensions meet your actual room. The cabinet is too deep for the hallway, the bench blocks a door, or the desk leaves no space for a chair. Learning how to modify woodworking plans turns that mismatch into a manageable design problem. The goal is not simply to shrink every number. It is to preserve strength, useful proportions, joinery, and comfort while changing the dimensions that truly need to move.
This guide presents a repeatable method for adapting furniture and shop projects. You will measure the site, distinguish fixed dimensions from flexible ones, calculate connected parts, revise the cut list, and test the idea before committing expensive lumber. The process works whether you need to resize woodworking plans for a narrow alcove, adjust furniture plans for a taller user, or change woodworking dimensions because your available boards differ from the original specification.

Decide What Must Change—and What Must Stay
Begin with the finished environment, not the drawing. A plan shows an ideal object in isolation, while your project must pass through doors, clear baseboards, sit on a real floor, and leave space for people to move. Measure the destination, the installation route, and any nearby moving parts. Record wall-to-wall distance at several heights because old rooms are rarely perfectly square. Check door swings, drawers, vents, outlets, trim, and the reach required to use the piece comfortably.
Measure the space and its constraints
Create a simple site sketch and write every measurement on it. Include the smallest doorway or stair landing the project must cross. If the object will sit between walls, measure at the front and back rather than trusting one number. Leave an installation allowance instead of designing to a theoretical zero-clearance fit. A 6 mm to 12 mm margin can prevent a finished cabinet from becoming trapped by a bowed wall or uneven floor.
For a long wall or awkward room, a laser distance meter and tape measure can speed up repeated measurements and reduce the chance of reading a conventional tape at an angle. Verify critical dimensions twice and write the unit beside every number. Mixing inches and millimeters is one of the easiest ways to create a costly error.
Affiliate note: This section contains affiliate links.
Separate structural and flexible dimensions
Mark each plan dimension as fixed, dependent, or flexible. Fixed dimensions protect function or safety: shelf thickness needed for a span, minimum edge distance around a fastener, drawer-slide clearance, or the seat height that suits the user. Dependent dimensions change when another part changes. For example, shortening a tabletop may shorten its apron and stretcher, but it may not change leg thickness. Flexible dimensions affect appearance more than performance, such as an overhang or decorative reveal.
This classification prevents accidental chain reactions. Before making any calculation, ask what each dimension controls. If you are unsure whether a component carries load or locates joinery, review the assembly sequence and the project’s essential wood joinery techniques. Good woodworking project planning also helps you treat measurements, materials, tools, and build order as one connected system.
Scale a Plan Without Distorting It
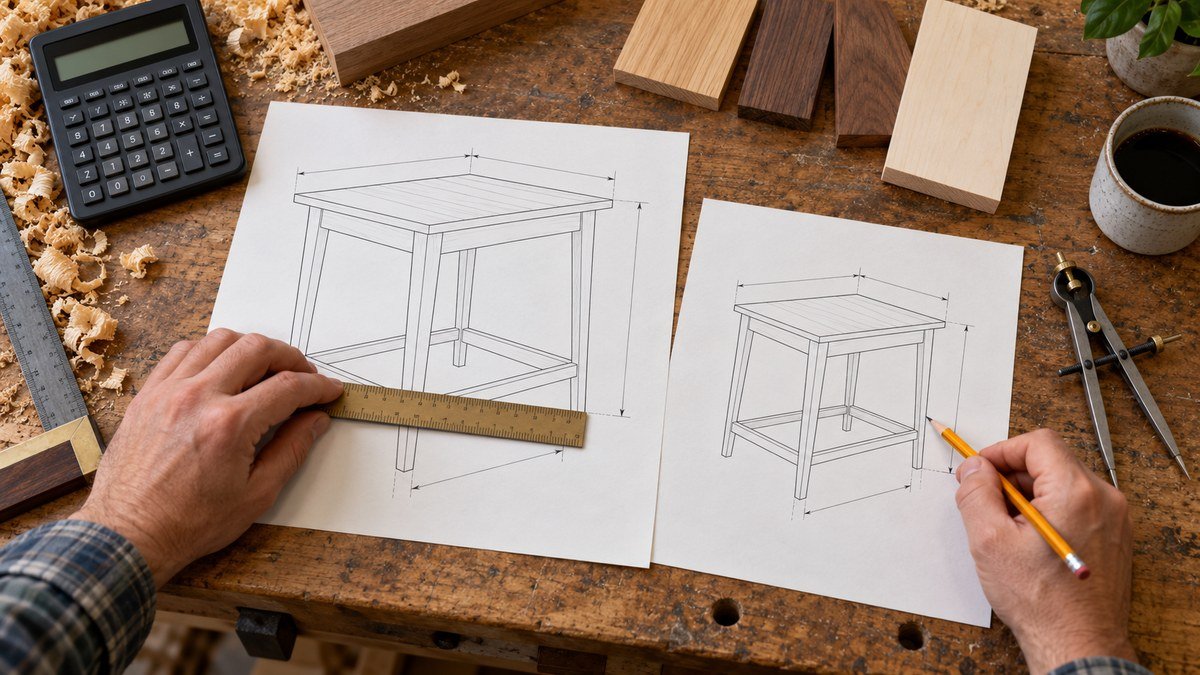
Proportional scaling is useful when a project needs to become generally larger or smaller while retaining its visual character. It is one part of learning how to modify woodworking plans without distorting them. The basic scale factor is the desired overall dimension divided by the original overall dimension. If a 1,200 mm bench must become 1,000 mm long, the factor is 1,000 ÷ 1,200, or 0.833. Multiplying flexible dimensions by 0.833 gives a starting point, not an automatic final answer.
Use one scale factor where it makes sense
Apply the factor to visually related dimensions such as rail spacing, panel proportions, and decorative offsets. Put the original and revised values in adjacent columns so you can spot an outlier. Round only after checking how the new number interacts with stock sizes and joinery. A calculated 15.8 mm reveal may become a practical 16 mm, but several independent roundings can accumulate and change the final width.
When you are learning how to modify woodworking plans, a useful rule is to scale the envelope first and rebuild the internal dimensions second. Set the new overall length, width, and height. Then subtract fixed thicknesses, gaps, and hardware clearances to find the new part sizes. This method is more reliable than scaling every line on the page.
Know what should not be scaled
Do not blindly scale material thickness, screw diameter, hinge cup size, drawer-slide clearance, or the depth of a proven joint. A half-size table still needs legs and rails strong enough for real loads. Likewise, a larger shelf may require thicker stock, a center support, or a front stiffener rather than a proportionally larger overhang. Human dimensions also resist simple scaling: a taller table does not automatically need a proportionally deeper top.
Standard hardware creates another fixed system. Confirm the manufacturer’s boring pattern, setback, and operating clearance before moving holes. If the original plan uses a specific sheet thickness, recalculate dado widths and panel offsets when substituting material. Guidance on choosing wood for furniture can help you assess whether a replacement species changes stiffness, movement, or machining behavior.
Adjust Length, Width, and Height Correctly
Changing one overall measurement usually affects several connected parts. A dependable method for how to modify woodworking plans traces that dimension through the assembly before editing the cut list. On a table, changing length may affect the top, long aprons, stretcher, drawer opening, and fastener spacing. Changing width may alter short aprons, cleat locations, and tabletop overhang. Height changes can affect ergonomics, leg length, shelf spacing, and the angle or length of braces.
Recalculate connected components
Use a simple equation for each assembly: overall size minus fixed components equals the adjustable component. Suppose a cabinet is 900 mm wide with two 18 mm sides and a 6 mm total door gap. The available door width is 900 − 36 − 6 = 858 mm. For two equal doors, each becomes 429 mm. Writing the equation exposes what controls the number and makes later revisions easier.
Repeat the calculation from two directions. First build outward from the internal opening; then subtract inward from the overall dimension. Both routes should produce the same answer. If they do not, a reveal, overlap, or stock thickness is missing. This cross-check is particularly valuable when you change woodworking dimensions on a project with frames, inset doors, or captured panels.
Preserve clearance, ergonomics, and visual balance
Fit is more than footprint. A chair needs pull-out space, a lid needs room to open, and a drawer requires hand clearance. Mock up the human interaction: sit at the proposed desk height, reach the planned shelf, and walk the intended path. Keep code or manufacturer clearances intact around heat sources, electrical components, and appliances.
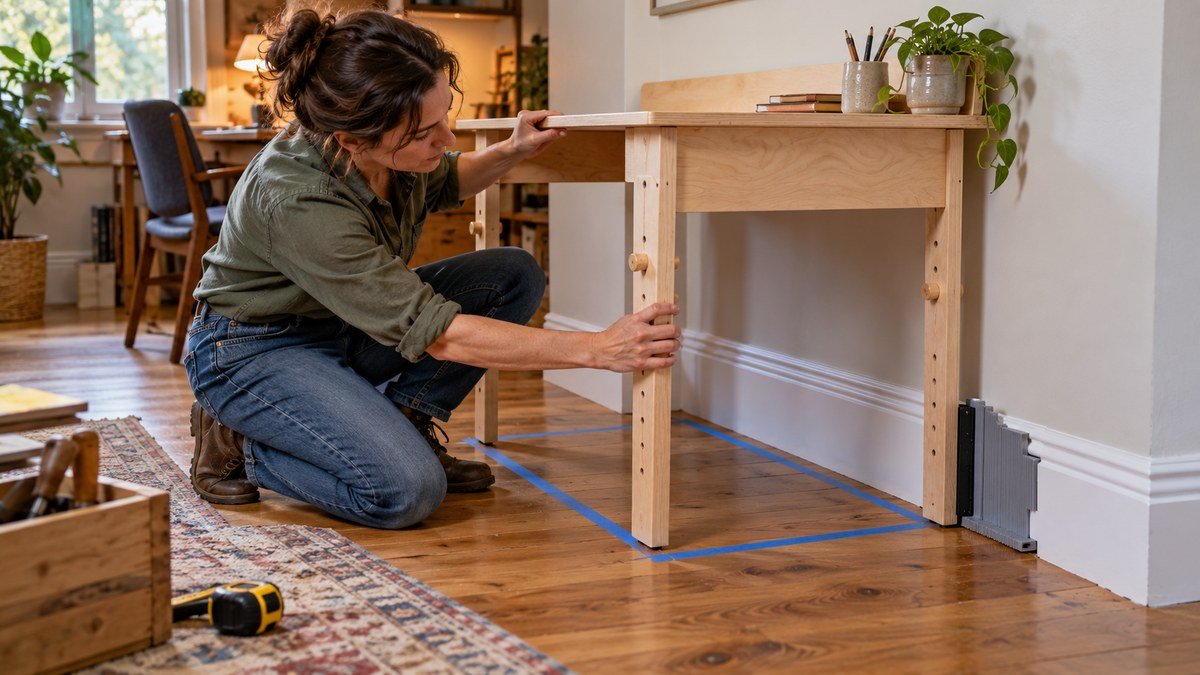
Irregular walls and trim can complicate a fitted project. A profile contour gauge can copy a baseboard, pipe, or uneven edge so you can transfer that shape to a filler or template. Use it for the local obstruction, not as a substitute for the overall measurements. Visually, protect consistent reveals and deliberate overhangs. A narrow top may need a smaller overhang, but reducing it to almost nothing can make the base look heavy.
Recalculate Joinery, Hardware, and Materials
Once the revised envelope works, update the construction system. Joinery must remain centered where appropriate, retain adequate shoulders, and stay far enough from edges to resist splitting. Hardware needs room to operate. Materials must cover the revised parts with sensible grain direction and waste. This is the stage where a plausible sketch becomes a buildable plan.
Move joints, holes, and supports deliberately
Do not move a joint just because the end of a board moved. Re-evaluate what the joint must support. A longer rail may need an additional connector or central brace. A shorter rail may still need the same tenon length because strength depends on glue area and shoulder quality. Keep fasteners away from end grain and allow for seasonal movement across wide solid-wood panels.
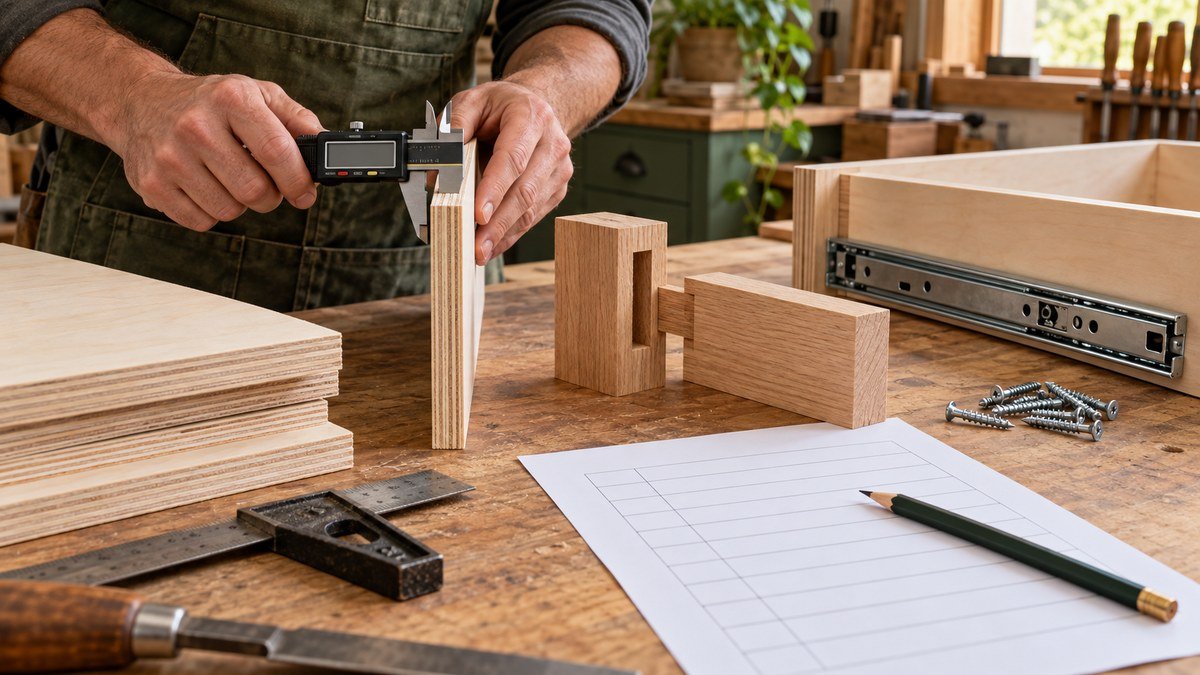
When stock thickness changes, measure the actual material rather than relying on its nominal label. A digital caliper is useful for checking plywood, tenon thickness, hardware, and small offsets before you revise dados or shoulders. Record the measured value in the plan. That one habit prevents an 18 mm drawing from colliding with plywood that is actually thinner.
Rebuild the cut list and material estimate
Create a fresh cut list rather than editing scattered numbers on the original. Give every part a unique name, quantity, finished thickness, width, and length. Add a notes column for grain direction, edge treatment, mirrored parts, or joinery references. Then reconcile the list with the drawing: every drawn component must appear in the list, and every listed component must have a place in the assembly.
Lay out the new parts on your boards or sheet goods before purchasing. Account for saw kerf, defects, trimming, and grain matching. Wider or longer pieces may push the project into a different stock size even if the total board-foot calculation changes only slightly. If you are choosing a different material, compare stability and suitable uses before finalizing the layout. For inspiration on manageable builds, browse these beginner-friendly DIY wooden furniture ideas while keeping the revised cut list as the authority.

Make a Full-Size Mockup and Test the Fit
A full-size test is cheaper than a full-size mistake. Use painter’s tape on the floor for the footprint, cardboard for panels, and scrap strips for critical openings. In a tight room, build a quick volume mockup from boxes and verify that people can walk around it. For a wall-mounted project, mark stud locations, doors, and outlets on the mockup.
Use templates and story sticks
A story stick is a strip marked with real locations for shelves, holes, or rails. It avoids cumulative arithmetic and lets you transfer the same spacing to several parts. Templates are equally useful for curves and unusual cutouts. Label the face, reference edge, and orientation so a correct shape is not flipped during transfer.
Use a trusted reference edge for every layout operation. An adjustable combination square can check 90-degree relationships, mark offsets, and verify that a mockup has not drifted out of square. Test the tool against itself before relying on it: draw a line against one side, flip the square, and compare the second line. Any divergence indicates an adjustment is needed.
Dry-fit and test movement
Assemble without glue whenever the joinery allows it. Check diagonals, shelf level, drawer movement, hinge clearance, and how the project will be carried into place. Test removable components and confirm that fasteners remain accessible. If the item fits the room but cannot pass through the doorway, divide it into modules or plan final assembly in the destination.
During a dry fit, compare actual dimensions with the revised drawing and note every change in one place. Avoid fixing problems only at the workbench without updating the plan. Otherwise, a corrected first component may be followed by a second component cut from an obsolete measurement.
Document the Revised Plan Before Cutting
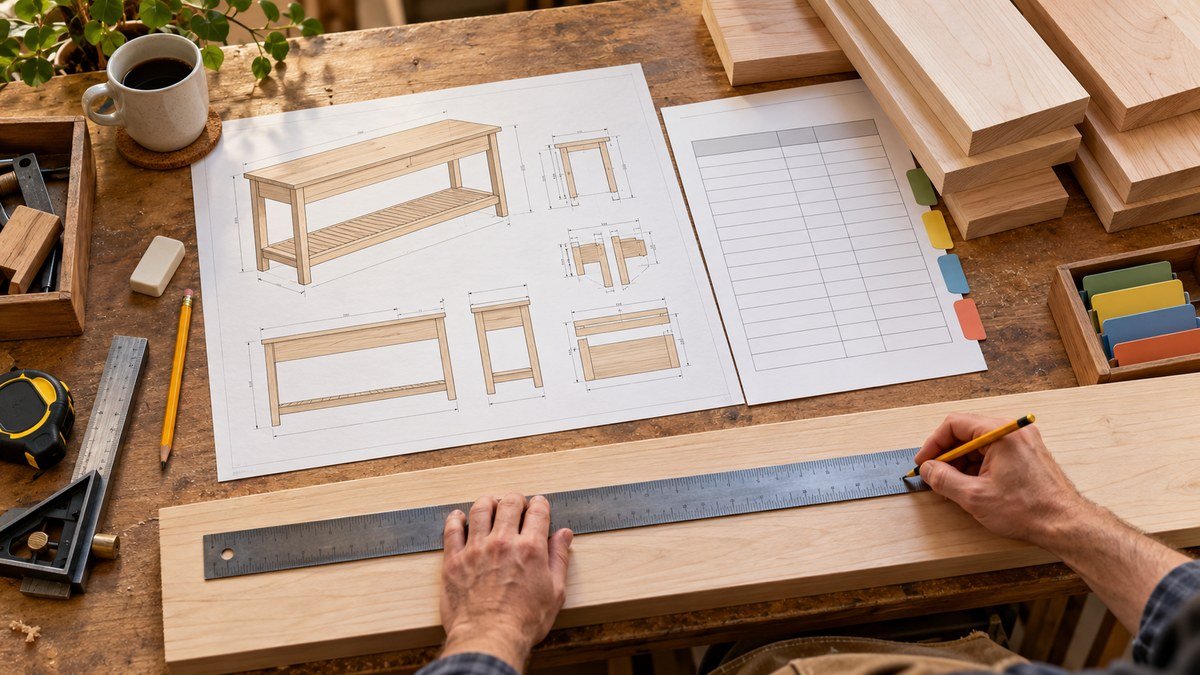
The final drawing should be clear enough that you could stop for a week and resume without guessing. Documentation is the final discipline in how to modify woodworking plans safely. Give the revision a date or version number. Show overall dimensions, part thicknesses, joint locations, hardware clearances, and the reference faces used during layout. Cross out obsolete values completely; do not leave two competing dimensions visible.
Create a clean revision set
Keep a dimensioned assembly view, detail sketches for joinery, and the new cut list together. Note whether each measurement is finished size or rough size. If a dimension must be confirmed on site, flag it as “verify before cutting.” For complex projects, color-code changed parts on a working copy, then prepare a clean final version without temporary marks.
If you want a broader starting library before making your own adaptations, the Furniture Craft Plans collection may be useful for comparing project types and construction approaches. Treat any purchased plan as a starting specification: verify every dimension, hardware detail, and safety requirement for your materials and space.
Run a final pre-cut verification
Read the plan as a sequence. Confirm the finished footprint, installation route, and user clearance. Recheck connected dimensions, stock thickness, joinery edge distances, hardware offsets, and material quantity. Compare the drawing with the cut list one final time. Mark the reference edge and face on parts before layout begins.
For a compact reminder you can use on future builds, download the Free Weekend DIY Project Checklist. It helps turn the planning and verification steps into a repeatable routine. When you know how to modify woodworking plans systematically, the process becomes less about improvising and more about managing a controlled revision.

Frequently Asked Questions
Can I scale every dimension in a woodworking plan by the same percentage?
No. Understanding how to modify woodworking plans means knowing where proportional scaling stops. It works for many visual dimensions, but stock thickness, hardware geometry, joinery depth, strength requirements, and human clearances often need independent decisions. Scale the overall envelope, then rebuild dependent dimensions around the fixed requirements.
How do I resize woodworking plans when material thickness changes?
Measure the real thickness, update all grooves, rabbets, shoulders, and offsets that depend on it, then recalculate the overall or internal dimensions. Decide which face or opening must remain fixed so the thickness change moves in the intended direction.
What is the safest way to adjust furniture plans for a small room?
Measure the destination and access route first, preserve functional clearances, and tape the footprint on the floor. Reduce flexible dimensions before changing structural members. A cardboard mockup can reveal circulation and door-swing problems that are difficult to see on paper.
Do I need to change joinery when I change woodworking dimensions?
Sometimes. A simple length change may only relocate an existing joint, while a greater span or load may require a stronger joint, thicker member, or extra support. Never reduce tenon length, shoulder size, or fastener edge distance automatically just because the project became smaller.
How can I check modified plans before buying lumber?
Prepare a clean cut list, lay parts out on standard board or sheet sizes, and include kerf plus a realistic waste allowance. Verify long or wide parts are actually available. Mock up the project footprint and review every changed dimension against the drawing.
What tools are most useful when adapting woodworking plans?
A reliable tape measure, straightedge, combination square, calculator, story stick, and marking tools cover most tasks. A laser meter helps with rooms, a contour gauge captures irregular obstacles, and a caliper verifies material or hardware thickness. Accuracy still depends on consistent reference edges and written checks.

Conclusion
The safest way to learn how to modify woodworking plans is to treat every change as part of a connected system. Measure the real space, identify fixed and flexible dimensions, set the new envelope, and recalculate each dependent component. Then protect the joinery, rebuild the cut list, test a full-size mockup, and document the final revision.
Changing one dimension at a time may feel slower than editing numbers across the page, but it prevents hidden conflicts. With a clear revision trail and a final pre-cut check, you can adapt good plans to awkward rooms, available materials, and the people who will use the finished project—without sacrificing strength or usability.
Affiliate Disclosure
Affiliate Disclosure: This post contains affiliate links. If you purchase through these links, DIY Wood Haven may earn a commission at no additional cost to you.




Ready to Build Smarter?