How to Make a Woodworking Cut List and Save Lumber
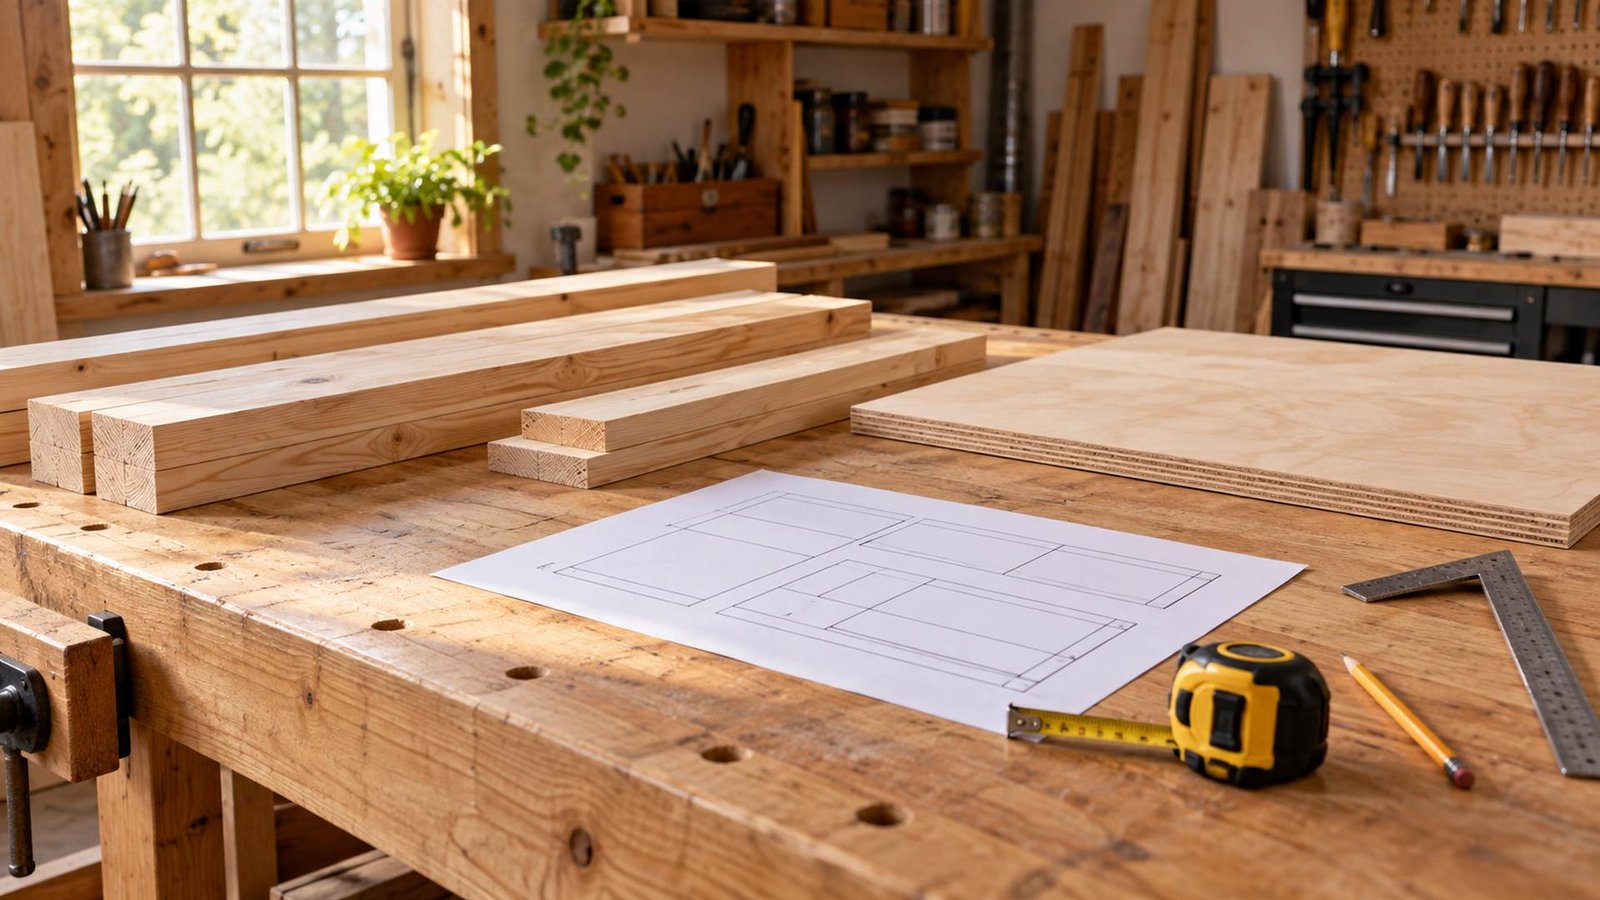
Learning how to make a woodworking cut list is one of the simplest ways to save lumber before a project reaches the saw. A good list tells you exactly which wooden parts the build requires, how large they must finish, what material they use, and how they can be arranged on real boards or sheets.
Without that plan, it is easy to miss a rail, mix rough and finished dimensions, or cut a short part from the only board long enough for a tabletop. The result is rarely just one bad offcut. It can mean another trip to the store, mismatched grain, delayed assembly, or a pile of scraps that never fit another project.
This guide gives beginners a repeatable cut-list process. You will move from a project drawing to a complete parts inventory, add realistic allowances for milling and joinery, organize parts by material, and build efficient board and plywood layouts. You will also learn how to turn the final list into a shopping guide and a practical reference at the workbench.
Understand What a Woodworking Cut List Should Include
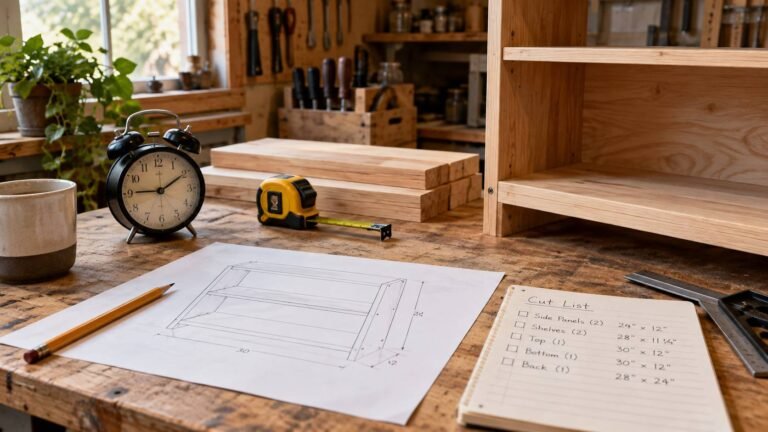
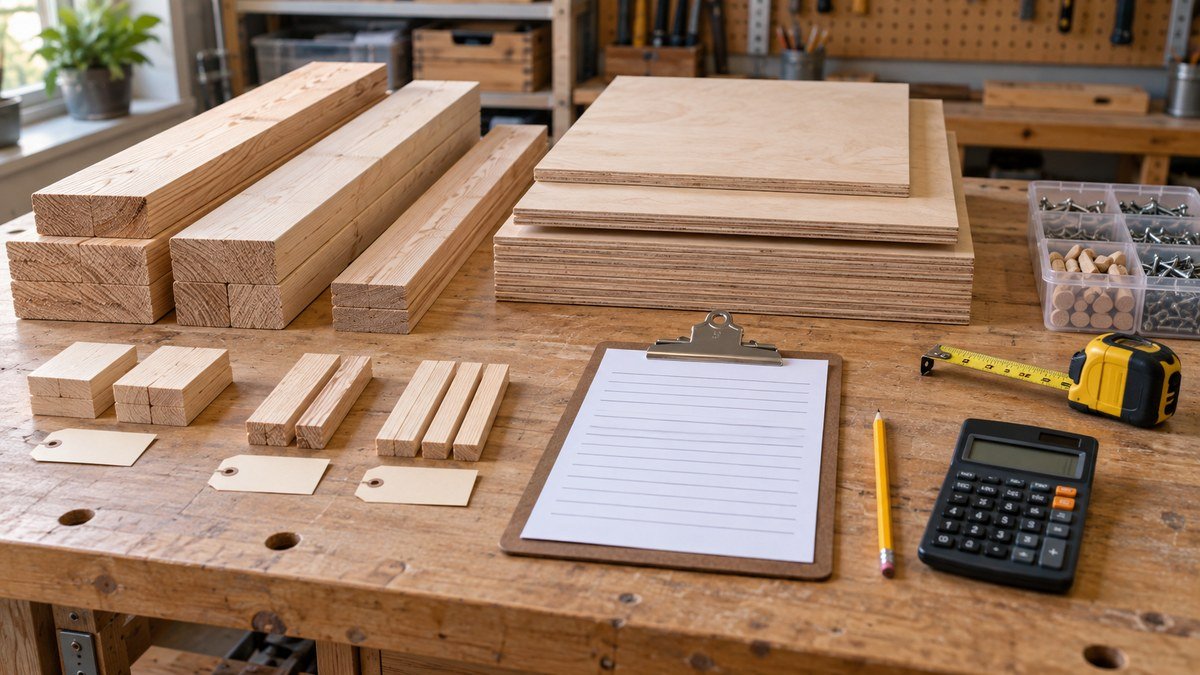
A woodworking cut list is a structured inventory of every wooden component in a project. It is not the same as a shopping list. The cut list describes the parts you need to make; the shopping list describes the boards, panels, and other materials you need to buy.
It is also different from an assembly plan. An assembly plan explains when and how parts connect. A cut list focuses on identity, quantity, dimensions, material, and any information needed to produce each component accurately.
Before building the list, make sure the overall design is settled. This woodworking project planning guide helps connect dimensions, tools, materials, budget, and build sequence. A cut list made from an unfinished design will keep changing and may preserve dimensions that no longer match the project.
A simple way to remember how to make a woodworking cut list is to give every required part one traceable row.
For each part, record at least:
- Part name or code
- Quantity
- Finished length
- Finished width
- Finished thickness
- Material or species
- Rough blank dimensions, when needed
- Grain direction or visible-face notes
- Joinery or machining notes that affect size
Use clear names such as “front apron,” “left side panel,” or “upper shelf.” Vague labels such as “board 1” are easy to confuse once several pieces are on the bench. For repeated components, combine identical pieces on one line and show the total quantity.
Keep finished and rough dimensions in separate columns. Finished dimensions describe the part in the completed project. Rough dimensions describe the larger blank you need before jointing, planing, trimming, shaping, or cutting joinery. Combining them in one field makes it difficult to know whether an allowance has already been added.
Choose one unit system and use it consistently. If a source plan mixes fractions, decimals, metric values, or imperial values, convert carefully before laying out parts. Label every dimension so length, width, and thickness are always in the same order.
How to Make a Woodworking Cut List From Your Plan
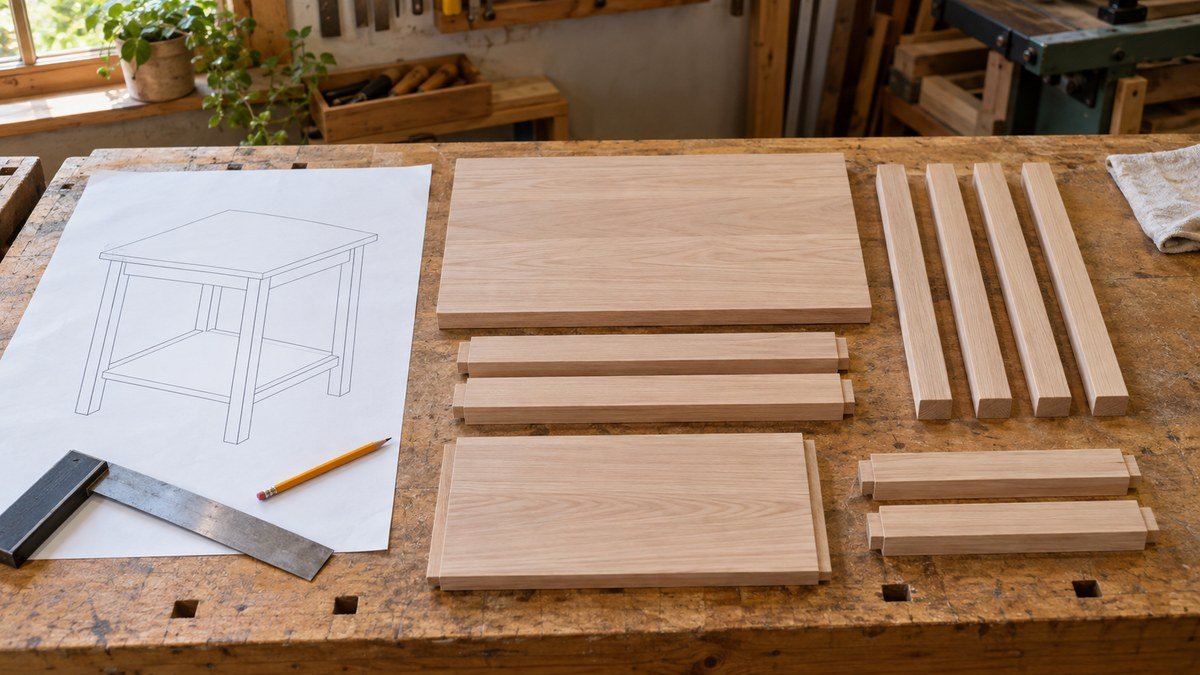
The safest way to extract parts is to work through the drawing assembly by assembly. Do not rely on memory or scan the whole project randomly. A systematic pass makes missing components easier to detect.
Break the Project Into Assemblies
Divide the project into logical groups. A cabinet might include:
- Carcass or main box
- Face frame
- Shelves
- Back panel
- Doors
- Drawers
- Base or legs
- Top
A small table might use a top, leg-and-apron base, lower stretchers, and a shelf. Write the assembly names first, then inspect the drawing and list every wooden part within each group.
Look at more than the front view. Side views, sections, detail drawings, and exploded views often reveal rails, cleats, drawer runners, edging, or internal supports that are hidden in the main illustration. If a component appears twice because of symmetry, confirm whether the plan expects two identical pieces or mirrored parts.
After the first pass, compare each assembly in the drawing with the list. Point to every visible component and find its matching row. This physical cross-check is more reliable than simply rereading the names.
Group Identical Parts Carefully
Parts belong on the same line only when their material, finished dimensions, rough dimensions, grain direction, and machining requirements are genuinely identical. Two rails of equal length may still need separate rows if one has a different width or must be cut from appearance-grade stock.
Assign a short part code if the project has many pieces. A code such as “L1” for legs or “SR” for side rails can be marked on painter’s tape after cutting. Keep the readable part name beside the code in the list so the system remains understandable.
When deciding how to make a woodworking cut list for a design of your own, begin with finished dimensions. Derive each dimension from the drawing rather than from the board you happen to have. Stock availability matters during layout, but it should not quietly change the project’s intended size.
Verify Quantities and Orientation
Quantity errors are common in repeated frames, doors, drawers, and shelves. Multiply per-assembly quantities by the number of assemblies. A cabinet with three identical drawers may need six drawer sides, not two.
Record orientation where it matters. Grain may need to run vertically on a door, along the length of a shelf, or continuously across adjacent drawer fronts. Mark visible faces and edges for parts that should match in color or figure. These notes influence which board can supply each piece and how efficiently you can use it.
Add Milling, Joinery, and Cutting Allowances
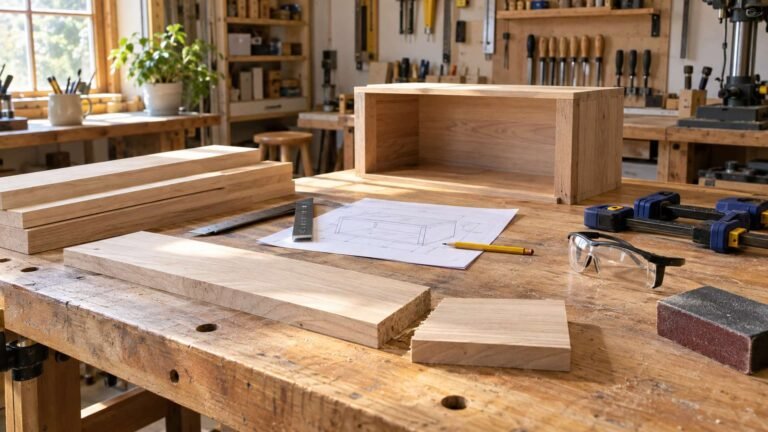
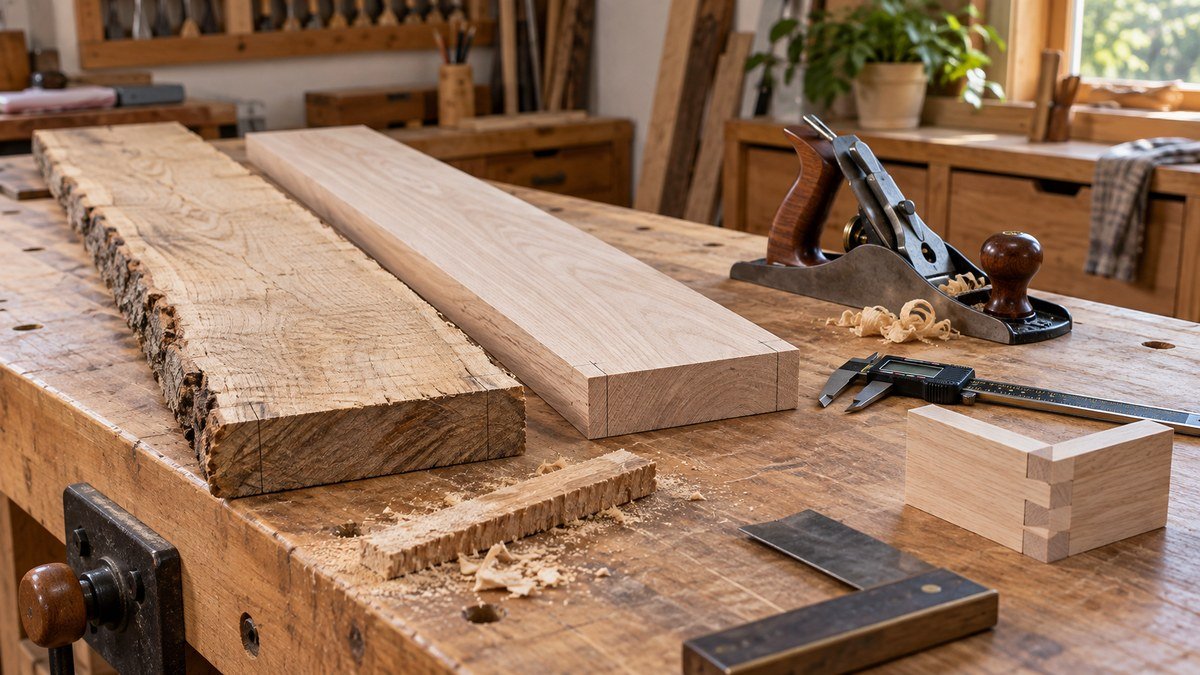
A finished-parts list is not yet a cutting plan. Most solid-wood parts need larger blanks so you can create flat faces, straight edges, square ends, and clean final dimensions.
Rough lumber may be bowed, cupped, twisted, or uneven in thickness. Jointing and planing remove material. End checks and rough ends require trimming. The amount needed varies with the board, so inspect actual stock when possible instead of adding one automatic allowance to every part.
Consider each operation:
- Jointing and planing: require extra thickness and width when rough stock must be flattened and surfaced.
- End trimming: requires enough length to square both ends and remove checks.
- Saw kerf: removes a narrow strip at every cut; use the actual blade and cutting method in your layout.
- Joinery: tenons, half laps, miters, and test cuts may require extra length or a dedicated setup piece.
- Shaping: curves and angled parts need blanks large enough to contain the full final outline.
- Defects: knots, cracks, bark, stains, and weak grain can reduce usable yield.
Do not simply increase every finished dimension by the same amount. A plywood panel cut from a clean factory edge may need only trimming room, while a long rough-hardwood rail may need substantially more stock to become straight. Record the rough blank size part by part.
Accurate measurement helps prevent unnecessary oversizing. A tape measure and square handle most layout work, while a caliper is useful for checking actual board thickness, dado width, or small joinery dimensions. Affiliate note: This section contains affiliate links.
For readers who want a compact thickness-checking tool, this stainless-steel digital vernier caliper may help when confirming rough and finished dimensions. Verify critical settings against a known reference, use the tool within its intended range, and complete manual affiliate-link verification before publication.
Organize Parts by Material, Thickness, and Grain
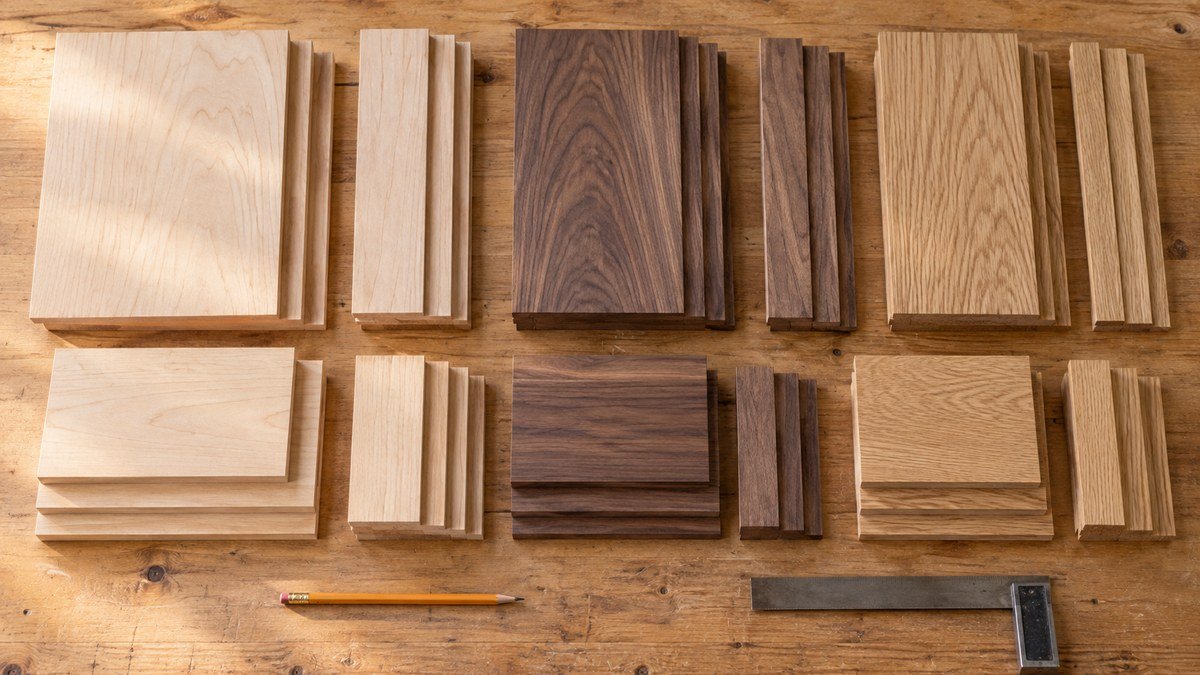
Once every part has a rough blank size, sort the list into material groups. Keep species, thicknesses, sheet types, and grades separate. A total volume or area is not useful if it combines stock that cannot be substituted.
A practical order is:
- Material or species
- Required rough thickness
- Required width
- Required length
- Appearance or grain priority
Put the longest, widest, and most visible components near the top of each group. These parts are the hardest to place and should receive first choice of the stock. Short blocks, cleats, and hidden supports can often use the remaining spaces.
Material choice affects yield. Straight, clear boards may supply more usable parts than lower-grade stock containing defects, while highly figured boards may require selective placement to keep the best grain in visible areas. This guide to types of wood can help beginners consider appearance, workability, and project suitability before creating the final layout.
For panels, separate plywood by thickness, face grade, core type, and intended grain direction. Do not combine a visible cabinet side with a hidden back simply because both are rectangular. Their material requirements may be different.
Color-code or filter the working list if that makes groups easier to scan, but keep the information readable when printed in black and white. Avoid decorative formatting that hides dimensions or quantities. The cut list is a shop tool first.
Create Efficient Board and Sheet Layouts
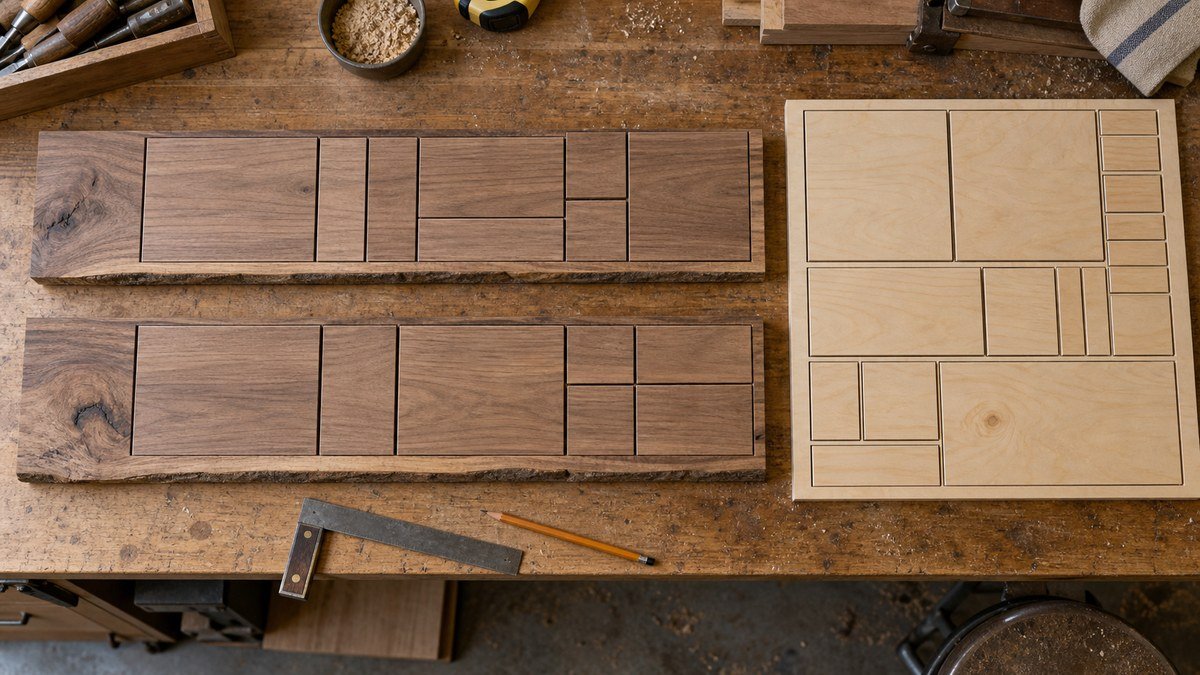
The cut list tells you what parts must exist; the layout shows how those parts fit into real stock. This is where thoughtful lumber cut planning prevents the most obvious waste.
Plan Solid-Wood Boards
Measure the actual boards or use the supplier’s available widths and lengths. Draw each board as a rectangle and place rough blanks inside it. Follow this order:
- Reserve boards for appearance-critical or grain-matched parts.
- Place the longest parts that have few layout options.
- Place wide parts or panel glue-up strips.
- Fit medium components around defects.
- Use remaining sound areas for short or hidden parts.
Leave space for saw kerf and end trimming. Mark knots, checks, severe slope of grain, and other defects on the board sketch so a blank does not accidentally cross them. A board may have enough total area but still lack one clear section long enough for a rail.
Think about cutting order. Crosscutting a long rough board into manageable sections before jointing can reduce the amount of material removed when straightening, but each section must remain safely long enough for the machines and operations you plan to use. Follow the equipment manufacturer’s instructions and use proper workpiece support, eye protection, hearing protection, and dust control where relevant.
Do not cut every part immediately to final size. Mill related pieces together when consistent thickness matters, and keep blanks slightly oversized until the appropriate stage. The cut list should show both rough and final targets so you know which dimension applies.
Plan Plywood and Sheet Goods
For sheet goods, a simple area calculation can be misleading. Parts with directional face grain, long dimensions, or awkward shapes may not fit even when their combined area is smaller than one sheet.
Draw a scaled sheet using the actual panel size available to you. Place the largest panels first, then shelves, dividers, drawer parts, and small components. Maintain grain direction for visible pieces and allow room for the cutting method’s kerf.
Also plan how the sheet will be broken down safely. Full panels can be difficult to control in a small shop. A track saw, circular saw with a guide, panel saw, or supplier cutting service may make rough breakdown more manageable. Support the entire sheet and keep hands away from the cutting path.
Label every shape in the diagram with its part code. If a project needs multiple sheets, number the sheets and keep each part assigned to one location. That prevents the same space from being counted twice.
When learning how to make a woodworking cut list, save both the clean parts table and the marked board or sheet diagrams. The table supports checking and labeling; the diagrams preserve the material strategy.
Turn the Cut List Into a Shopping and Workshop Tool
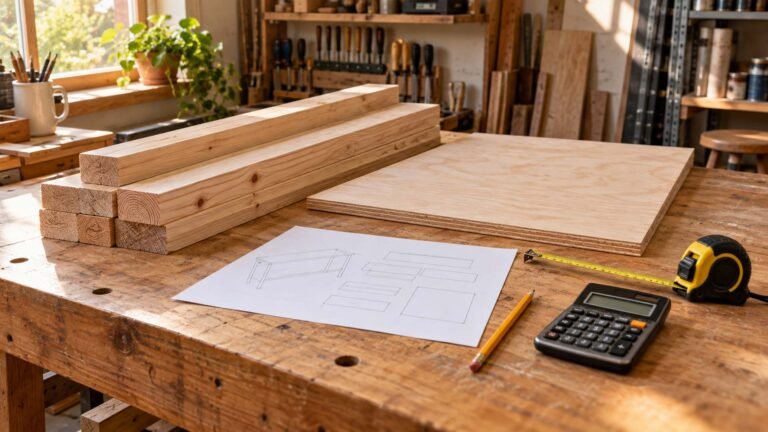
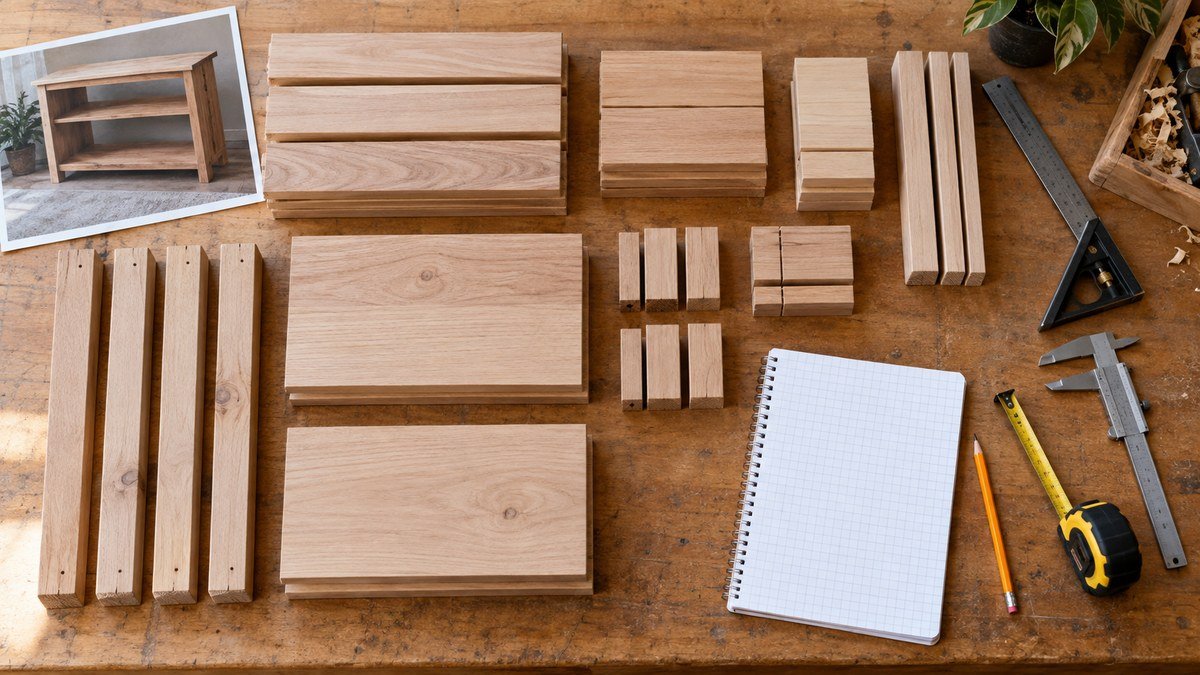
Convert completed layouts into purchase quantities. Count the actual boards and sheets used, not just the sum of part lengths or areas. Then add an appropriate allowance for stock quality, milling loss, grain matching, and mistakes.
There is no single waste percentage that suits every build. Straight dimensional lumber with simple rectangular parts may need less contingency than rough, defect-heavy hardwood or a project with curves and continuous grain. State the allowance separately so you can see the net requirement and the extra amount instead of burying both in one total.
Your shopping list should include:
- Material or species
- Thickness and width requirements
- Preferred board lengths or sheet size
- Minimum usable quantity
- Planned allowance
- Notes about grade, grain, or visible faces
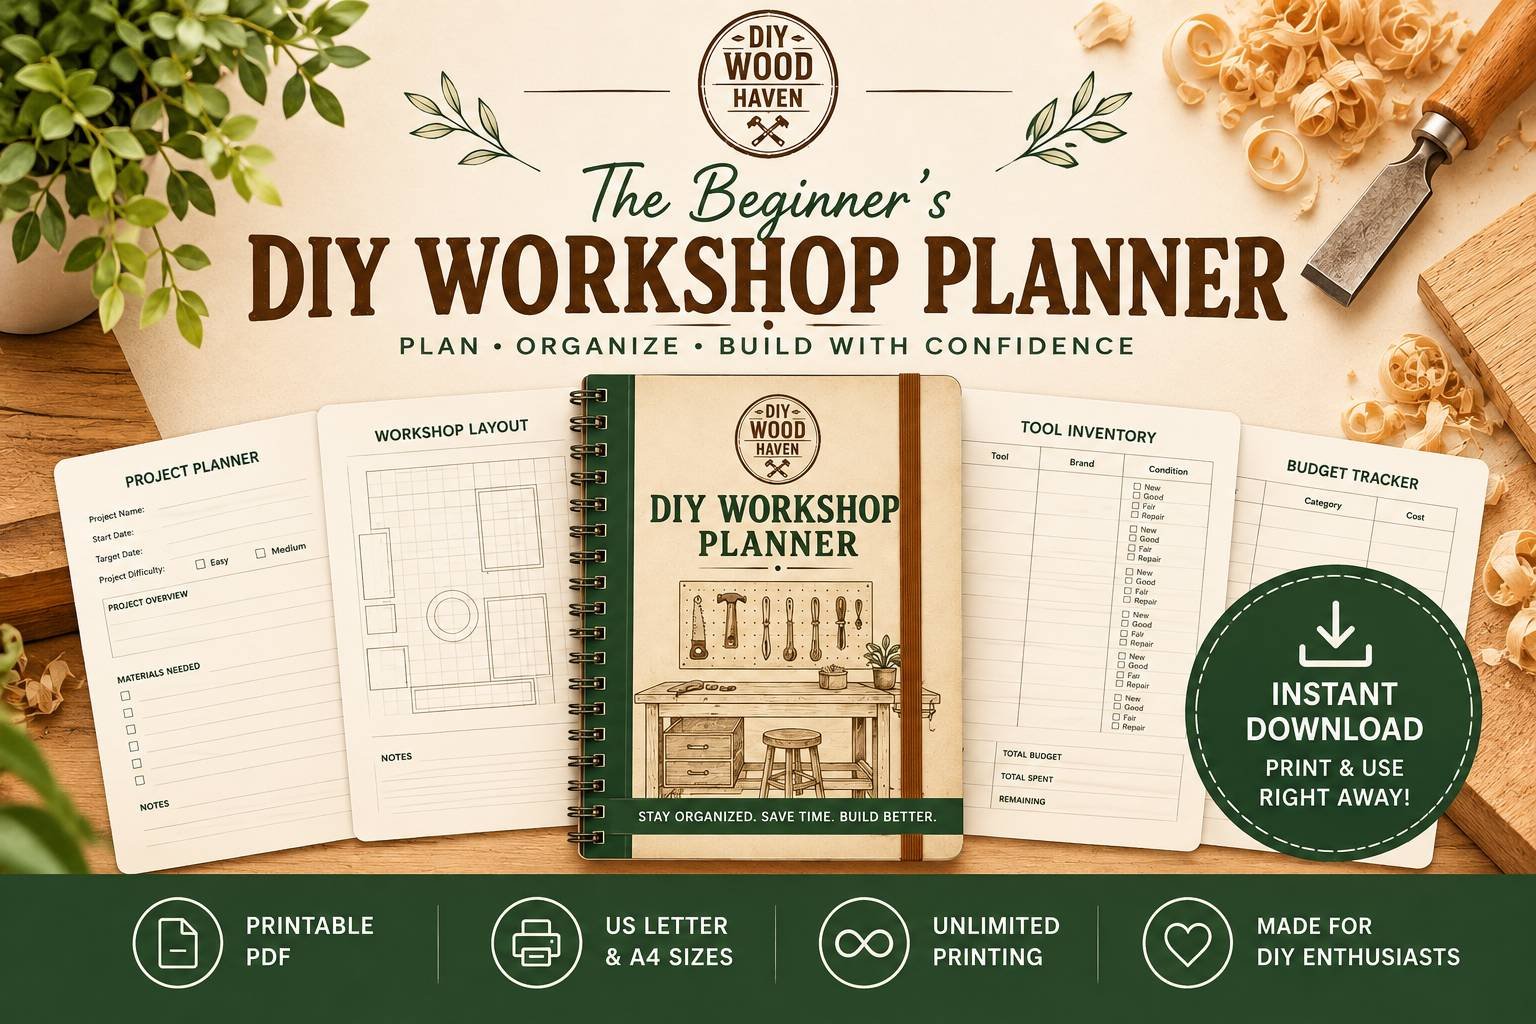
Use the Woodworking Project Checklist before purchasing to confirm that the drawings, measurements, materials, tools, and safety preparation agree. If you need a reusable place for material quantities, costs, tool planning, and build order, the Beginner’s DIY Workshop Planner can keep those decisions together.
At the bench, print the cut list or keep a protected copy nearby. Mark a part code on painter’s tape rather than writing where it may show through a finish. As parts are roughed out, milled, and cut to final size, update their status without deleting the original dimensions.
Before the first cut, review the entire list once:
- Match every row to a component in the drawing.
- Confirm quantities, including mirrored and repeated parts.
- Verify length, width, and thickness are in the correct order.
- Check that finished and rough dimensions are clearly separated.
- Confirm species, sheet type, and thickness for each group.
- Review grain direction and visible-face notes.
- Ensure joinery and milling allowances are intentional.
- Test that each blank fits its assigned board or sheet.
- Confirm the cutting sequence is safe and practical.
If a design changes, update the drawing, cut list, layout, and shopping list together. A cut list that no longer matches the current plan is worse than having no list because it creates false confidence.
Frequently Asked Questions
What Is the Difference Between a Cut List and a Shopping List?
A cut list describes the individual project parts, including quantities, finished sizes, rough blank sizes, material, and orientation notes. A shopping list combines those parts into the boards, sheets, and standard lengths you need to purchase. Build the cut list first, create board and sheet layouts, and then derive the shopping list from those layouts.
Should a Woodworking Cut List Show Rough or Finished Dimensions?
It should show both when milling or trimming is required. Finished dimensions define the completed part. Rough dimensions define the blank you need before jointing, planing, squaring, shaping, or cutting joinery. Separate columns prevent you from adding an allowance twice or cutting a blank directly to a final dimension too early.
How Much Extra Lumber Should I Add to a Cut List?
Choose an allowance based on stock quality, defects, milling, grain matching, part shape, and project difficulty. Do not apply one percentage automatically to every material. Build the net layout first, inspect the actual boards when possible, then record the extra quantity separately. This makes your reasoning visible and easier to adjust.
How Do I Make a Plywood Cut List?
List each panel with its quantity, finished dimensions, material, thickness, and grain direction. Draw the available sheet to scale, place the largest parts first, allow for kerf, and fit smaller pieces into the remaining spaces. Number each sheet and label every part location. Plan a safe breakdown sequence rather than optimizing only for minimum waste.
What Order Should I Cut Parts In?
Reserve appearance-critical stock first and rough-cut long boards into safe, manageable blanks only when the process allows it. Mill related parts together, then bring them to final width and length in a sequence that preserves reference faces and consistent dimensions. The safest order depends on your tools, stock, and joinery, so follow manufacturer instructions.
Can I Make a Cut List Without Woodworking Software?
Yes. Paper, a pencil, ruler, and calculator are enough. If you are learning how to make a woodworking cut list, start with the simplest format you will actually keep updated. Use a simple table for parts and rectangles for boards or sheets. Software can speed up revisions and layout experiments, but it does not replace checking quantities, grain direction, defects, kerf, and the real sizes of the material you intend to buy.

Conclusion
Knowing how to make a woodworking cut list turns a project drawing into a practical material and cutting plan. Start with every finished component, group identical parts carefully, and keep rough blanks separate from final dimensions. Then account for milling, joinery, kerf, grain direction, and defects before placing parts on real boards or sheets.
The most valuable cut list is easy to trace. Every row should connect to the drawing, every blank should have a place in the layout, and every purchase quantity should come from the material plan. Review the list once before buying and again before cutting, especially after a design change.
Use the process on a manageable build so the habit becomes natural. These beginner woodworking projects offer practical opportunities to create a list, test a layout, and compare your planned yield with the finished result.
Affiliate Disclosure
Affiliate Disclosure: This post contains affiliate links. If you purchase through these links, DIY Wood Haven may earn a commission at no additional cost to you.



Ready to Build Smarter?